manuals.online logo
Brands
  1. Home
  2. •
  3. Brands
  4. •
  5. Reece
  6. •
  7. Plumbing Product
  8. •
  9. Reece SUSSEX POL User manual

Reece SUSSEX POL User manual

SUSSEX
POL FLOOR MOUNT MIXER CURVED
CLEANING RECOMMENDATIONS
We recommend the use of soapy water or approved cleaners. This
product should not be cleaned with abrasive materials. Damage
caused by any improper treatment is not covered by the product
warranty - refer to Warranty Conditions on the last page.
To see the complete Sussex range go to
www.reece.com.au/bathrooms
SPECIFICATIONS
Recommended use Domestic, hotel, commercial
Pressure rating Recommended water pressure: Min 300 kPa -
Max 500 kPa.
Water pressure is not to exceed 750 kPa.
Temperature rating Min 1º - Max 55º
Suitablehotwaterunits Storage tank: Yes
Continuous flow: Yes
Gravity fed: Not recommended
Material Brass
Finish Chrome
Standards AS/NZS 3718
Disclaimer: Products in this specification manual must by regulation be installed by licensed and registered
trade people. The manufacturer/distributor reserves the right to vary specifications or delete models from
their range without prior notification. Dimensions are nominal measurements only. Dimensions and set-outs
listed are correct at time of publication however the manufacturer/distributor takes no responsibility for
printing errors.
Tech Page Version 1
AS/NZS 3718:2005
LIC. 20081
page 1 of 3
SUSSEX
POL FLOOR MOUNT MIXER CURVED
INSTALLATION INSTRUCTIONS
Plumbers, please ensure a copy of the installation
instructions is left with the end user for future reference
Rough in Plumbing
- 3/8” Copper Tube is to be used to connect to the “Push-on” fittings of this
Floormount Mixer.
- The clearance hole size through the finished floor is to be between 28 - 32mm.
- The Hot and Cold Copper Tube lines should be installed with 18mm centres.
- Use the template provided to gain correct spacing between the Copper Tube and
for the direction of the spout .
- The Hot and Cold 3/8” Copper Tube must be trimmed to protrude through the
finished floor surface by 25-30mm.
- The Copper Tube must be vertical and central within the floor penetration.
- Brace/Secure the 3/8” Copper Tube lines to prevent movement when installing
the mixer.
- The Copper Tube ends must remain round and completely de-durred (free from
any sharp edges).
- Note: Where possible, it is recommended to fit isolating valves.
Installation of Mixer
- Place template over the protruding 3/8” Copper Tube to mark fixing hole
positions, remove and drill to suit appropriate fasteners. (Fasteners not included)
- Drilling Template must be removed prior to fit off.
- Unscrew Cover flange and gently slide away from the Floor Fitting.
- Note: Finished floor surface must be completely sealed and water tight around
copper tube ends prior to final fit-off.
- Apply grease to Copper Tube ends and gently attach the “Push On” Fittings. Full
engagement is approx. 20mm.
- Lower Mixer and align the Floor Fitting.
- Ensure “FRONT” of mixer body is facing the bath.
- Perform a water test before permanently fixing Mixer to floor.
- Secure to floor and check with level ensuring mixer is square.
- Where required, level mixer by adjusting the 4 jacking screws located in the Floor
Fitting.
- Gently lower the Cover Flange onto the Floor Fitting and hand tighten.
- Check Mixer operation.
Tapware is to be installed by a Licensed
Plumber in accordance with AS/NZL 3500
Water pressure is not to exceed 750 Kpa
Recommendedworkingwaterpressure300-500Kpa.
Maximum water temperature is 55 deg.C.
TEMPL ATE
18mm Centres
Fixing Hole positions
(4 Places)
3/8" Copper Tube
Positions
Spout
Direction
Floor
Clearance
Hole size
28 - 32m m
HC
H C
3/8"
Copper Tube
25 - 30 mm
28 - 32mm Floor Clearance Hole
The Copper T ube ends must remain round and
Cover
Flange
Floor Fitting
(Do Not Remove)
"Push On"
Fittings
Finished Floor
Surface
FRON T
page 2 of 3
SUSSEX
POL FLOOR MOUNT MIXER CURVED
Don’t risk it, use a licensed plumber.™
REECE PRODUCT QUALITY GUARANTEE
You have purchased a quality product from Reece Pty Ltd
ABN 84 004 097 090 (“Reece”). This product is covered by a
15 year replacement product warranty, a 2 year warranty for
labour, and a 1 year warranty on spare parts.
15 YEAR WARRANTY – DOMESTIC USE
This warranty covers faults in the product construction, material
and assembly. Products which are within 15 years from the
date of purchase, found upon inspection by an authorised
Reece representative, to be defective in construction, material
or assembly, will be repaired or exchanged with an equivalent
product free of charge. Replaced items become Reece’s
property. This warranty also covers any spare parts included
under “Manufacturer’s Provisions” below.
All replacement products will be available for collection without
charge to the customer at the nearest Reece branch to the
customer’s location, or elsewhere as agreed between the
customer and Reece.
Manufacturer’s Provisions
The following spare parts are covered by a 15 year warranty:
• Mixer Cartridge
Labour and Spare Parts
The labour for the replacement of products and spare parts
to which this warranty applies will be supplied by Reece or
relevant supplier using licensed plumbers engaged by Reece or
relevant supplier within 2 years from the date of purchase.
Spare parts other than those listed in the Manufacturer’s
Provisions above, which are within 12 months from the date
of purchase found upon inspection by an authorised Reece
representative to be defective in construction, material or
assembly, will be replaced free of charge.
Warranty Conditions
This warranty will apply only under all of the
following conditions:
• The item has been installed by a licensed plumber
• The item has been installed for and subjected to domestic
residential use only
• Failure is due to a fault in the manufacture of the product
• Proof of purchase (including the date of purchase)
is provided
• The installation of the product is in accordance with the
instructions provided
This warranty does not cover products purchased as an
ex-display without being fully checked and tested for sale by
the manufacturer.
This warranty does not include faults caused by:
• Unsuitable or improper use
• Incorrect installation or installation not in accordance with
the instructions provided
• Installation or part installation by the purchaser or any person
other than a LICENSED PLUMBER
• Normal wear and tear
• Inadequate or complete lack of maintenance
• Chemical, electrochemical or electrical influences
• Harsh detergents or abrasive cleaners used on
product finishes
1 YEAR WARRANTY – COMMERCIAL USE
‘Commercial’ use is all use other than for normal domestic
residential purposes, including use in non-business places as in
public buildings, schools, sports centres and in establishments
that contain private bathrooms with high frequency of use by
many individuals, such as hotels, motels, retirement villages
and hospitals.
The Commercial warranty covers this product against
manufacturing faults in the construction, material and assembly
of both the finished products and any spare parts for a period
of 1 year from the date of purchase. Products and spare
parts which are found upon inspection by an authorised
Reece representative to be defective in construction, material
or assembly will be repaired or exchanged free of charge.
Replaced items become Reece’s property. The labour for the
replacement of products and spare parts to which this warranty
applies will be supplied by Reece or relevant supplier using
licensed plumbers engaged by Reece or relevant supplier. The
Warranty Conditions and exclusions which apply to the non-
commercial warranty also apply to this commercial warranty.
EXCLUSIONS
To the fullest extent permitted by law, Reece excludes all liability
for damage or injury to any person, damage to any property,
and any indirect consequential or other loss or damage.
CLAIM PROCEDURE
For all warranty queries customers are to contact the branch
where the product was purchased. These details can be found
on your purchase invoice.
Our goods come with guarantees that cannot be excluded
under the Australian Consumer Law. You are entitled
to a replacement or refund for a major failure and for
compensation for any other reasonably foreseeable loss or
damage. You are also entitled to have the goods repaired or
replaced if the goods fail to be of acceptable quality and the
failure does not amount to a major failure.
TAP.SUSSEX.T1.15YR
Don’t risk it, use a licensed plumber.™
15
YEAR
Q
U
A
L
I
T
Y
G
U
A
R
A
N
T
E
E
page 3 of 3
Other Reece Plumbing Product manuals

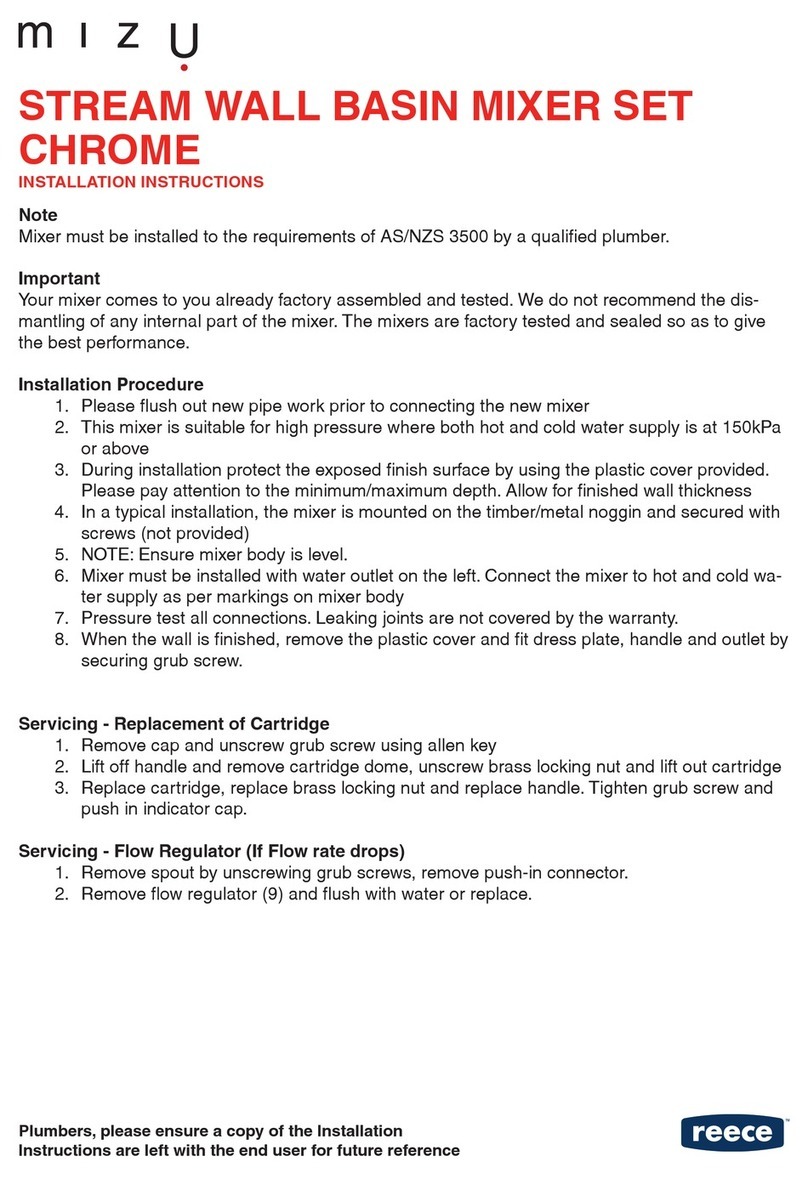
Reece MIZU STREAM WALL BASIN MIXER SET CHROME User manual

Reece

Reece MIZU STREAM WALL BASIN MIXER SET CHROME User manual

Reece Milli EXO WALL SINK SET User manual

Reece

Reece Milli EXO WALL SINK SET User manual

Reece LAUFEN PALOMBA 9504211 User manual

Reece

Reece LAUFEN PALOMBA 9504211 User manual

Reece Posh Domaine Semi-Recessed Wall Hung User manual

Reece

Reece Posh Domaine Semi-Recessed Wall Hung User manual

Reece TEKNOBILI OZ T7 User manual

Reece

Reece TEKNOBILI OZ T7 User manual

Reece Milli EXO WALL BASIN SET 4 User manual

Reece

Reece Milli EXO WALL BASIN SET 4 User manual

Reece Posh Solus Wall Top User manual

Reece

Reece Posh Solus Wall Top User manual

Reece hideaway+ User manual

Reece

Reece hideaway+ User manual

Reece OMVIVO NEO SLIMLINE WALL HUNG VANITY UNIT User manual

Reece

Reece OMVIVO NEO SLIMLINE WALL HUNG VANITY UNIT User manual

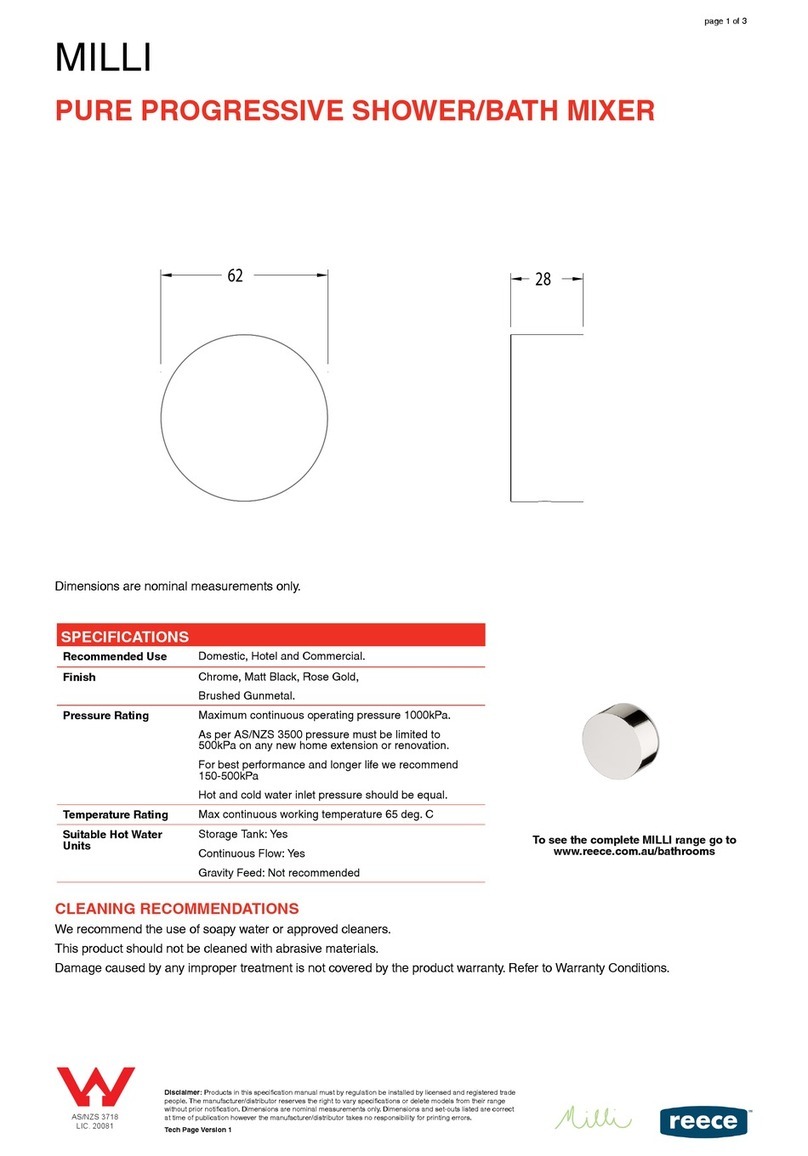
Reece MILLI User manual

Reece

Reece MILLI User manual

Reece Methven AIO AURAJET Operator's manual

Reece

Reece Methven AIO AURAJET Operator's manual

Reece ISSY GLIDE 750 User manual

Reece

Reece ISSY GLIDE 750 User manual

Reece Milli Series User manual

Reece

Reece Milli Series User manual

Reece METHVEN AROHA User manual

Reece

Reece METHVEN AROHA User manual

Reece Posh Domaine 9508099 Installation guide

Reece

Reece Posh Domaine 9508099 Installation guide

Reece MIZU Quick start guide

Reece

Reece MIZU Quick start guide

Reece Mizu User manual

Reece

Reece Mizu User manual

Popular Plumbing Product manuals by other brands

Bradley Terreon Classic WF2500 Series Installation

Bradley

Bradley Terreon Classic WF2500 Series Installation

Water Creation EMPIRE30 installation guide

Water Creation

Water Creation EMPIRE30 installation guide

Grohe DAL 37 048 manual

Grohe

Grohe DAL 37 048 manual

Pfister Auden LF-049-AD Quick installation guide

Pfister

Pfister Auden LF-049-AD Quick installation guide

Durastall 140 Assembly, Installation, Repair Parts

Durastall

Durastall 140 Assembly, Installation, Repair Parts

Bradley Verge LVGD1 Installation

Bradley

Bradley Verge LVGD1 Installation

Schulte ExpressPlus Assembly instructions

Schulte

Schulte ExpressPlus Assembly instructions

Presto 55434 installation guide

Presto

Presto 55434 installation guide

Moen T961 installation guide

Moen

Moen T961 installation guide

American Standard 4453 Specification sheet

American Standard

American Standard 4453 Specification sheet

Sanipex AQUAECO BDP-BTR-120-A Series installation guide

Sanipex

Sanipex AQUAECO BDP-BTR-120-A Series installation guide

Hans Grohe Vernis Blend 71553 Series Instructions for use/assembly instructions

Hans Grohe

Hans Grohe Vernis Blend 71553 Series Instructions for use/assembly instructions

Sanela SLSN01 Instructions for use

Sanela

Sanela SLSN01 Instructions for use

Gessi RETTANGOLO 20035 Bath Mixing Program

Gessi

Gessi RETTANGOLO 20035 Bath Mixing Program

Hans Grohe Croma 220 Air 1jet 26464000 Assembly instructions

Hans Grohe

Hans Grohe Croma 220 Air 1jet 26464000 Assembly instructions

Arblu TULIP CONSOLE Assembly instructions

Arblu

Arblu TULIP CONSOLE Assembly instructions

KEUCO Edition 400 51573 015181 Mounting instruction

KEUCO

KEUCO Edition 400 51573 015181 Mounting instruction

Gessi RETTANGOLO K 53013 manual

Gessi

Gessi RETTANGOLO K 53013 manual

manuals.online logo
manuals.online logoBrands
  • About & Mission
  • Contact us
  • Privacy Policy
  • Terms and Conditions

Copyright 2025 Manuals.Online. All Rights Reserved.