Reef Brite X Dual Series User manual

X Series Dual Instructions
Important: Read all instructions very carefully before installing your X Series Dual
XHO ADD-ON KIT. Reef Brite will not be responsible for any damages that may
result from improperly mounted or installed X Series kits.
The X Series will add some weight to your light system so it is especially important to
ensure your tank or mounting configuration can safely carry and distribute the additional
weight of your X Series system.
If unsure about the mounting and or attachment of the X Series system, we recommend
contacting a licensed professional to avoid serious personal injury or property damage.
If you have any questions before or during the installation of your X Series system,
please contact joy@reefbrite.com and one of our customer service representatives will
be glad to assist you.
For faster service please provide your phone number and a good time to call. Thank
you.
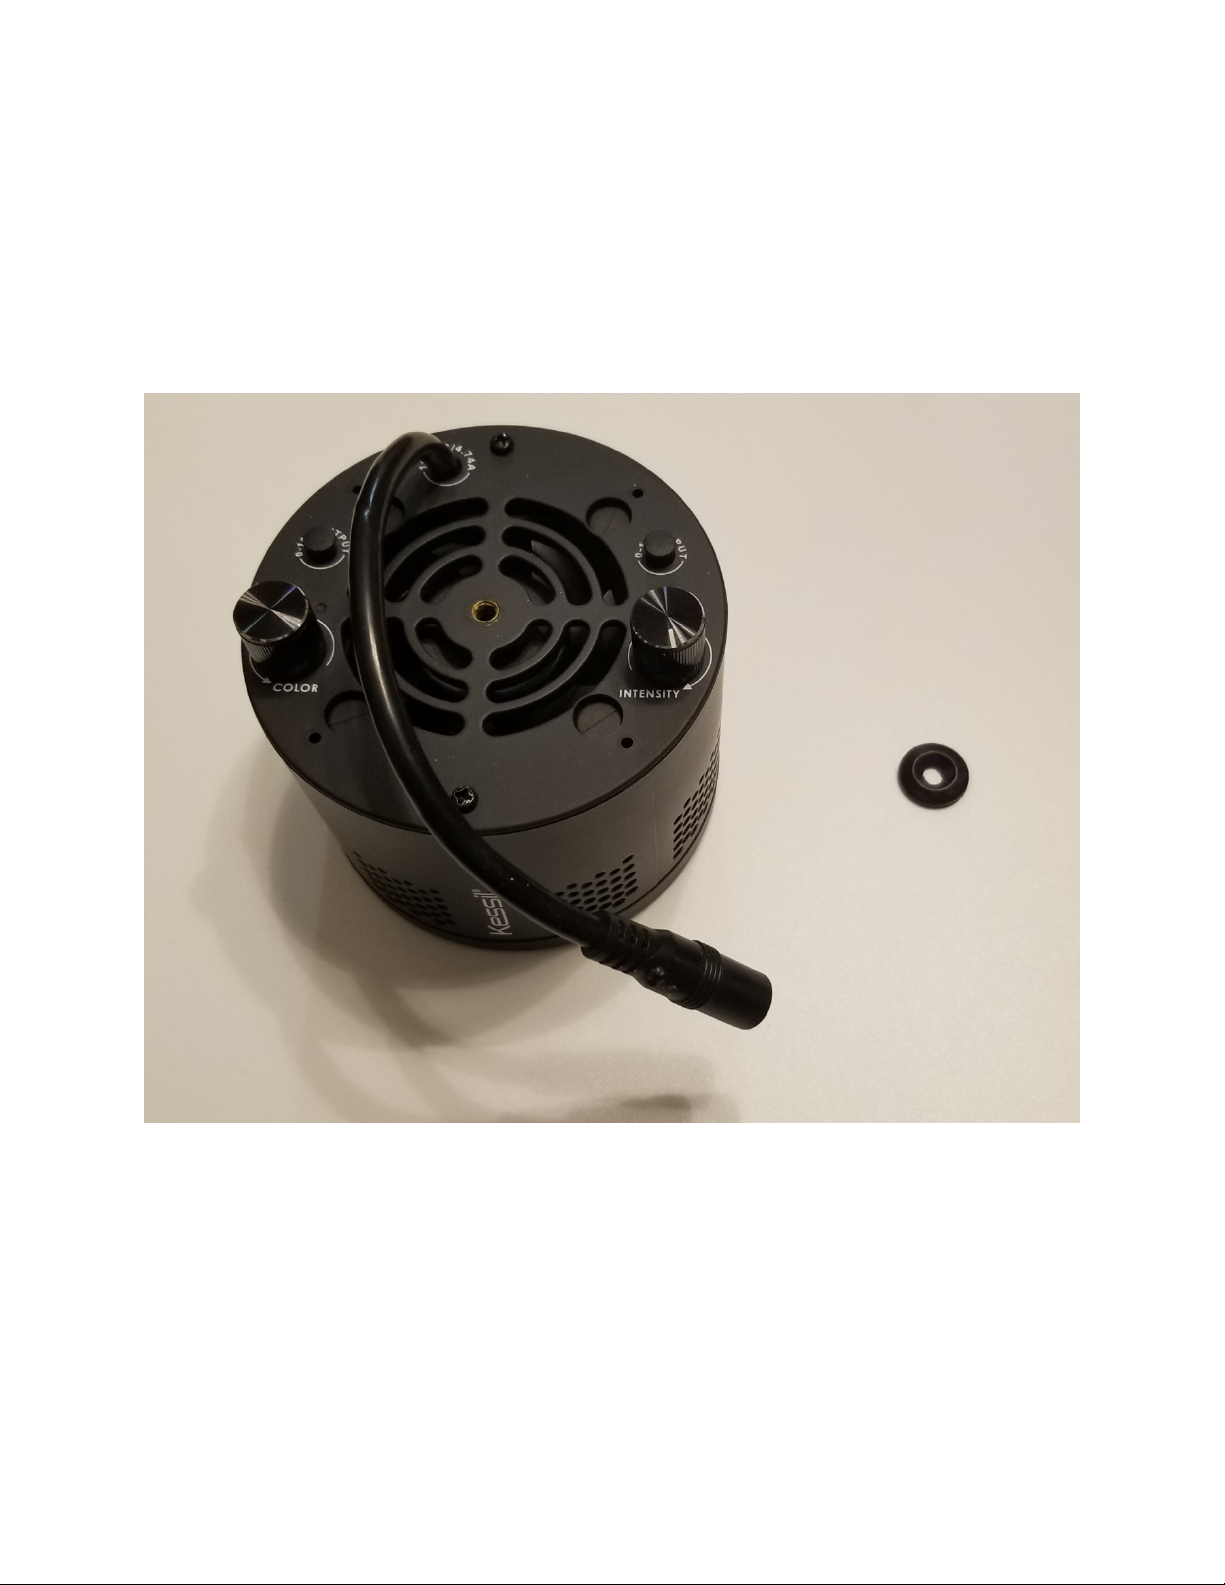
Getting started: Make sure your fixture(s) are unplugged from the electrical outlet
and completely removed from the aquarium before attempting to install the X
Series Dual system.
If your fixture was in use even for just a short period let cool. LED’s can get hot
during operation and can cause personal injury or damage surfaces if proper care
in handling is not taken.
Once cool, place fixture on a secure table or work surface.

Installation instructions: Install the included light brackets (Figure 1) according to the
directions listed below for your specific fixture using the included hardware. For Kessil
360 series use one light bracket per 360. For Radion, Hydra, AP9X and AP700 use two
light brackets per fixture.
Figure 1 Light Bracket

Kessil 360x: Locate the threaded hole on the top center of the 360x. Using one of the
included Black M5 x .8mm thread x 8mm long pan head screws provided, mount the
bracket to the 360x. See picture below. It is highly recommended to carefully thread the
screw by hand to ensure that the screw is not cross threaded and avoid over tightening.
DO NOT use the M5 x .8mm thread x 12mm long screws for the 360x as damage
to the 360x can occur.
Figure 2 Light Bracket with M5 x 8mm screw

Figure 3 Light Bracket installed

Kessil 360WE units:Locate the threaded hole on the top center of the 360. Use one of
the Black M5 x .8mm thread x 12mm long screws provided placing one of the
included Black Nylon spacers between the light bracket and your 360 to avoid
obstructing the fan circulation. It is highly recommended to carefully thread the screw
by hand to ensure that the screw is not cross threaded and avoid over tightening.
The Black Nylon spacers can be found attached to the M5 x 25mm flat head screws
used for the AI Hydra units.
Figure 4 Nylon Spacer

Figure 5 Nylon Spacer placement

Figure 6 Light Bracket installed using Nylon spacer

Kessil AP9X and AP700 units:Locate the four threaded holes on the top of your
AP9X. Using the four Black M4 x .7mm thread x 12mm long screws mount two of the
included light brackets to the AP9X. It is highly recommended to carefully thread the
screws by hand to ensure that the screws are not cross threaded and avoid over
tightening.
Figure 7 Light Brackets installed on AP9X

Ecotech Radion XR30 and XR15: Locate the four threaded holes on the top of your
XR30 or XR15. Using the four Black M5 x .8mm thread x 8mm long screws mount
two of the included light brackets to your XR30 or XR15. It is highly recommended to
carefully thread the screws by hand to ensure that the screws are not cross threaded
and avoid over tightening.
Figure 8 XR15 with Light Brackets installed

AI Hydra 26, 32, 52, and 64: Locate the two threaded holes on the top of your Hydra
unit. Using the two Silver M5 x .8mm thread x 25mm long screws with Black nylon
washers installed, mount two of the included light brackets to your Hydra unit. DO NOT
remove the Black nylon washers as damage to the Hydra units can occur. It is
highly recommended to carefully thread the screws by hand to ensure that the screws
are not cross threaded and avoid over tightening.

Once the light brackets are installed, slide the included XHO fixtures through the
brackets and mount the two included endplates to the XHO’s using the M4 screws
located on the ends of the XHO’s.
Install the hanger attachment to the endplates by loosening the screw on the hanger
attachment and sliding it over the hole located at the top center of each end plate.
Figure 9 Hanger attachment installed on end plate

The completed setup should look like this.
Figure 10 Completed X Series Dual installed on AP9X
Carefully attach your completed system using the supplied hanging system. If unsure
about the safe mounting and or attachment of the system, we recommend contacting a
licensed professional to avoid serious personal injury or property damage.
Plug in system to a GFI outlet (Recommended) ensuring that proper drip loops are
employed.
Important note: Make sure all power supplies, electrical plugs, and electrical
outlets are safely located so water cannot splash or spill on them. Use of power
strips located on floors or any location where water can come in contact with
them is dangerous and can cause serious injury or fire.

Ecotech Radion G5, AI Hydra and Kessil Mount systems*
The X Series system cannot be used with Flex Arm Mounts
*Due to the weight of the X Series Dual, it is especially important to carefully
check the specifications for the mount system you intend to use to ensure that
your mount and tank can support the additional weight of the X Series system.
If unsure about the mounting and or attachment of the system, we recommend
contacting a licensed professional to avoid serious personal injury or property damage.
Reef Brite will not be responsible for any damages that may result from
improperly installed or mounted X Series systems.
If unsure about the compatibility or installation of your G5, AI Hydra and Kessil unit,
contact joy@reefbrite.com
For faster service please provide your phone number and a good time to call.
Radion XR series locate the four Silver flathead M5 x .8mm thread x 12mm long
mounting screws included with your X Series kit.
AI Hydra units locate the two Silver flathead M5 x .8mm thread x 25mm long screws
that came with X Series kit (It will be necessary to remove the included Black nylon
spacers).
Attach two of the light brackets (Per fixture) that came with your X Series system by
installing them under the Multi Light or Double Arm rail mount you are using for
your XR or Hydra series light so that the holes align with the threaded holes on your
fixture.
It is highly recommended to carefully thread the screws by hand to ensure that the
screws are not cross threaded and avoid over tightening.
Do not attempt to use hardware not supplied with your X Series system as
damage to your fixture could result.
This manual suits for next models
2
Other Reef Brite Aquarium manuals