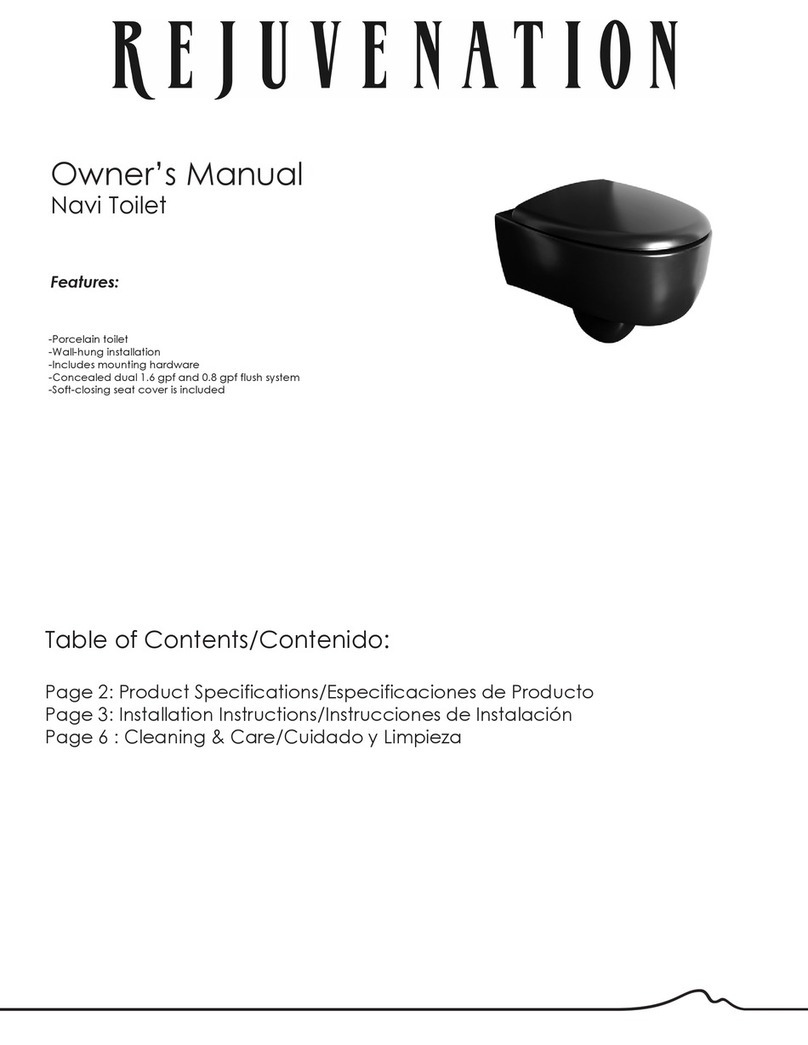
Rejuvenation Lirico User manual

Table of Contents/Contenido:
Page 2: Product Specifications/Especificaciones de Producto
Page 3: Parts Breakdown/Desglosamiento de Partes
Page 4, 5, 6: Installation Instructions/Instrucciones de Instalación
Page 7 : Cleaning & Care/Cuidado y Limpieza
Owner’s Manual
Lirico Toilet
Features:
-Porcelain elongated one-piece toilet
-Floor-standing installation
-Includes mounting hardware
-Siphonic single flush system (1.28 gpf)
-Soft-closing seat cover and tank are included
-Meets and exceeds the following standards/codes:
-ASME A112.19.2-2013/CSA B45.1-13/ASME A112.19.14-2013
-EPA’s WaterSense Specification for Tank-Type Toilets

2
Product Specifications/Especificaciones de Producto
Note:
Drawings provided herein are meant to give the user an idea of the product and are not made to scale. The sizes in
inches are rounded up to the nearest 1/16.
Nota:
Los planos proporcionados en este documento tienen el propósito de dar al usuario una idea del producto y no
están hechos a escala. Los tamaños de pulgadas se redondean al más cercano 1 / 16.
15”
381
7”
178
INLET
M 7/8”
17 3/4”
451
13 7/8”
352
28 5/8”
727
3/4”
19
6”
152
16 1/2”
419
12
305
31”
787
Outlet diam.
OD: 3”
ID: 2”

3
Parts Breakdown/Desglosamiento de Partes
Flush Valve
Fill Valve
Hose
Floater
Lever kit

Installation Instructions/Instrucciones de Instalación
Toilet Installation
4
12”
305
1. Install the water supply and drainage outlet as marked.
Tile and seal the floor to prevent chemical reaction and damage
to the porcelain of the toilet.
6”
150
water supply valve
wall
drainage outlet
floor
2. Align the flange with the drainage outlet and mark the location of
the screws, drill pilot holes, insert anchors. Then, after inserting the two
T# screws from the bottom of the flange into their position, attach the
flange onto the floor over the drainage outlet.
T# screws plastic anchors
flange
fixing screws
Installed
3. Turn the toilet bowl upside down on a soft material to prevent damage
or scratches, and apply the sealing gasket (e.g. wax ring) onto the water
outlet tightly, make sure the waste pipe is not abstructed.
soft material
gasket
waste outlet
4. Holding the toilet up (2 people are recommended), align the toilet over
the flange, slide the T# screws to align with the installation holes in the
toilet base. Then seat the product down and press firmly until it’s flat on the
floor and the sealing gasket is engaged. If the toilet is lifted again, the wax ring
must be replaced with a new one to ensure a proper seal.
5. Affix the nut set onto the T# screws as shown, first by hand, then tighten
with a wranch until firm. NOTE: Do not overtighten to prevent damage to
porcelain. Cover the nut sets with the decorative caps and cover.
decorative cover
T# screws
nut caps
nut
metal washer
plastic washer
6. Attached the water supply line between the toilet and the water supply
valve. (If filter needed, it should be attached to the toilet inlet pipe first.)
Turn on the water supply and check for any leaks.
tank
toilet inlet pipe
filter
water supply valve
water supply line
gasket if needed
gasket if needed
6”
150
TIP: Install the toilet seat hinges on the bowl before
outfitting it with the sealing gasket and setting it on
the floor flange.

5
Installation Instructions/Instrucciones de Instalación
Flush System Installation/Adjustment
7. Open the tank cover and make sure the hose is inserted into the
overflow pipe. NOTE: The flushing water will be inadequate if the hose
is not inserted into the overflow pipe.
If necessary, adjust the water level to the proper height by manipulating
the water level adjustment screw and the floater positioning.
Install the lever kit and attach the chain to proper height for operating
the flapper.
hose
overflow pipe
8. Apply a bid of silicone around the toilet base, then
proceed to installing the toilet seat with cover.
water level
adjustment screw
TROUBLESHOOTING
Problem Reason Solution
No incoming water 1. The main water valve is not open 1. Turn the valve on
2. Water filter is clogged 2. Clean the filter
3. Floater on the fill valve is not working 3. Adjust the floater
Constant incoming water 1. High water pressure 1. Adjust water pressure to max 43.5 PSI
2. Floater on the fill valve is not working 2. Adjust the floater
3. Floater on the fill valve touches the tank wall 3. Adjust the direction of the floater
4. Water fill valve is broken 4. Replace the fill valve
Inadequate flushing water 1. The water level is too low 1. Adjust water level
2. The flapper does not open enough 2. Adjust the chain to lift the flapper more
3. Floater on the fill valve touches the tank wall 3. Adjust the direction of the floater
4. Water fill valve is broken 4. Replace the fill valve
flapper
Slow drainage 1. Inadequate flushing water 1. Troubleshoot inadequate flushing water steps
2. Drainage pipes are clogged 2. Clean the drainage pipes
3. The drainage is not aligned with the pipes 3. Reinstall the toilet
Leakage 1. Leak on the fill valve 1. Fasten the nuts on the underside of the toilet tank
2. Leak on the water supply line 2. Fasten nuts on all connections or replace the washers
WARNINGS:
- Do not dispose in the toilet papers and items that might obstruct the draining pipes.
- Do not hit the toilet with any hard objects as this will damage the porcelain.
- Clean the toilet with nylon brush and toilet cleaner at least once a week to prevent mineral deposits from building up.
- If filter installed on the water inlet pipe, clean it at least once a month to ensure proper water flow.
- Do not use cleaners in the toilet tank, as this will compromise the rubber and plastic elements and cause leaks or malfunction.
SEAT AND COVER
- Do not expose the seat and cover to direct sunlight and direct heat sources; it will cause discoloration and warping.
- Do not use steel brush or sharp objects on the seat and cover; it will cause scratches and damage.
- Do not use staining or corrosive chemicals to clean the seat and cover.
- Do not put hard and heavy objects on the cover; it will cause cracks or damage.
- Do not force the seat to close faster than the soft-closing mechanism allows to ensure lasting functionality.

6
Installation Instructions/Instrucciones de Instalación
Seat Installation/Adjustment
Put the clear plastic washers on the underside of
preassembled seat hinges - make sure they align
properly and prongs are inserted into the holes.
Tighten the screws until the hinges are nearly
fixed, then adjust them to align with the shafts
in the seat. If there is no access from the bottom
of the toilet to hold the nuts, lift the hinge screw
up to engage the expandable anchors to keep
the nuts from spinning while securing the screw.
Align the toilet seat with the toilet deck Screw the bolts securely. Insert the toilet seat fully into the anchors
to test the alignment and operation.
Press the buttons to lift to remove the toilet
seat. Make any necessary adjustments.
Put the hinge covers over the hinges. Mount the toilet seat. Make sure the hinges
are fully inserted into the holes in the seat.
Assemble the hinges as shown and thread up
the nuts to the bottom of expandable plastic
anchors to prevent them from falling off, then
insert the assemblies into the toilet deck holes.
IMPORTANT:
Do not close the seat cover by force; it will compromise the soft-closing operation
of the fixture.

Cleaning and Care
For best results, please care for this product in accordance with the following instructions:
- Only use warm water and a mild detergent (i.e. dishwashing soap) for cleaning.
- If another cleaner is used, check the label to make sure that it is safe for use on the material being cleaned and
always test in an inconspicuous area first.
- Make sure to wipe any excess cleaners off with a damp sponge or cloth and then rinse with water.
- Dry the surface with a soft cloth until dry after each use.
- Never use abrasive materials or cleaners that contain ammonia, bleach or acid, since they can cause damage
to the finished surface.
We would like to thank you for your purchase and are confident that you will be able to enjoy our products for
many years to come!
Para mejores resultados, por favor cuide des este producto de acuerdo con las siguientes instrucciones:
- Sólo utilice agua tibia y un detergente suave (es decir, el jabón para lavar la vajilla) para la limpieza.
- Si se utiliza otro limpiador, revise la etiqueta para asegurarse de que es seguro para el uso del material para su
limpieza y siempre prueba en un área discreta primero.
- Asegúrese de limpiar cualquier exceso de productor de limpieza con una esponja o un trapo húmedo y luego
enjuague con agua.
- Seque la superficie con un paño suave hasta que se seque después de cada uso.
- Nunca use materiales abrasivos o productos de limpieza que contienen amoníaco, lejía o ácido, ya que pueden
causar daños a la superficie acabada.
¡Nos gustaría darle las gracias por su compra y estamos seguros que usted podrá disfrutar de nuestros productos
por muchos años!
Cuidado y Limpieza
7
Other Rejuvenation Toilet manuals
Popular Toilet manuals by other brands

Porcelanosa
Porcelanosa noken URBAN-C 100239075 N603470043 quick start guide

Signature Hardware
Signature Hardware EASTPOINTE 953755 manual

Signature Hardware
Signature Hardware BURWELL BIDET TOILET SEAT installation instructions

Kohler
Kohler New Wellworth K-3998T-W installation instructions

Toto
Toto Washlet Series instruction manual

Excellent
Excellent DAKOTA CENL.4020.593.D1.WH operation instruction

brondell
brondell SWASH EM417 owner's manual

JohnsonSuisse
JohnsonSuisse LISTO CC BTW JSTL400 installation instructions

Englefield
Englefield EVORA installation instructions

Swiss Madison
Swiss Madison SM-WT660 installation instructions

Kohler
Kohler K-4108 Homeowner's guide

Kohler
Kohler REVE K-24766T-S installation instructions