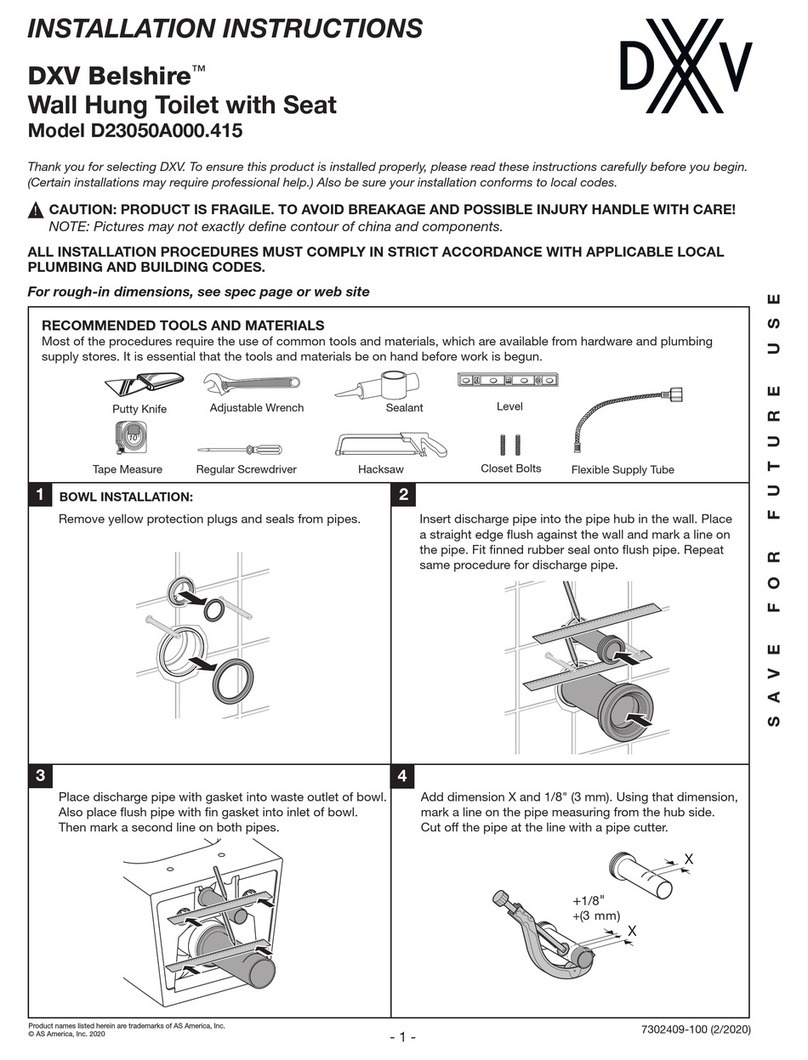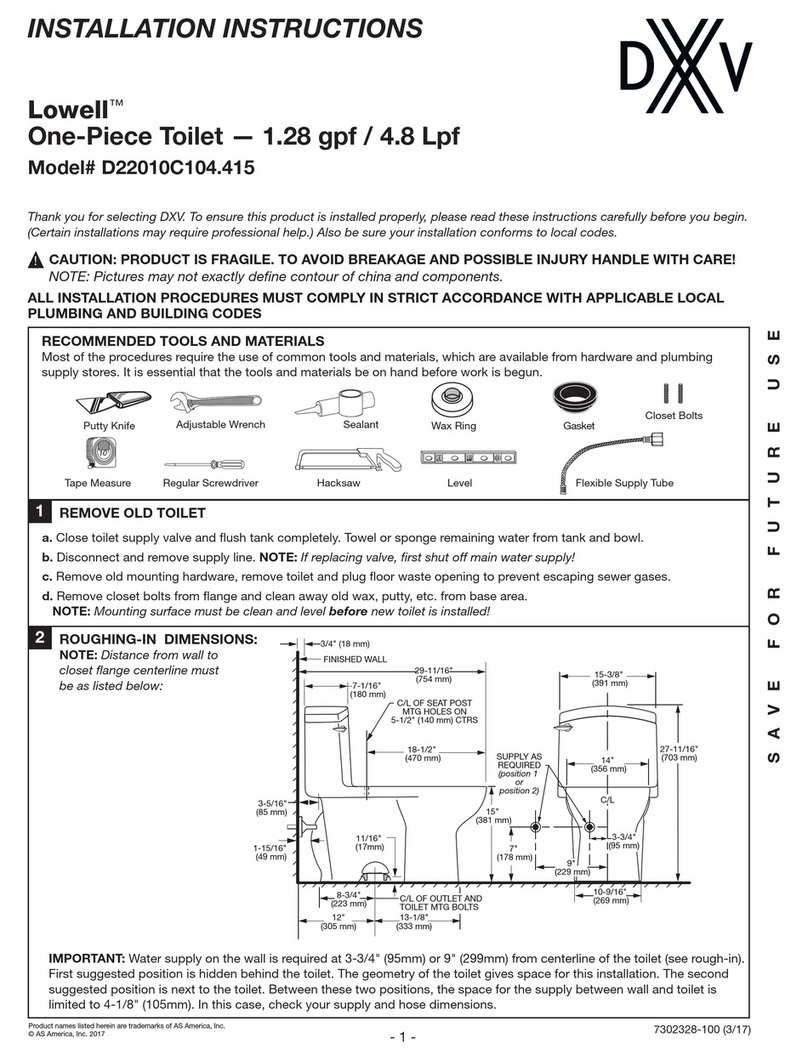
- 3 -
7302254-100 Rev. A (9/17)
10 11
12
NOTE:
Adjust Water level to the mark indicated in the tank by turning water level
adjustment switch to ON to move oat cup up or down and OFF to lock
in place.
IMPORTANT:
Always clear sand and rust from
system. Make sure water supply
is off. Remove water supply hose
going to tank. With a needle nose
plier, carefully pull the lter screen
from the bottom of the ll valve.
Clean and ush with water. Replace
and hook up water.
TIPS:
With the lid removed, directly
press the ush button in the
tank to conrm that the toilet
is working properly. If not, follow
steps below.
1. Install Threaded Rod into hole in bottom of
push button approximately 1/2" (12 mm).
2. Lightly snug Locking Nut.
3. Place Lid on Tank.
4. Push Button to test ush. If more stroke is
needed, loosen Locknut and turn Threaded
Rod counterclockwise one (1) turn.
5. Replace Lid. Repeat until ush action is
achieved.
6. If Valve stays open, turn Threaded Rod clock-
wiseone (1) turn and lightly snug Locknut.
FLUSH BUTTON
ADJUSTMENT ROD
Install and adjust
push button rod for
about 1/16" (1-1/2mm)
clearance between rod
end and valve button.
OVERFLOW TUBE
FLUSH
BUTTON
REFILL
TUBE
SHANK
WASHER
LOCK NUT
FILL
VALVE
OR
WATER
CONTROL
FLUSH
VALVE
ON
OFF
SWITCH
ADJUSTABLE
HEIGHT
PARTS - See list label under the tank cover
TROUBLESHOOTING GUIDE
PROBLEM POSSIBLE CAUSE CORRECTIVE ACTION
Does not ush a. Water supply valve closed. a. Open valve and allow water to ll tank.
b. Water supply line blocked. b. Shut off water supply, disconnect supply line and inspect all
gaskets and washers. Reassemble.
c. Sand or debris lodged in water control. c. Shut Off water supply, disconnect supply line to tank, carefully pull out
lter screen in Fill Valve, clean and rinse with water and replace.
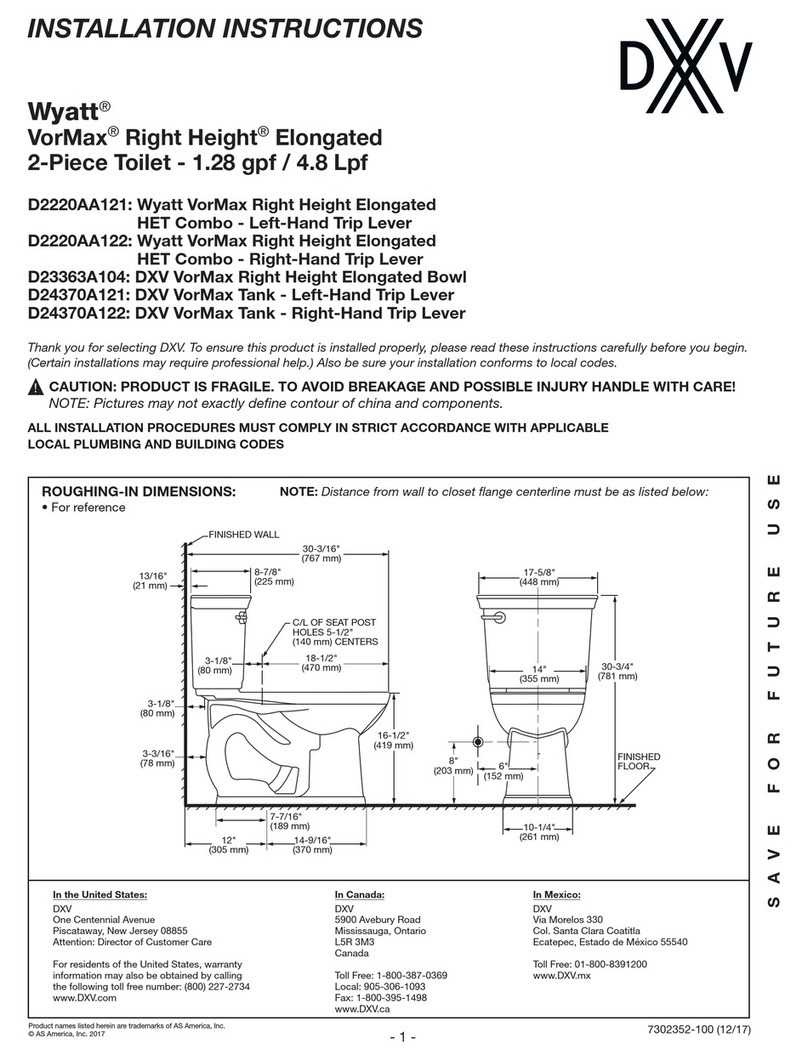
Poor or sluggish ush a. Tank water level too low. a. Check that the water level is set to the mark inside the tank.
b. Bowl water level too low. b. Check that the rell tube is connected to the water control and inserted
into overow tube without being kinked or damaged.
c. Supply valve partly closed. c. Open supply valve fully. Be sure that proper supply tube size is used.
d. Partially clogged trapway and/or drain pipe and/or vent. d. Remove obstruction. Consult a plumber if necessary.
e. Supply pressure too low. e. Normal supply pressure must be at least 20 psi.
Toilet leaks a. Poor supply line connection. a. Review Warning on page 2.
b. Poor bowl to oor connection. b. Review Steps 6 & 7.
Toilet does not shut off a. Flush valve seal leaking or deformed. a. Clean debris from seal surface. Replace ush valve seal as needed.
b. Sand or debris lodged in water control. b. Shut Off water supply, disconnect supply line to tank, carefully pull out lter
screen in bottom of Fill Valve, clean and rinse with water and replace.
c. Water level set too high. c. Set water level to mark on back of tank.
In the United States:
DXV
One Centennial Avenue
Piscataway, New Jersey 08855
Attention: Director of Customer Care
For residents of the United States, warranty
information may also be obtained by calling
the following toll free number: (800) 227-2734
www.DXV.com
In Canada:
DXV
5900 Avebury Road
Mississauga, Ontario
L5R 3M3
Canada
Toll Free: 1-800-387-0369
Local: 905-306-1093
Fax: 1-800-395-1498
www.DXV.ca
In Mexico:
DXV
Via Morelos 330
Col. Santa Clara Coatitla
Ecatepec, Estado de México 55540
Toll Free: 01-800-8391200
www.DXV.mx
LOCK NUT
TREAD ROD
