RELM Wireless
Technical Support
(800) 422-6281
www.relm.com
GPH-CMD Operation
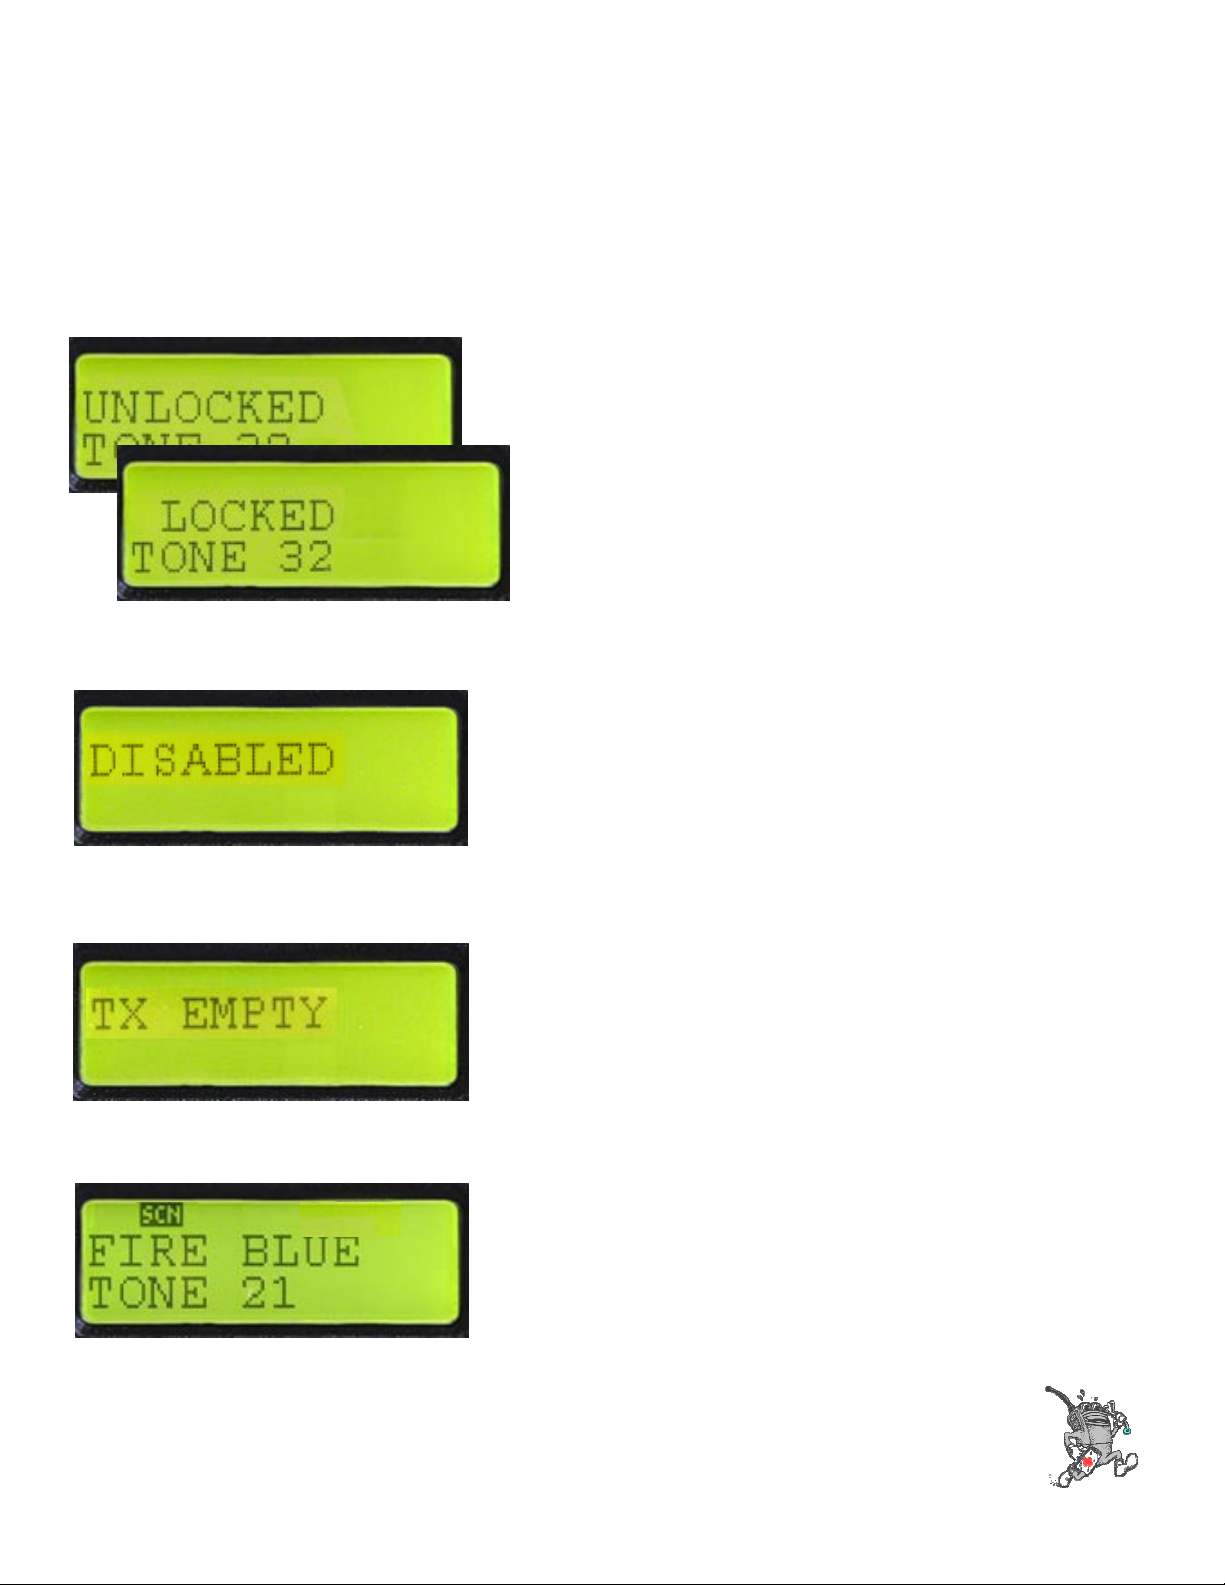
•Press and Hold FCN Key to
Lock or Unlock Keypad
•Radio beeps on key press
when locked
Keypad Lock
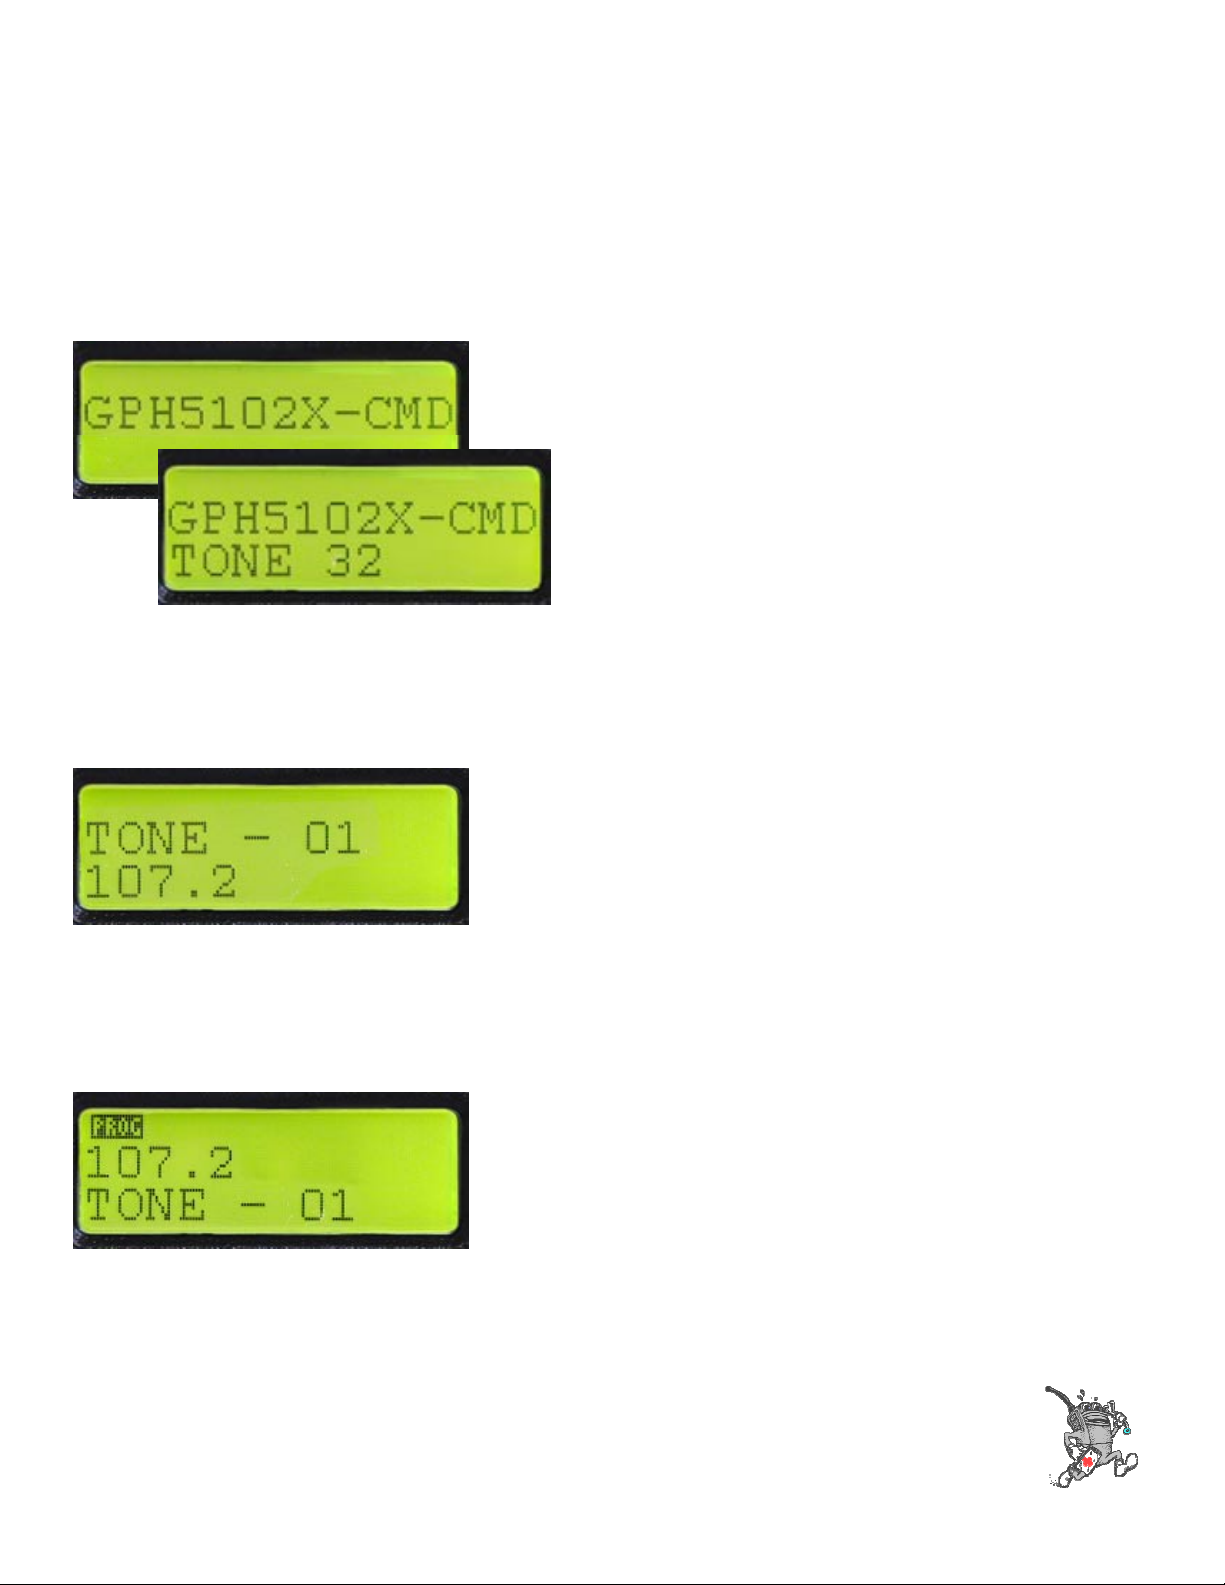
•If No Active Transmit or Receive
Frequency is programmed the Radio
will Display “DISABLED” and Emit an
Alert Tone
Empty Channels
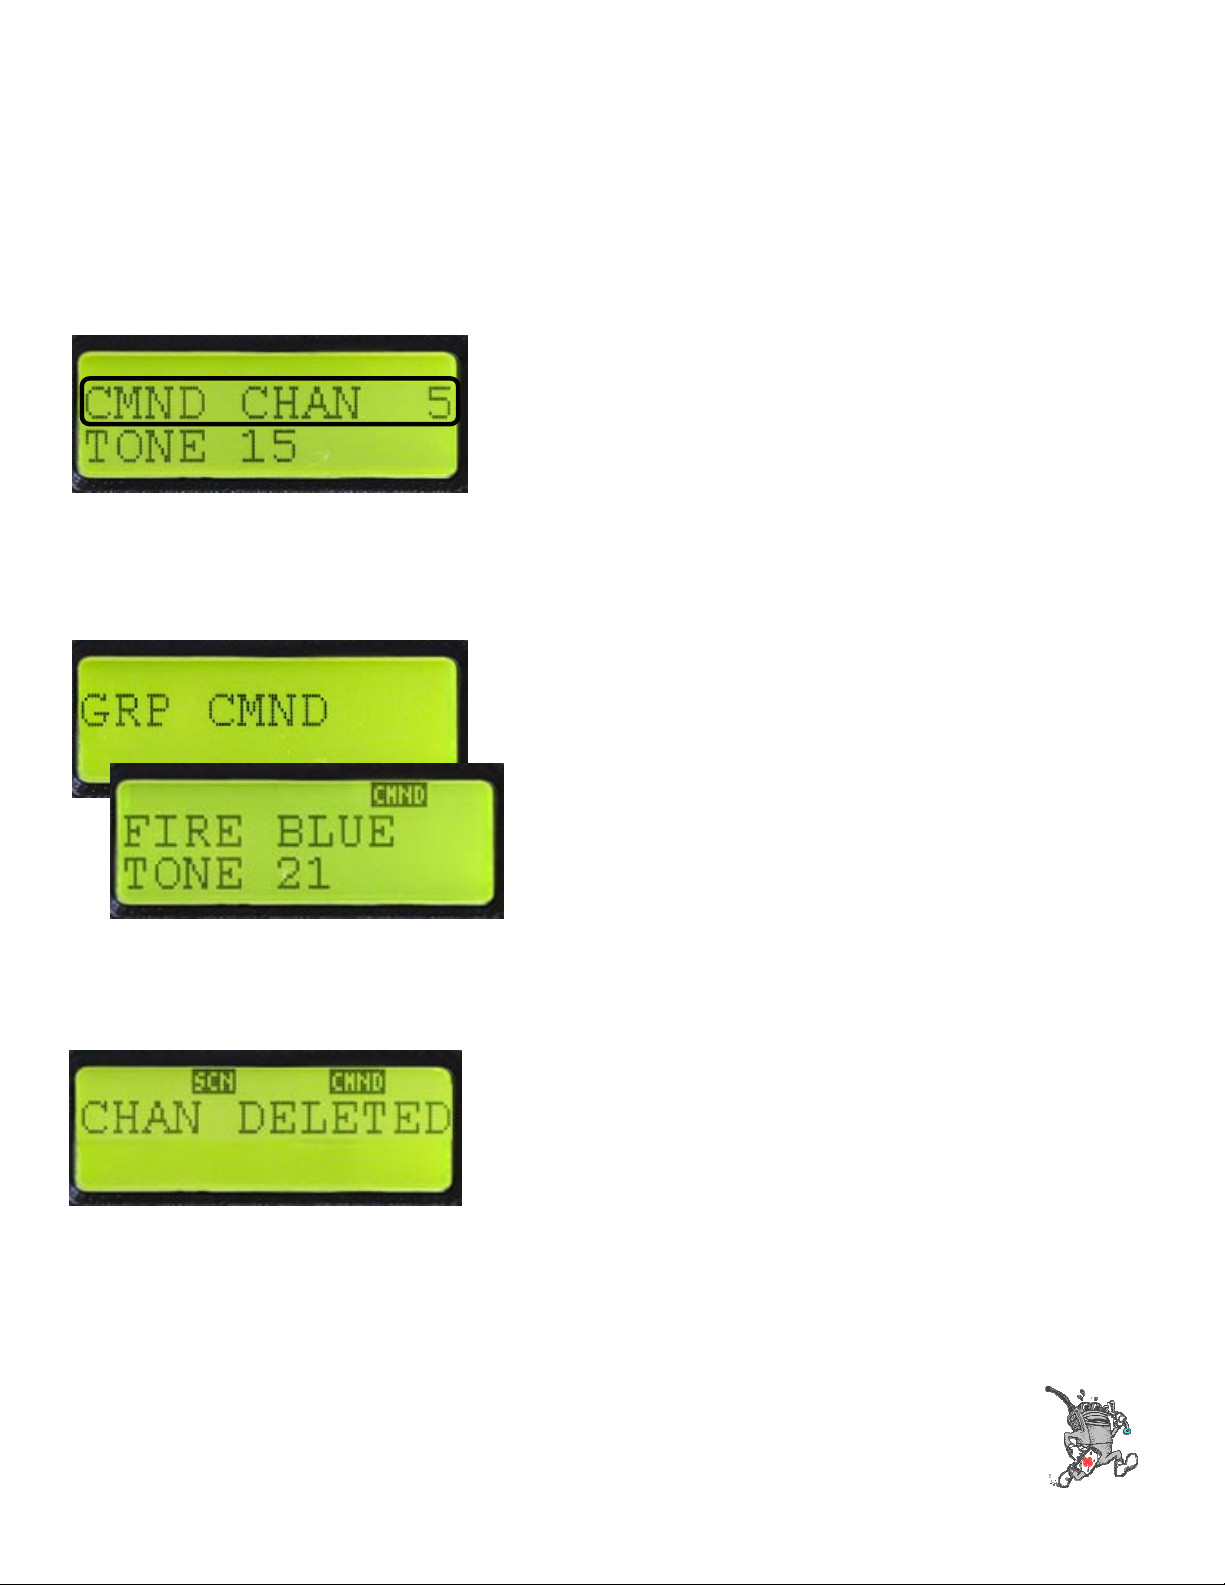
•Receive Only Channels will Display
“No CH’ when attempting to Transmit
No Transmit Frequency
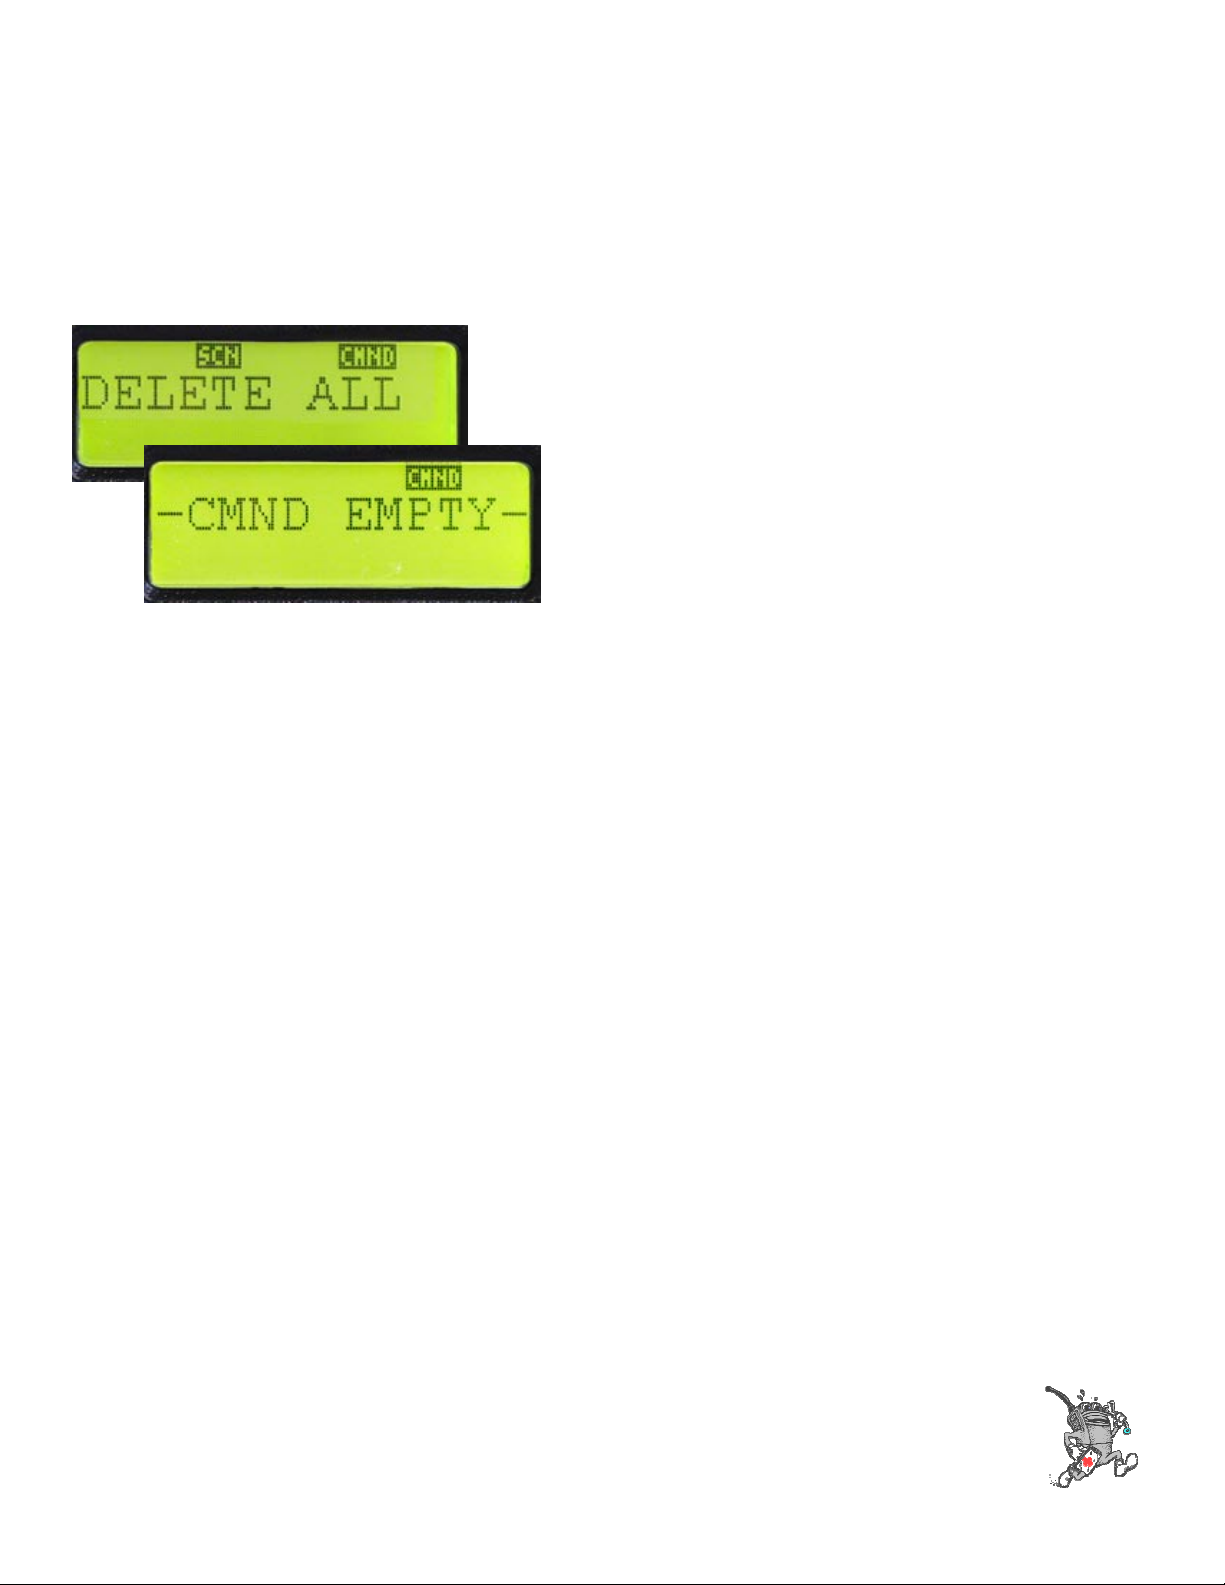
•With Scan Turned off press the ENT
Key to Add the Selected Channel to the
Scan List
•Press the CLR Key to Remove the
Channel From the Scan List
Edit Scan List