Renault 8265 User manual

R e n a u l t
Manuel pour l’utilisateur
User manual
Gebruikershandleiding
Manual del usuario
Manuale utente
Manual de uso
Benutzerhandbuch
Art. 8265
alarme - alarm - alarm - alarma - allarme - alarme - alarm

Cher Client,
Nous vous remercions pour la confiance que vous avez accordé à notre marque en choisissant ce système de protection, qui a été conçu pour répondre au standard de
performance des constructeurs automobiles et être conforme aux directives européennes en vigueur.
Le manuel d’utilisation est compose de 5 parties:
Afin de profiter des prestations de votre système nous vous invitons à lire attentivement ce manuel. Pour une consultation rapide en cas de nécessité, nous vous
suggérons de le garder avec les papiers de votre véhicule.
En cas de dysfonctionnement du système veuillez consulter le chapitre 5 (page 5).
Page 3 ___________ INTRODUCTION
3 ___________ COMPLEMENT DE PROTECTION
4 ___________ INSTRUCTIONS EN BREF
5 ___________ FONCTIONS AVANCEES
5 ___________ DIAGNOSTIQUE ET RECHERCHE DES PANNES ....

3
Manuel pour l’utilisateur
F
1 - INTRODUCTION
Ce système d’alarme anti intrusion est commandé par la
télécommande d’origine du véhicule.
La protection de votre automobile est assurée par:
1. Protection périmètrique. Portes, capot et coffre
2. Protection volumétrique.
3. Protection anti sabotage du câblage.
4. Protection contre toute tentative de démarrage du véhicule.
1.1 - CODE PIN PERSONNEL
Ce système d’alarme possède un CODE PIN qui est nécessaire
pour désactiver l’alarme en cas d’urgence.
Le CODE PIN est reporté sur l’EMERGENCY KEY CARD
fournie dans le kit.
1 - INTRODUCTION
2 - COMPLEMENT DE PROTECTION
Pour en augmenter le niveau de protection votre système peut
être complété avec le module suivant␣ :
77 01 416 069␣ : Module Anti-soulèvement
Système activé, ce module protège le véhicule contre toute
tentative de remorquage ou de soulèvement.
2 - COMPLEMENT DE PROTECTION

4
Manuel pour l’utilisateur
F
INSTRUCTIONS
EN
BREF
3.1- MISE EN SERVICE DU SYSTÈME
En verrouillant le véhicule avec la radiocommande d’origine vous aurez:
• Le clignotement des feux de direction.
• La LED allumée fixe pendant 40 secondes puis clignotante.
• Les protections seront actives après 40 secondes.
3.2 - PROTECTION
40 secondes après l’activation du système,l’ouverture d’une des portes,du capot ou du coffre provoque le déclenchement de la sirène
et le clignotement des feux pour une période de 30 secondes.
Un cycle d’alarme est aussi déclenché lors de l’intrusion dans l’habitacle si un capteur volumétrique est installé.
Le système reste activé à la fin de chaque cycle.
3.3 - INTERRUPTION DU CYCLE D’ALARME
Lorsque le cycle d’alarme est en cours,il est possible de l’interrompre en déverrouillant les portes avec la radiocommande d’origine. La
sirène et les clignotants s’arrêtent .
Cette opération désactive l’alarme.
3.4 - MISE HORS SERVICE DU SYSTÈME
Lorsque le système est en veille ( LED clignotante) en appuyant sur la radiocommande d’origine vous aurez␣ :
• Le clignotement des feux de direction.
• L’ouverture des portes.
• La LED s’éteint.
Remarque: Si le système s’est déclenché en votre absence, le buzzer et les feux de direction clignoteront 4 fois lors de l’ouverture
des portes. Dans ce cas, compter les clignotements de la led pour connaître l’origine du déclenchement (voire chapitre
“mémoire d’alarme” à la page suivante).
3 - INSTRUCTIONS EN BREF

5
Manuel pour l’utilisateur
F
4.1 - EJECTION DE LA VOLUMÉTRIE
Si vous souhaitez laisser une vitre ouverte ou si un passager
reste à l’intérieur du véhicule, il est possible d’exclure
momentanément la protection volumétrique.
1) Mettre et enlever le contact 2 fois de suite en moins de 7
secondes.
2) Sortir du véhicule et activer l’alarme dans les 20 secondes.
La protection volumétrique fonctionnera à nouveau à la
prochaine mise en veille du système.
4.2 - MÉMOIRE D’ALARME
A la mise hors veille du système, ce dernier signale par 4
clignotements des feux et du buzzer qu’il y a eu un cycle
d’alarme.
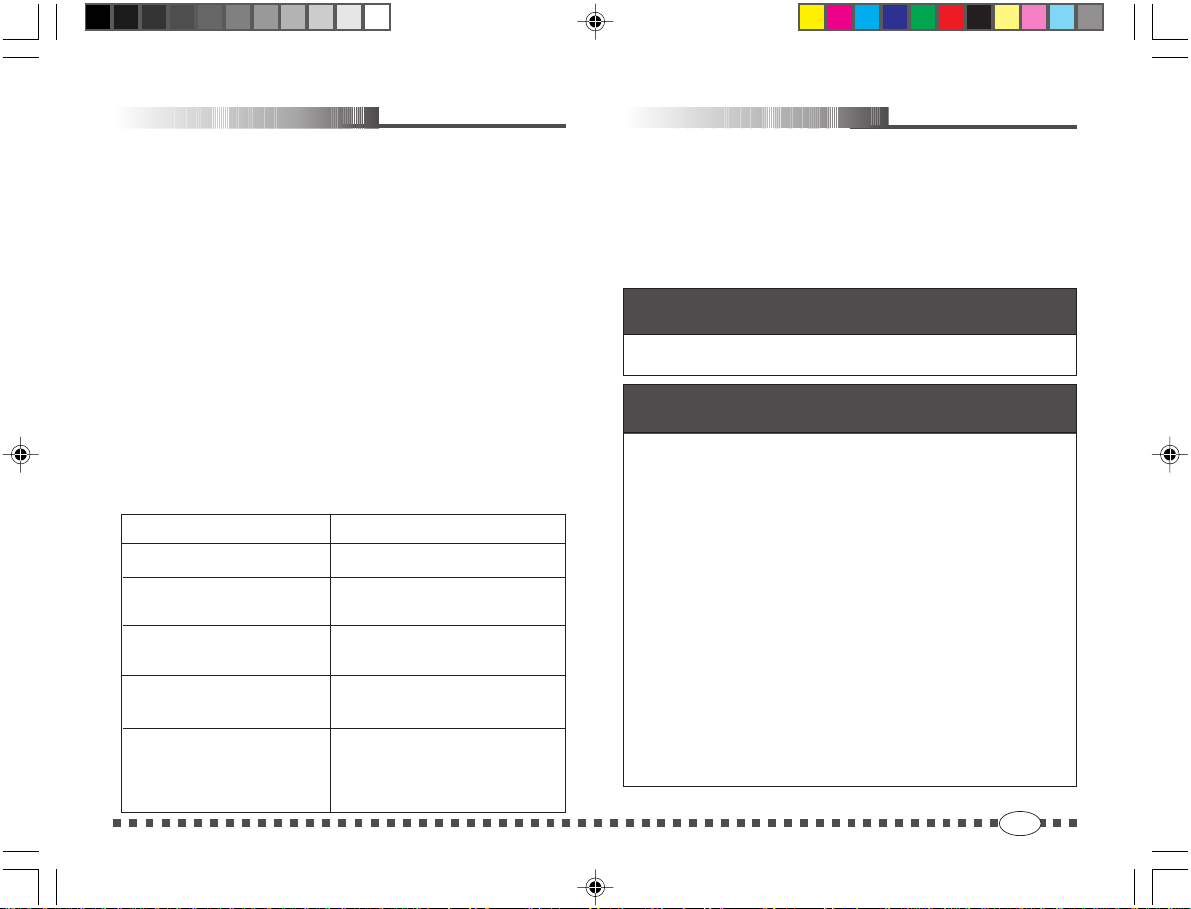
Dans ce cas le LED signalera la raison pour laquelle l’alarme a
sonné de la manière suivante:
NOMBRE DE CLIGNOTEMENTS ORIGINE DU DECLENCHEMENT
1 clignotement: Ouverture porte, capot.
2 clignotements: Module optionnel
3 clignotements: Détection dues aux ultrasons.
4 Clignotements: Tentative de démarrage.
Erreur de communication avec
la sirène.
Dans ce cas veuillez contacter
votre installateur.
4 - FONCTIONS AVANCÉES
5 -
DIAGNOSTIQUE
ET
RECHERCHE
DES
PANNES
8 Clignotements:
5.1- PERTE DU CODE PIN
Le Code PIN représente une des possibilités de désactivation
de l’alarme et ne doit pas rester à l’intérieur du le véhicule. En
cas de perte de ce code veuillez contacter votre installateur.
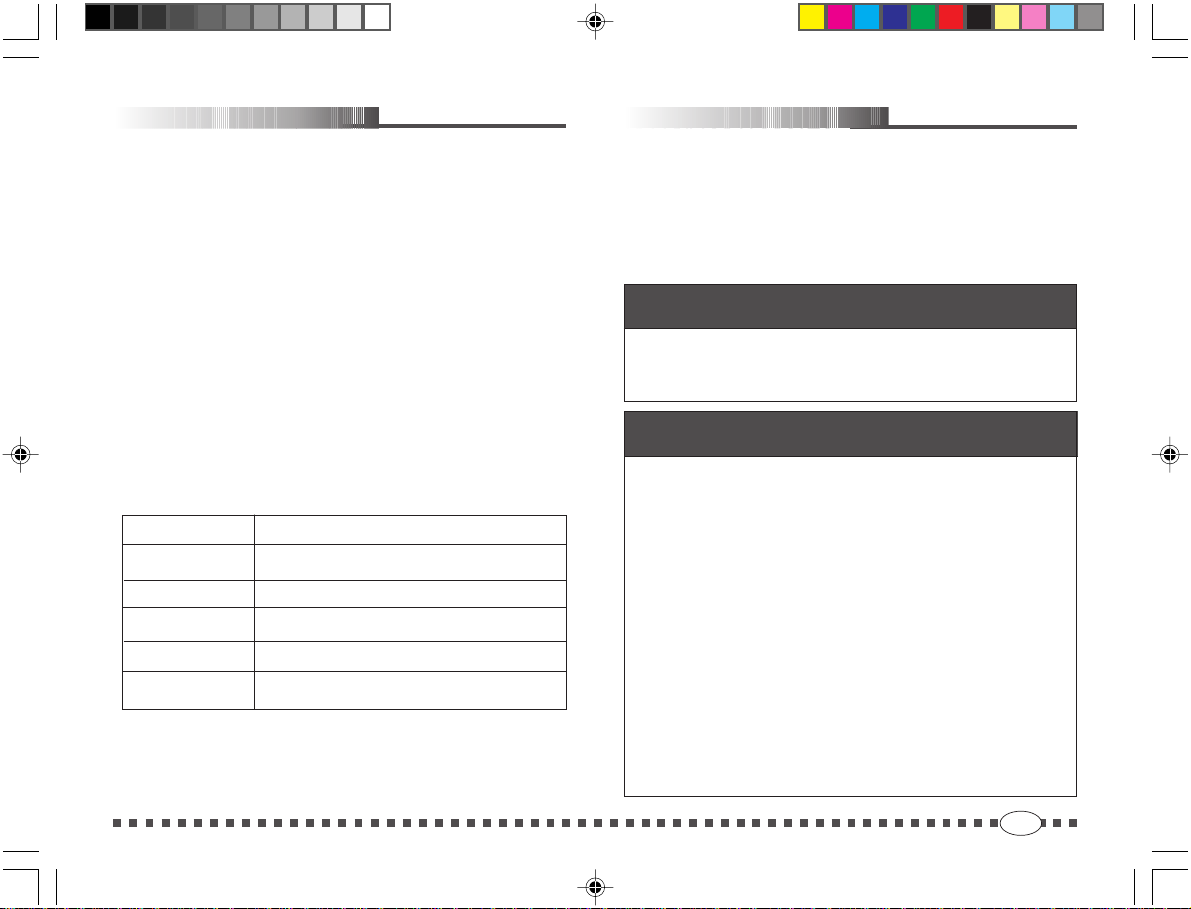
5.2 - RECHERCHE DE PANNE
La radiocommande n’arrête plus l’alarme
Solution A: Effectuer le code pin pour arrêter le système
Déclenchements intempestifs
Lors de l’arrêt du système le LED signale la cause
du déclenchement de l’alarme (voir Chapitre
4.2 page 5)
Solution A: Si le déclenchement est provoqué par les
ultrasons,vérifiez l’orientation des capteurs (ils
doivent être dirigés vers l’arrière et parallèles
aux vitres) et s’il n’y a aucun objet en
mouvement dans le véhicule (désodorisants
accrochés au rétroviseur, …). Si le problème
persiste contactez votre installateur.
Solution B: Si le déclenchement est provoqué par la
périmètrie, vérifier que toutes les portes
ferment bien, que le plafonnier ne soit pas
allumée en permanence ou le contacteur capot
mal réglé.

Dear customer,
Congratulation on your purchasing, this product which has been designed and manufactured to the highest automotive standards utilising
the latest technology for total reliability and according to the european directive.
To you, dear customer, after the system was fitted on your car, the EMERGENCY KEY CARD ( (containing your PIN-code) and the user
manual were given.
The manual is divided in 5 parts:
We kindly ask you to read this manual to get the major satisfaction from the product.
We suggest to keep this manual with the registration or insurance documents of the car. It will be easier for you to find any information in
the event of emergency.
Your dealer will be pleased to clarify any queries you may have with the system or its operation, in the event that what described at section
5 ( page 9) it is not sufficiently cleared.
Pag. 7 ___________ INTRODUCTION
7 ___________ ADDITIONAL PROTECTION
8 ___________ BRIEF INSTRUCTIONS
9 ___________ ADVANCED FUNCTIONS
9 ___________ MAINTENANCE AND TROUBLE SHOOTING

7
GB
User manual
1 - INTRODUCTION
This anti-intrusion alarm system is operated by the original radio
control of the vehicle.
The full protection of your vehicle is ensured with:
1. Doors,bonnet, boot protection.
2. Volumetric protection.
3. Cutting cables protection.
4. Starting attempt protection.
1.1 - PERSONAL PIN-CODE
Each alarm system has a PIN-code that is necessary for the
emergency setting off.
The PIN-CODE is printed on the EMERGENCY KEY CARD
that you will find in the packaging.
2 - ADDITIONAL PROTECTION
In order to increase the protection level of your car, the alarm
system can be completed with the following additional modules.
(ref. 77 01 416 069)
Level monitor module
When the system is armed,a special sensor protects the vehicle
against jacking and trailing attempts to steal accessories of high
value as alloy wheel rims and pneumatic tires.
1 - INTRODUCTION 2 - ADDITIONAL PROTECTION

8GB
User manual
3.1 - ARMING
Pressing the original radio control botton:
• The indicators will blink
• Protections will be activated after 40 seconds.
• The LED will blink.
3.2 - PROTECTION
When armed, the system will generate an acoustic and visual 30 seconds alarm when the bonnet, boot or one of the doors is opened.
Articles with volumetric sensor (ultrasonic and/or hyperfrequency) will generate the alarm in case of intrusion.
The system remains activated at the end of the cycle.
3.3 - INTERRUPTING AN ALARM IN PROGRESS
When the system generates an alarm, it is possible to deactivate the siren sound and the turn indicators blinking by pressing the radio
control botton.
This operation will disarm the alarm system.
3.4 - DISARMING
Pressing the original radio control botton:
• Protections will deactivate immediately.
• The LED will go off.
Note: The buzzer and the turn indicators will give 4 signals if during your absence an alarm has occurred (pls. refer to the section
‘Alarm Memory’ - page 9).
BRIEF
INSTRUCTIONS
3 - BRIEF INSTRUCTION

9
GB
User manual
4.1 - DEACTIVATING THE VOLUMETRIC ULTRASONIC
SENSOR
If you wish to activate the protection system leaving the windows
opened or a passenger remains in the passenges compartment,
it is possible to deactivate the volumetric sensor so that the
alarm will not goes on.
1) Turn on then off the ignition key 2 times within 7 seconds.
2) Activate the system pressing the botton of the original radio
control within 20 seconds.
4.2 - ALARM MEMORY
If an alarm has occurred, the turn indicators and the buzzer will
give four signals. Give heed to the LED signals which will be
available untill the ignition key will be turned on.
The alarm description information is given by different LED
blinking.
LED SIGNAL ALARM DESCRIPTION
1 blink doors, bonnet, boot have been opened
2 blinks additional sensor triggered
3 blinks ultrasonic volumetric sensor triggered
4 blinks attempts to start (ignition key)
8 blinks error/lack of dialogue with the serial siren
5.1 - LOSS OF THE PERSONAL CODE (PIN)
As the personal code (PIN) represents the possible access to
the alarm system,it should not be left in the unattended vehicle.
If lost, please contact your reliable installer.
5.2 - TROUBLE SHOOTING
Radio control will not arm/disarm the system
Solution A: follow the emergency procedure to disarm the
systerm then contact your reliable installer.
Alarm has triggered for no apparent reason
when disarming, the LED will give different
blinks, signalling the cause of the alarm (section
4.2 - page9).
Solution A: if showing ultrasonic or hyperfrequency
triggering, please check that all windows,
sunroof and air vents were closed and ensure
that there were no loose moving objects left
in the vehicle. If the problem persist, contact
your installer.
Solution B: If showing direct contact triggering (doors,
boot and bonnet) likely one of the buttons
requires adjustment. Contact your reliable
installer.
4 - ADVANCED FUNCTIONS
5 - MAINTENANCE AND TROUBLE SHOOTING

Beste klant,
Gefeliciteerd met de aankoop van dit product dat is ontwikkeld en gefabriceerd aan de hand van de hoogste automotive standaards en dat
daarbij de laatste technologiën heeft benut voor totale betrouwbaarheid volgens de momenteel geldende europese richtlijnen.
Aan u, beste klant, is, nadat het systeem in uw auto is gemonteerd, de “NOOD CODE KAART” (welke uw PIN-code bevat) en de
gebruikershandleiding overhandigd.
De gebruikershandleiding is onderverdeeld in 5 hoofdstukken:
Wij vragen u vriendelijk om deze gebruikershandleiding te lezen om zo optimaal mogelijk van het product gebruik te kunnen maken.
Wij bevelen u aan om deze handleiding bij de auto- en verzekeringspapieren van de auto te bewaren. In dat geval is de handleiding
eenvoudiger terug te vinden in een eventuele noodsituatie.
Uw dealer beantwoord met alle plezier vragen over het systeem en de werking ervan, in het geval dat, wat op bladzijde 5 (blz.13) is
beschreven niet duidelijk is.
blz. 11 __________ INTRODUCTIE
11 __________ EXTRA BEVEILIGING
12 __________ BEKNOPTE INSTRUCTIES
13 __________ SPECIALE FUNCTIES
13 __________ ONDERHOUD EN HET OPLOSSEN VAN EVENTUELE PROBLEMEN

11
NL
Gebruikershandleiding
1 - INTRODUCTIE
Dit anti-diefstal alarmsysteem wordt bediend door middel van
de originele afstandsbediening van de auto.
De volledige beveiliging van uw auto is aangebracht door middel
van:
1. Portieren, motorkap en kofferdeksel beveiliging
2. Volumetrische beveiliging
3. Het beveiligen op doorknippen van bedrading
4. Het beveiligen op een poging tot starten van de motor
1.1 - PERSOONLIJKE PIN-CODE
Elk alarm heeft een PIN-code welke noodzakelijk is om in
noodgevallen het systeem uit te kunnen schakelen.
De PIN-code is aangebracht op de “NOOD CODE KAART”
welke u in de verpakking aantreft.
2 - EXTRA BEVEILIGING
Om het beveilingspeil van uw auto te verhogen kan het
alarmsysteem worden uitgebreid met een hellingshoekdetector.
(ref. 77 01 416 069)
Op het moment dat het systeem is ingeschakeld, beveiligt deze
sensor de auto tegen het opkrikken en wegslepen,in een poging
om accessoires van een hoge waarde, zoals lichtmetalen
sportvelgen, te stelen.
1 - INTRODUCTIE 2 - EXTRA BEVEILIGING

12
NL
Gebruikershandleiding
3.1 - INSCHAKELEN VAN HET SYSTEEM
Druk op de knop van de originele afstandsbediening:
• de knipperlichten lichten op
• het beveiligingsssysteem wordt actief na 40 seconden
• de LED begint te knipperen
3.2 - BEVEILIGING
Indien, na de insteltijd van 40 seconden, een portier, motorkap of kofferdeksel wordt geopend zal het systeem gedurende 30 seconden
een akoestisch en visueel alarm geven. Systemen voorzien van een volumetrische sensor (ultrasoon en / of radar) zullen een alarm
geven in het geval dat een beweging in het interieur wordt detecteerd.
Het systeem blijft geactiveerd na het eindigen van een alarmcyclus.
3.3 - ONDERBREKEN VAN EEN ALARM TIJDENS WERKING
Indien het systeem een alarm geeft, is het mogelijk om de sirene en de knipperlichten uit te schakelen door een druk op de knop van
de afstandsbediening.
Dit zorgt tevens voor het uitschakelen van het volledige systeem.
3.4 - UITSCHAKELEN VAN HET SYSTEEM
Druk op de knop van de originele afstandsbediening:
• de knipperlichten lichten op
• het beveiligingssysteem wordt direct uitgeschakeld
• de LED dooft
Opmerking: De buzzer in de sirene en de knipperlichten geven elk 4 signalen indien tijdens uw afwezigheid het alarm na een detectie
is ingeschakeld (kijk hiervoor in het hoofdstuk ‘Alarm Geheugen’ - pagina 13).
BEKNOPTE
INSTRUCTIES
3 - BEKNOPTE INSTRUCTIES

13
NL
Gebruikershandleiding
4 - SPECIALE FUNCTIES
4.1 - UITSCHAKELEN VAN DE VOLUMETRISCHE
ULTRASOON SENSOREN
Indien u het beveiligingssysteem wilt inschakelen met de ramen
open of met een persoon in het inzittenden compartiment, is
het mogelijk om de volumetrische beveiliging uit te schakelen
zodat het alarm niet zal af gaan. Ga hiervoor als volgt te werk:
1) Zet het contact 2 keer binnen 7 seconden aan en uit.
2) Schakel het beveiligingssysteem in door,binnen 20 seconden,
de knop op de afstandsbediening in te drukken.
4.2 - ALARM GEHEUGEN
Indien het alarm tijdens uw afwezigheid is afgegaan, geven de
knipperlichten en de buzzer 4 keer een signaal als het systeem
wordt uitgeschakeld. Let op de signalen van de LED welke
beschikbaar zullen zijn tot dat het contact wordt ingeschakeld.
Het aantal keer oplichten van de LED geeft aan waarop het
alarm heeft getriggerd.
LED SIGNAAL ALARM BESCHRIJVING
1 keer oplichten portieren, motorkap of kofferdeksel
geopend
2 keer oplichten extra sensor getriggerd
3 keer oplichten ultrasoon volumetrische sensoren
getriggerd
4 keer oplichten poging tot starten (contact slot)
8 keer oplichten storing in de seriële draad van de sirene,
neem contact op met de leverancier
5 - ONDERHOUD EN HET OPLOSSEN VAN EVENTUELE PROBLEMEN
5.1 - VERLIES VAN DE PERSOONLIJKE PIN-CODE
Omdat de PIN-code de mogelijkheid geeft om het systeem uit
te schakelen,dient deze niet in een onbeheerde auto te worden
achtergelaten. Neem, indien de PIN-code verloren is, contact
op met uw leverancier.
5.2 - OPLOSSEN VAN EVENTUELE PROBLEMEN
De afstandsbediening schakelt het systeem niet meer in of uit.
Oplossing A: volg de noodprocedure (PIN-code) en neem
daarna contact op met de leverancier
Het alarm is ingeschakeld op een niet zichtbare oorzaak.
Let bij het uitschakelen op het aantal keer dat
de LED oplicht, om zo de oorzaak te kunnen
achterhalen (hoofdstuk 4.2 - pagina 13)
Oplossing A: indien wordt aangegeven dat er getriggerd is op
de ultrasoon sensoren of de radar-detector,
controleer dan of alle ramen, het schuifdak en
de luchtuitstroomopeningen gesloten zijn en
verzeker u ervan dat er geen losse bewegende
objecten in de auto aanwezig zijn. Indien het
probleem zich blijft voordoen,neem dan contact
op met uw leverancier.
Oplossing B: indien wordt aangegeven dat er getriggerd is op
een schakelaar (portieren, motorkap of
kofferdeksel), dan zal waarschijnlijk één van de
schakelaars niet goed zijn afgesteld.Neem in dit
geval contact op met uw leverancier.

Estimado cliente,
Agradeciéndole el habernos premiado con su elección, le informamos que este producto es un sistema de antirrobo tecnológicamente avanzado
de conformidad con las directivas comunitarias.
A Usted, gentil usuario, luego de la instalación del sistema les serán entregados la EMERGENCY KEY CARD (con su PIN-CODE) y el
manual del usuario.
El manual está subdividido en 5 partes:
Lea atentamente el manual y podrá así beneficiarse en modo optimal del producto que Usted ha comprado.
Le sugerimos además conservar este manual junto con los documentos del automóvil para una cómoda consultación en caso de necesidad.
Si eventualmente se presentara un problema que no puede ser resuelto con las sugerencias dadas en la sección 5 (pág. 17), contacte directamente
su instalador de confianza.
Pág. 15 __________ INTRODUCCION
15 __________ COMPLEMENTOS DE PROTECCION
16 __________ RESUMEN DE LAS INSTRUCCIONES
17 __________ FUNCIONES AVANZADAS
17 __________ MANTENIMIENTO Y LOCALIZACION DE FALLOS

15
E
Manual del usuario
1 - INTRODUCCION 2 - COMPLEMENTOS DE PROTECCION
1 - INTRODUCCION
Este sistema de alarma anti-intrusión está controlado por el
mando a distancia original del vehículo.
La protección total de su vehículo está garantizada por:
1. Protección puertas, capot, maletero.
2. Protección volumétrica.
3. Protección corte cables.
4. Protección tentativo de arranque motor.
1.1 - CODIGO PERSONAL PIN
Cada alarma posee un PIN-CODE que resulta siempre necesario
para efectuar el procedimiento de desactivación de emergencia.
El PIN-CODE está expuesto en la EMERGENCY KEY CARD
suministrada en el paquete.
2 - COMPLEMENTOS DE PROTECCION
El sistema antirrobo que Usted ha comprado puede ser
completado, para aumentar el nivel de protección al vehículo
ofrecido, con un módulo anti-elevación (ref. 77 01 416 069)
Con el sistema antirrobo activado,a través de un sensor especial,
protege el vehículo de tentativos de remolque y elevación y por
lo tanto de los robos de accesorios de valor como por ejemplo
las llantas de aleación y los neumáticos.

16
E
Manual del usuario
3.1 - ACTIVACION
Cerrando las puertas con el mando a distancia original:
•Los indicadores de dirección parpadean.
•Las protecciones se activarán transcurridos 40 seg.
•El LED parpadea.
3.2 - PROTECCION
Con el sistema activado desde por lo menos 40 segundos la apertura del capot, del maletero o de una de las puertas genera un ciclo
de alarma acústico y luminoso de 30 segundos aproximadamente. Para los productos que prevén el sensor volumétrico (ultrasonidos
y/o hiperfrecuencia) se activará la alarma cuando se verifique una intrusión en el habitáculo.
Al finalizar el ciclo el sistema permanece activado.
3.3 - INTERRUPCION DE UNA ALARMA EN CURSO
Cuando el sistema está en condición de alarma es posible desactivar la sirena y el parpadeo de los indicadores de dirección abriendo
las puertas con el mando a distancia original.
Esta operación desactiva el sistema.
3.4 - DESACTIVACION
Abriendo las puertas con el mando a distancia original:
•Los indicadores de dirección parpadean.
•Las protecciones se desactivan inmediatamente.
•El LED se apaga.
Nota: Si se ha verificado una alarma, el buzzer y los indicadores de dirección emitirán cuatro señales, en lugar de una (ver el capítulo
‘Memoria de Alarma’ - pág. 17).
RESUMEN
DE LAS INSTRUCCIONES
3 - RESUMEN DE LAS INSTRUCCIONES

17
E
Manual del usuario
4.1 - DESACTIVACION DEL SENSOR VOLUMETRICO DE
ULTRASONIDOS
Si se desea activar el sistema de protección dejando los cristales
abiertos o si un pasajero permanece dentro del habitáculo es
posible desactivar el sensor volumétrico para que no se activen
alarmas.
1) Encender y luego apagar el tablero 2 veces dentro de los 7
segundos.
2) Activar el sistema cerrando las puertas con el mando a
distancia original dentro de los 20 segundos.
4.2 - MEMORIA DE ALARMA
En el momento de la desactivación el sistema señala que se ha
verificado una alarma con cuatro señales de los indicadores de
dirección y del buzzer. Prestar atención a las señalizaciones del
LED que serán disponibles hasta que encendamos el tablero.
Las diversas señalizaciones individualizan la causa de la alarma.
SEÑALIZACION DEL LED CAUSA DE LA ALARMA
1 parpadeo apertura puertas, capot,
maletero
2 parpadeos intervención de un sensor
suplementario
3 parpadeos intervención del sensor
volumétrico de ultrasonidos
4 parpadeos tentativos de arranque (llave
tablero)
8 parpadeos error de comunicación con la
sirena serial. Contacte su
instalador de confianza.
4 - FUNCIONES AVANZADAS 5 - MANTENIMIENTO YLOCALIZACION FALLOS
5.1 - EXTRAVIO DEL CODIGO PERSONAL (PIN)
Visto que el código personal (PIN) constituye una posibilidad
de acceso al sistema, no lo deje solo dentro del vehículo. Si
Usted extravía el código PIN deberá contactar su instalador de
confianza.
5.2 - LOCALIZACION DE FALLOS
El radiomando no activa/desactiva el sistema
SoluciónA: efectúe el procedimiento de emergencia (código
PIN) para desactivar el sistema y luego contacte
su instalador de confianza.
Se ha verificado una alarma injustificada
con la desactivación el LED señala con una serie
de parpadeos cual ha sido la causa de la alarma
(sección 4.2 de la pág. 17).
Solución A: Si se ha tratado de una alarma causada por el
sensor volumétrico de ultrasonidos controle
que las ventanillas, el techo practicable y las
entradas de aire de la ventilación estén cerradas
y que no existan objetos en movimiento dentro
del vehículo. Si el problema persiste contacte
su instalador.
Solución B: Si se ha tratado de una alarma por apertura de
las puertas, capot o maletero, probablemente
uno de los botones necesita regulación.
Contacte su instalador de confianza.

Gentile cliente,
Nel ringraziarla per la scelta fatta la informiamo che questo prodotto è un sistema di antifurto tecnologicamente avanzato, conforme alle
direttive comunitarie.
A Lei, gentile utente, dopo l’installazione del sistema saranno stati consegnati la EMERGENCY KEY CARD (contenente il suo PIN-CODE)
ed il manuale utente.
Il manuale è suddiviso in 5 parti:
Legga il manuale con attenzione: trarrà la massima soddisfazione dal prodotto acquistato.
Le consigliamo inoltre di conservare questo manuale insieme ai documenti dell’auto per una più facile consultazione in caso di necessità.
Qualora si manifesti un problema non risolvibile con i suggerimenti della sezione 5 (pag.21), si rivolga direttamente al suo installatore di
fiducia.
Pag. 19 __________ INTRODUZIONE
19 __________ COMPLEMENTI DI PROTEZIONE
20 __________ ISTRUZIONI IN BREVE
21 __________ FUNZIONI AVANZATE
21 __________ MANUTENZIONE E RICERCA GUASTI

19
I
Manuale utente
2 - COMPLEMENTI DI PROTEZIONE
1 - INTRODUZIONE
Questo sistema di allarme anti-intrusione è controllato dal
radiocomando originale dell’ autovettura.
La protezione totale dellaVostra autovettura è assicurata da:
1. Protezione porte, cofano, baule.
2. Protezione volumetrica.
3. Protezione taglio cavi.
4. Protezione tentativo avviamento motore.
1.1 - CODICE PERSONALE PIN
Ogni allarme ha un PIN-CODE che è sempre necessario per
effettuare la procedura di disinserimento di emergenza.
Il PIN-CODE è riportato sulla EMERGENCY KEY CARD fornita
nella confezione.
2 - COMPLEMENTI DI PROTEZIONE
L’antifurto da Lei acquistato può essere completato, per
aumentare il livello di protezione offerto alla sua vettura, da un
modulo antisollevamento. (ref. 77 01 416 069)
Ad antifurto inserito,attraverso un sensore speciale,protegge il
veicolo dai tentativi di traino e sollevamento e di conseguenza
dai furti di accessori di valore come ad esempio i cerchi in lega
ed i pneumatici.
1 - INTRODUZIONE

20 I
Manuale utente
3.1 - INSERIMENTO
Chiudendo le porte con il radiocomando originale:
• Gli indicatori di direzione lampeggiano.
• Le protezioni diventeranno attive trascorsi 40 secondi
• Il LED lampeggia.
3.2 - PROTEZIONE
Con il sistema inserito da almeno 40 secondi l'apertura del cofano,del bagagliaio o di una delle porte genera un ciclo di allarme acustico
e visivo di 30 secondi circa.Per i prodotti che prevedono il sensore volumetrico (ultrasuoni e/o iperfrequenza) verrà originato l’allarme
a seguito di intrusione nell'abitacolo.
A fine ciclo il sistema resta attivo.
3.3 - INTERRUZIONE DI UN ALLARME IN CORSO
Quando il sistema é in allarme é possibile disattivare la sirena ed il lampeggio degli indicatori di direzione aprendo le porte con il
radiocomando originale.
Questa operazione disinserisce il sistema.
3.4 - DISINSERIMENTO
Aprendo le porte con il radiocomando originale:
• Gli indicatori di direzione lampeggiano.
• Le protezioni si disattivano immediatamente.
• Il LED si spegne.
Nota: Se è avvenuto un allarme, il buzzer e gli indicatori di direzione daranno 4 segnali, anzichè 1 (riferitevi al capitolo ‘Memoria di
Allarme’ - pag. 21).
ISTRUZIONI
IN
BREVE
3 - ISTRUZIONI IN BREVE
Other manuals for 8265
1
This manual suits for next models
1
Table of contents
Languages:
Other Renault Car Alarm manuals
Popular Car Alarm manuals by other brands

Omega Research & Development
Omega Research & Development Executive VIP 4000 owner's manual

Audiovox
Audiovox Prestige Platinum+ APS-25N installation manual

Audiovox
Audiovox APA-800a owner's manual

Mazda
Mazda 2007 CX-9 installation instructions

Audiovox
Audiovox Car Security System AX-900 installation manual

Audiovox
Audiovox Pursuit PRO 9544FT installation manual