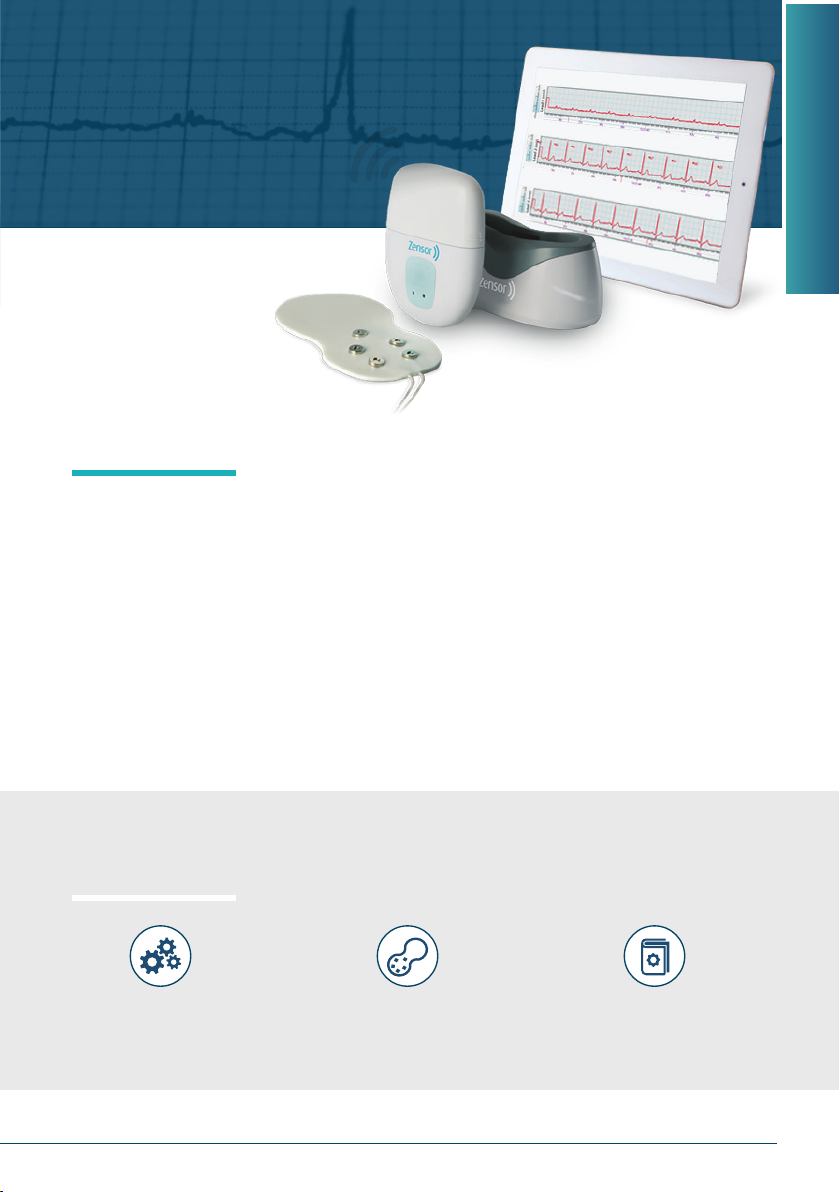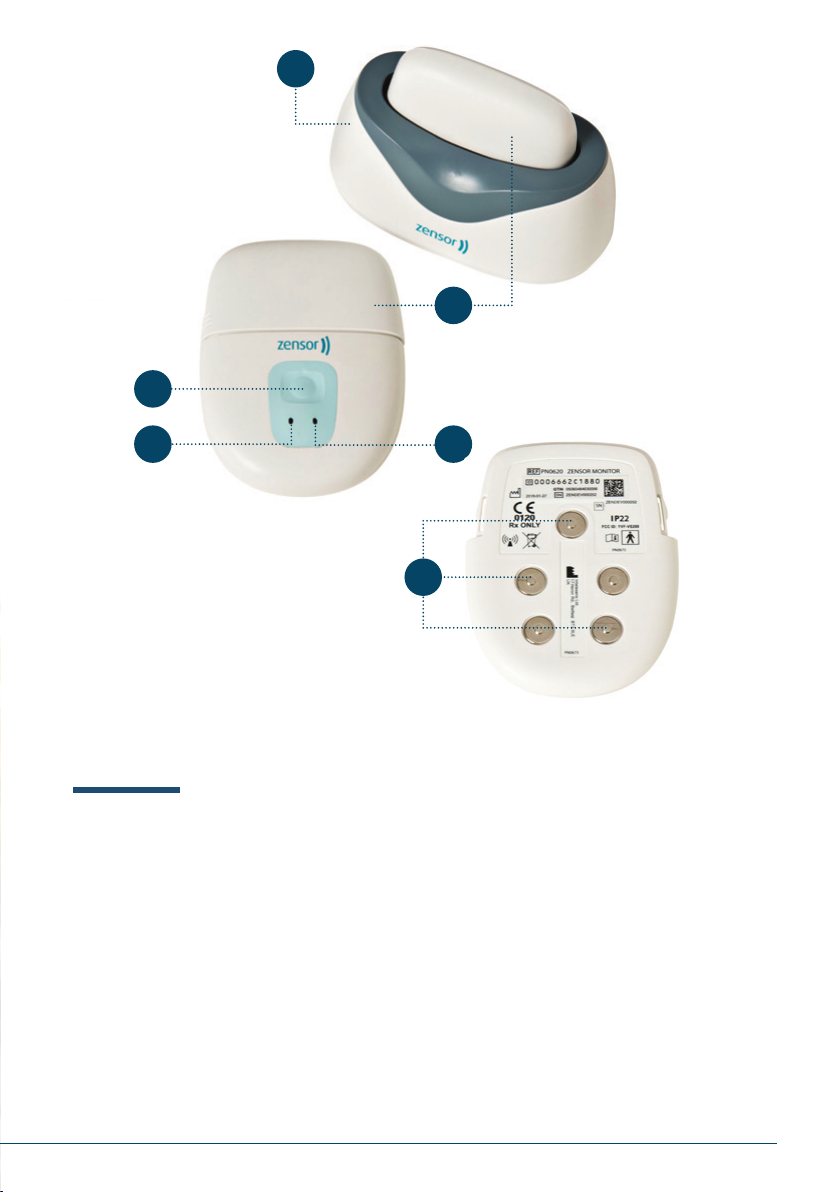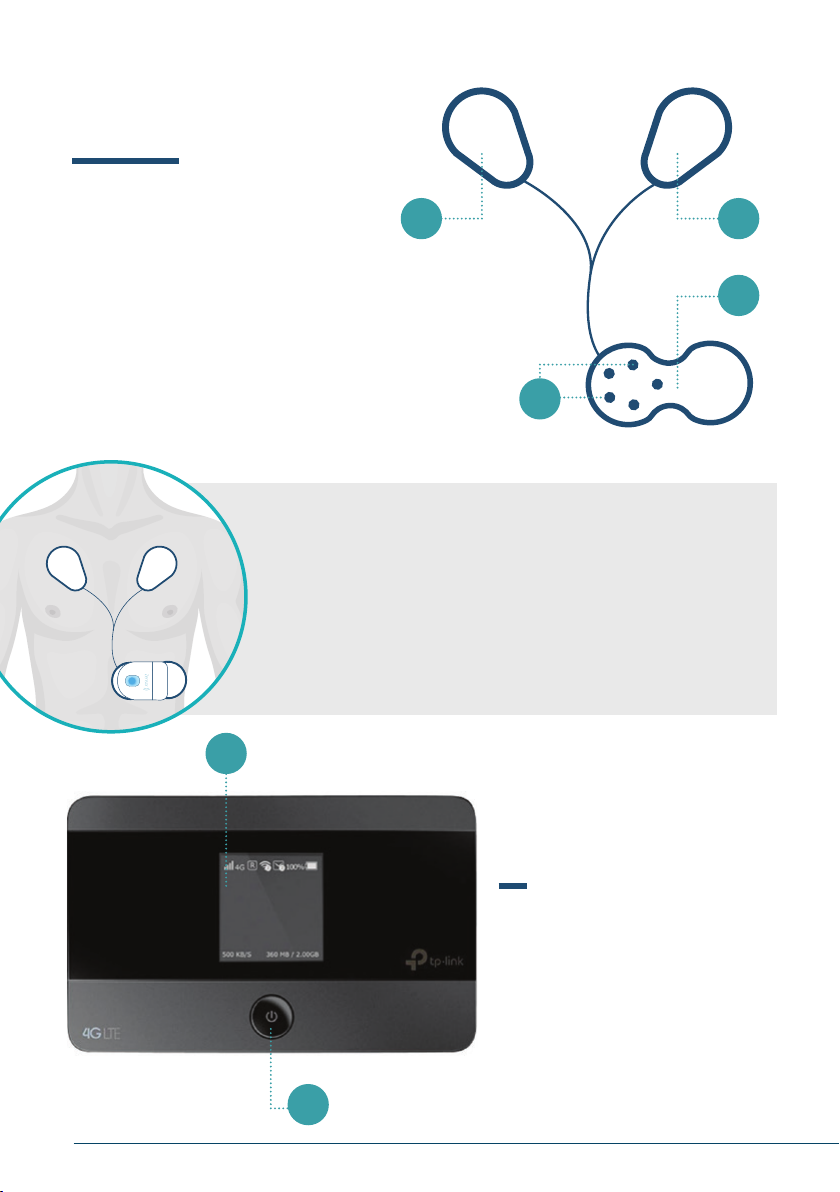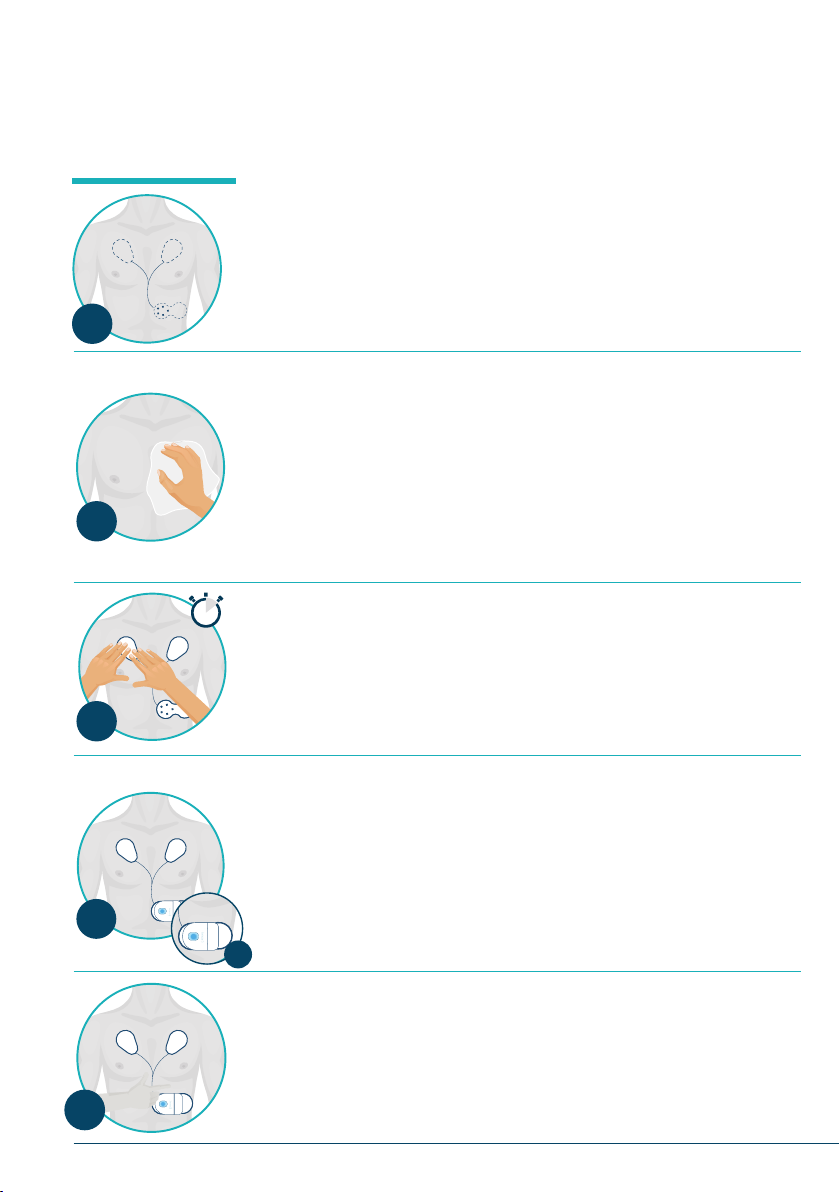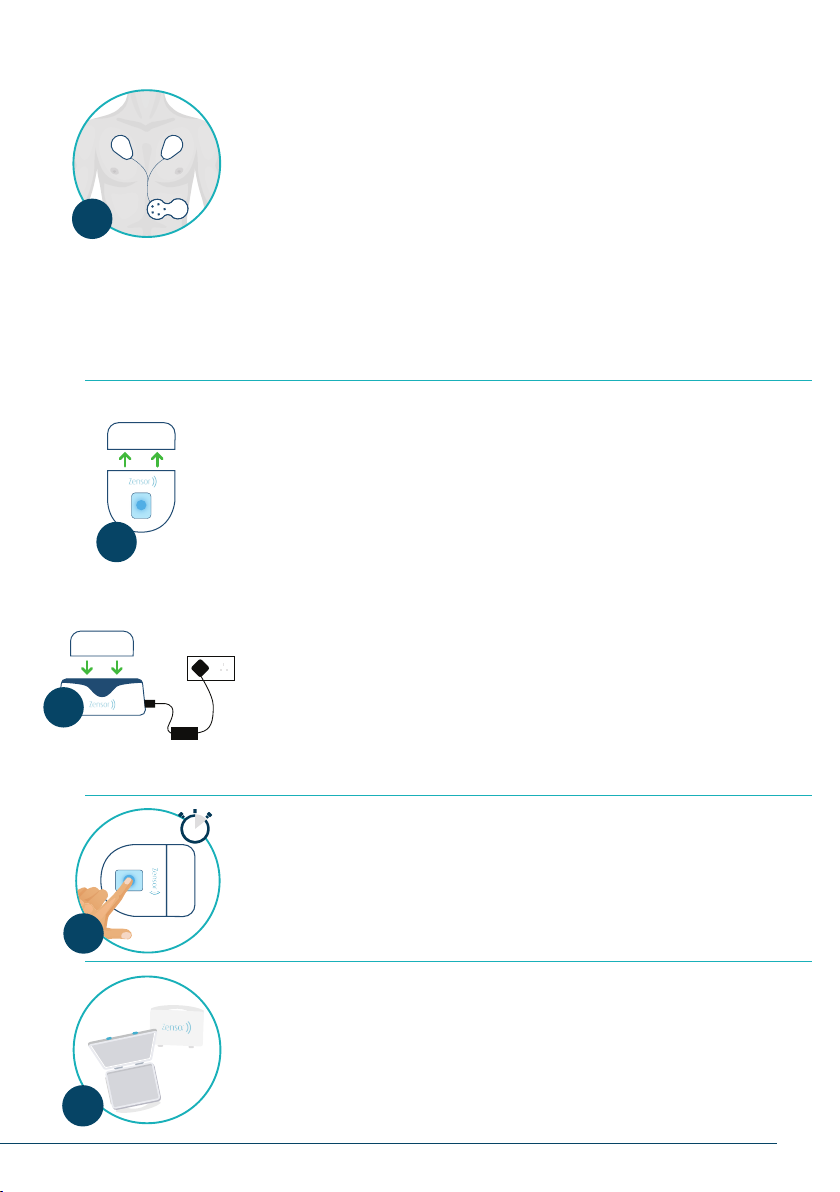
The Zensor™ monitoring device
is a small, lightweight, wearable,
non-invasive, re-chargeable battery
operated portable system connected
to an electrode accessory (single-
use disposable Intelesens Zensor™
electrode) which in turn is in contact
with the patient’s body.
The device is to be used in the
patient’s home environment to provide
clinicians with patient physiological
data, while allowing for patient
mobility. The Zensor™ Monitoring
System provides full disclosure ECG
and cardiac event monitoring for adult
patients (18 years+).
The physiological parameters
monitored include ECG and respiration
waveforms, heart rate and respiration
rate, as well as lethal and high acuity
arrhythmias (Asystole, Tachycardia,
Ventricular Fibrillation, Bradycardia
and Atrial Fibrillation).
The Zensor™ monitoring device has
the option to store full disclosure ECG
& respiration data and/or wirelessly
transmit pre-dened event alerts to
the Intelesens Zensor™ online system
for review by healthcare practitioners.
All physiological data stored on the
device can be downloaded for viewing
on Intelesens Zensor™+ (Ambulatory
ECG Full Disclosure ECG and Event
Viewer) for later analysis by a clinician.
Any events or variations in
physiological readings are not
intended to be used to summon
emergency care.
| © 2018 ZensorTM Device www.zensordevice.com PN 1265 Rev A
2