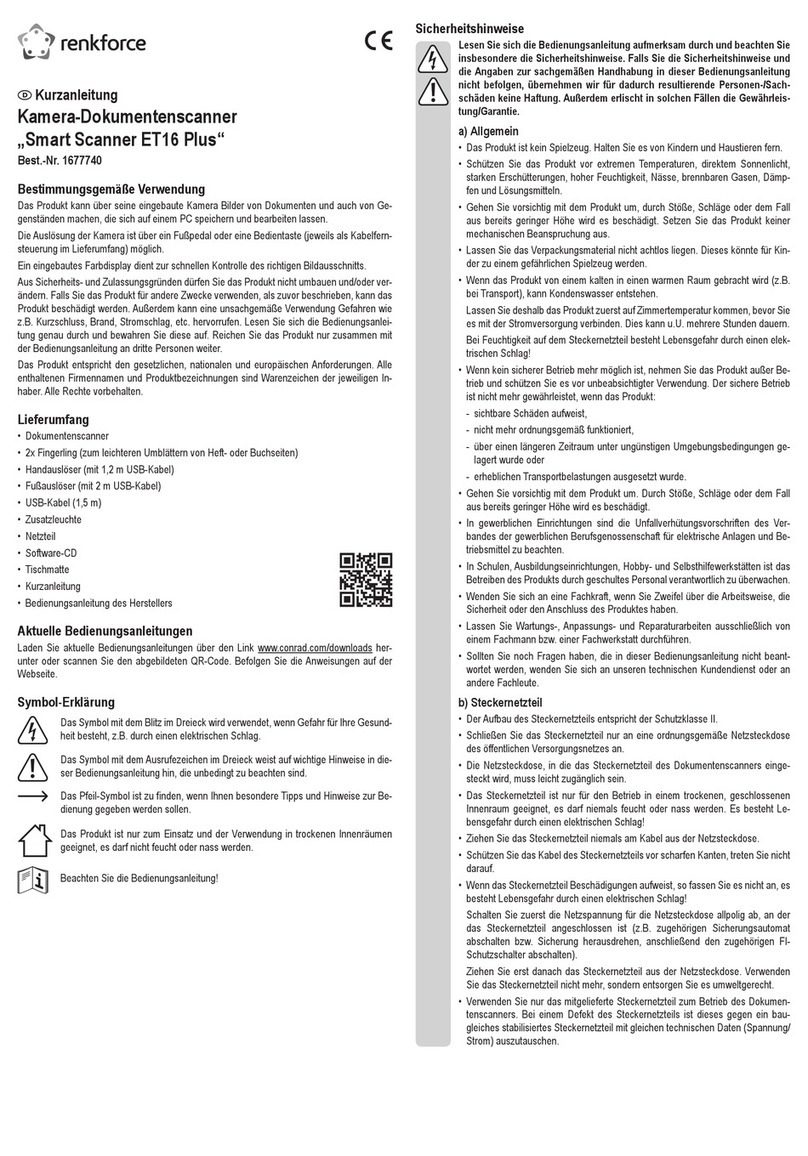
Renkforce VisualTable RF-4730964 User manual

The specifications and information herein are subject to change without notice.
Smart Book Scanner
VisualTable

- 2 -
- Contents -
I_Introduction
‥‥‥‥‥‥‥‥‥‥‥‥‥‥‥‥‥‥‥‥‥‥‥‥‥‥
3
1.
Components
‥‥‥‥‥‥‥‥‥‥‥‥‥‥‥‥‥‥‥‥‥
3
2.
A quick look at the hardware
‥‥‥‥‥‥‥‥‥‥‥‥‥‥‥
4
3.
Keyfeatures&functions
‥‥‥‥‥‥‥‥‥‥‥‥‥‥‥‥‥
5
II_Installation
‥‥‥‥‥‥‥‥‥‥‥‥‥‥‥‥‥‥‥‥‥‥‥‥‥‥
6
1.
Theinstallationprocess
‥‥‥‥‥‥‥‥‥‥‥‥‥‥‥‥
6
2.
Installing the software
‥‥‥‥‥‥‥‥‥‥‥‥‥‥‥‥‥
7
3.
Installingthehardware
‥‥‥‥‥‥‥‥‥‥‥‥‥‥‥‥
11
4.
Installation Precautions
‥‥‥‥‥‥‥‥‥‥‥‥‥‥‥
12
III_Operating VisualTable
‥‥‥‥‥‥‥‥‥‥‥‥‥‥‥‥‥‥‥‥
13
1.
Getting started
‥‥‥‥‥‥‥‥‥‥‥‥‥‥‥‥‥‥‥
13
2. Operating the hardware
‥‥‥‥‥‥‥‥‥‥‥‥‥‥‥
16
3. Custom settings
‥‥‥‥‥‥‥‥‥‥‥‥‥‥‥‥‥‥
17
4. Using the program tools
‥‥‥‥‥‥‥‥‥‥‥‥‥‥‥
21
5. Creating eBook
‥‥‥‥‥‥‥‥‥‥‥‥‥‥‥‥‥‥
24
IV_Troubleshooting & Precautions ‥‥‥‥‥‥‥‥‥‥‥‥‥
‥
28
1.
Troubleshooting
‥‥‥‥‥‥‥‥‥‥‥‥‥‥‥‥‥‥
‥
28
2. Precautions
‥‥‥‥‥‥‥‥‥‥‥‥‥‥‥‥‥‥‥‥
28
V_
PrecautionstotakebeforereformattingPC
‥‥‥‥
‥‥‥‥‥
29

I_Introduction
3
I_Introduction
1. Components
-
Main Body
-
Commoncomponents
Poweradapter Power cable USB cable Installation CD
(CD: Included full manual
CD cover: OCR license
serial number)
Quick Start Guide /
Installation Guide

I_Introduction
- 4 -
2. A quick look at the hardware
1)
Front
<Direction of the Book complying with the initial setting>
POWER: Power on & off
AUTO: Capture the both pages alternately and save the captured pages on your PC.
In the event of successive scanning of the book, use the software menu panel “Main menu panel”.
(Refer to III. “5. Creating an eBook”for more detail.)
LEFT: Display the left side, RIGHT:Displaytheright side
CAPTURE:Capturethedisplayedimageandsave thecaptured imageon yourPC.
<The button panel>
2)
Rear
After installing the “VisualTable” software, connect the USB cable of the VisualTable book scanner to
a USB port at the rear of your PC.

I_Introduction
- 5 -
The VisualTable scanner works on a USB 2.0 port only. Please make sure your computer
supports USB 2.0. If the VisualTable scanner is connected to a USB 3.0 port it may not work
properly.
3. Key features and functions
Key
Features
ʌ
-shape(Inverted V-shape)
scanning
glass
Allows to scan with no shadow, distortion or damage
to the book binding.
Real-time processing
Real-timecorrectingenablestoimprovethescanned
image quality.
OCR (Optical Character
Reader)
Allows easy document conversion and Web search.
eBook creation
Makes it fast and easy to create an eBook.
Real-time annotation
Enables you to write or draw directly over the image.
Hardware-Software interaction
Controls the hardware from the software.
Main
Function
Real-time display
Capture image view
Image save a single side or left & light sides separately
eBook creation
Real-time Web search
Real-time annotation and creation of digital teaching materials
Easy access to Cloud services
Theinformation andspecifications hereinaresubjecttochange without priornotice.
Softwareupdate: Click “http://blog.naver.com/smartbookscanner”

II_Installation
- 6 -
II_Installation
1.
The installation process
InserttheVisualTableset-upCD,installandgetverifiednecessaryprogramsinorderfollowingtothe
instructionsinthisUserGuide
The VisualTable is UVC (Universal Video Class) compatible which installs its driver automatically
whenconnectingVisualTabletoyourPC’s USBport. Thereisnoneedto installanyadditional
drivers.
Note: The software MagicZoom eBook and TTS are not provided.
The OCR engine software is separate software from the VisualTable software.
Youcan purchase as many user licenses as necessary without purchasing any
additionalhardwareoftheVisualTable.
- 1 unit of OCR user license key: Included in the installation CD
- Purchasing additional OCR user license key:
Click “http://blog.naver.com/smartbookscanner”
1. Install the “VisualTable” program
2. Install the OCR engine & Get the OCR license verified.
3. Run the “VisualTable” program & Setup its settings

II_Installation
- 7 -
2.
Installing the software
Insert the VisualTable Set-up CD to your computer CD-ROM.
1)
Steps to installing VisualTable
①
Choose“VisualTable.” ② Click“Next.”
③ Click“I Agree.” ④
Click“Install.”
⑤ Click “Finish” to complete the installation.
If yourcomputer does notmeet the system specifications that VisualTable requires, there may
be difficulties using VisualTable. Since OCR license can be registered only one time, you
should check whether the projected image appears before registering the OCR license
(Checking the projected image: Refer to III. 1. “1) Connect VisualTable and run VisualTable
program”.and “2) Custom Setting: Camera options”). In the event of your negligence of the
above instruction, supplier has no responsibility for the related OCR issue.

II_Installation
- 8 -
2)
Installing & VerifyingOCR (Optical Character Reader)
Since OCR license can be registered only one time, you should check whether the projected
image appears before registering the OCR license (Checking the projected image: Refer to III. 1.
“1) Connect VisualTable and run VisualTable program”.and “2) Custom Setting: Camera options”).
In the event of your negligence of the above instruction, supplier has no responsibility for the
related OCR issue.
Make sure that the Internet is connected before starting the installation. If the Internet is not
connected, you will be unable to register the license.
①
Choose “OCR Engine Setup.” ② Click“Next.”
③ Click“I Agree.” ④
Theinstallationstarts.
⑤Click “Next” toinstall Microsoft Visual C++. ⑥ Check "I have read and accept the
license terms." and click "Install."

II_Installation
- 9 -
⑦Click "Finish" tocomplete the Microsoft
Visual C++ installation.
⑨Check"Iaccept the terms inthislicense
agreement."andclick"Next."
⑧ Click "Next" to install Sentinel License
Manager.
⑩ Click "Next."
⑪Click "Next." ⑫ Click“Next.”

II_Installation
- 10 -
⑬Click “Next.” ⑭
Click“Install.”
⑮ Please wait while the installation
continues.
Click "Finish" to complete the OCR
Certification Program.
Click "Finish" to complete the Sentinel
License Manager installation.
Enter the OCR serial number on the
case cover of Set-up CD. Click "Register"
and wait a few seconds until the
registration is complete.
Iftheserialnumberhasalreadybeenregistered
on the computer, click "Check," then the
registered serial number will appear.
29E95A0F-3D7970A8-2E9A0E6A-20563A94

II_Installation
- 11 -
3.
Installing the hardware
1) After installing the VisualTable driver and related program, connect the USB cable of the
VisualTabletoaUSBport attherearof yourPC.
Note Note: The VisualTable book scanner can only work in USB 2.0. Check whether your
PC supports USB 2.0
2) TousetheVisualTable,thereis noneedforanyadditional drivers. After connecting theUSBcable
of the VisualTable to your PC’s USB port, wait a few seconds, and then a message appears as
“Your deviceis readytouse.”

II_Installation
- 12 -
4.
Installation Precautions
Compatible
OS
VisualTable runs on Microsoft Windows XP(32 bit), Windows Vista,
and Windows 7 and above (32 bit & 64 bit). The following
specifications are required: Microsoft .NET FrameWork 3.5 or above,
USB 2.0 or above and an external memory card (not internal
memory)
Note:DuetothehighresolutioncameraoftheVisualTabletheremaybe
noimageappearingonsomecomputermodels.
Installing
OCR
Since OCR license can be registered only one time, you should check
whether the projected image appears before registering the OCR
license (Checking the projected image: Refer to III. 1. “1) Connect
VisualTable and run VisualTable program”.and “2) Custom Setting:
Camera options”). In the event of your negligence of the above
instruction, supplier has no responsibility for the related OCR issue.
Genuine
validation
If you have purchased any of the following optional software product:
OCR, you need to validate your product to use it. The genuine
validation can only be run on 1 computer. If you want to use OCR
software product on more than one computer, you need to purchase
additionalproductlicenses.
Connecting
the device
After installing the “VisualTable” software, you need to choose the right
camera driver to use the VisualTable book scanner. For more details,
refertocamera device of III. 1. 2)Custom Setting.
Reinstallation
The VisualTable book scanner comes with genuine software license. If
you want toremove the programs or reformat yourcomputer make sure
that you back up your OCR license. (How to back up: Refer to the
chapter V.) Otherwise, you will be unable to use the OCR program
again. In the event of your negligence of the above instruction,
supplier has no responsibility for the related OCR issue.
* Make sure you keep OCR license serial number on the case cover of Set-up CD in order to handle
all the reinstallation issue with supplier. In the event of your negligence of this instruction, supplier has
no responsibility for the related OCR issue.

III_Operating VisualTable
- 13 -
III_Operating VisualTable
1. Getting started
1) Connect VisualTable and run VisualTable program.
VisualTable
①Turn on your PC power, and check whether the USB cable, power cable and power adapter of the
VisualTableareall properlyconnected toyourPC. AfteryouhavereconnectedtheUSBcablewait
30seconds andstart the program afterwards.
②Double click the “VisualTable” execute icon on the PC screen or inthe start menu in the lower-left
corner of the PC screen.
③ Put your book, binding or paper, to be viewed on the top of VisualTable with its visible side facing
down.
④ Turn on power by pressing the power button on the button panel at the front of VisualTable.
⑤
PushtheLEFTorRIGHTbuttontocapturepages.
⑥If the projected image does not appear, check “Camera options”in “Custom Setting”in the below.
2)CustomSetting: Camera options

III_Operating VisualTable
- 14 -
Choose the right driver in the “Video Device” selection window.
-
Windows7 and above:Choose“TAMTUS-CAM500.”
-
WindowsXP:Choose“USB 2.0CameraDevice.”
Onceyousee “2592x1944” inthe “Camera Resolution” selectionwindowthesettingis complete.
Click the “OK” button at the bottom and exit “Custom Setting”. If there is no image on the
screen, choose a different video device again or choose a lower camera resolution step by
step and check whether the projected image appears on the screen.
Note: To use the VisualTable more easily, getting the right settings is important. See III. 3. “1)
Camera setting”for more details about customizing the settings.
3)
Usingthe Mainmenu panel (Refer to III. “4. Using the program tool”for more detail.)
<Mainmenu panel>Minimize: The menu panel turns into an icon on the taskbar
on the bottom of the screen. Torestore it, click the icon on
the taskbar.
Minimize into Icon: This penal has icons only for the most
commonly used features. To go back to the basic panel,
click the “Exit” button.
< Simple menu panel >
Left / Right / Pen / Eraser / Main menu panel
Close: To close the VisualTable program.
4)
Viewingthereal-timeimageandastillimage
You can choose to view either the real-time image or a still image.
①
Real-time image view: to show images of the book on the screen in real time
-
Possible to quickly check screenflip,L/Rchange and brightnesschange.
-
In this stateof thelow-performancecomputer,theoperatingspeedcanbe veryslow.
-
A click on the button displays Freeze-screen.
②
Freeze-screen: to freeze a captured image on the screen
-
Screen flip andbrightnesschangesarenotappliedimmediately.
-
The new captured image of the book is shown when L or R button is pressed. Invert and
brightness changesareappliedtogether.
-
Eveninthe low performance computer, operation speedunder this statecan be improved.
-
A click on the button displays Real-time image view.
b

III_Operating VisualTable
- 15 -
5)
Writingonimages
①
WritingStart
-
Click the pen button, andyoucanwrite anddrawon the current viewing image.
-
Thefunctionsnotavailableon thewritingmode become disabled.
-
A click on the pen button again enables you to drag the mouse and use it as a move tool for the
current viewing image.
-
Writing Stop: PressL orR to exit the writing mode.
*Inthewritingmode,BrightnessandContrastcontrolschangeinto Colorand LineWidthSelections.
②
UsingtoolsonWritingMode
-
Click the pen, and the Color Selection and Line Width menu appears, where you can select colors
and line widths and write or draw objects on the screen with the electronic pen or the mouse by
movingit with its left button pressed.
-
ClickFigures andselect yourdesired onetodraw it.
-
Click the Eraser button to select the normal eraser, and you can erase the line where it comes
incontact; otherwise, youmay choose thecomplete eraser toeraseallcontents.
-
Click onOpenImagetoretrievenewimage, onwhich youcando writinganddrawing.
-
Drag a specific area with a mouseto make selection, and you may be able to use such functions
as ‘Cut’, ‘Save’, ‘Copy’, etc. in the Area selection. (Refer to III. “4. Using the
program tool”for more detail.)
Writing mode
Scroll
/ ExitWritingmode

III_Operating VisualTable
- 16 -
Auto Capture
2. Operating the hardware
Both the hardware and the softwareprogram menucan be usedforimagecapture. In the event of
successive scanning of the book, use the software menu panel “Main menu panel”. (Refer to III. “5.
Creating an eBook”for more detail.)
Hardware key pad
<Direction of the Book complying with the initial setting>
1)
Basicfunctions
-
POWER : for supply of power: the equipment begins to beep when the program is not executed or
thecableisnotconnectedproperly.
-
AUTO :capturesandsavespagesonbothsidesalternately.
-
LEFT : shows the left page ofthebookon the screen
-
RIGHT : shows the right page ofthebookon the screen
-
CAPTURE :capturesthecurrentimage andsaveit.
2)
Special functions
- Freeze-screenmode:To freeze a captured image on the screen.
3)
WhenAutoSaveischeckedintheCreatingeBookprogram,
-
L:Click of ”L”buttoncapturesandsavestheleft side.
-
R: Click of“R”buttoncapturesandsavestherightside.
Buttons on the software menu panel

III_Operating VisualTable
- 17 -
3. Custom settings
Click on the Custom Setting icon on the top right of the menu panel to enter the configuration mode
Click the Camera Setting, Program Setting, or OCR Setting tap respectively on the left side menu to
enable each of the corresponding functions.
CustomSetting>Camera options
1)
Camera setting
Video Device: to select a camera device.
-
Windos7 and above:chooseTAMTUS-CAM500
-
XP:chooseUSB2.0cameradevice
Re-search: to search for a camera device again
In the event of running the program and then connecting the VisualTable program, you need
to click Re-search under the Camera setting to complete camera selection. When the
VisualTableUSBisconnected after theprogram is run,
Camera Resolution: to select the appropriate resolution of a camera.
The maximum resolution 2592 x 1944 has been given at default. Use of the maximum
resolution may cause your computer to slow or not to create computer images, when you are
advised to select a lower resolution.
Detail settings: to determine specific screen values of the camera
Brightness:to adjustthebrightnessof animage.The fartherit movesto right, the brighter it gets.
Contrast: to adjust the contrast of an image. The farther it moves to right, the higher it gets
Color:toadjustthecolorofanimage.Theleftsidegivesyouredlightwhiletherightsidebluelight.
Saturation: to adjust the saturation of an image. The farther it moves to right, the darker its color
becomes.

III_Operating VisualTable
- 18 -
Sharpness: to adjust the clarity of an image. The farther it goes to right, the sharper it becomes
rougher.
Gamma: toadjust the gamma value in orderto control the degree of the boundary of an image.
The farther it goes to right, the higher contrast range it has.
Whitebalance:toadjustthevalue forgrayness.Youare advisedtosetit toAuto.
Backlight compensation: to compensate for backlight. (To the right for Application))
Normalrotation:torotateanimagewhenrunningthe programSet therotation
to90˚fora book employing a normal horizontal writing method.
Default magnification: to set a magnification shown at default when running the program.
Assuming a book of normal size showing on a 1280 X 1024 screen, you are advised to select an
80% magnification.
Image compensation: to enable or disable the function by marking a V in the box.
Check the V allows you toviewimages of a better resolution: however, you have tobear a slower
displayofimages
Enabling image compensation: to check the box
Disabling image compensation: to leave the box unchecked.
Background color: to select a background color that is shown other than where images are
displayed
Scan delay time: to determine time for a page to properly settle itself after the screen changes
from left to right or vice versa. The image does not appear properly when the computer
produces it at aslow speed or thescantimeis too short tosubstantiate a clear image. Normally,
it takes a personal computer about 3~5 seconds, or more than 9 seconds for a computer with
low specifications. (Initial basic setting: 5 seconds)
Help: see the User Guide or click “http://blog.naver.com/smartbookscanner”
10

III_Operating VisualTable
- 19 -
CustomSetting>Program options
2)
Program setting: Click Program option.
Path for Captured: to select a folder where captured images are saved
Path for OCR: to select a folder where OCR-formatted documents are saved
Image Edit Program: to select an Image Edit program; otherwise, Windows’ Mspaint.exe has
been set at default. (Open the folder of the requested edit program and click its exe file.)
Web Drive: to register the site for cloud service drive (e.g. google drive). The registered site
will pop up by click of “U” button in “App” of the Main menu panel.
Registered Site: the registered search engine to be used in VisualTable, moving up and down
by using the Up/Down arrow on the right in order to select preferred one. (The related function:
Main menu panelArea selection Internet search)
Path for E-Book Image: to determine a folder for saving scanned images for creating an
eBook in the eBook mode.
Documents Folder: to determine a folder for saving the image by double click of the inside of
the scan area in creating eBook. (Related Function: Refer to III. “5. Creating eBook”.)
Menu Window Size: to select the size of the Main menu panel and make it small or large.

III_Operating VisualTable
- 20 -
1
CustomSetting >OCR options
3)
OCR setting
OCR Option: to select a targeted language for OCR converting characters on documents.
In the event of converting a document written only in English, selecting “English”will improve
the recognition rate.
Translation Language Selection: to select a language after translation. (The related function in the
Main menu panel: Area selectionTranslation)
2
This manual suits for next models
1
Table of contents
Other Renkforce Scanner manuals

Renkforce
Renkforce WSF01 User manual

Renkforce
Renkforce Smart Scanner RF-ET17 Plus User manual

Renkforce
Renkforce DS100-5M User manual
Renkforce
Renkforce SC-12 User manual

Renkforce
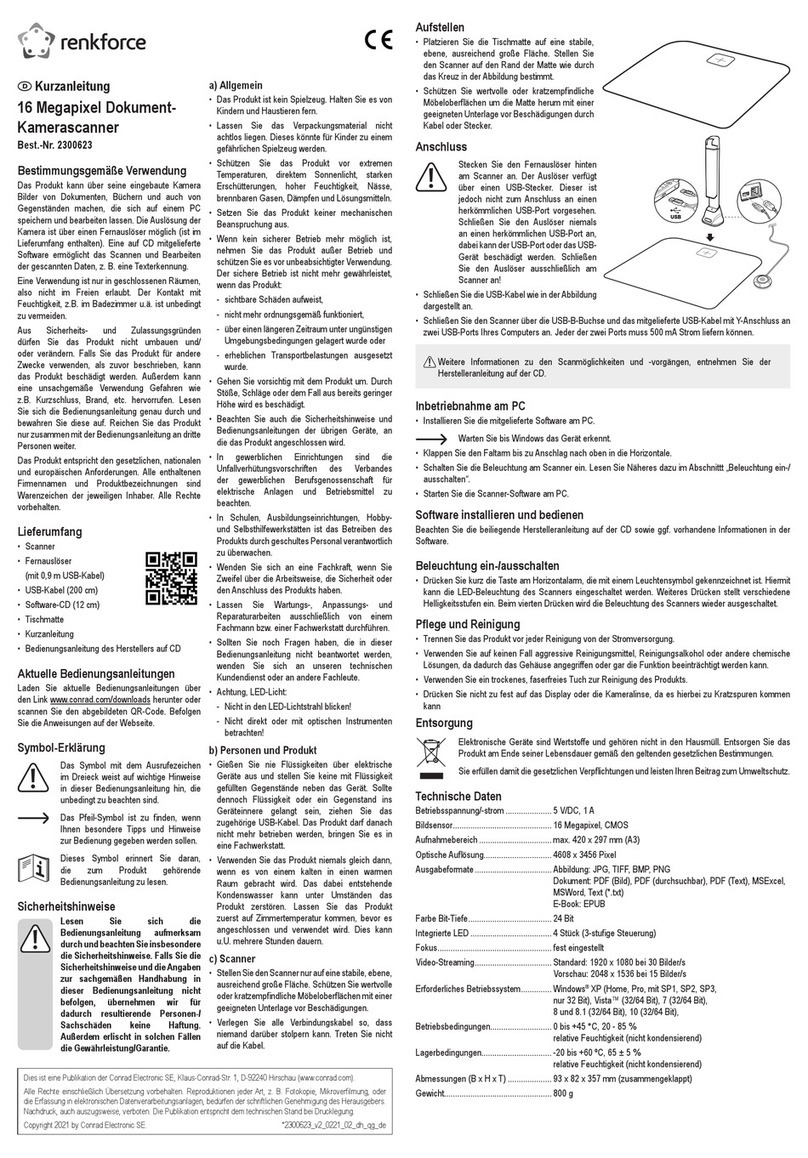
Renkforce 1576988 Operating manual

Renkforce
Renkforce DS100-8M User manual

Renkforce
Renkforce 2300623 User manual
Renkforce
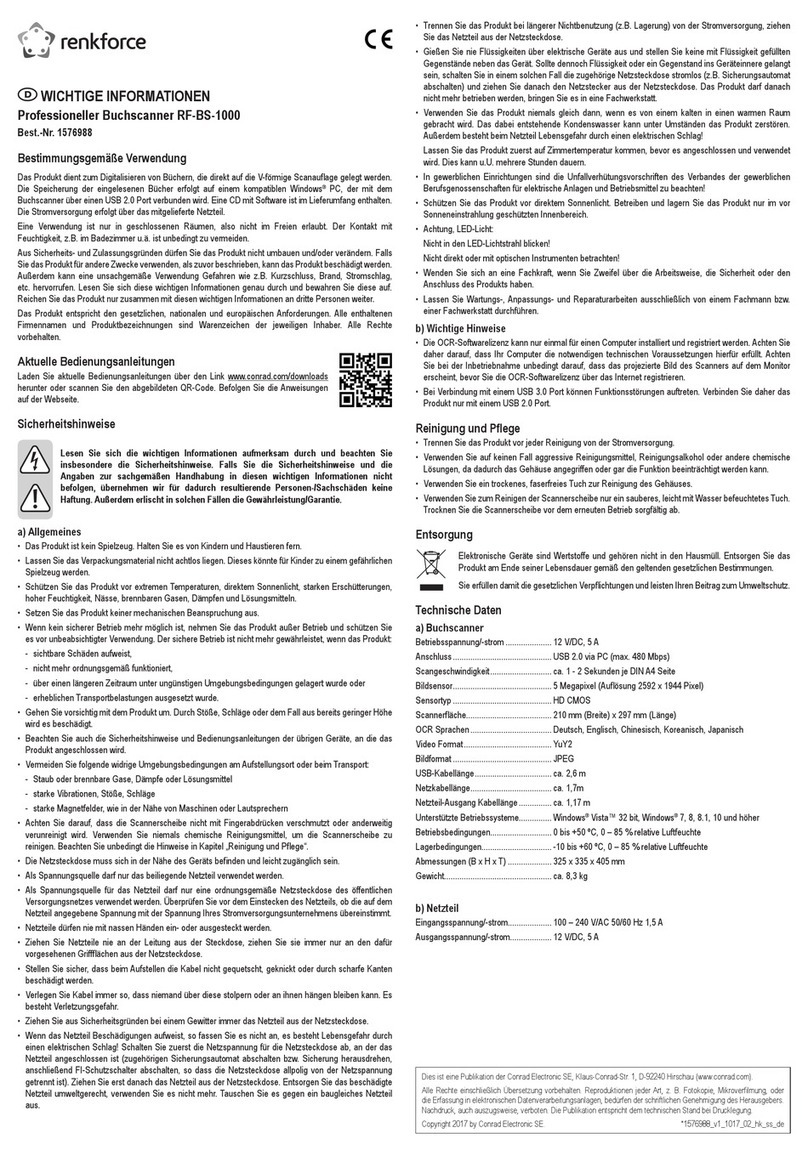
Renkforce RF-HDFS-01 User manual
Renkforce
Renkforce Smart Scanner ET16 Plus User manual