Resus PB Pro User manual

PB Pro Companion Guide © Resus Digital Limited 2018
Manual Version 3.02 October 2nd
1"
PB Pro Companion Guide
Opening'Screen'....................................................................................................................................................'3"
Accessing'the'Admin'Login'...............................................................................................................................'4"
Initial'Options'in'the'Admin'Section'–'Left'hand'Column'......................................................................'5"
Admin'Control'......................................................................................................................................................'6"
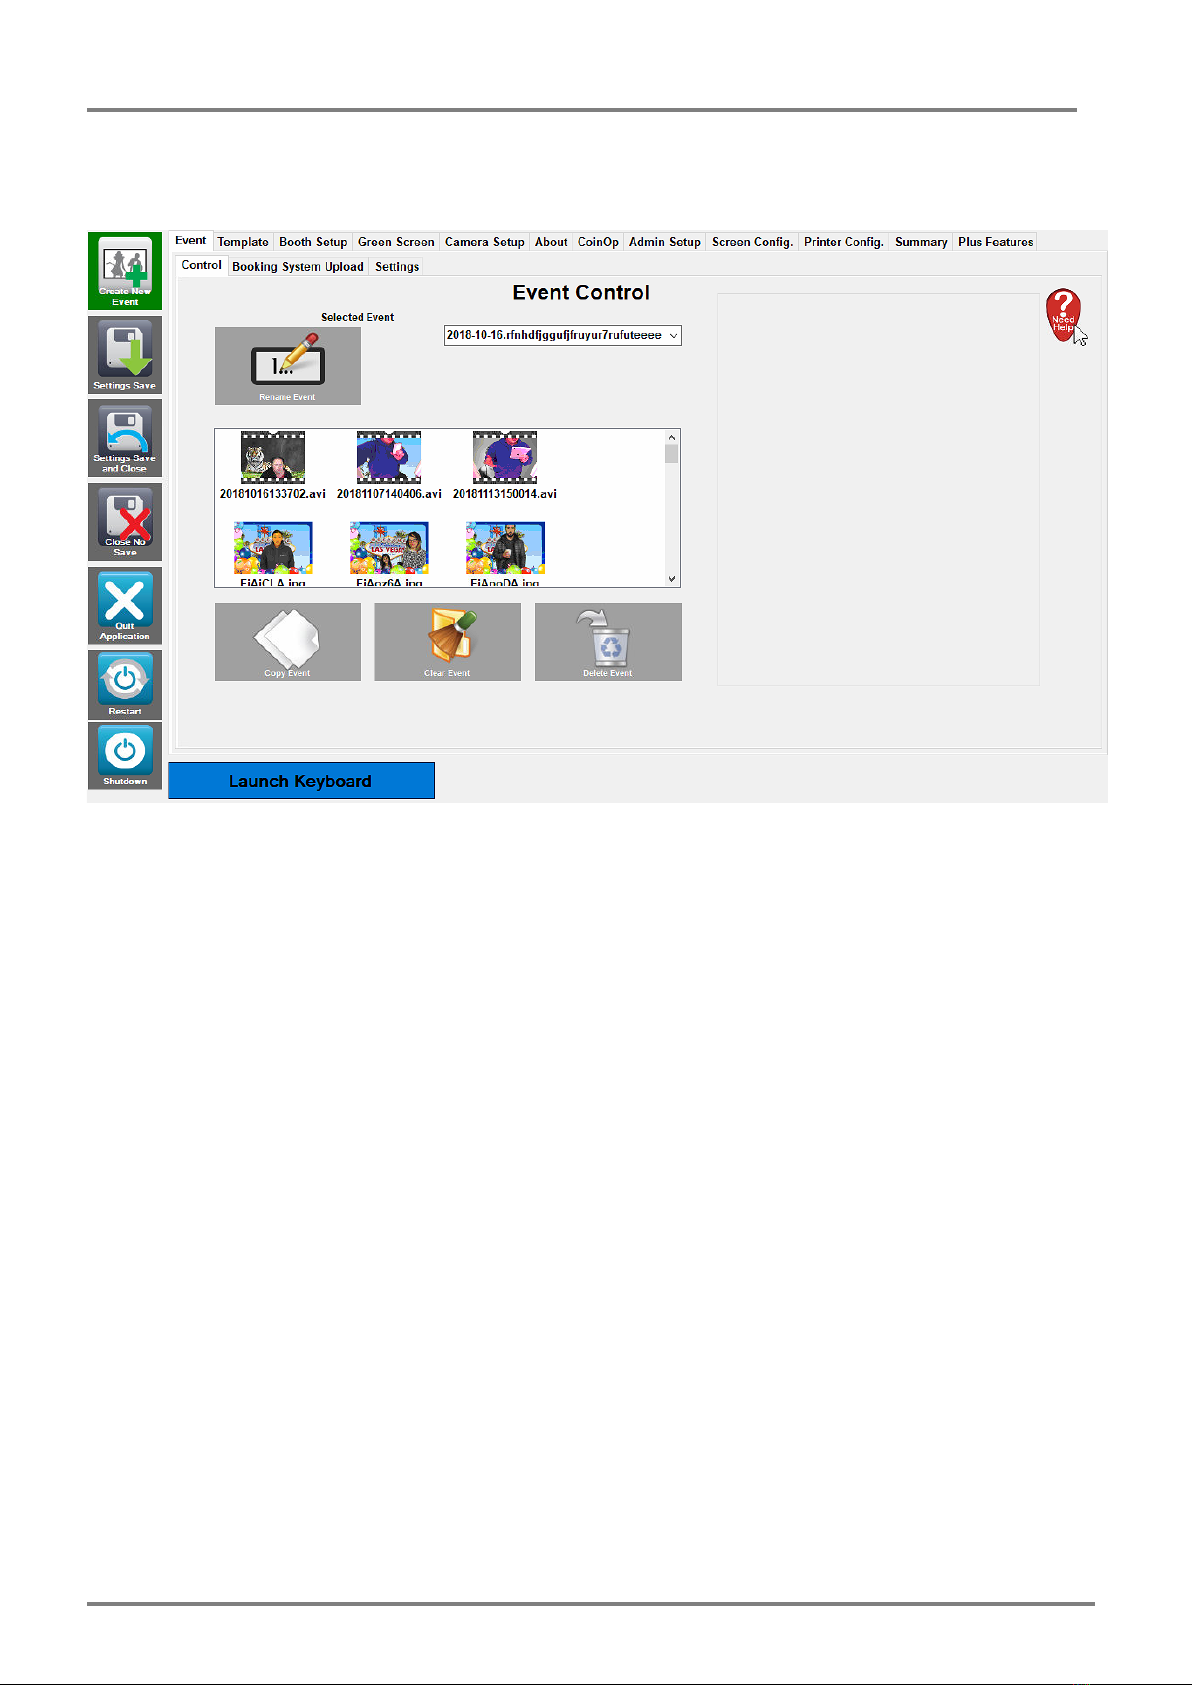
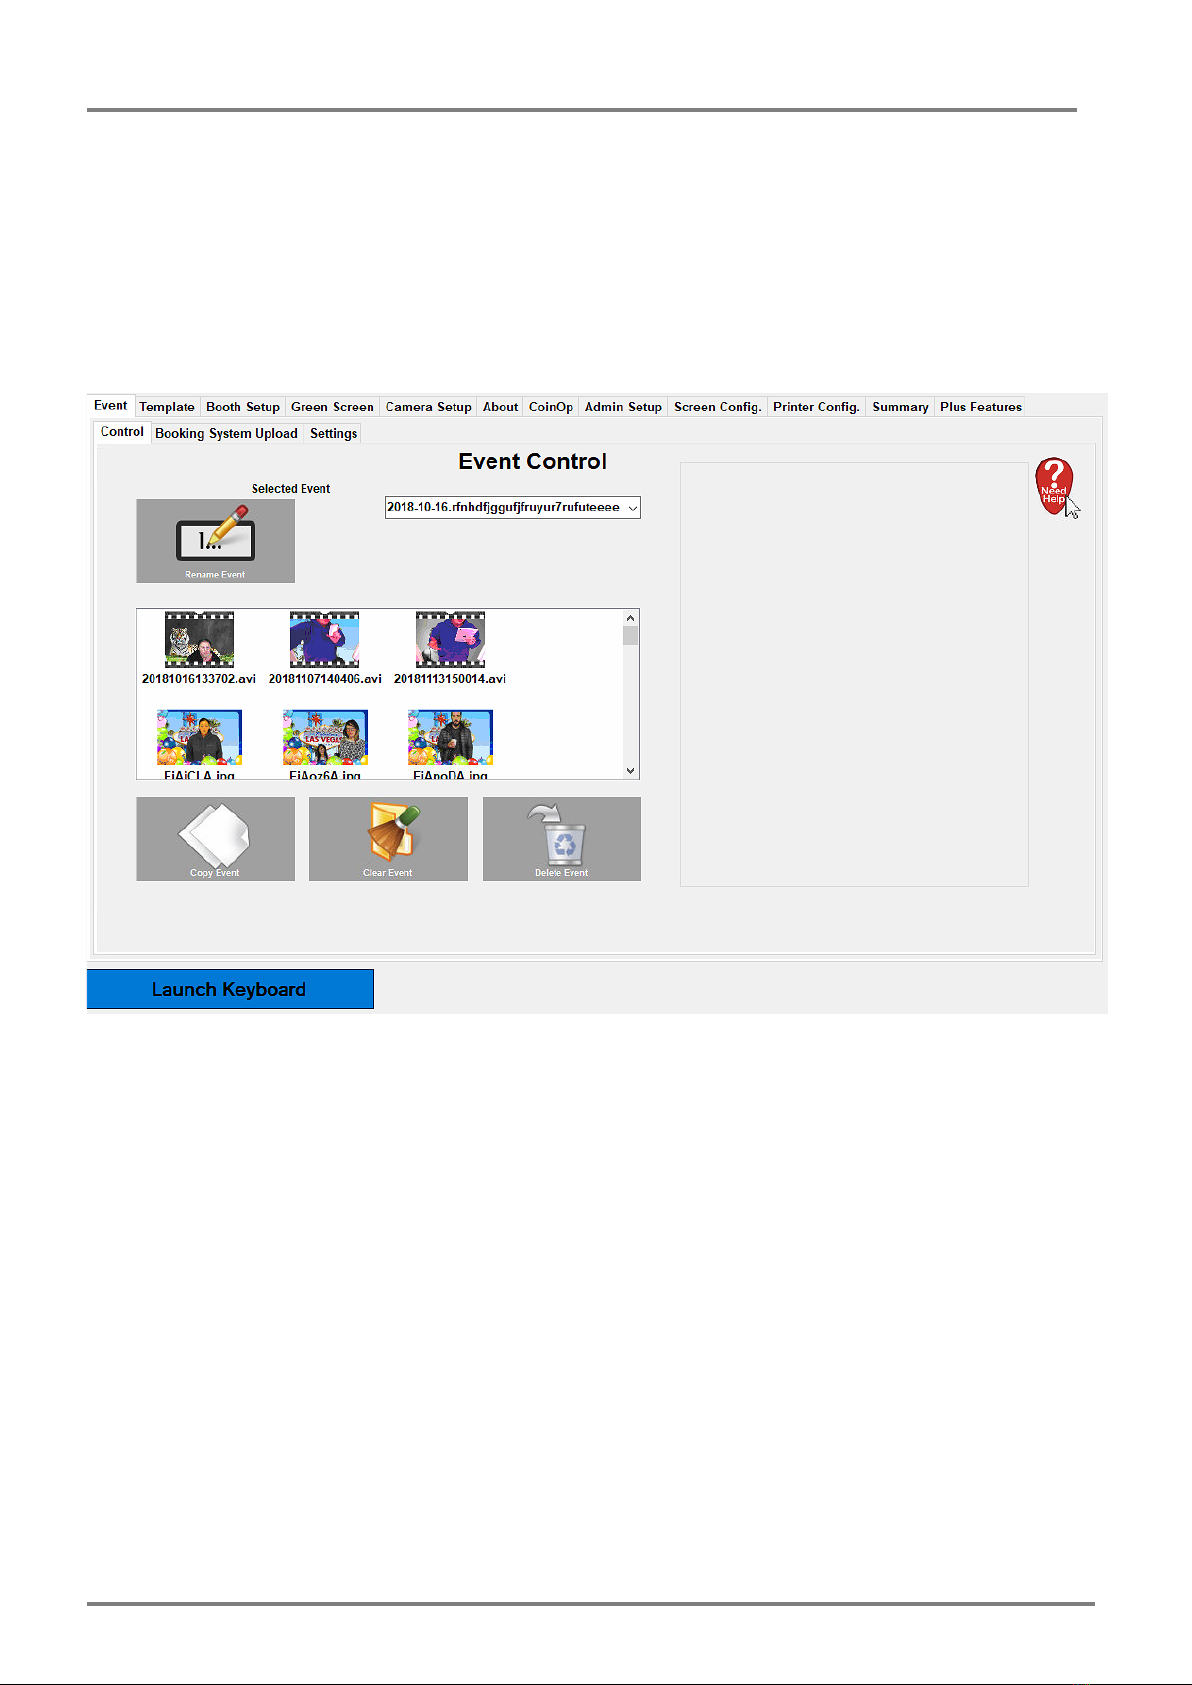
Event'Tab'................................................................................................................................................................'6"
Event >> Control'.............................................................................................................................................................'6"
Event >> Booking System Upload'...........................................................................................................................'6"
Event >> Settings >> Business Facebook Uploads'.............................................................................................'6"
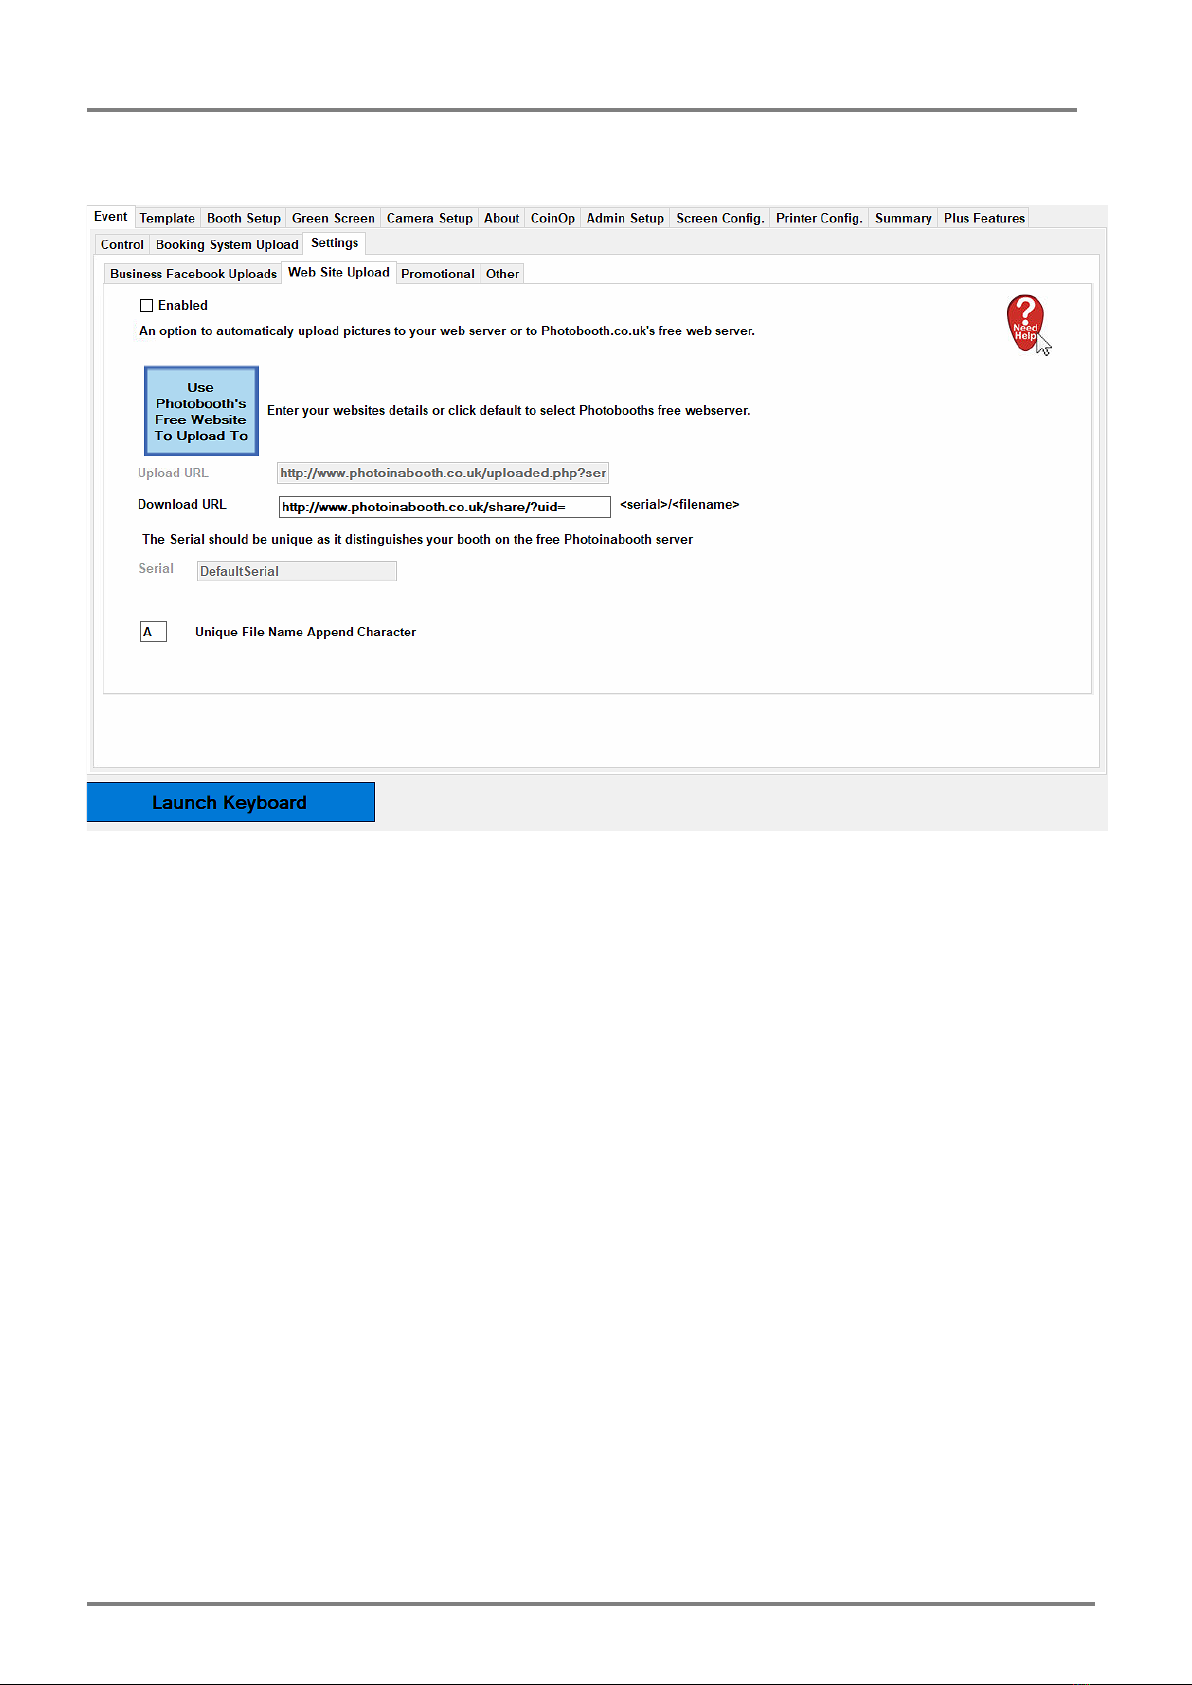
Event >> Settings >> Web Site Upload'..................................................................................................................'7"
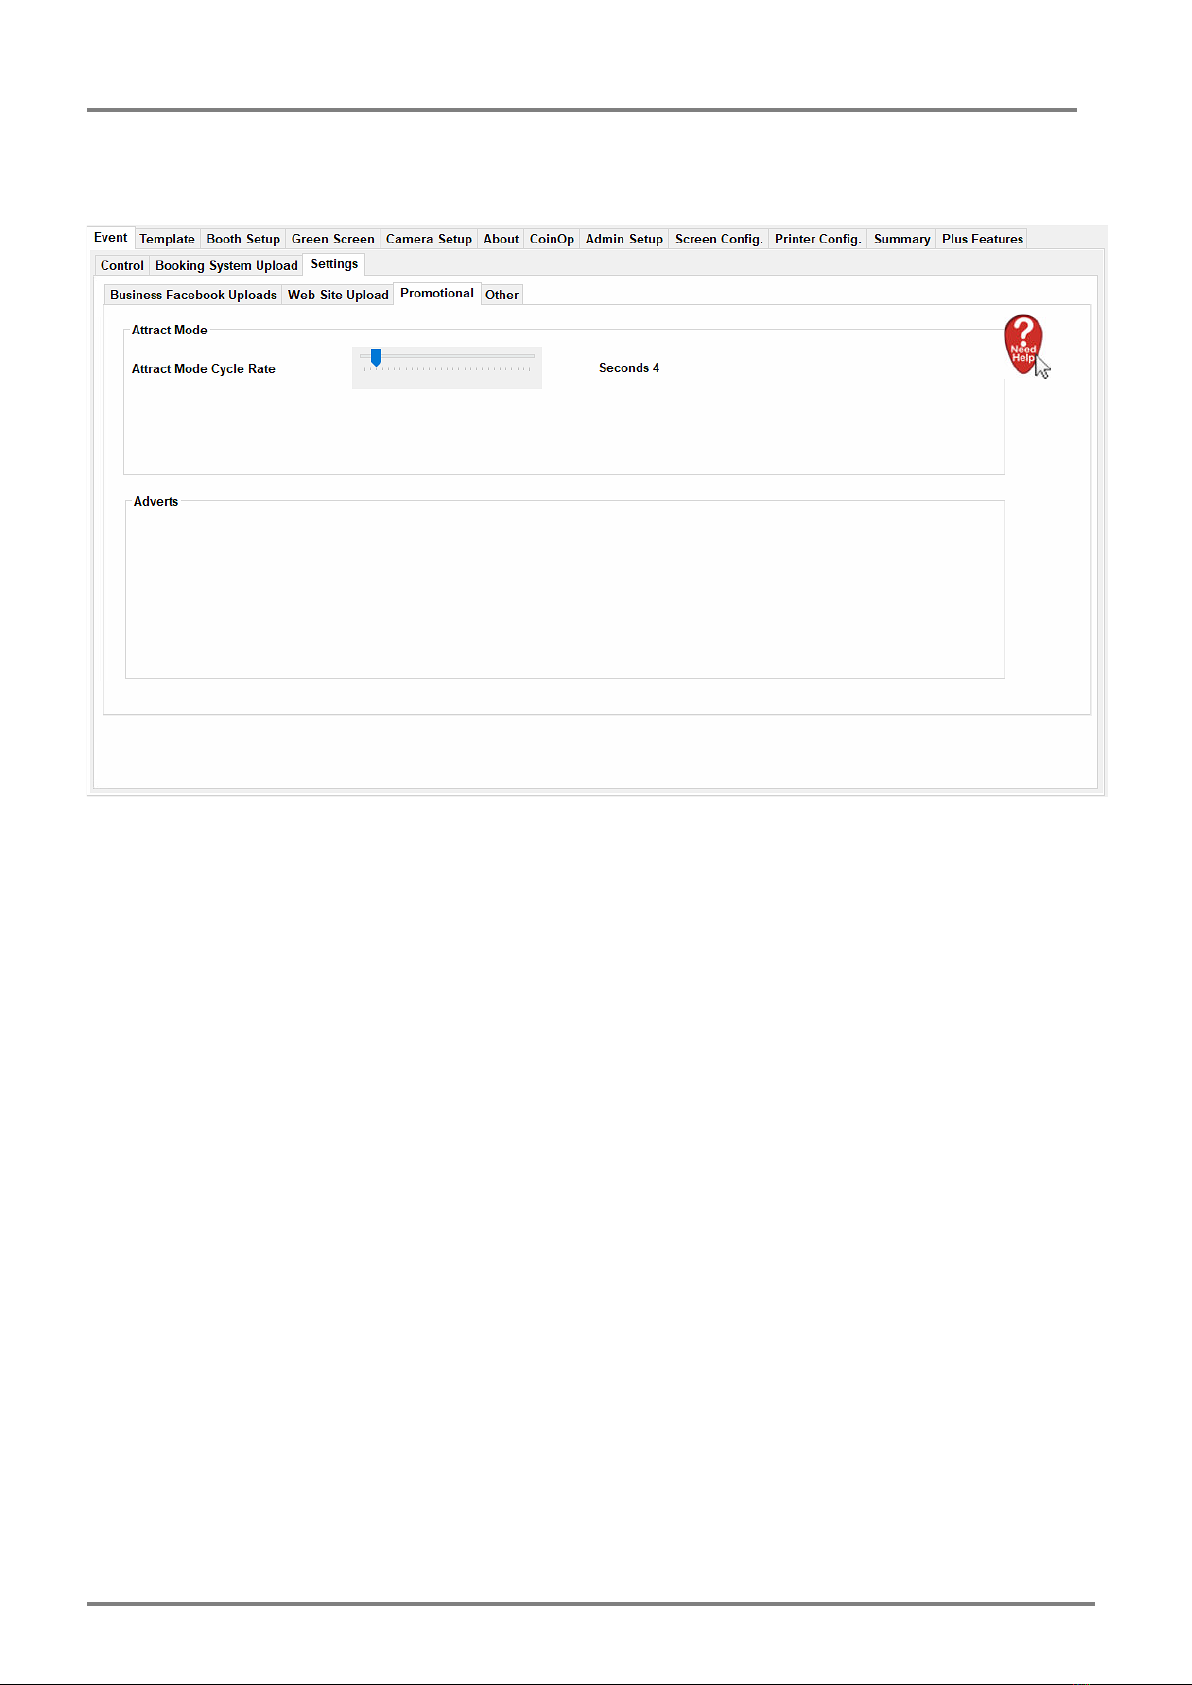
Event'>>'Settings'>>'Promotional'..............................................................................................................................'8"
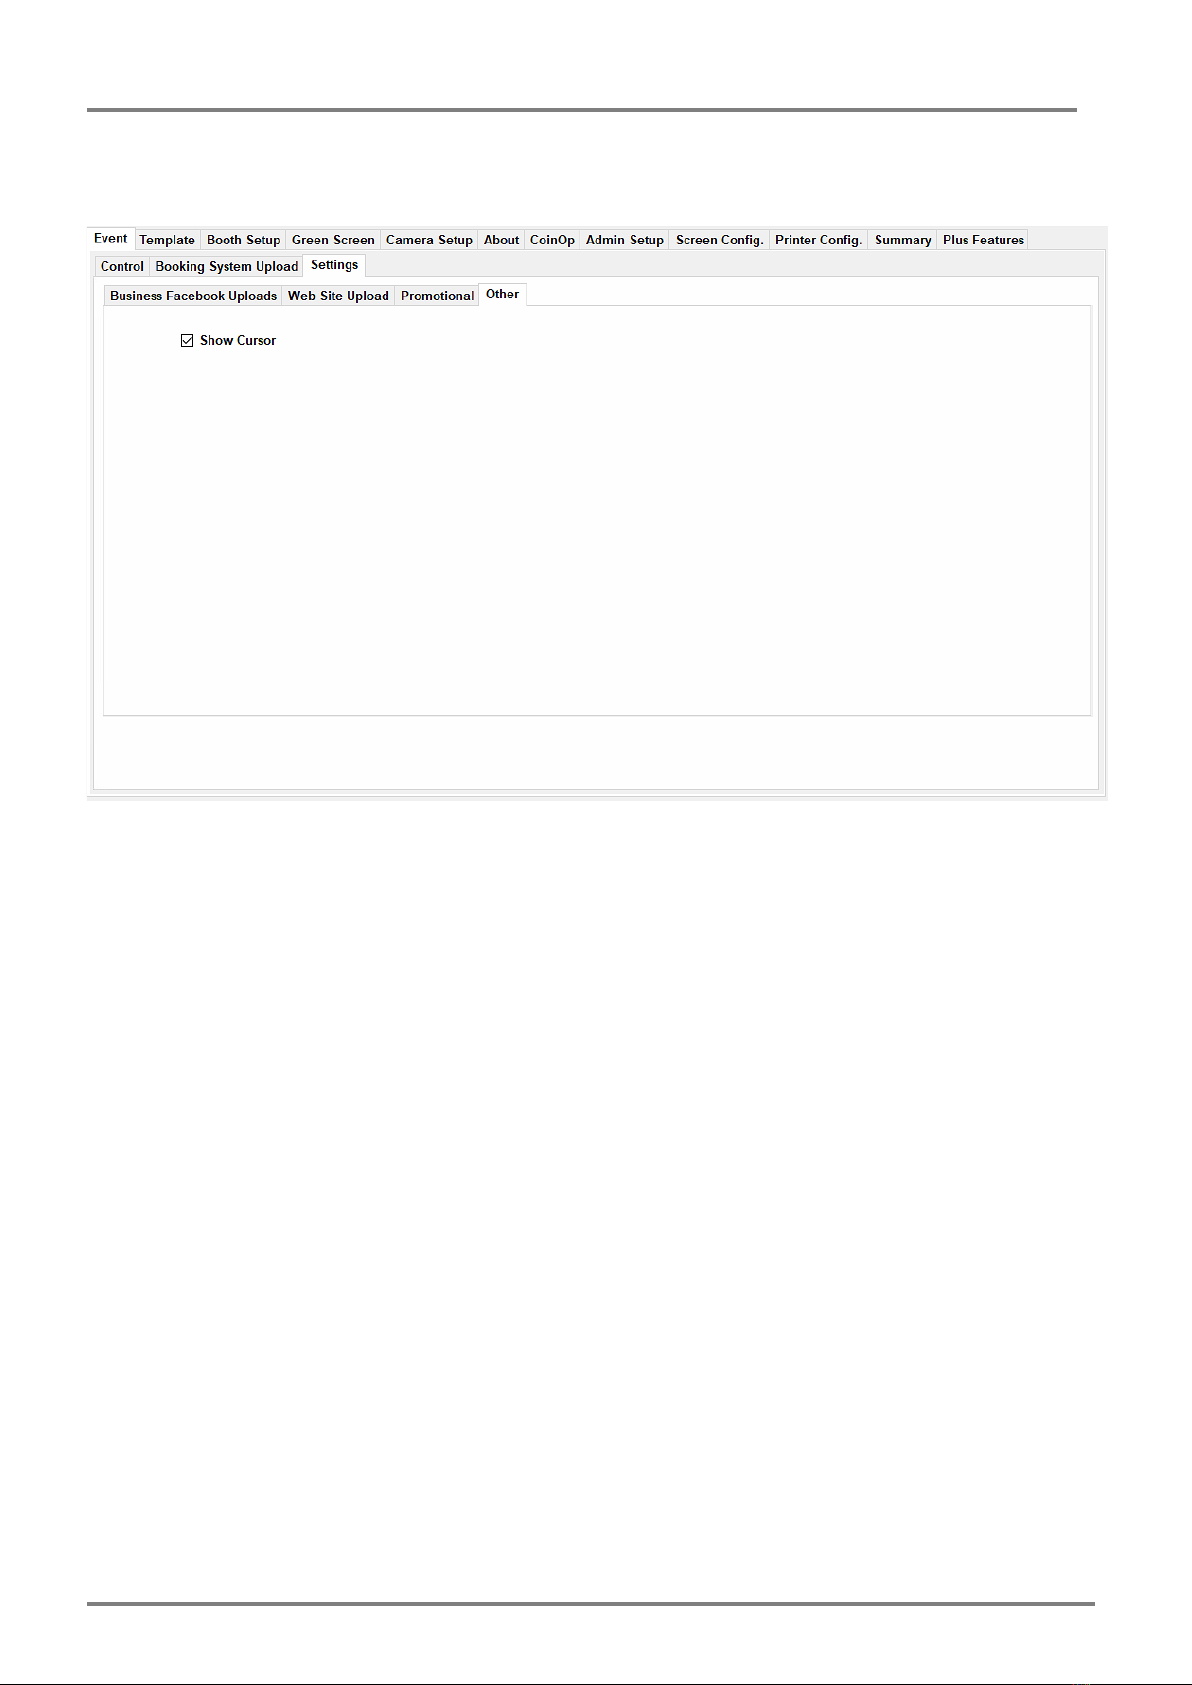
Event'>>'Settings'>>'Other'...........................................................................................................................................'9"
Template'Tab'......................................................................................................................................................'10"
Template >> Multi Photo Layout'............................................................................................................................'10"
Layout >> Single Photo Layout'..............................................................................................................................'11"
Layout >> Promotional'..............................................................................................................................................'12"
Booth'Setup'Tab'.................................................................................................................................................'13"
Booth Setup >> Language'.......................................................................................................................................'13"
Booth Setup >> Preview Windows'.......................................................................................................................'14"
Booth Setup >> Functions and Appearance "User Options, User Options 2, Other Art, Other
Art options 2'15"
Booth Setup >> Functions and Appearance "Shooting Options'..........................................................'16"
Booth Setup >> Functions and Appearance "PB Pro +'............................................................................'17"
Booth Setup >> Functions and Appearance "One Shot Options'..........................................................'17"
Booth Setup >> Functions and Appearance "Kiosk Background'........................................................'17"
Booth Setup >> Functions and Appearance "Main Screen Layout'......................................................'18"
Green'Screen'.......................................................................................................................................................'19"
Camera'Setup'......................................................................................................................................................'20"
About'Tab'.............................................................................................................................................................'21"
CoinOp'...................................................................................................................................................................'21"
Admin'Setup'........................................................................................................................................................'23"
Screen'Config'.......................................................................................................................................................'24"
Printer'Config.'.....................................................................................................................................................'25"
Summary'Tab'......................................................................................................................................................'26"
Setting'Up'the'SLR'Camera'–'Canon'Range.'...............................................................................................'27"
The Resolution'..............................................................................................................................................................'27"
Setting the Timeout'.....................................................................................................................................................'28"
Setting Up the Flash'...................................................................................................................................................'29"
Auto Focus / Manual Focus.'....................................................................................................................................'30"
Updating Your Software'............................................................................................................................................'31"

PB Pro Companion Guide © Resus Digital Limited 2018
Manual Version 3.02 October 2nd
2"
"

PB Pro Companion Guide © Resus Digital Limited 2018
Manual Version 3.02 October 2nd
3"
Opening Screen
On the Opening Screen (shown Above) if you SHIFT + Click on the area marked in Gray open up the Admin
Panel.

PB Pro Companion Guide © Resus Digital Limited 2018
Manual Version 3.02 October 2nd
4"
This can be entered by using the On Screen Keyboard, or by using a physically connected keyboard to the
computer.
If you have entered this by accident clicking the Cancel Button top left will return you to the PB Pro opening screen.

PB Pro Companion Guide © Resus Digital Limited 2018
Manual Version 3.02 October 2nd
5"
Initial Options in the Admin Section – Left hand Column
"
Create New Event – Setup for a new event.
Settings Save – Save all current Admin Settings (but stay in Admin)
Settings Save and Close – Save all current Admin Settings and Close the Admin
Close No Save – Close the Admin, don’t save anything.
Quit Application – Quit’s the PB Pro software back to the Desktop
Restart – Restart’s the PC
Shutdown – Shut’s the PC Down.
The Tabs across the top of the Admin Panel allows you to access certain areas.
We will go through each of these Tabs in Turn.

PB Pro Companion Guide © Resus Digital Limited 2018
Manual Version 3.02 October 2nd
6"
Admin Control
Event Tab
Event >> Control
"
"
"
The Event Control tab allows us to manipulate current events, copy clear and delete events
where applicable.
By selecting an event in the drop down box you can view images (which will show in the white
box). When viewing these images you can select the images and also Copy clear or delete an
event.
Event >> Booking System Upload
The Booking System Upload Tab are now deprecated options and no longer in use.
Event >> Settings >> Business Facebook Uploads
The Facebook Business Uplaods is now deprecated (ceased by Facebook) and is no longer in
use.

PB Pro Companion Guide © Resus Digital Limited 2018
Manual Version 3.02 October 2nd
7"
Event >> Settings >> Web Site Upload
"
"
Website Upload allows you to upload your images to a web page for viewing. Please contact us
for Website uploads to our or your own server*.
* Requires a hosting account and domain name.

PB Pro Companion Guide © Resus Digital Limited 2018
Manual Version 3.02 October 2nd
8"
Event&>>&Settings&>>&Promotional&
"
The Promotional Attract mode Cycle Rate is the speed at which the opening Graphics (when in
Coin Op Mode) displays on refreshes on screen.

PB Pro Companion Guide © Resus Digital Limited 2018
Manual Version 3.02 October 2nd
9"
Event&>>&Settings&>>&Other&
"
This simply allows you to hide or show the cursor on screen when using the Software with
Touch Screens.

PB Pro Companion Guide © Resus Digital Limited 2018
Manual Version 3.02 October 2nd
10"
Template Tab
Template >> Multi Photo Layout
"
"
Using all the options on this page allows you to layout 4 Up images.
Backdrop – This will allow you to set a solid colour or use a Background Image.
Picture1 – Alter and move the picture around on the live view and use the settings in this tab to
finely tune your layout. This is the same for Picture2, 3 and 4. Additional options allow the
pictures to be turned on, orientation, angle scale and transparency.
You can add a Logo of text, graphic or QR code by clicking the optional buttons. This will
provide additional tabs below that can be indidivudally setup for each item. Multiple logo’s and
text can be added to each layout.
You can also choose Strip printing options in the Strip print sub-window. This will require a
printer to allow the strip printing and Printer settings will need to be set in the Printer Config.
Tab.
After complete selecting Save Template will save this layout for future use (Select Template).

PB Pro Companion Guide © Resus Digital Limited 2018
Manual Version 3.02 October 2nd
11"
Layout >> Single Photo Layout
"
"
"
Similar in layout to the Multi Photo Layout you can add Logo’s Text or QR codes, as well as
altering the Background Image/Solid Colour and alter the aspect settings of the Single image
(picture1).
After complete the layout can be saved (Save Template) and restored using Select Template.

PB Pro Companion Guide © Resus Digital Limited 2018
Manual Version 3.02 October 2nd
12"
Layout >> Promotional
"
"
"
If your at a promotional event you can use this tab to print out an additional page as a
promotional item.

PB Pro Companion Guide © Resus Digital Limited 2018
Manual Version 3.02 October 2nd
13"
Booth Setup Tab
Booth Setup >> Language
"
To change the Software’s used language select from the drop down box. A restart may be
required after saving from the admin before using the new language.

PB Pro Companion Guide © Resus Digital Limited 2018
Manual Version 3.02 October 2nd
14"
Booth Setup >> Preview Windows
"
Onscreen live previews and the final image preview can be altered in size to cater for different
screen sizes and for performance (when run on a slower running processor).

PB Pro Companion Guide © Resus Digital Limited 2018
Manual Version 3.02 October 2nd
15"
Booth Setup >> Functions and Appearance
User Options, User Options 2, Other Art, Other Art options 2
"
All used icons within the software can be altered within the User Options and User Options 2
tab’s. As well as various personal preference options that can be turned on/off.

PB Pro Companion Guide © Resus Digital Limited 2018
Manual Version 3.02 October 2nd
16"
Booth Setup >> Functions and Appearance
Shooting Options
"
This tab allows the public facing options to be altered in detail to cater for what type of event you
have. In the screen shot above for example we see that Single or Multiple (Group Shot) options
are selected for Sing, Multi shot and also enabling the green screen option.
Also the webcam option is enabled again for single or multi shot.
All the options in this tab are selected and enable/disable all public facing options as personal
preference. It is worth experimenting with these options to get the desired effect.
Note: For new Booth setups it’s worth keeping things as simple as possible before getting a few
events out the way.

PB Pro Companion Guide © Resus Digital Limited 2018
Manual Version 3.02 October 2nd
17"
Booth Setup >> Functions and Appearance
PB Pro +
"
This options is currently in Alpha setting and is not currently supported.
Booth Setup >> Functions and Appearance
One Shot Options
This option allows you to select the number of printers require for that particular shot (it doesn’t
keep the setting), this is useful if a group of people require a print each.
Booth Setup >> Functions and Appearance
Kiosk Background
Deprecated and replaced with Main Screen Layout.

PB Pro Companion Guide © Resus Digital Limited 2018
Manual Version 3.02 October 2nd
18"
Booth Setup >> Functions and Appearance
Main Screen Layout
The on screen layouts can be altered in numerous ways.
Utilising the options in this tab you can alter the Background, selecting an image or Solid colour,
as well as add a Logo, Text Strap Line, Event Name and optional Instructions.
Clicking the Preview Button after altering the options will show the updated layout in the Preview
Window.
Note: Make sure background images are kept to the size of the screen, choosing an overly large
background image results in the image being scaled down, but will still use the full size so can
take up a large amount of memory.
Background Images are best as JPEG images, try and keep the compression down to around
60% to keep sizes down.
"&

PB Pro Companion Guide © Resus Digital Limited 2018
Manual Version 3.02 October 2nd
19"
Green Screen
"
"
Nine green screen options can be shown on screen for customers to choose as well as pre-
chosen group sets.
To alter the Green Screen image options select the image in the left hand panel then choose
Delete under the highlighted option.
Then to add an additional image select Add (Add will only be available if a slot is available for a
green screen).
The the Pre-Chosen set select Add on follow the onscreen instructions to add in additional
images. A green + icon top left of the window allows new images to be chosen.
The Horizontal Flip option allows you to flip all the images horizontally.
"&

PB Pro Companion Guide © Resus Digital Limited 2018
Manual Version 3.02 October 2nd
20"
Camera Setup
"
Setting options for SLR camera and Webcam can be altered to suit on this page.
Select the Camera you require from the Canon Drop Down Menu. Then you can select the
orientation.
Next select the Webcam from the drop down menu (for taking photos).
The other options are personal preference, you can alter the Live View Max Frame Rate to suit
the power of the machine it is currently running on.
The Video options by default match the best results, but you can alter them also to suit your
needs if required.
Table of contents