RETRO EMRX User manual

AQUA/LAMP®POOL LIGHTS
Replaces existing:

2
3
4
5
6
7
10
11
13
CONTENTS
PRODUCT SUPPORT & INFORMATION
CANADA INTERNATIONAL
Select Pool Products Spa Electrics PTY LTD
www.spaelectrics.com
www.selectpoolproducts.ca
Tel: 1-855-881-0889
Email: info@selectpoolproducts.ca
1
READ THIS FIRST / PRODUCT WARNINGS
TOOLS REQUIRED / WINTERIZATION
INCLUDED PARTS
BEFORE YOU START
EXISTING LIGHT REMOVAL / CABLE PREPERATION
CABLE JOINER INSTALLATION
LIGHT INSTALLATION
LIGHT REMOVAL / WINTERIZATION
ELECTRICAL GROUNDING / FCC COMPLIANCE

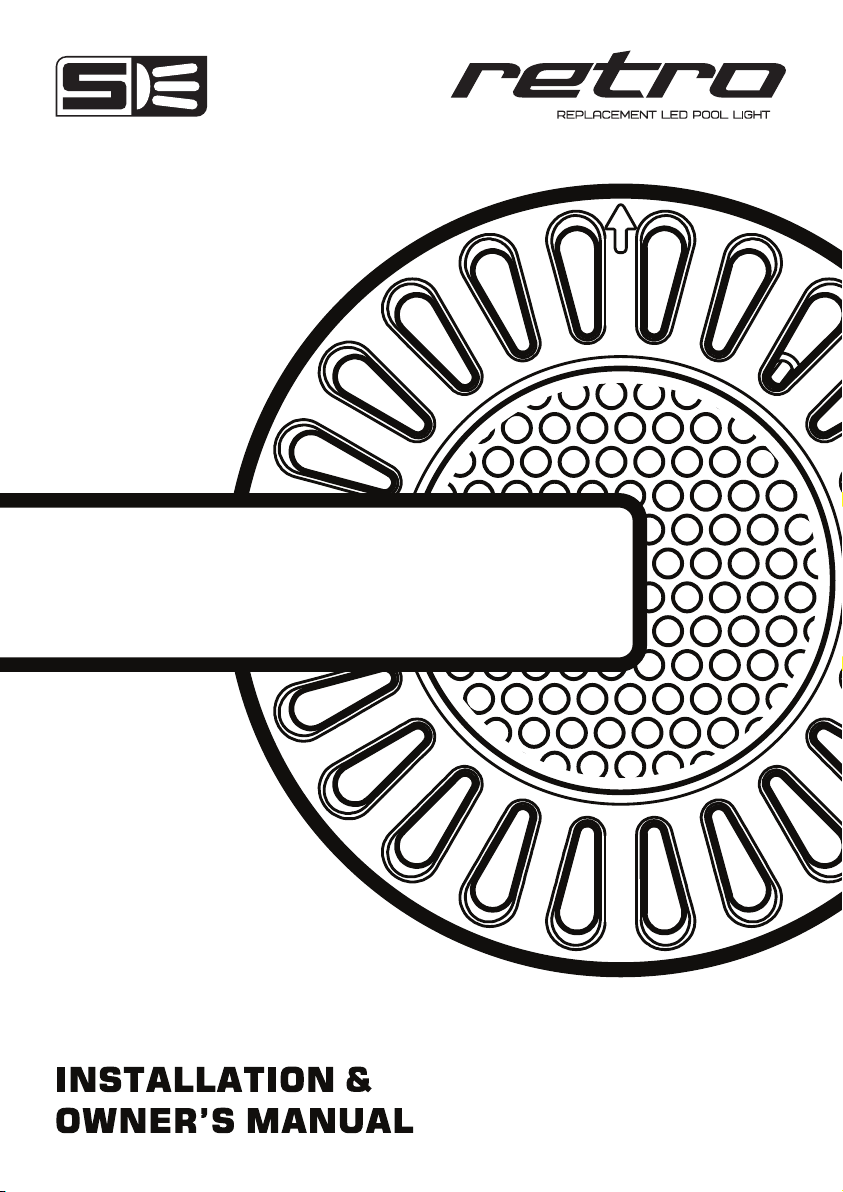
Congratulations on your purchase of a Spa Electrics ATOM Retro Series pool light,
for safe and proper installation, please read the installation manual carefully
prior to product installation.
For safe & proper installation, use only parts (screws, plugs, sealant etc) provided.
The ATOM Retro Series EM Light must be water cooled at all times. DO NOT switch
the light on until installation is complete and the light is fully submerged in water.
Ensure sufficient cable is coiled behind the light to allow for servicing
Ensure only circular cable not exceeding 14mm diameter is connected to the
supplied cable joiner. The use of Figure 8 or non circular cable will prevent correct
sealing & will void the product warranty.
The ATOM Retro Series EM Light does not contain any user serviceable parts,
opening the light head will void the product warranty.
Pool chemicals & pH levels: Due to the corrosive nature of unbalanced pool
chemicals, Spa Electrics strongly recommends that your pool water is balanced
prior to installing your pool Lights or any plastic or stainless steel components,
and tested weekly to maintain these levels. pH levels should be maintained between
7.2- 7.6 at all times to ensure the longevity of these components.
Failure to do so can result in chemical damage to the light housing and
pool fittings, including stainless steel components.
Please note: Lights or components found to have excessive chemical
damage will not be covered under our manufacturer’s warranty policy
READ THIS FIRST
WARNING
The ATOM light must only be used with a UL listed 12V AC power supply or a power source
intended for swimming pool use (not included).
Minimum power source wattage requirement - 15 Watts per light.
ELECTRICAL SUPPLY NOTICE
2

TOOLS REQUIRED
Side cutters / Pliers
Small flat-blade screwdriver (supplied)
24mm / 29mm wrench (supplied)
• The use of power tools during installation is not recommended as these
devices can cause faults and damage to light components.
• All installation steps should be carried out with manual tools only.
• The enclosed images are for illustrative purposes only. Appearances of parts
and assemblies may vary from the enclosed illustrations.
• Please contact your reseller if you have any questions regarding the correct
installation of this product.
IMPORTANT NOTES
WINTERIZATION
• Lights must be removed from pool wall and cable disconnected via plug &
stored in a dry and safe place. Cable joiner should remain connected.
• Red Terminal Cover must be fitted to Plug Top during the winter.
• Consult your local pool professional for complete pool winterization process.
3

1 X RETRO LIGHT
PLUG CONNECTION
UNDERWATER
CABLE JOINER
INCLUDED PARTS
ADAPTOR PLATE
(To suit existing AQUA/LAMP® )
SCREW DRIVER WRENCH
18” OF 18AWG CABLE
24
29
PREASSEMBLED
TERMINAL
COVER FOR
WINTERIZATION
4

ON
OFF
BEFORE YOU START
1ISOLATE POOL LIGHTS
2CHECK TRANSFORMER
EXISTING TRANSFORMER
MUST BE:
EXISTING TRANSFORMER
MUST NOT BE:
MIN. 15 WATT (PER LIGHT)
IN GOOD WORKING ORDER
DC OR ‘LED DRIVER’
ELECTRONIC OR SWITCH MODE
WEATHER DAMAGED OR IN
OTHERWISE POOR CONDITION
12V AC POWER
SUPPLY/POWER SOURCE
INTENDED FOR SWIMMING POOL USE
ENSURE SYSTEM IS SAFELY
ISOLATED DURING THE
INSTALLATION PROCESS.
IF IN DOUBT; CONTACT YOUR
ELECTRICAL CONTRACTOR FOR
ASSISTANCE.
5

REMOVAL OF EXISTING LIGHT
REMOVE EXISTING POOL
LIGHT FROM POOL WALL BY
ROTATING CENTRE LIGHT FITTING
COUNTER-CLOCKWISE.
DISCONNECT CABLE TO
EXISTING POOL LIGHT,
ENSURING ENOUGH CABLE
LENGTH REMAINS IN THE
NICHE ABOVE THE
NOMINAL WATER LEVEL TO
ENSURE SERVICE ACCESS.
1.
1.
2.
STRIP CABLE OUTER AND
INNER SHEATHS TO THE
BELOW LENGTH.
1REMOVE EXISTING LIGHT
2PREPARING EXISTING CABLE
10mm
EXISTING CABLE
10mm
NICHE LIGHT
1
2
6

LOOSEN OUTER CABLE
GLAND NUTS.
LOOSEN AND REMOVE
BOTH THREADED HEX
NUTS USING 29mm
WRENCH.
PLACE CABLE GLAND NUT
AND THREADED HEX NUT
OVER RETRO LIGHT CABLE.
INSTALLING CABLE JOINER
1OPEN CABLE JOINER
2CONNECT RETRO LIGHT CABLE
1
1
2
2
24mm
RETRO
LIGHT
EXISTING
CABLE
29mm
IMPORTANT
CONNECT WIRES TO
TERMINAL BLOCK USING
FLAT BLADE SCREW
DRIVER.
7

INSTALLING CABLE JOINER
SLIDE THREADED HEX NUT
OVER TERMINAL BLOCK.
ENSURING CABLE SHEATH
EXTENDS INSIDE THE
ASSEMBLY.
3
TIGHTEN CABLE GLAND NUT
USING 24mm WRENCH.
4
ATTACH MAIN BODY AND
TIGHTEN USING 29mm
WRENCH.
5
8

INSTALLING CABLE JOINER
3CONNECTING TO EXISTING CABLE
SLIDE THREADED HEX NUT OVER
TERMINAL BLOCK AND TIGHTEN ONTO
MAIN BODY USING 29mm WRENCH.
PLACE CABLE GLAND NUT AND THREADED
HEX NUT OVER EXISTING LIGHT CABLE.
1
1
2
3
TIGHTEN CABLE GLAND NUT
USING 29mm WRENCH.
4
2CONNECT WIRES TO TERMINAL BLOCK
USING FLAT BLADE SCREW DRIVER.
9

LIGHT INSTALLATION
1COIL CABLE INTO NICHE
2ATTACH LIGHT FITTING TO NICHE
ALIGN ADAPTOR PLATE
WITH EXISTING MOUNTING
TABS.
1
1.
2.
TWIST LIGHT ASSEMBLY
(INCLUDING ADAPTER
PLATE) CLOCKWISE TO
ENGAGE MOUNTING TABS
AND LOCK INTO POSITION.
2
10

INSTALLATION COMPLETE
ON
OFF
INSTALLATION IS NOW
COMPLETE. TURN POWER
ON TO CONFIRM
OPERATION.
TURN
POWER
ON
WINTERIZATION
1REMOVE LIGHT FROM NICHE
1TWIST LIGHT ASSEMBLY
(INCLUDING ADAPTER
PLATE) COUNTER-CLOCK-
WISE TO RELEASE FROM
NICHE.
11

2REMOVE PLUG FROM LIGHT
UNSCREW 3x FASTENERS
USING NO.2 PHILLIPS
HEAD SCREWDRIVER
2
1
ASSEMBLE RED TERMINAL COVER TO
PLUG USING NO.2 PHILLIPS HEAD
SCREWDRIVER
[RECOMMENDED] STORE PLUG AND
CABLE WITHIN NICHE DURING WINTER
PERIOD
1
2
3
ASSEMBLE TERMINAL COVER TO PLUG & STORE IN NICHE
STORE LIGHT HEAD WITH ATTACHED
ADAPTER PLATE IN A DRY AND SAFE
PLACE DURING THE WINTER SEASON
3
12

This device complies with part 15 of the FCC rules. Operation is subject to the following two (2) conditions:
(1) This device may not cause harmful interference, and
(2) this device must accept any interference received, including interference that may cause undesired
operation.
Note: This equipment has been tested and found to comply with the limits for a Class B digital device, pursuant
to part 15 of the FCC Rules. These limits are designed to provide reasonable protection against harmful
interference in a residential installation. This equipment generates, uses and can radiate radio frequency energy
and, if not installed and used in accordance with the instructions, may cause harmful interference to radio
communications. However, there is no guarantee that interference will not occur in a particular installation.
If this equipment does cause harmful interference to radio or television reception, which can be determined
by turning the equipment off and on, the user is encouraged to try to correct the interference by one or more
of the following measures:
• Reorient or relocate the receiving antenna.
• Increase the separation between the equipment and receiver.
• Connect the equipment into an outlet on a circuit different to that to which the receiver is connected.
• Consult the dealer or an experienced radio / TV technician for help.
Do not make any changes or modifications to the equipment unless otherwise specified in the manual.
FCC COMPLIANCE STATEMENT
ELECTRICAL GROUNDING
AQUA/LAMP® is registered trademark of Consolidated Pool & Spa Industries Inc Canada.
Spa Electrics Export Pty Ltd Australia and it’s ATOM and RETRO brands are not affiliated or endorsed by these companies and/or their brands.
Underwriters Laboratories (UL) Statement
Per the NEC, NFPA 70, Article 680.23 (B)(5), states that bonding shall not be required
for luminaires that are listed for the application and have no non-current carrying metal
parts. In addition, per Article 680.26 (B)(4), exception states that Listed low-voltage
lighting systems with non-metallic forming shells shall not require bonding.
Therefore, luminaires with polymeric/non-current carrying metal parts
are not required to be grounded / bonded.
Manufacturers Statement
Spa Electrics ATOM & QUANTUM (EM & WN9) luminaires with their plastic housing
designs and plastic niches do not require grounding / bonding.
Spa Electrics ATOM & QUANTUM (EM & WN9) lights have also been determined
to comply with the applicable requirements for wet-niche, LED type Swimming Pool
and Spa Luminaires.
13


NOTE
PLEASE STORE THIS
MANUAL IN A SAFE PLACE
FOR FUTURE REFERENCE
COPYRIGHT 2020 SPA ELECTRICS PTY. LTD.
ALL RIGHTS RESERVED
CA 20211103
www.spaelectrics.com
Table of contents
Other RETRO Underwater Lighting manuals