Retroaktiv MPG-50 User manual

OWNER’S MANUAL
MANUAL VERSION 1.0 for MPG-50
OS 1.0

RETROAKTIV MPG-50 OWNER’S MANUAL
2
FEATURES
Real time control of all Alpha
Juno tone parameters
The MPG-50 is a MIDI controller designed to
work with the Alpha Juno 1 & 2, and MKS-50
synthesizers. It can control 2 of these synthe-
sizers from one MPG-50 and provides the ability
to cross-fade between the 2 synths.
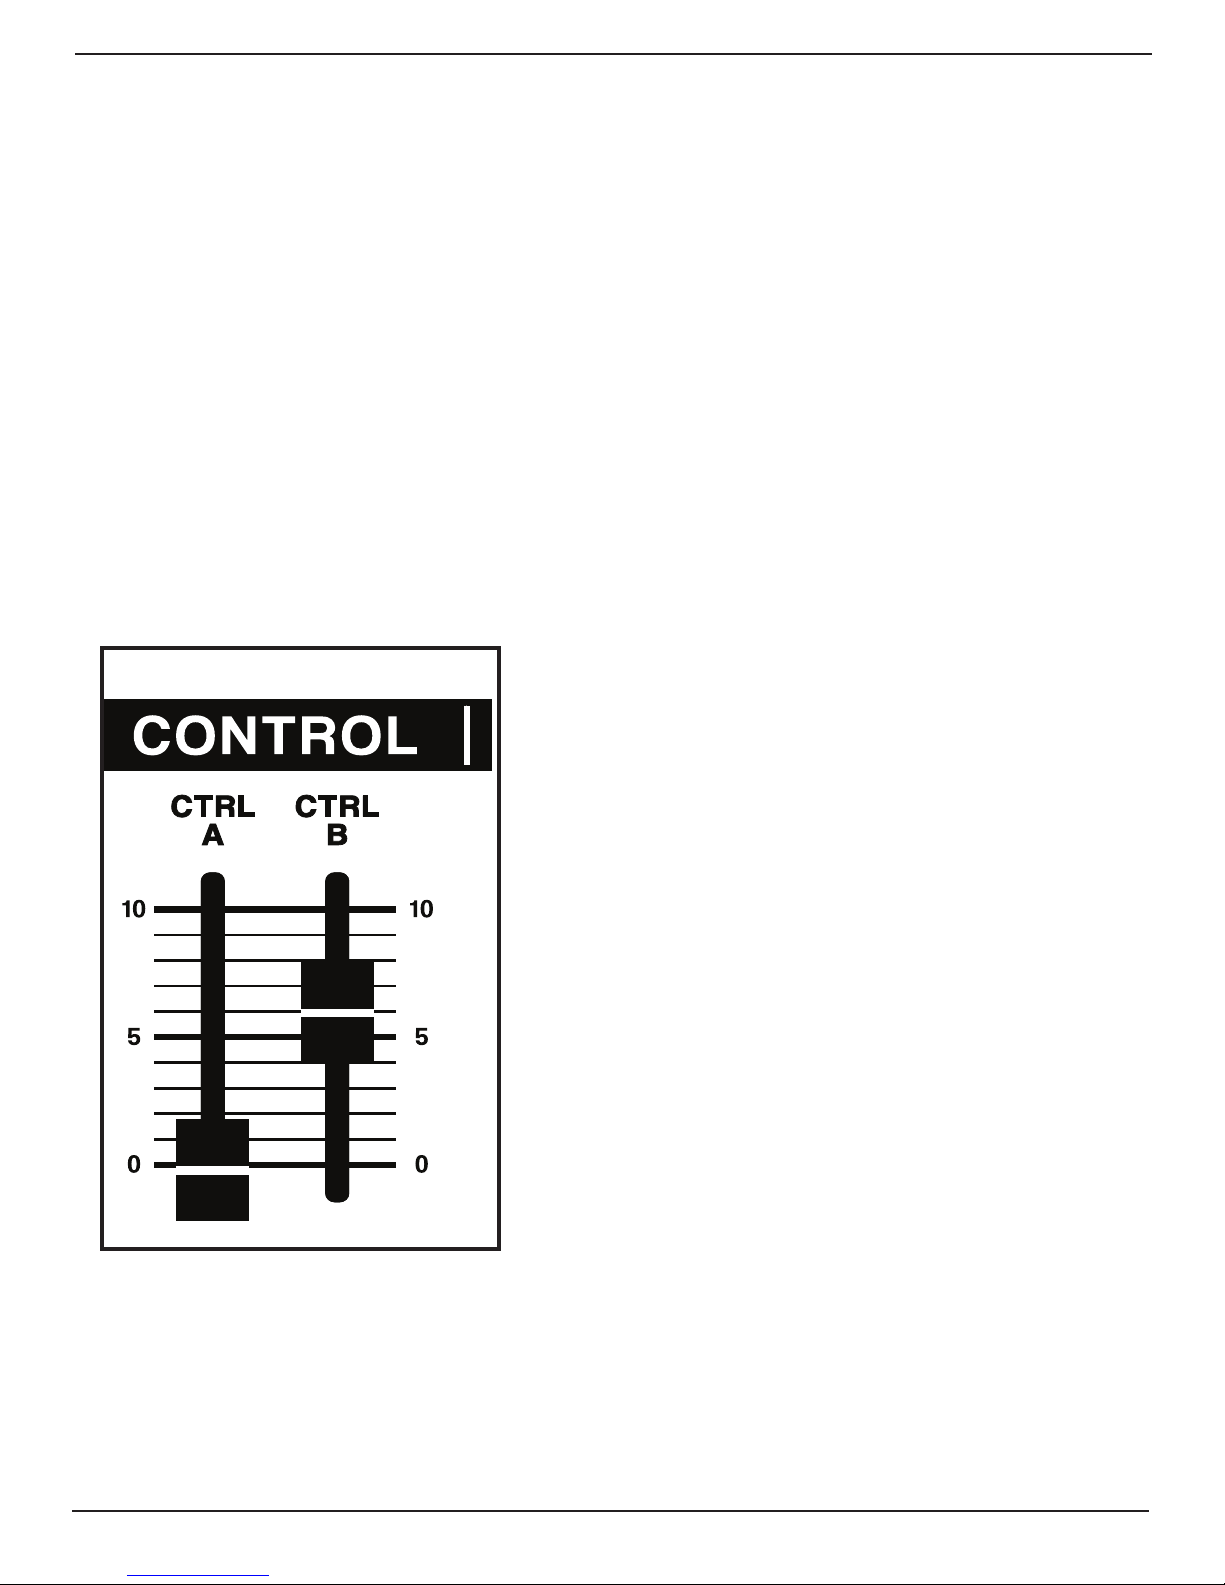
Flexible assignable controllers
allow new ways of animating
tones
Two assignable sliders (CTRL A & CTRL B) and an
expression pedal input allow for real time over
up to 5 simultaneous tone parameters each.
Use a slider to spen a filter while simultaneous-
ly increasing the chorus rate and decreasing
the filter resonance. The range of each tone
parameter can be selected, and the response
can be inveed.
CC mode transmits and de-
codes CC messages for easy
DAW integration
In CC mode, the MPG-50 will transmit SYSEX to
the synth whenever a slider is moved, and it will
simultaneously send a MIDI CC message that
can be recorded with a DAW. Playing the re-
corded CC back into the MPG will translate the
data back into SYSEX and transmit to the synth.
Random tone generator creates
beautiful, musical tones at the
press of a button
The RANDOM TONE GENERATOR on the MPG-50 is a
poweul tone creation tool featuring the ability to
randomize all of the tone parameters in a musical
way, or to generate completely random tones. Using
the category select, generate pads, brass, strings,
basses, and more. Each section of the synth can be
“masked” so the randomizer will not change that sec-
tion when it generates a new tone. Like the filter set
where it is? Mask the VCF and it won’t get changed!
Route incoming mod wheel and
aftertouch messages to any 5 tone
parameters each
Create amazingly expressive sounds using an exter-
nal midi controller by using the on-board assignable
controls to respond to incoming mod wheel and
aeouch messages. Mod wheel and aeouch can
be routed to up to 5 tone parameters each.
Can be rack mounted, used as a
tabletop controller, or mounted
to the Alpha Juno using the music
holder mounting holes.
Flexible format allows unit to be rack mounted with
optional rack ears. Has 4 rubber feet on the boom
for firm tabletop placement. For Alpha Juno users, an
optional mounting stand is available, allowing for the
MPG-50 to be firmly mounted to the leyboard using
the music holder mounting holes.

RETROAKTIV MPG-50 OWNER’S MANUAL
3
12 3
1 ) MIDI In & MIDI Out Jacks
Allows for MIDI connections to and from the
controller. Incoming MIDI messages are re-
ceived from a controller keyboard and are read
and relayed to the synthesizer via the MIDI
OUT po. Controller data from the MPG-50 is
merged with incoming MIDI data and sent to the
synthesizer.
2 ) Expression Pedal Jack
For connection of a variable expression ped-
al for use with the ASSIGN P function on the
MPG50. Roland, Moog, and Kurzweil expression
pedals have been found to work well with the
MPG50.
3 ) DC Power Jack & Switch
For use with a 9V-12V DC power adapter with
the positive connection on the center pin. The
MPG50 consumes 25mA.
Getting Started
To begin using the MPG-50 connect the DC power adapter to the DC power jack and use the ON/OFF
buon in the rear of the unit to turn on. When power is applied, the MPG-50 splash logo will be dis-
played on the OLED display. The version of the MPG-50 operating system
To communicate with the synthesizer plug the MIDI OUT of the MPG50 into the MIDI IN of the synth.
This will allow the MPG to transmit controller data to the synthesizer. If using an external MIDI con-
troller, plug the MIDI OUT of the external controller into the MIDI IN of the MPG. This will merge the
output of the external controller and the MPG, eliminating the need for a MIDI MERGE when using a
controller keyboard and the MPG to play the Alpha Juno. If you’re sending dense streams of control-
ler data (using a 5 layer ASSIGN, sending to 2 Junos, for example) consider upgrading to a dedicated
hardware merger to merge your keyboard data with the MPG output stream. The MPG hardware buf-
fers are only so large, and you can overwhelm it if you’re sending in lots of aeouch and mod wheel
data that it has to transmit.

RETROAKTIV MPG-50 OWNER’S MANUAL
4
MENU NAVIGATION
The MPG-50 will display the MAIN menu screen when booted up. Menus can be selected by using the
buons to the le of the display. On menu pages that feature the cursor, move the cursor using the LEFT and
RIGHT buons. To change a parameter value in a menu, use the black rotary encoder dial. Push the encoder
in to use the SHIFT function. The SHIFT function is used to toggle a buon’s second function. For example,
holding SHIFT and pressing the RIGHT buon will transpose the Alpha Juno’s DCO up one octave. Pressing LEFT
while holding shi will transpose the DCOs one octave down.
There are several menu pages on the MPG-50. To access a menu, use the navigation buons on the front
panel. The LEFT and RIGHT buons are used to navigate the cursor when in a menu other than the MAIN
menu. There are multiple menus that you can access using the front panel menu buons. Use the following
buons to access the various menus:
MIDI BUTTON - Use the MIDI buon to navigate to the MIDI seings menu. The MIDI seings menu contains
the seings used to select the MIDI channels of the MAIN and AUX synths, as well as the model of synth being
controlled, and the protocol that synth will respond to.
PATCHGEN BUTTON - Use the PATCHGEN buon to access MANUAL MODE, the SCRATCH PATCH GENERATOR, and
the RANDOM TONE GENERATOR.
ASSIGN BUTTON - Use the ASSIGN buon to access the assignable controller seings, to route incoming mod
wheel, breath control, and aeouch messages to Juno parameters, or to LOAD and STORE user-created AS-
SIGNs.
MAIN BUTTON - Use the MAIN buon to jump to the MAIN screen at any time from any other menu. If in the
MAIN menu, use the MAIN buon to jump to the patch menu for the MKS-50, or the Alpha Juno seings page.
Use the SHIFT+MAIN buon to select which layer (MAIN, AUX, or BOTH) the MPG-50 is controlling.

RETROAKTIV MPG-50 OWNER’S MANUAL
5
ENTER BUTTON - The ENTER buon is a general purpose buon that has different functions, depending on the
page that you’re current;y in. If on the MAIN screen, use ENTER to check the CC assignment of any slider on
the MPG.
LEFT & RIGHT BUTTONS - Use these to navigate the cursor position on the MENU pages. Holding SHIFT and one
of these buons will transpose the octave of the current layer being controlled.
ENCODER - Use the ENCODER to change the value of any highlighted menu value. Pressing the ENCODER =
SHIFT.
MIDI MENU
The MIDI MENU contains the seings used for communicating with the synth(s) you plan on program-
ming with the MPG. The MPG uses MIDI to communicate with the AJ & MKS-50. There are 2 “channels” avail-
able on the MPG-50, a MAIN, and an AUX channel. Note that the MAIN and AUX cchannels are not MIDI chan-
nels. They are controller channels. The MPG-50 can control 2 separate MKS-50/AJs from one MPG. One is the
MAIN synth, and the other is the AUX synth. The MPG can control both synths individually or simultaneously.
Use the MAIN/AUX/BOTH toggle to control which synth the MPG is sending control data to.
The MPG uses SYSEX data to communicate with the synthesizer. Whenever a slider on the MPG is moved, the
new value is transmied to the selected synth using SYSEX. Since many DAWs do not allow recording of SYSEX
data, the MPG can also transmit a CC message (See MPG-50 CC Table) whenever a slider is moved. The Juno
will ignore these, but they can be recorded by a standard DAW. If these CC messages are sent back to the
MPG-50, the MPG can translate those messages from CC back into SYSEX and send them to the synth.
To save your MIDI seings as the defaults, press SHIFT+ASSIGN (STORE) when in the MIDI menu.
The MPG can also transmit user-selected CC messages from any slider. (For more info, see CC MENU page)
Transmied USER-CC messages will be sent on the MIDI CHANNELs selected in the MIDI MENU.
MIDI MENU SETTINGS:
MAIN MIDI CH: Sets the MIDI channel of the MAIN synth channel. (1-16)
MAIN PROTOCOL: Use this seing to toggle between sending SYSEX only, or SYSEX + CC with CC translate.
MAIN TYPE: Use to select the model of synth used on the MAIN channel. Select MKS for use with MKS-50. Se-
lect AJ for use with Alpha Juno 1 & 2.
AUX MIDI CH: Sets the MIDI channel of theAUX synth channel. (1-16)
AUX PROTOCOL: Use this seing to toggle between sending SYSEX only, or SYSEX + CC with CC translate.
AUX TYPE: Use to select the model of synth used on the AUX channel. Select MKS for use with MKS-50. Select
AJ for use with Alpha Juno 1 & 2.

RETROAKTIV MPG-50 OWNER’S MANUAL
6
MAIN MENU
The MAIN MENU will display the currently selected Juno parameter and its current value. Pressing MAIN while
in any other menu will navigate to the MAIN screen. If already on MAIN screen, then pressing main will navi-
gate to the MKS-50 and Alpha Juno seings menus. Note that if a parameter is toggled in either the MKS-50
menu or the Alpha Juno menu, that parameter will be transmied to the currently selected layer. For example,
if you are using 2 MKS-50s, then you need to select the synth before sending a PATCH MENU change.
When on the MAIN MENU, pressing ENTER will display the currently assigned USER CC of any slider. Holding
SHIFT and moving a slider will open the ASSIGN CC dialog, which allows users to assign CCs to any slider on the
front panel.
Pressing SHIFT+ENTER when in the MAIN menu will toggle the HOLD function. The HOLD function will send a
SUSTAIN PEDAL ON/OFF message to the currently selected layer.
ASSIGN MENU
FRONT PANEL ASSIGNABLE CONTROLS
The MPG-50 features a poweul feature called an ASSIGN.
There are 3 separate ASSIGNs in the MPG-50: ASSIGN A,
ASSIGN B, and ASSIGN P. Each assign allows users to control
up to 5 Juno parameters using the CTRL A, CTRL B sliders, and
the EXPRESSION PEDAL.
Pressing the ASSIGN buon will navigate to the ASSIGN
menu. The currently selected ASSIGN (A, B, or P) will be dis-
played on the screen. Each press on the ASSIGN buon will
navigate to another ASSIGN.
An ASSIGN can have up to 5 layers each. Each layer of an
ASSIGN contains the following seings:
LAYER NUMBER - The top line of the ASSIGN menu displays
the current assign, as well as how many layers there are in
that ASSIGN, and which of those layers is currently being dis-
played. For example, ASSIGN A LYR 1 OF 5 means that ASSIGN
A is currently selected, and it has 5 layers. Layer 1 seings
are being currently displayed.
PARAMETER: Each layer of an ASSIGN must have a parame-
ter assigned to it. For example, selecting VCF CUTOFF as the
parameter when in ASSIGN A will make the VCF CUTOFF value
change when CTRL A is moved.
MIN & MAX: Use these seings to set the range of the cur-
rently selected parameter in the current layer.
INVERT: Turn INVERT on to inve the current ASSIGN LYR.

RETROAKTIV MPG-50 OWNER’S MANUAL
7
It is easiest to explain how the ASSIGNS work by using an example. Let’s say that you would like to use the
CTRL A slider to sweep the VCF CUTOFF between 30 and 80, while simultaneously sweeping the VCF RESO-
NANCE from 110 to 50. Normally, this would require one hand sweeping the CUTOFF slider up, while the oth-
er hand is sweeping the RESONANCE slider down. By assigning each of these parameters to a single ASSIGN,
this can be done with one hand. To create an assign that does what was just mentioned, select ASSIGN A.
The seings in layer 1 would be as follows:
LYR 1 of 2
VCF CUTOFF
MIN:30 MAX:80
INVERT: OFF
The seings in layer 2 would be:
LYR 2 of 2
RESONANCE
MIN: 50 MAX:110
INVERT: ON
These seings can be entered manually using the cursor to navigate and the encoder to dial in the values,
or a shocut can be used. To automatically fill in all parameters of an ASSIGN layer, hold SHIFT while mov-
ing the parameter to be assigned to the current layer. Moving the slider through the desired range will
automatically enter the MIN and MAX seings. The INVERT seing will be entered when the SHIFT buon is
released. If the final value of the slider is higher than the staing value, then inve will be OFF. If the final
value is less than the staing value, INVERT will be ON. Using this method, it is possible to set up a 5 layer
ASSIGN in a few seconds.
The ASSIGNs correspond to the CTRL A, CTRL B, and EXP PEDAL and moving one of these 3 controllers will
always control the associated ASSIGN. It is also possible to assign incoming MOD WHEEL, BREATH CONTROL,
and AFTERTOUCH MIDI messages to the ASSIGNs. This allows any JUNO parameter to be controlled by these.
ASSIGN A will allow incoming MOD WHEEL or BREATH messages to be routed to it. ASSIGN B will allow incom-
ing channel AFTERTOUCH messages to be routed to it. This allows for great flexibility when using a control-
ler keyboard with your Juno. Notice that in the ASSIGN menus, the box in the lower le of the screen will
display NO MOD. This means that no incoming messages are being routed to this assign. To toggle incom-
ing modulation seings, press SHIFT+ENTER when in the ASSIGN menu.
To add a layer to the current ASSIGN, press ENTER. To DELETE a layer, press WRITE.
Each of the 3 ASSIGNs has a USER PRESET and a DEFAULT PRESET. To store the USER PRESET, navigate to the
ASSIGN you’d like to save, then press SHIFT+ASSIGN (STORE). To recall this ASSIGN, navigate to the ASSIGN
(A, B, or P) you’d like to recall, then press SHIFT+CHORUS ON/OFF (LOAD). If the DEFAULT is currently loaded,
then the USER PRESET will be recalled. If the current ASSIGN is on a USER PRESET, then the DEFAULT will be
recalled.
A memory card upgrade is planned for the MPG-50, which will allow users to save as many ASSIGN setups as
they wish.

RETROAKTIV MPG-50 OWNER’S MANUAL
8
CC ASSIGN MENU
The MPG-50 will allow users to transmit any CC message (0-127) from any of the 35 parameter sliders. This is
a useful feature that allows the MPG-50 to send controller messages to other hardware or soware synths. On
boot-up, the default seing of each slider if for user selected CCs to be turned off. Note that user-selected
CCs are different than the CCs that get sent when the unit is in CC MODE (See TRANSMIT MODES section for
more on this).
To view or “peek” at a slider’s CC assignment, nevigate to the MAIN MENU screen and press ENTER. This will
display ASSIGNABLE CC as well as the controller number this slider is set to transmit when moved. To change a
slider’s CC assignment, press SHIFT and move the slider when in the MAIN MENU screen, or the “peek” screen.
The screen will flash to indicate that the slider is now selecting a CC assignment number. Once the desired CC
number is selected, release the SHIFT buon. Now the slider will transmit the selected CC as well as the JUNO
sysex when it is moved.
To unmap a CC assignment from a slider, navigate to the CC PEEK menu by pressing enter when the slider is
highlighted in the MAIN MENU. Press ASSIGN when in the PEEK screen and a “ASSIGNMENT UNROUTED” mes-
sage will be displayed.
When in the PEEK screen, notie that the MAIN/AUX/BOTH label is displayed. Using the SHIFT+MAIN buon com-
bo will select which layer or layers the user-assigned CC is active on. To transmit the user CCs along with the
normal parameter sysex/CC messages, select MAIN, AUX, or BOTH. To transmit the user CCs on the AUX layer
only, select SOLO.
To store the current assignable CC map (stores the assignments of all 35 parameter sliders), press SHIFT+AS-
SIGN (STORE) when in the PEEK screen. To recall this stored CC map, press SHIFT+CHORUS ON/OFF (LOAD) when
in the PEEK screen.
MKS-50 PATCH MENU
MPG-50 has a dedicated PATCH MENU for MKS-50 users. This allows users to alter PATCH MENU seings directly
from the MPG-50 without menu diving on the MKS. The MKS-50 PATCH MENU contains the following seings:
TONE NUMBER (A0-A50 & B51-B99)
MOD DEPTH - Set the depth of MOD WHEEL messages.
PITCH BEND RANGE - Sets the bender range of the MKS-50.
DETUNE - Sets the fine tuning of the MKS-50
XPOS - Sets the MASTER transpose on the MKS-50
KEY MODE - Toggles the KEY MODE (MONO, POLY, CHORD MEM) on the MKS-50.
CHORD MEMORY # - Selects the saved CHORD to use when using CHORD MEMORY.

RETROAKTIV MPG-50 OWNER’S MANUAL
9
ALPHA JUNO PATCH MENU
This menu contains seings for ALPHA JUNO users. The following seings can be changed in this menu:
PITCH BEND RANGE - Sets Alpha Juno pitch bend range.
KEY MODE - Sets key mode on the ALPHA JUNO. Note: There is a bug in the original ALPHA JUNO 1 & 2 firmware
that incorrectly makes the AJ read the MONO command as the CHORD MEMORY command. The MPG-50 uses
the sysex commands given in the owners manual of these products. There are EEPROM updates that fix this
issue. If your Juno does not respond correctly to this command, try updating your Juno firmware to the latest
version.
RANDOM TONE GENERATOR MENU
Pressing the PATCHGEN BUTTON once will open the RANDOM TONE GENERATOR. (RTG) The RTG is a poweul
sound creation tool that will enhance creativity and generate useful, expressive tones. The RTG can generate
a wide array of useful musical sounds, ranging from lush pads to metallic bells. By selecting the category of
sound to be generated, many different textures can be layered in a maer of seconds, allowing users to hear
what the Juno is capable of. The RTG has a masking feature which allows the user to “mask” sections of the
synthesizer that should not be randomized. The amount of randomness can also be set if not using a tone cate-
gory. (ANY selected) To fully utilize the RTG, it is impoant to understand how each of the RTG sections works.
The RTG menu contains the following parameters:
TYPE - This allows the user to select the type of random tone to be created. Selecting ANY will generate a com-
pletely random tone, where the amount of randomness can be set using the AMOUNT parameter at the boom
of the screen. There are multiple categories of tone types that can be created, including BASS, POLYSYNTH,
PAD, BELLS, PERC, STRING, BRASS, DRONE, NOISE and ANY (Completely random) . As OS updates occur, more RTG
categories will be added to the firmware.
MASK - Each section of the Juno can be masked (protected from being randomized by the RTG) by selecting the
section, and turning MSK on. The following secions of the JUNO can be masked:
DCO - This affects SAW, PULSE, SUB SELECT, NOISE & SUB LEVELs.
PMOD - This affects PWM AMOUNT, PWM RATE, DCO LFO AMOUNT, DCO ENV SEL, DCO ENV AMOUNT, and
DCO TOUCH.
VCF - This affects HPF, VCF CUTOFF, and RESONANCE.
FMOD - This affects VCF ENV SEL, VCF ENV AMOUNT, VCF LFO, VCF TOUCH, and VCF TRACK.
VCA - This is the VCA ENV LEVEL slider. It cannot be randomized.
AMOD - This affects VCA TOUCH and VCA ENV SELECT.
ENVL - This affects ENV L1, L2, L3 and FOLLOW.

RETROAKTIV MPG-50 OWNER’S MANUAL
10
ENVT - This affects ENV T1, T2, T3, T4.
LFO - This affects LFO RATE and LFO DELAY.
CHORUS - This affects CHORUS ON/OFF and CHORUS RATE.
AMOUNT - The amount of randomization can be changed using this seing. Use this to limit the range of a
randmoized seing to + and - the AMOUNT.
Pressing ENTER while in the RTG menu will generate a random tone on the synth layer selected. Pressing
SHIFT+ENTER will generate a separate random tone on each synth layer, allowing users to quickly layer 2 ran-
dom tones.
MANUAL MENU
Pressing ENTER while in this menu will transmit the value of all 35 JUNO parameters on the front panel.
SCRATCH PATCH GENERATOR
This tool allows users to create “staer tones” that serve as a generic staing point when creating a new
sound. There are 3 SCRATCH TONES available:
BASIC SAW
BASIC PWM
BASIC FILTER SWEEP
Press ENTER to gernerate a SCRATCH TONE.
SPECIAL FEATURES
CROSSFADE - When layering 2 Juno synths, it is oen desireable to mix between the MAIN and AUX synth levels
to achieve a balance between the two. Pressing SHIFT+GLIDE will toggle between the VOLUME slider function-
ing as a normal VOLUME slider, or functioning as a CROSSFADE slider. When in CROSSFADE mode, turning the
slider to 0% = 100% MAIN synth. Turning the slider all the way up will result in hearing 100% AUX synth. When
set in the center, an equal amount of MAIN and AUX synth will be heard.

RETROAKTIV MPG-50 OWNER’S MANUAL
11
PARAMETER MIDI CC ID
DCO Env Sel 11
VCF Env Sel 12
VCA Env Sel 13
Sq Select 14
Saw Select 15
Sub Select 16
DCO Range 17
Sub Level 18
Noise Level 19
HPF 20
Chorus On/Off 21
DCO LFO Amt 22
DCO Env Amt 23
DCO Touch 24
PWM 25
PWM Rate 26
Cutoff 27
Res 28
VCF LFO 29
VCF Env Amt 30
VCF Follow 31
VCF Touch 32
VCA Env Amt 33
VCA Touch 34
LFO Rate 35
LFO Delay 36
T1 37
L1 38
T2 39
L2 40
T3 41
L3 42
T4 43
Env Follow 44
Chorus Rate 45
CC TRANSLATE MODE
In the MIDI seings menu, users can set the communication
preferences of the MPG-50. In the DATA seing for the MAIN and
AUX channel, SYSEX or CC can be selected. If SYSEX is selected,
then moving a slider on that channel will send a corresponding
SYSEX message to the synth. If CC is selected, the unit will still
send sysex to the synth, but with one major difference. In CC
mode, the MPG will also send a corresponding CC message (see
cha to the right) that can be recored by a DAW. If in CC mode,
sending a CC message to the MPG will result in the MPG translat-
ing that message into sysex and sending it to the synth.
For example, if you are using an external controller keyboard and
you assign one of its controls to CC# 27, then send that data to
the MPG, it will alter the VCF CUTOFF on the Juno. Use these CCs
to either control the Juno with external gear, or to record your
MPG-50 slider movements on a DAW.
When in CC TRANSLATE mode, the MPG-50 will only translate and
send messages to the JUNO on the currenly selected layer, MAIN,
AUX, or BOTH.

RETROAKTIV MPG-50 OWNER’S MANUAL
12
WEIGHT AND DIMENSIONS
The MPG-70 is 6.6 pounds and the enclosure measures 14.5” x 5.8” x 1.5”. The MPG-50 can also be rackmounted
using optional rack ears, which can be purchased at www.RetroaktivSynthesizers.com.
The enclosure has 4 heavy-duty screw-on rubber feet for no-slip tabletop use.
THANK YOU!
Thanks for using these Retroaktiv synthesizer products. We are a small company and we appreciate the musi-
cians and aists using this gear. If you have any questions or comments about this or other products, please
contact us by visiting www.RetroaktivSynthesizers.com and using the CONTACT US link at the top of the page.
We want to hear from you about your user experience and feature requests. Sincerely,
-Rob Currier
Owner and Chief Engineer/Designer/Programmer at Retroaktiv LLC.
All Retroaktiv products are built in Colorado USA. All PCB assembly and metal work is contracted to local Colo-
rado companies. Thanks for suppoing us!
This manual was wrien by Rob Currier.
All rights reserved, 2019 Retroaktiv LLC
Longmont, Colorado, USA
Other manuals for MPG-50
2
Table of contents
Other Retroaktiv Recording Equipment manuals
Popular Recording Equipment manuals by other brands

MODEL SOUNDS
MODEL SOUNDS ShockWave 2 Hardware reference manual

Jupiter Avionics
Jupiter Avionics JA95-N11 Installation and operating manual

Webasto
Webasto SmarTemp Control 2.0 Installation & operation instructions

MIDIbox
MIDIbox SpeakJet K64 Modul manual

WiMo
WiMo QRM-Eliminator manual

Advancing Alternatives
Advancing Alternatives 42-CIB2-24MO Installation and user guide