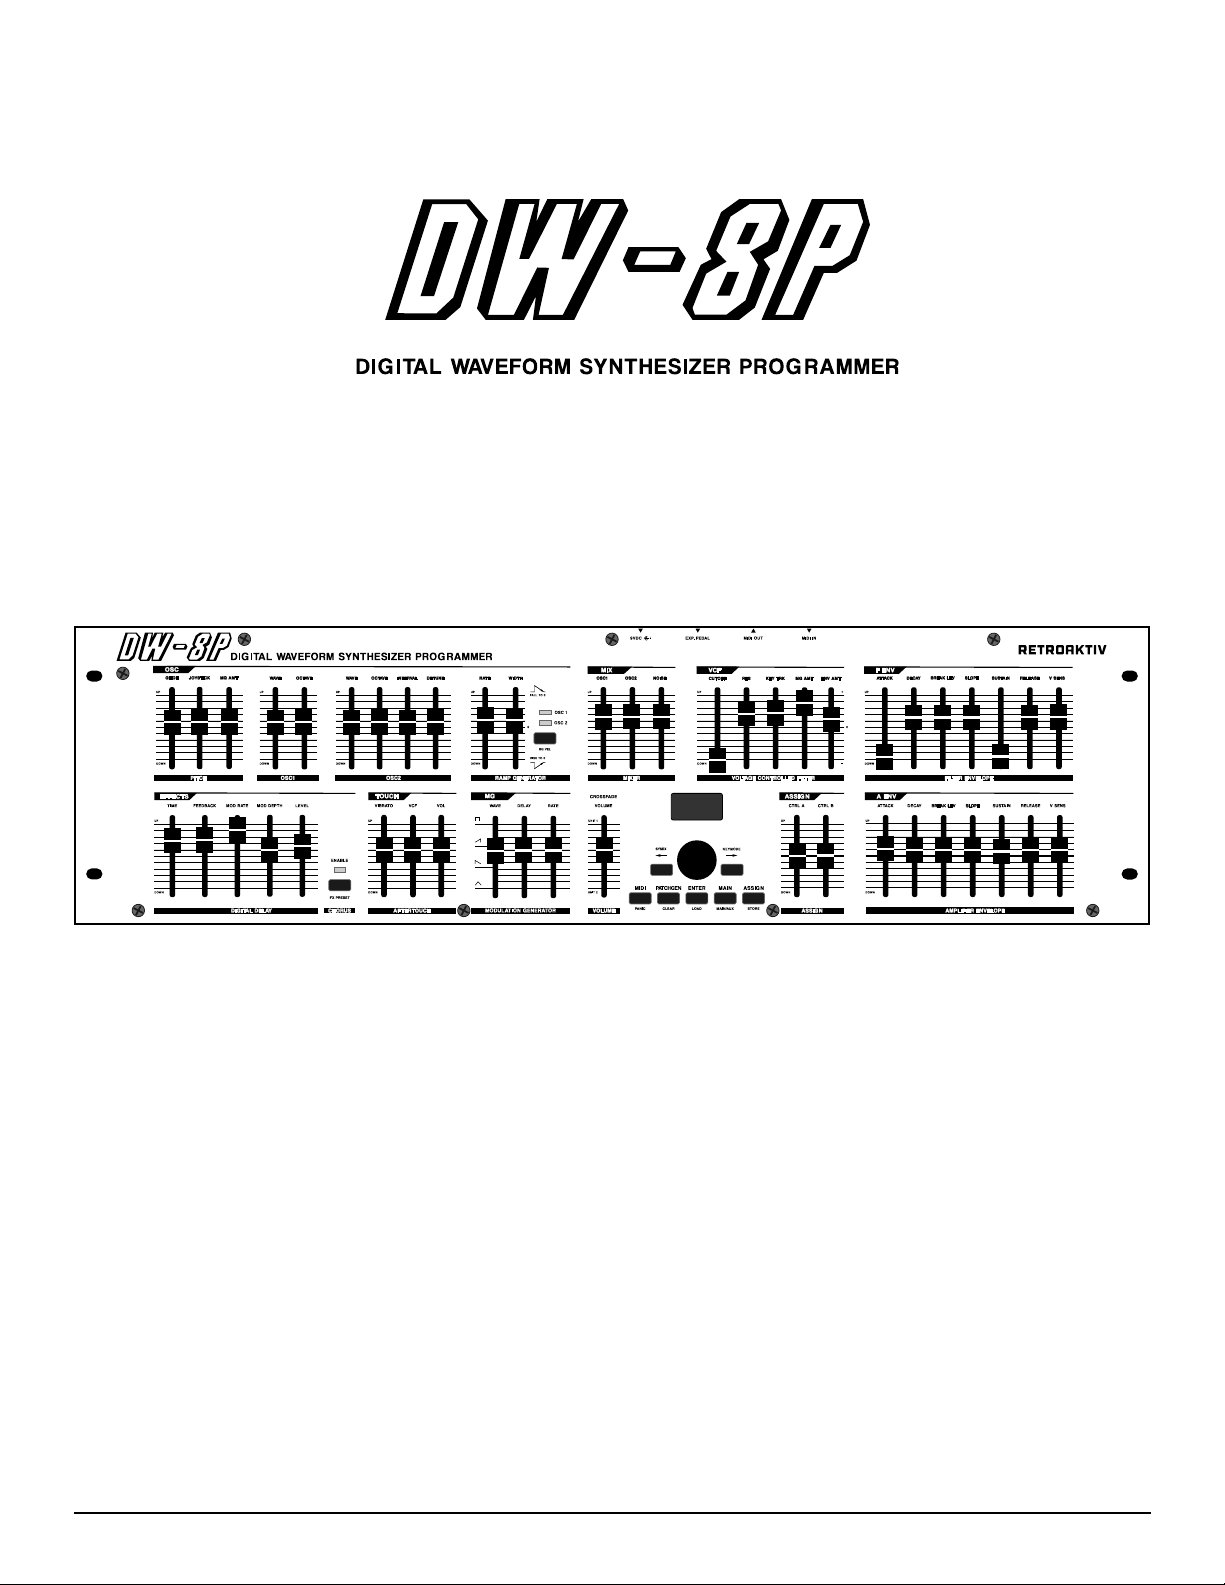
RETROAKTIV DW-8P OWNER’S MANUAL
2
FEATURES
Real time control of all tone
parameters
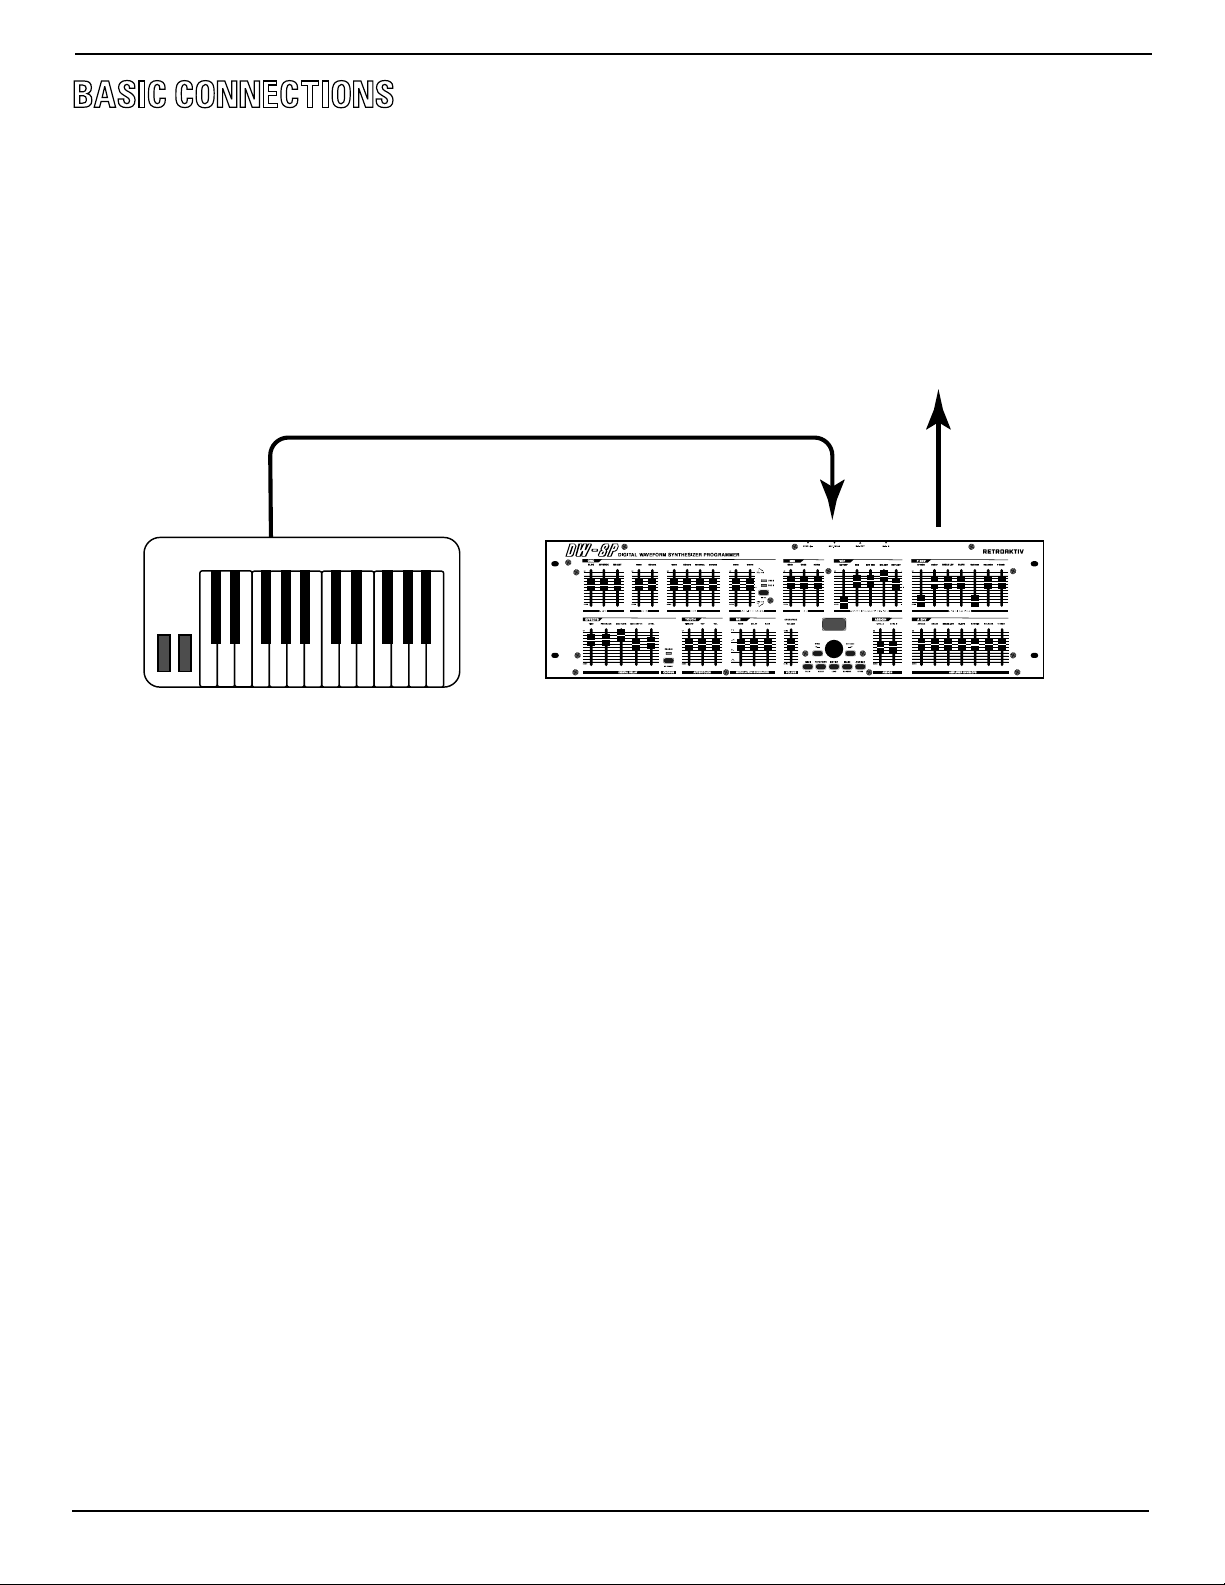
The DW-8P is a full-featured MIDI controller
for programming Korg EX-8000, DW-8000, and
DW-6000 synthesizers. DW-8P can control 2
synthesizers at once, allowing fast switching
between synths, and ability to smoothly
crossfade and layer the two synths.
Flexible MIDI matrix for
controlling multiple parameters
simultaneously
Three assignable control matrixes allow users
to control up to 5 parameters simultaneously,
using the CTRL A and B sliders, an expression
pedal, or incoming mod wheel, aeouch and
breath controller messages. Give complex
animation to your sounds by sweeping a filter
down while increasing the DCO LFO modulation.
The possibilities are endless!
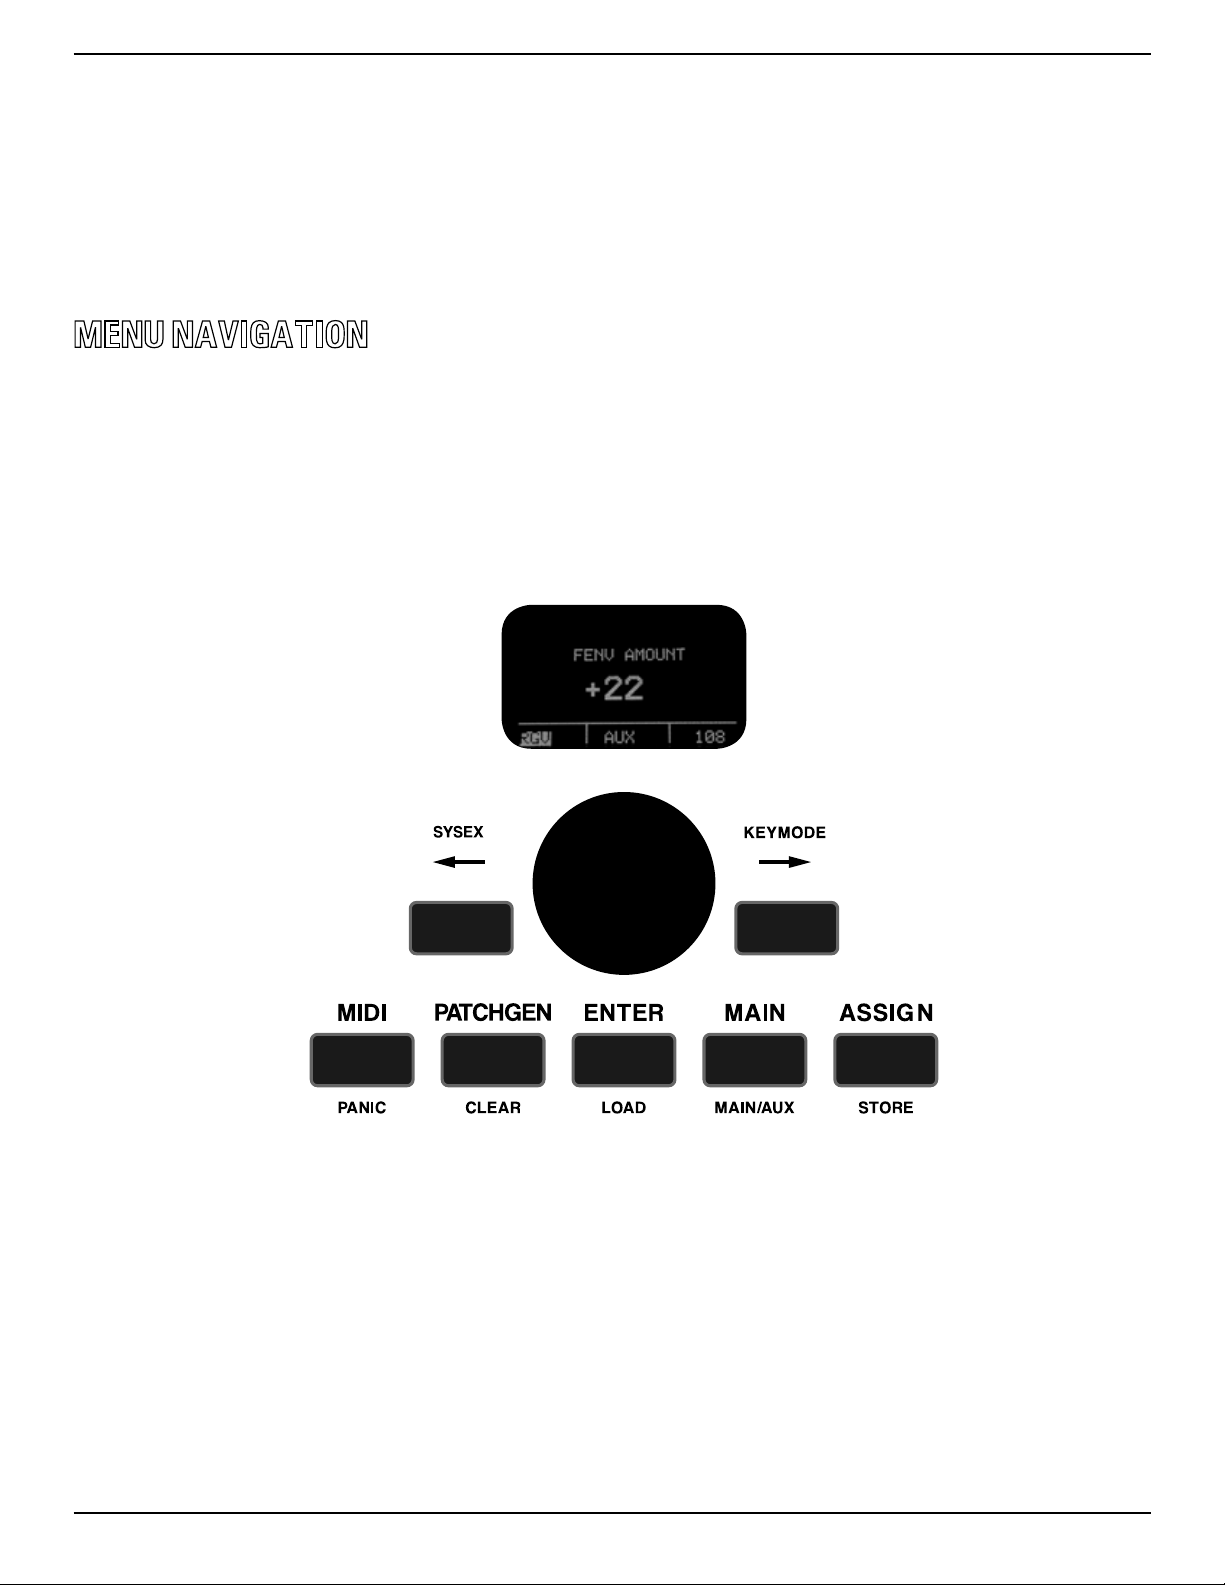
CC mode transmits and
decodes CC messages for easy
DAW integration
In CC mode, the DW-8P will transmit SYSEX to
the synth whenever a slider is moved, and it
will simultaneously send a MIDI CC message
that can be recorded with a DAW. Playing the
recorded CC back into the DW-8P will translate
the data back into SYSEX and transmit to the
synth.
Random tone generator creates
beautiful, musical tones at the
press of a button
The RANDOM TONE GENERATOR on the DW-8P is a
poweul tone creation tool featuring the ability to
randomize all of the tone parameters in a musical
way, or to generate completely random tones. Using
the category select, generate pads, electric piano,
analog, choir, percussion, bass, bells/metal, digital
synths and more. Each section of the synth can be
“masked” so the randomizer will not change that
section when it generates a new tone. Like the
filter set where it is? Mask the VCF and it won’t get
changed!
Route incoming mod wheel and
aftertouch messages to any 5 tone
parameters each
Create amazingly expressive sounds using an
external midi controller by using the on-board
assignable controls to respond to incoming mod
wheel and aeouch messages. Mod wheel and
aeouch can be routed to up to 5 tone parameters
each.
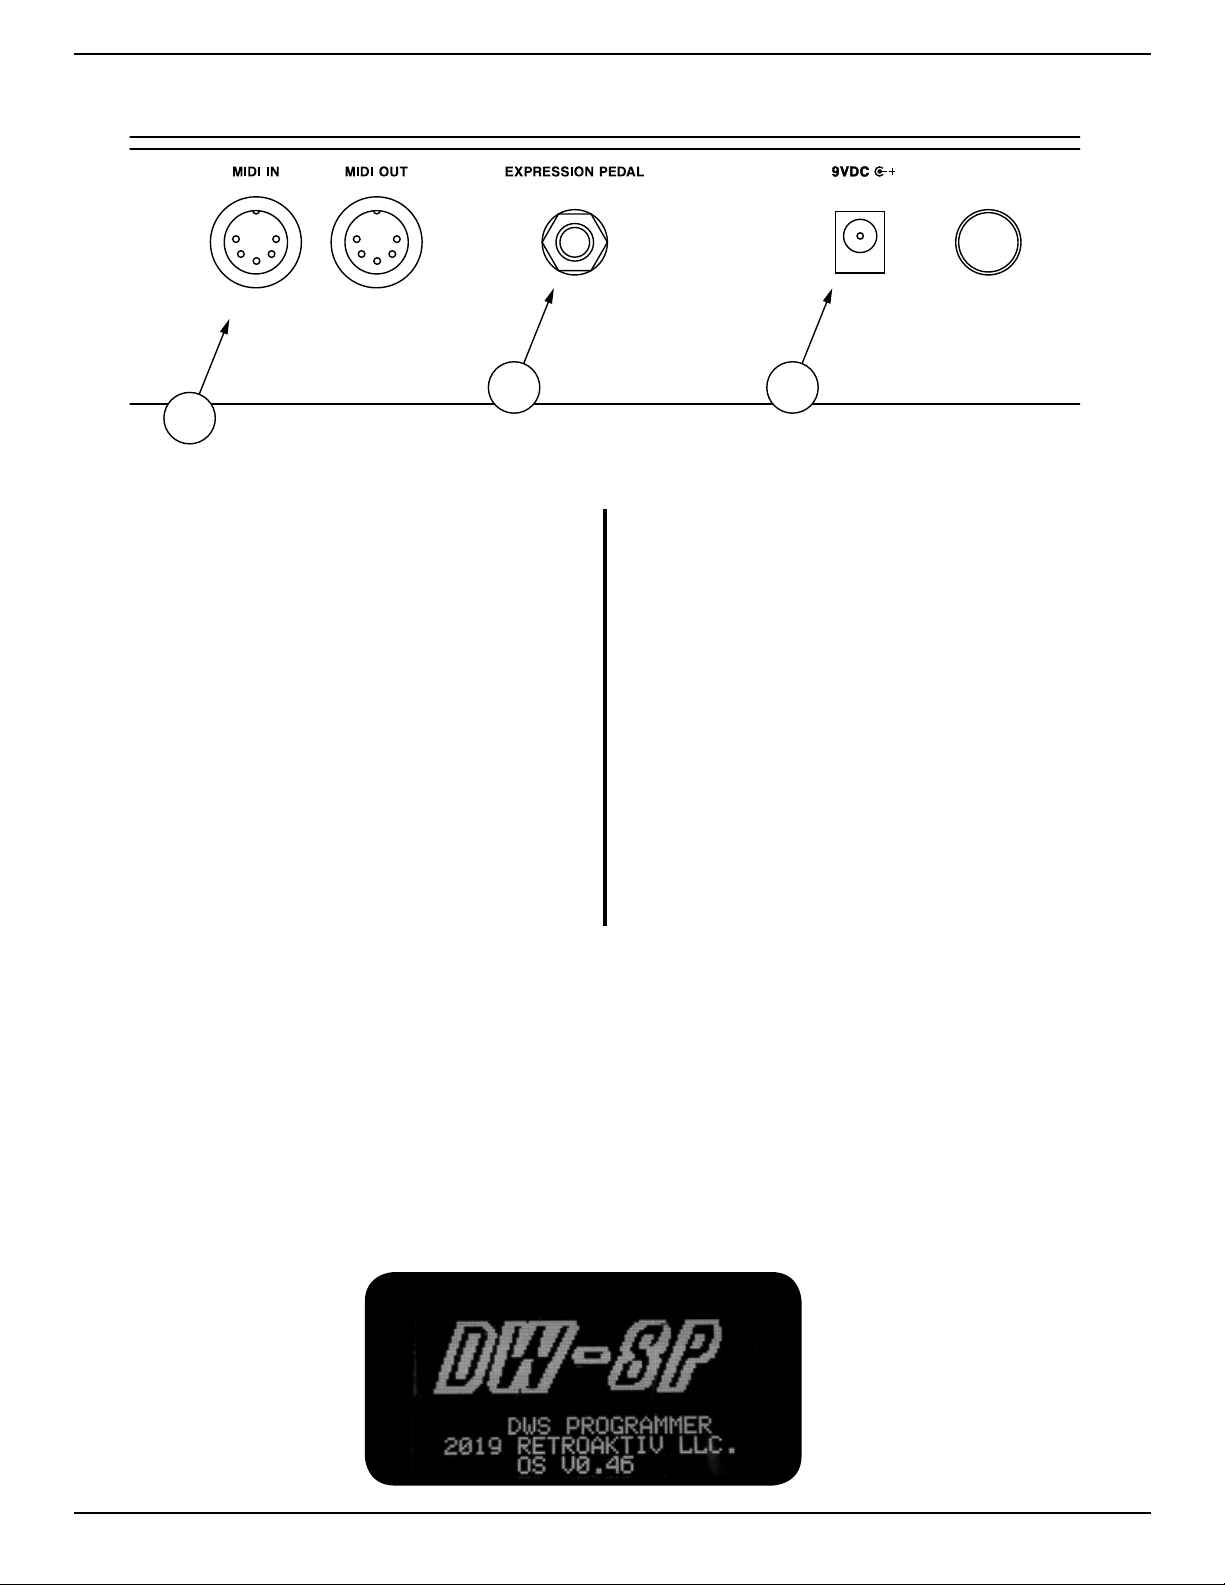
Case is angled for tabletop use and
can be rack-mounted
The DW-8P has 4 adjustable rubber feet for firmly
siing on a desk or table without slipping. The case
is angled forward for ergonomic editing. A recessed
compament for the jacks and power cable makes
it easy to mount the unit in a rack and easily access
the jacks and power buon.