Reverso FPS-210 User manual

Manual
FPS-210
Shown with optional
magnetic fuel conditioner

Table of Contents
System Overview............................................................................... 3
Control Panel Overview..................................................................... 4
Dimensions........................................................................................ 5
Technical Specications .................................................................... 6
Primary Inspection, Installation, & Electrical Installation ................... 7
Initial Setup........................................................................................ 8
Digital Timer Instructions: Set Date and Time ................................... 9
Digital Timer Instructions: Set Schedule Timer................................ 10
Digital Timer Instructions: Set Manual Timer................................... 11
Digital Timer: Alarms........................................................................ 12
Backushing Instructions................................................................. 13
Filter Element Replacement ............................................................ 14
Spare Parts...................................................................................... 15
Troubleshooting............................................................................... 16

3
System Overview
1
2
3
4
7
8
9
6
5
Control panel
Cover
Vacuum gauge
Fuel water separator - model SWK-2000/18
Base
Fuel conditioner (optional)
Inlet - 1/2” Male JIC
Drain valve - Push in and turn counter-clockwise to open
Pump and Outlet (not shown, under cover) - 1/2” Male JIC
1
4
5
3
2
6
9
8
7

4
Control Panel Overview
1. Power button
2. Digital timer
3. Manual timer mode button
4. Circuit breaker
5. Start button
6. Alarm reset button
7. Power on light - indicates when
system is on
8. Service system light - indicates
an alarm has been triggered and
user must service the system
9. Pump active light - indicates fuel
polishing system is running
10. Manual timer mode active light
- indicates system is operating
in manual timer mode (not
schedule timer mode)
11. Left key
12. Up key
13. Right key
14. Down key
15. OK key
16. Escape key
Control PanelDigital Timer
15
6
7
8
9
10
2
3
4
Control Panel
Digital Timer
ESC OK
M - W - F - -
MTWTFSS
11:00
15:00
ON
OFF
16 15 14
11 12 13

5
Dimensions
609.60
24.00
508
20.00
19.05
.75
19.05
.75
6.35
.25
199.59
7.86
74.08
2.92
309.02
12.17
111.13
4.38
65.82
2.59
1/2" MJIC
Inlet & Outlet
FPS210S32-01 - Fuel Polishing
System - 7 Day Digital Timer - 110
volt - 10 Amp - 210 Series - 'S' Class
A
DO NOT SCALE DRAWING
FPS210S32-01-ER-R_A
SHEET 1 OF 1
10/12/2018
JC
UNLESS OTHERWISE SPECIFIED:
SCALE: 1:10
WEIGHT:
REV
DWG. NO.
A
SIZE
TITLE:
REVERSO PUMPS
NAME
DATE
COMMENTS:
Q.A.
MFG APPR.
ENG APPR.
CHECKED
DRAWN
DIMENSIONS ARE IN INCHES
TOLERANCES:
FRACTIONAL
1/64
ANGULAR: MACH
BEND
0.2
TWO PLACE DECIMAL
.01
THREE PLACE DECIMAL
.005
PROPRIETARY AND CONFIDENTIAL
THE INFORMATION CONTAINED IN THIS
DRAWING IS THE SOLE PROPERTY OF
REVERSO PUMPS
ANY REPRODUCTION IN PART OR
AS A WHOLE WITHOUT THE WRITTEN
PERMISSION OF
REVERSO PUMPS
IS PROHIBITED.
Part #: 21-1944-01
All Dimensions for Reference Only
Secondary Dimensions in Millimeters
TECHNICAL SPECIFICATIONS
Port Size - 1/2" #8 Male JIC
Lift - 30 ft. / 9m
Power - AC 110 volt / 10 Amp
Flow Rate - 210 GPH / 795 LPH
JC
10/12/2018

6
Technical Specications
Flow Rate Approximately 210 GPH (795 LPH).
Actual flow rate may vary due to conditions of installation.
Operating Temperature 40 - 104°F (4-40°C)
Amp. Draw 3A@110V, 1.2A@220V
Circuit Breaker 10A@110V, 10A@220V
Service Space 4” on top and bottom, to facilitate changing filter elements and
draining water and particulate from the bowl
Pump Brass Gear stainless shaft- double lip seal
Maximum Suction Hose 32.8 ft / 10m with foot valve above liquid level
Maximum Delivery Hose 164 ft / 50m
Maximum Level Difference Between pump and suction: from 5 - 9.8 ft maximum / 1.5 to 3 m maximum.
Between pump and highest point of delivery: 23 ft / 7m maximum
Timer Digital PLC
Inlet 1/2” Male JIC
Outlet 1/2” Male JIC
Max Fluid Viscosity 29 CST
Filter Torque Values Bowl Retainer Ring 8 Nm (70 in-lbs)
Lid 8 Nm (70 in-lbs)
Plug 15 Nm (130 in-lbs)
Bleed Screw 4 Nm (35 in-lbs)
• The system has been developed to be used with diesel fuel only, DO NOT USE WITH GASOLINE.
• The system is designed to meet environmental standards for safe operation (NOT for use with uids that have a
ash point below 100°F (38°C), e. g.: Gasoline, alcohol,...)
Warning

7
Primary Inspection, Installation, & Electrical Installation
Primary Inspection
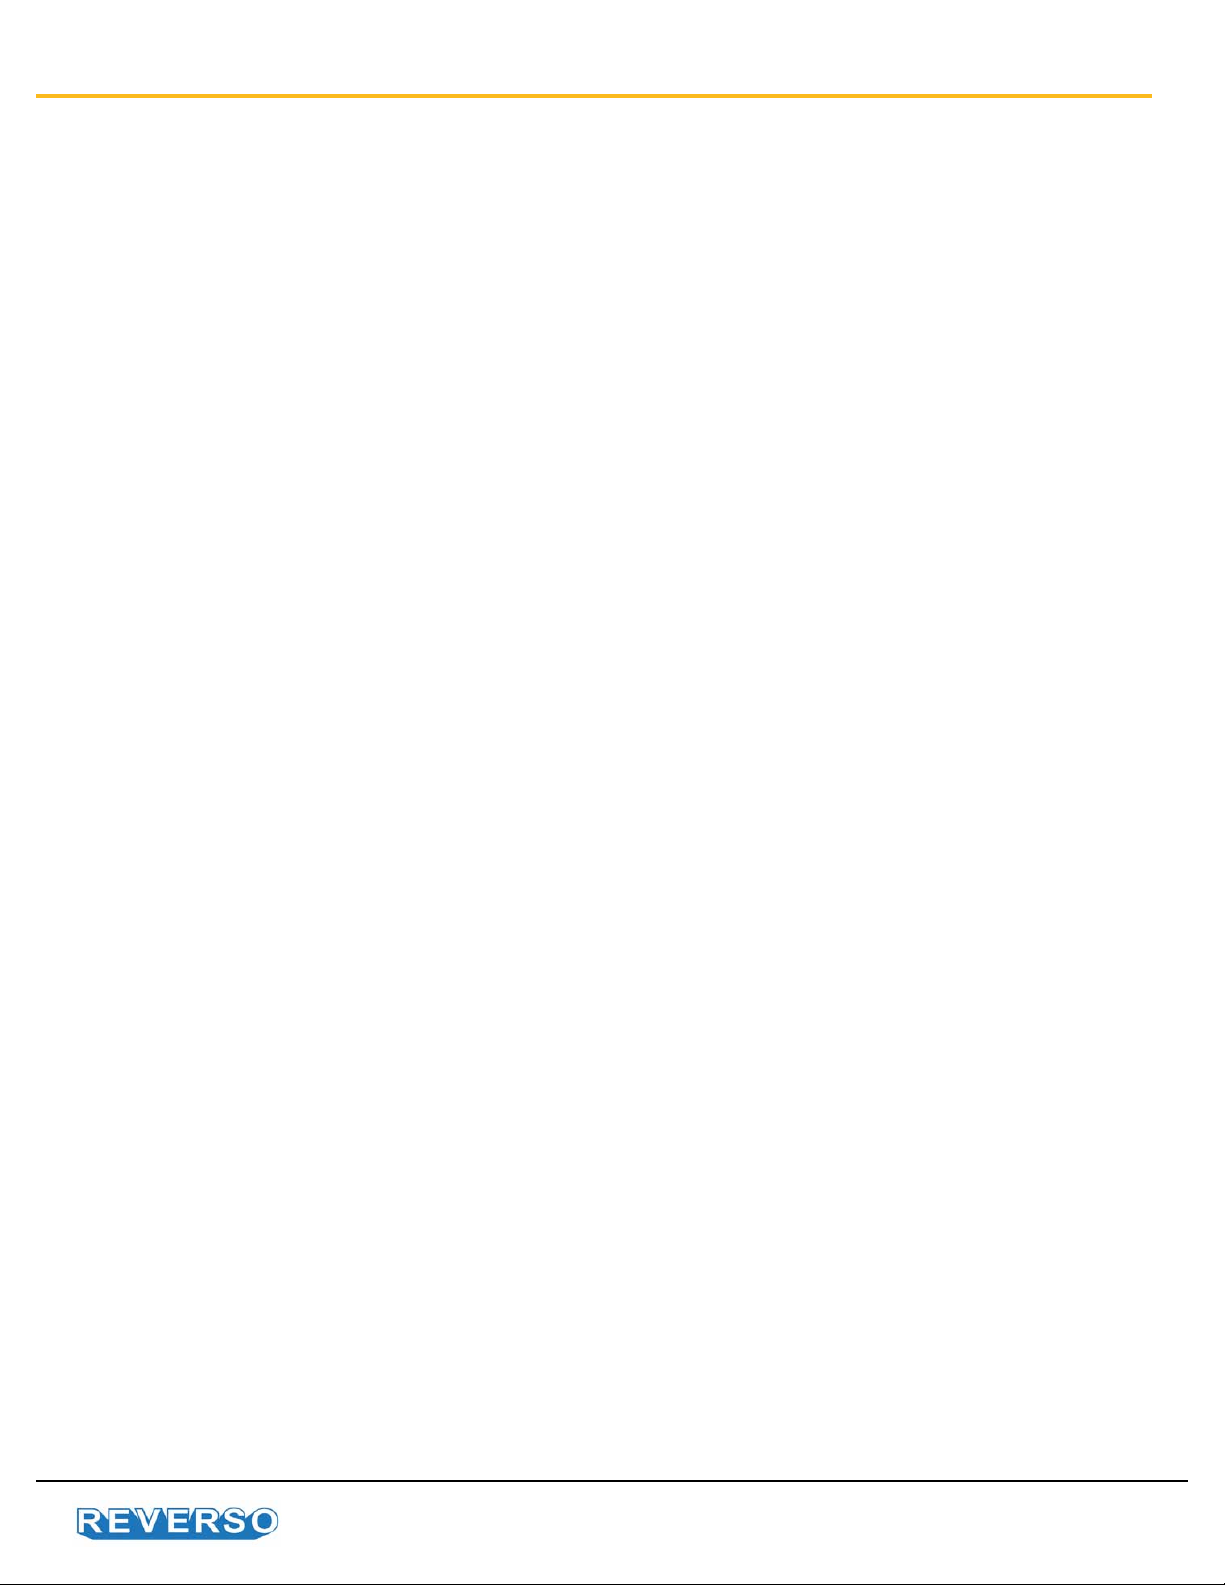
• Upon delivery inspect the FPS (Fuel Polishing
System) for any damage that may have occurred
during shipment.
• Inspect the interior of the unit for mechanical or
electrical damage.
• If the unit is damaged upon delivery, contact the
shipping company immediately.
Mounting
• The FPS should be wall mounted on a hard, vertical
surface capable of supporting the weight of the unit.
• The control electronics are enclosed in a NEMA 4
weather proof box and will withstand being located
outside.
• In all cases the unit should be located as close as
possible to the tank being serviced. (see Max. Lift in
Technical Specications).
• When installing the unit below the level of the fuel
on above ground fuel tanks, consideration should
be made to the installation of an anti-syphon valve
to prevent fuel spillage in the case of a leak in the
piping system.
Electrical
• Installation of unit should only be performed by
qualied installation personnel who have thoroughly
read and understands the installation instructions
covered in this manual.
• To avoid the risk of electric shock, make sure that
the power supply is disconnected. Ensure that the
power supply is at zero volts with a multimeter before
making any electrical connections.
• To ensure operator safety the FPS must be
connected to properly grounded power sources.
• Make sure that your unit and power supply are
congured for the same voltage rating.
• External control voltage must be supplied by
customer.
Piping
Use quality approved fuel line materials with at least
1/2” inner diameter line. Smaller plumbing will place
excessive load on the motor and shorten its life. A full
port ball valve should be installed on the inlet and outlet
ports of the FPS.
The pickup line(s) (suction) should originate from the
lowest point of the tank and should be connected directly
to the inlet. For optimal performance, ensure that this line
is free and nothing is restricting ow. It is recommended
to install a foot valve to keep the system primed,
especially if the system is located above the lowest
possible fuel level in the tank.
If the FPS is mounted below tank top level, a priming
tee should be installed on the highest point of the
suction line to be able to easily prime the systems
suction line.
The return line(s) (discharge) should be connected to
the outlet and enter the tank as far as possible from
the pick up tube and extending 2/3 down into the
tank. For optimal performance, ensure that the outlet,
discharge or return, line(s) are free and nothing is
restricting their ow.
The suction line of the FPS must be independent and
separate from the suction line of the engine. Do not
integrate into engine fuel system.
When installing this unit, FLEXIBLE CONNECTIONS
MUST BE USED TO REDUCE STRESS on the
plumbing and prevent damage to the unit.
Hoses, piping, solenoid valves and foot valves
shown in the diagrams below are not provided
with the system and must be provided by the
user/contractor, unless agreed upon otherwise.
Fuel
Tank
FV
Fuel
Polishing
System
Fuel
Tank
#1
Fuel
Tank
#2
Fuel
Tank
#3
Fuel
Tank
#4
S S
S S S S
S S
FV FV FV FV
S
S
FV
Solenoid valve
Foot valve
Ball valve

8
Initial Setup
Open the fuel supply valve.
Prime fuel system and
check for leaks.
in.Hg psi
Set gauge pressure indicator
(red needle) slightly to the
left of the black needle prior
to operation.
The gauge will indicate
maximum vacuum pressure
during system operation.
Press start button.
Power on indicator will be lit.
If in manual timer mode, pump will immediately
begin running.
If in schedule timer mode, pump will only begin
running if within programmed date/time to run.
Verify the pump is operating by checking vacuum
gauge located on the lter. Gauge will be reading
0-5 in-Hg of vacuum.
• Must press manual timer mode button to
activate / deactivate.
• Manual timer mode light will be ON.
• Pump will start upon pressing the start button.
• Pump will automatically shut off after the
preset run time.
Operate in this mode if system will run one set time.
If the system is equipped with a mechanical timer, turn timer knob clockwise to desired number of hours for operation.
If the system is equipped with a digital timer, choose timer mode if available. You may have previous verison (circular
digital timer).
Operate in this mode if system will start/stop
automatically on the programmed days of the
week and times.
• Must press manual timer mode button to
activate / deactivate.
• Manual timer mode light will be OFF.
• Pump will automatically start and stop
according to the preset date and time.
in.Hg psi
-10
-20
-30 15
-10
5
0
0
-50 50
-100 100
KPa
-
-5
-5
When the indicator reaches
15 in-Hg, it is time to drain or
change the lter element.
The same procedure is
necessary if the water level
reaches 30% of the clear bowl.
1 2
3
4 5
Manual Timer Mode Schedule Timer Mode

9
Digital Timer Instructions: Set Date and Time
ESC OK
Th 19:35
2012-01-26
The current date and time is displayed. Time is shown
as 24 hr clock. Date is shown YYYY-MM-DD.
Press ESC key.
Select Set Clock option and press OK key to continue.
Use the DOWN arrow to move the cursor to Set.. option.
Press OK key to continue.
Starting at the program screen, press DOWN key to
view current time screen.
Flashing black box indicates your selection. Use
LEFT/RIGHT key to move selection. Use UP/DOWN
key to change date and time. Press OK key when
nished and to return to previous menu.
Select Clock.. option. Press OK key to continue.
1 2
3 4
5 6
Press ESC key. Press ESC key again to return to
current time screen.
Now shown is the current time screen. Press UP
key to return to program screen.
7 8
ESC OK
MTWTFSS
MTWTFSS
11:00
15:00
ON
OFF
ESC OK
Th 19:35
2012-01-26
ESC OK
Stop
Set Param
Set..
Prg Name
ESC OK
Clock..
Contrast
Start Screen
ESC OK
Set Clock
S/W Time..
Sync
ESC OK
Set Clock
S/W Time..
Sync
ESC OK
Set Clock
Th 19:35
YYYY-MM-DD
2 0 1 2- 0 1 - 2 6
ESC OK
Stop
Set Param
Set..
Prg Name
ESC OK
MTWTFSS
MTWTFSS
11:00
15:00
ON
OFF

10
Digital Timer Instructions: Set Schedule Timer
ESC OK
MTWTFSS
MTWTFSS
11:00
15:00
ON
OFF
1 2
3 4
5
7
6
8
A. Ensure the breaker is ON.
B. Move the red power switch to the ON position and
power indicator light is on.
C. Ensure timer mode is switched to Schedule Timer.
Change the run days
With the ashing underline in the days row, press the
OK key until ashing box appears. Use the LEFT/
RIGHT key to move between days. Use the UP/
DOWN key to program run days. A dash(-) indicates
the system will not run on that day. Press OK key when
nished and the cursor will return to ashing underline.
Press ESC to save. Flashing underline will disappear.
Every 5 seconds, screen will request user to push
Start button to activate pogram.
Hold the ESC key until ashing underline appears
under the rst day of the week. This ashing
underline indicates your selection. Use the LEFT/
RIGHT keys to move between the dates, start time,
and stop time.
When using this method, follow sequence
exactly or damage to program can occur (non-
warrantable situation).
Change the run time
With the ashing underline in the days row, use the
LEFT/RIGHT key to move to start time (ON).Press OK
key until ashing box appears. Use UP/DOWN key
to change time. Press OK key when nished and the
cursor will return to ashing underline. Repeat with
stop time (OFF).
Setting the schedule timer is nished. In this example,
system will run on Monday, Wednesday and Friday.
System will start at 8:00 am and stop at 2:00 pm.
Afterwards, every 5 seconds screen will indicate the
schedule timer is active.
Stop Time
Start Time
Run Days
ESC OK
MTWTFSS
MTWTFSS
11:00
15:00
ON
OFF
ESC OK
M- W - F - -
MTWTFSS
11:00
15:00
ON
OFF
ESC OK
M - W - F - -
MTWTFSS
08:00
14:00
ON
OFF
ESC OK
M - W - F - -
MTWTFSS
08:00
14:00
ON
OFF
ESC OK
M - W - F - -
MTWTFSS
08:00
14:00
ON
OFF
ESC OK
Automatic
Timer
Active
ESC OK
To Activate
Push the
Start
Button

11
Digital Timer Instructions: Set Manual Timer
ESC OK
Manual
00:00
10:00
CURR
SET m
ESC OK
Manual
00:00
10:00
CURR
SET m
Use RIGHT arrow key to move underline to
program time (SET).
Flashing box will return to ashing underline. Press
ESC to save. Flashing underline will disappear.
Press and hold ESC key until ashing underline
appears. This indicates your selection. Use RIGHT
arrow key to move between move underline to
program time (SET).
Press OK key and ashing box appears.
Use UP/DOWN key to change time. The “m” indicates
minutes and can be changed to “h” for hours.
When nished, press OK key.
In the screen shown below, the system is set to run for
20 minutes and will stop once the time has expired.
Top row indicates current time.
Bottom row indicates program time.
1 2
3
5
4
6
ESC OK
Manual
00:00
10:00
CURR
SET m
ESC OK
Manual
00:00
20:00
CURR
SET m
ESC OK
Manual
00:00
20:00
CURR
SET m
ESC OK
Manual
00:00
10:00
CURR
SET m
Manual
00:00
10:00
CURR
SET m

12
Digital Timer: Alarms
Backushing procedure can be executed up to 5 times
before replacing the lter element.
There are three different alarms installed in the unit.
If one of the alarms should sound: De-energize system when servicing unit.
1. Follow the directions displayed on the screen.
2. Press RESET/STOP button
3. Wait at least 2 minutes, then press START to restart the unit.
If you have successfully cleared the alarms, the unit should restart.
ESC OK
HI-WATER
DRAIN BOWL
ESC OK
HI-PRESS
Check
Discharge
ESC OK
HI-VAC
BACK FLUSH
FILTER
High Water Alarm
High Vacuum Alarm
High Pressure Alarm

13
Backushing Instructions
Prior to service, ensure the system is off.
Backushing is for particulate removal only and will not remove sludge once embedded in the lter media.

14
Filter Element Replacement
Replacement Filter Element
Element # Description
01810
01830
01860S
10 Micron
30 Micron (Standard)
60 Micron (Stainless Steel)
Prior to service, ensure the system is off.

15
Spare Parts
Part # Description Category
59-01810 10 micron element, 1 piece
Separ Filter Model
SWK-2000/18
59-01810-12 10 micron element, 1 case contains 12 pieces
59-01830 30 micron element, 1 piece
59-01830-12 30 micron element, 1 case contains 12 pieces
59-01830S 60 micron element, stainless
65-30421 Lid gasket
65-30423 Bowl gasket
65-30979 Seal kit
16-30404 Hex Bolt Kit: (4) lid hex bolts, (4) bowl hex bolts, (8) washers, and (4)
o-rings for lid hex bolts
16-30408 Bleed screw
65-30353 Drain valve
65-30572-01-02 White lid, tapped (gauge, bleed screw, and lid gasket sold separately)
65-30298 Spring frame
80-3146 Replacement pump
Pump
11-3109 Driving gear
11-3108 Idle gear
11-3111 Key
11-31110 O-ring for cover plate

16
Troubleshooting
• Pump does not run
• Pump and lter are not primed
• Fuel supply or discharge line blocked. Check the alarm
• Lift is too high
• Air leak in fuel supply to pump
• Inlet or outlet valve closed. Check the solenoid valve
• Foot (check) valve installed backwards
• Air leak at inlet
• Lift too high
• Pump worn
• Inoperative foot valve
• Piping improperly installed or dimensioned
• Filter/water separator plugged
• Pump has been run dry or insufcient fuel
• Plumbing on inlet side not appropriately
dimensioned. Pump requires too much power
• Air in plumbing lines
• Liquid too viscous
• Insufcient fuel supply
• Air leaks in the inlet pipe
• Air or gas on the suction side
• Control power not available
• Tripped circuit breaker on control board
• Pump failed and seized
• Motor failure
• Check service switch is in the ON position ( - )
• Loose pump plumbing ttings
• Worn pump shaft seal
• Excessive heat from over head storage tank
• Worn pump 0-rings or seals
No fuel delivery
Insufficient fuel delivered
Rapid pump wear
Noisy operation
Motor does not turn or turns intermittently
Pump leaks fuel
Problem Possible Causes
Version: 4/15/19
Table of contents
Other Reverso Water Filtration System manuals
Popular Water Filtration System manuals by other brands

Lectranator Systems
Lectranator Systems CRISTAL MAGIC CM3-1 Installation & operation manual

HotSpring
HotSpring ACE Operation guide

Schwan
Schwan SC60 user guide

Aventics
Aventics MU1 Series operating instructions

SpectraPure
SpectraPure Single 90 Installation and operating manual

Watts
Watts 70608 Series installation manual