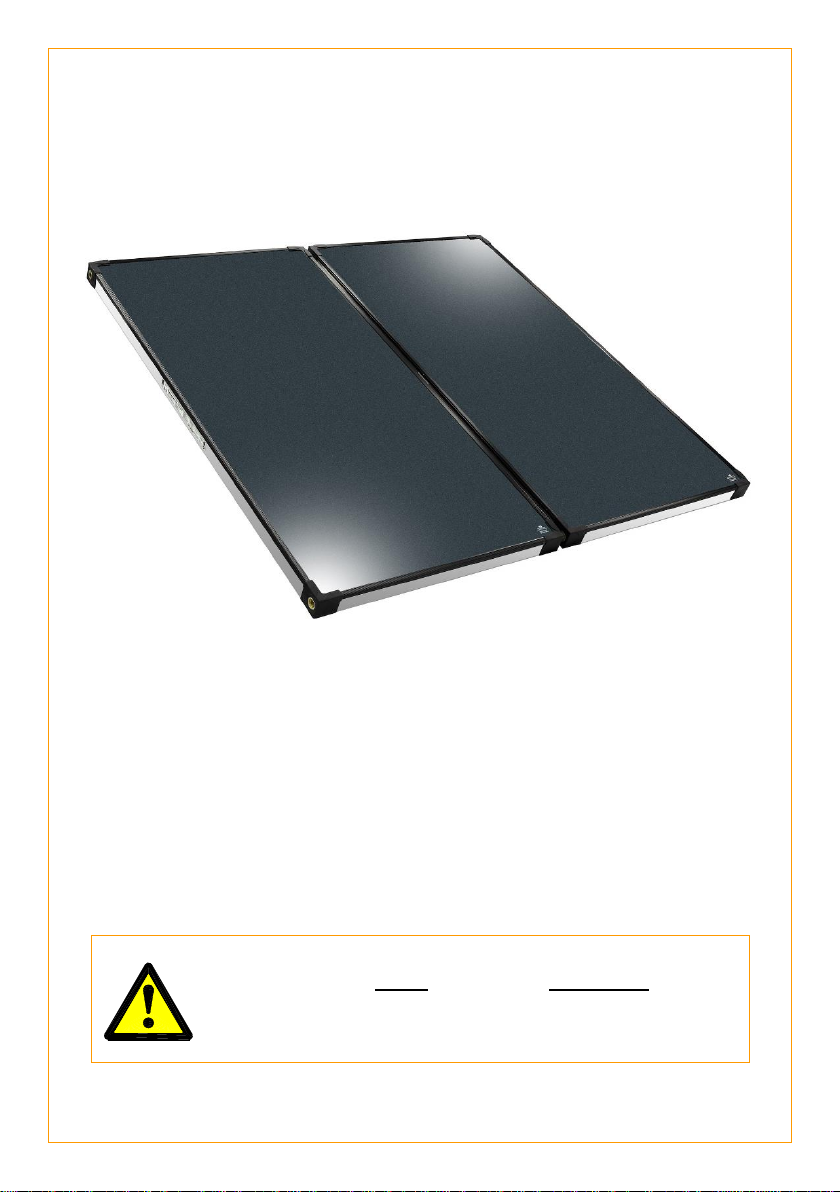
INSTALLATION –SOLAR COLLECTORS
10
ORIENTATION OF SOLAR COLLECTORS
To help maximise system performance, solar collectors should be installed with
an optimum orientation facing true north (in the southern hemisphere) or true
south (in the northern hemisphere). Always check for true north or true south
using a compass or other suitable device.
The solar performance of a system reduces as the orientation of the collectors
moves away from the optimum orientation, resulting in the need for increased
boosting to supply the same hot water load. Solar collectors facing up to 45° from
the optimum orientation will receive about 4% to 5% less total solar radiation.
However, the optimum orientation of solar collectors is not always practical or
achievable. Solar collectors may be installed up to 90° from the optimum
orientation. Where the orientation is greater than 60° from the optimum, it may
be possible for an additional solar collector to be installed to help make up for
the reduction in solar performance compared to the optimum orientation. This
option should be discussed with the system owner.
If this option is neither possible nor acceptable to the system owner, then the
system owner needs to be made aware of, understand and accept that increased
boosting may be required to meet their hot water requirements.
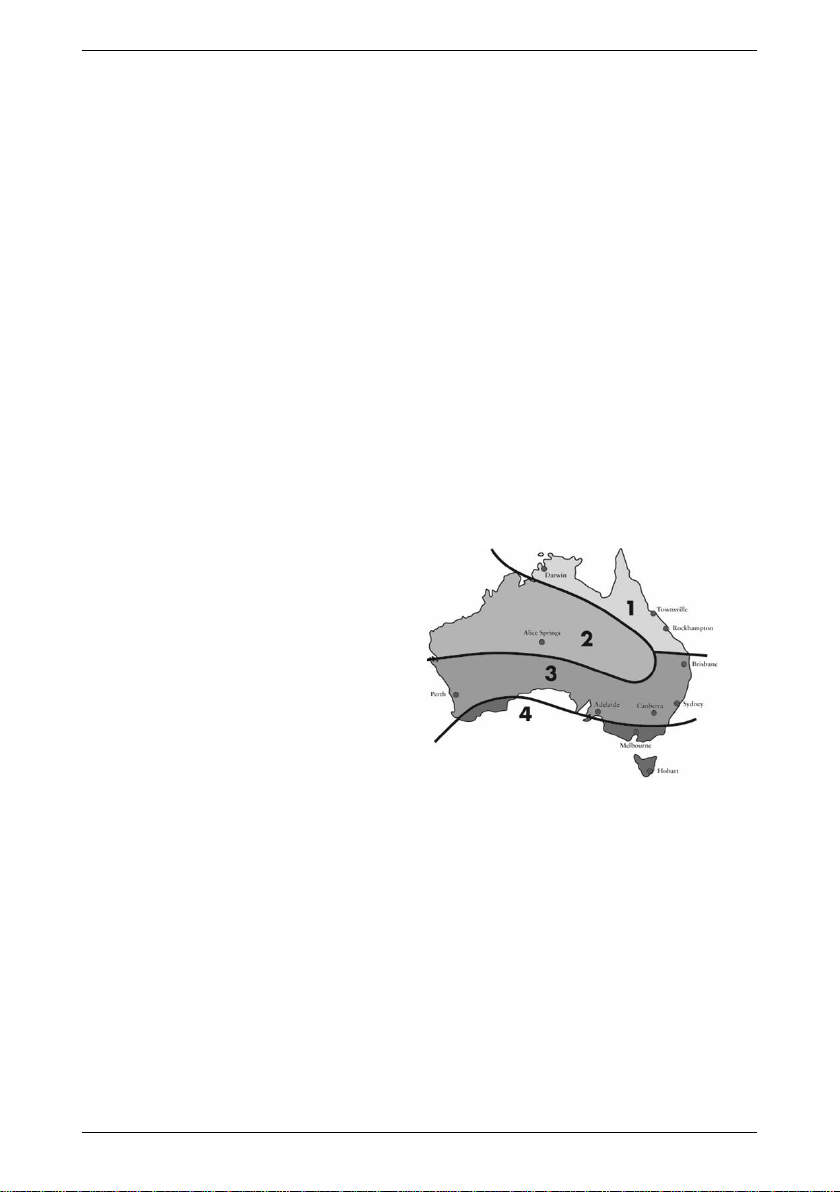
In Australia for climate zones 1, 2,
and 3 there is a risk that systems
with selective surface LCS or
TBT200 solar collectors may over
perform.
In these zones, systems with 2 or
more LCS or TBT200 solar
collectors should be installed at
orientations between 60° and 90°
from true north only.
In climate zone 4, systems with selective surface LCS or TBT200 solar collectors
provide optimum performance compared with non-selective surface collectors,
particularly in the months of lower solar radiation.
In Victoria where a system with a 160 litre tank is installed, 2 x LCS solar
collectors should only be installed outside of the Regulation Compliance Zone in
order to achieve compliance. In areas other than Victoria, a 160 litre tank should
not be installed with more than one selective surface collector.