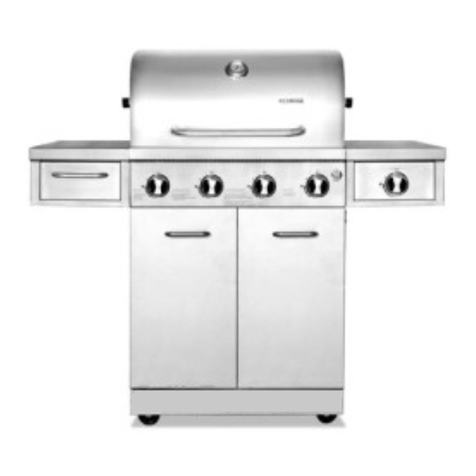
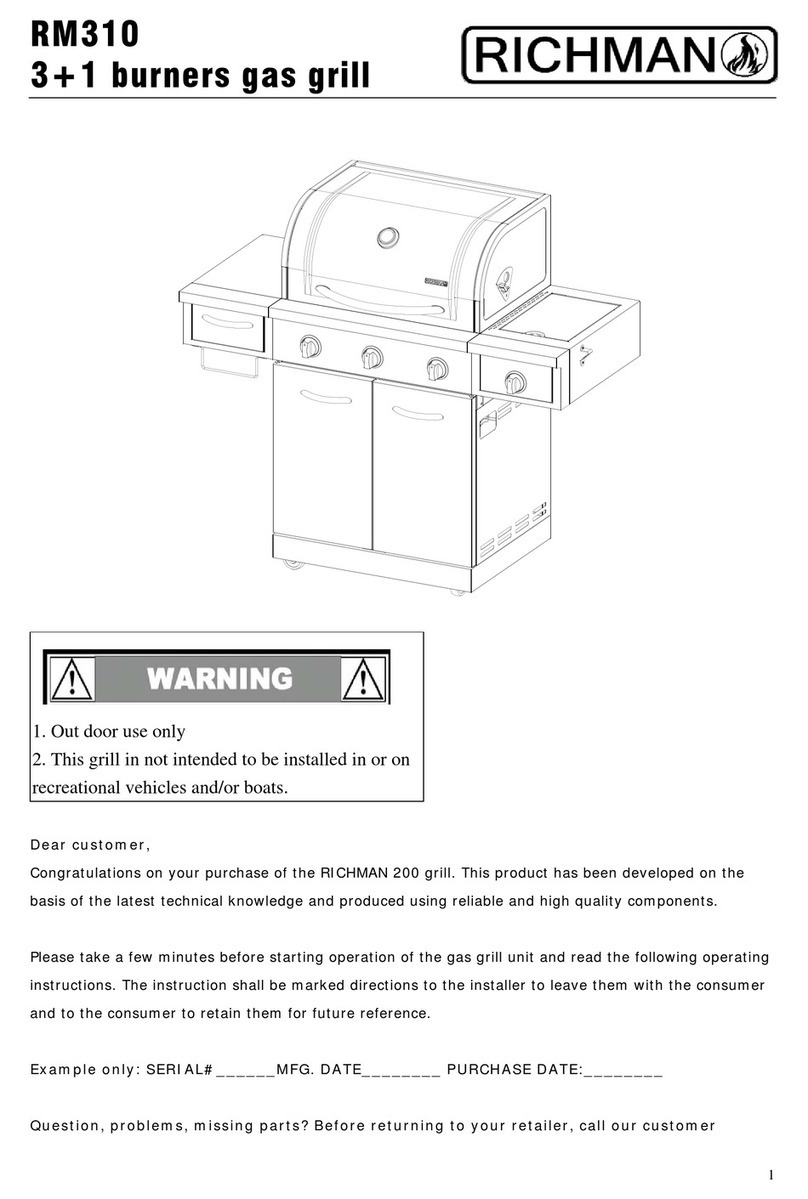
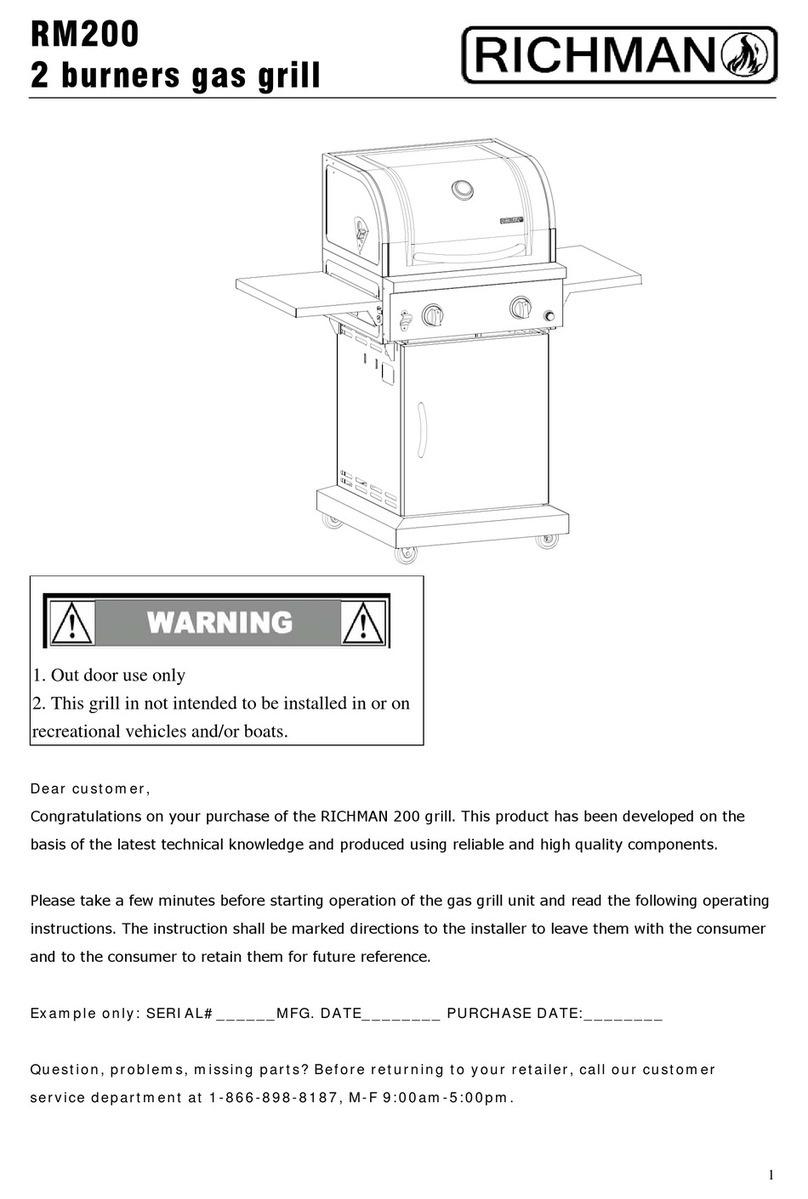
Richman RM20-2SS User manual

SERIAL# MFG. DATE PURCHASE DATE
PURCHASED AT THIS RETAILER:
08/28/13
ITM. / ART. 966690
RM20-2SS Traveler Grill
IMPORTANT, THIS INSTRUCTION MANUAL MUST BE LEFT WITH THE
CUSTOMER BY INSTALLER AND THE CUSTOMER MUST RETAIN FOR
FUTURE REFERENCE: READ CARFEFULLY. THIS INSTRUCTION MANUAL
CONTAINS IMPORTANT INFORMATION NECESSARY FOR THE PROPER
ASSMEBLY AND SAFE USE OF THIS APPLIANCE. READ AND FOLLOW ALL
WARNINGS AND INSTRUCTIONS BEFORE ASSEMBLING AND USING THE
APPLIANCE. FOLLOW ALL WARNINGS AND INSTRUCTIONS WHEN USING
THE APPLIANCE. KEEP THIS MANUAL FOR FURTURE REFERENCE.
DANGER
If you smell gas
1. Shut off gas to the appliance.
2. Extinguish any open flame.
3. Open lid.
4. If odor continues, keep away
from the appliance and
immediately call your gas
supplier or your fire department.
Failure to follow these instructions could
result in fire or explosion which could
cause property damage, personal injury
or death.
Dear Member,
Congratulations on your purchase of the RICHMAN Grills RM20-2SS Traveler Gas Grill This appliance has been
manufactured using reliable and high quality components. It is important that prior to operation of this product you
read the manual carefully and retain the manual for future reference, as well as a copy of your receipt for proof of
purchase.
Please register your new RICHMAN grill by completing the on-line registration form at www.richmangrills.com.
Questions, problems, missing parts? Before returning to your retailer, call RICHMAN Grills customer
service hotline at 1-866-898-8187 in North America, 9:00am-4:30pm M-F PST, or by email at
info@richmangrills.com. English, Spanish and French representatives available to assist.

1. Donotstoreoruse gasolineor
otherflammableliquidsorvaporsin
thevicinityofthisoranyother
appliance.
2. AnLPcylindernotconnectedfor
use shall notbestoredinthevicinity
ofthisoranyotherappliance.
ITM. / ART. 966690
RM20-2SS TravelerGrill
TableOfContents
1
1. Outdooruse only
2.Thisgrill isnotintendedtobe
installedinoronrecreational
vehicles and/ orboats.
SafetyInformation………………………………………………………………………….…………......….(3)
PackageContentsList……………………………………………………………….…...…………........….(5)
AssemblyInstructions……………………………………………………………………….………….........(6)
Regulator&HoseInstructions,GasTankInstructions………………………….......…….…........…....(11)
OperatingInstructions……………………………………………………………………………….....…...(16)
Cooking Tips………………………………………………………………………………………..............(18)
Careand Maintenance……………………………………………………………………………...…...…(19)
ReplacementPartsOverview.............................................................................................................(22)
ReplacementPartsList…………………………………………………………..……………….....…......(23)
Troubleshooting……………………………………………………………………………………..............(24)
Warranty………………………………………………………………..…………….…………… ..…........(24)
DANGER
08/28/13
1. Neveroperatethisappliance unattended.
2. Neveroperatethisappliance within10 ft
(3.0m)ofanystructure, combustible
material orothergascylinder.
3. Neveroperatethisappliance within25 ft
(7.5m)ofanyflammableliquid.
4. Donotfill cookingvessel beyond
maximumfill-line.
5. Neverallow oil orgrease togethotter
than400 For200 C. Ifthetemperature
exceeds400 F(200 C)orifoil beginsto
smoke, immediatelyturntheburnerorgas
supplyOFF.
6. Heatedliquidsremainatscalding
temperatures longafterthecooking
process. Nevertouchcookingappliance
until liquids
havecooledto115 F(45 C)orless.
7. Ifafireshouldoccur, keepawayfromthe
appliance andimmediatelycall yourfire
department. Donotattempttoextinguish
anoil orgrease firewithwater.
Failuretofollow theseinstructionscould
resultinfire, explosionorburnhazard
whichcouldcause propertydamage,
persona.
1

METHOD 2: Use an air hose to force air througheach burner tube. Theforcedair should pass
debris or obstruction throughthe burner and out the ports.
5. Referto the drawing below to reassembletheburners to the gasvalve orificeprior to reconnecting
theburnerscrew.
CAUTION: For safe operation ensure the gas valve assembly orifice is inside the burner tube
before using your grill. See figure above. If the orificeis not inside the burner tube, lighting
the burner may cause an explosion and/or fire resulting in serious bodily injury and/or
property damage.
ITM. /ART. 966690
RM20-2SS Traveler Grill
Safety Information
Warning
· Failure to comply with these instructions could result in a fire or explosion that could cause serious
bodily injury, death or property damage.
· Spiders and small insects can spin webs and nest in the grill burner tubes during transit and
warehousing which can lead to a gas flow obstruction resulting in a firein and around the burner
tubes. This type of “FLASHBACK FIRE”can cause serious grill damage and createan unsafe
operating condition for the user.
To reduce the chance of a FLASHBACK FIRE you must clean the burner tubes as follows
before initial use. Do this at least once a month in summer and fall or whenever spiders are active
in your area, and if your grill has not been used for an extended period of time.
1. Remove the screw from the rear of each burner using a Phillips head screwdriver.
2. Carefully lift each burner up and away fromthe gas valve orifice.
3. Check and clean the burner tubesfor insects and insect nests.A clogged tube can lead to a fire
beneaththe grill.
4. Refer to thefigurebelow and perform one of these 2cleaning methods:
METHOD 1:Use a bottle brush witha flexible handle and run the brush through the burner tube
and inside the burner several times to remove any debris.
3
08/28/13
2
2

Warning
Liquid Propane Gas (LPG)grill modelsmust be used withthe liquid propane gas regulator assembly supplied.
Any attempt to convert the grill from one fuel type to another is extremely hazardous and will void the
warranty.This appliance is for outdoor use only and shall not be used in a building, garage or any other
enclosed area.
Never obstruct theventilation air flow around your gas grill.
Never disconnect the gas regulator assembly or any gas fitting while your grill is lit. A lit grill can ignite leaking
gas and cause a fireor explosion which could result in property damage,personal injury or death.
Keep the gas regulator hose away from any heated surfaceor dripping grease. Avoid unnecessary twisting
of the hose. Visually inspect the hose prior to each use for cuts, cracks, excessive wear, or other damage.
If the hose appears damaged, do not use the gas grill.
ContactRICHMAN Grills for a replacementgas hose assembly. (See Warranty Section)
Warning
•The gas hose should be inspected after each use. Look for any cuts, cracks, excessive wear or other
damage.The hose should be replaced everytwo years by a qualified technician.
•Only use hose and regulators approved for LP Gas.
•Avoid twisting and bending of the gas hose.
•Keep the gas hose or any other electrical cords away from hot surfacesof the grill.
•The gas hose must comply with national regulations and should not be longer than 78.5inches / 1.9 meters.
Grill Installation Codes
Theinstallation must conform withlocal codes or,in the absence of local codes, witheither the
National Fuel Gas Code:
•ANSI Z 223.1/NFPA 54, Storage and Handling of Liquefied Petroleum Gases, ANSI/NFPA 58
•Or Natural Gas and Propane Installation Code, CSA B149.1
•Or Propane Storage and Handling Code, CSA B149.2
•Or the Standard for Recreational vVhicles, ANSI A 119.2/NFPA 1192, and Recreational Vehicle
Code, CSA Z240 RV series , as applicable.
LP gas grill models aredesigned for use witha standard 20 lb. / 2.39 kg. Liquid Propane Gas tank, not
included withgrill. Never connect your gas grill to an LP gas tank that exceedsthis capacity.
This appliance is be only used with a LP gas supply cylinder that is constructed and marked in
accordance with the specifications for LP-gas cylinders, U.S. Department of Transportation (DOT) or the
Standards for Cylinders, Spheres and Tubes for Transportation of Dangerous Goods, CAN/CSA-B339.
ITM. /ART. 966690
RM20-2SS Traveler Grill
4
08/28/13
3

ITM. /ART. 966690
RM20-2SS Traveler Grill
PackageAnd HardwareContents List
5
NO
DESCRIPTION
QTY
A
Firebox assembly
1 PC
B
Air vent plate, right
1 PC
C
Air vent plate, left
1 PC
D
Side carrying handle
2 PC
E
Folding leg
2 PCS
F
Leg hinge screw
4 PCS
G
Leg fixed nut
4 PCS
H
Flametamer
2PCS
I
Cookinggrid with hole
2 PCS
J
Griddle
1 PC
K
Warmingrack
1 PC
L
Battery –Size AA
1 PC
08/28/13
4

ITM. /ART. 966690
RM20-2SS Traveler Grill
Pre-Assembly
Read and perform the following pre-assembly instructions:
•Tools Required for Assembly include:
•Protective work glove
•Protective Eyewear
•Phillips Head Screwdriver
•You will need assistance from another person to carry grill from the shipping carton.
•Open lid of shipping carton and remove parts box and packingmaterials. Lay a cardboardsheet on the floor
and use as a work surfaceto protect floor and grill parts from scratches.
•Use the Hardware and Parts Diagrams to ensure all items are included andfree of damage.
•Do not assemble or operate the grill if it appears damaged or is missing parts. Contact RICHMAN Grills
customer service hotline at 1-866-898-8187 in North America, 9:00am-4:30pm M-F PST, or by email at
Estimated assemblytime: 10 minutes with 2 people.
6
Warning
Before using the gas grill, makesure that you have read and understood all safety
instruction and warnings in this manual!
08/28/13
5

FG
2. Install Side Carrying Handles
Step A: Unscrew8 pcs ¼ in./ 0.6cm. screws assembled on firebox side panels, as shown
in picture.
E
E 2pcs
A 1pc
F 4pcs
ITM. /ART. 966690
RM20-2SS Traveler Grill
Assembly Instructions
1.Install Folding Legs
Attach 2 pcs folding legs (E) to firebox assembly (A) using 4 pcs leg hinge
screws (F), and 4 pcs leg fixed nuts (G) as shown in picture.
A
7
08/28/13
G (4pcs)
6

3. InstallAir Vent Plates
Step A: Unscrew 2 pcs screws assembled in side hood side panels, as shown in picture.
ITM. /ART. 966690
RM20-2SS Traveler Grill
Step B: Attach2 pcs side carrying handles (D) to firebox side panels using the 8 pcs ¼ in. / 0.06cm screws
removedin step A, as shown in picture.
D
8
D 2pcs
08/28/13
D
7

B
C 1pc
CStage Screw
4.Install Flame Tamer, Cooking Grid, Griddle, Warming Rack
Open hood and put flame tamer (H), cookinggrid (I), griddle (J), warming rack (K) into firebox, as
shown in picture.
K
J 1pc
I
H
K 1pc
J
B 1pc
H 2pcs
I 2pcs
ITM. /ART. 966690
RM20-2SS Traveler Grill
Step B: Attach 2 pcs air vent plates, left & right (C&D) to firebox side panels using the 2 pcs
screws unscrewed in step A, as shown in picture.
9
Rubber
Washer
08/28/13
8

ITM. /ART. 966690
RM20-2SS Traveler Grill
5.Install Battery Into Electronic Igniter Module
Unscrew electronic igniter cap, install battery (L) by inserting the negative (-) end first so that the
positive (+) end is facing outward, then screw cap onto electronic igniter, as shown in picture.
10
6. Congratulations–Assembly Is Now Complete
•Do not remove the CSA label and Ignition / Warning instruction labels. Be sure to clean all foam packing
material out of all areas.
•Please proceedto and read the remaining sections of the Operator’s Manual prior to hooking up your LP
cylinder or operating your grill.
L 1pc
CAUTIONS: BATTERY INSTRUCTIONS
•Always purchase the correct size and grade of
battery most suitable for the intended use.
•Always replace the whole set of batteries at one
time, taking care not to mix old and new ones, or
batteries of different types.
•Clean the battery contacts and also those of the
device prior to battery installation.
•Ensure the batteries are installed correctly with
regard to polarity (+ and -).
•Remove batteries from equipment which is not to be
used for an extended period of time.
•Remove used batteries promptly.
For recycling and disposal of batteries to protect the
environment, please check the internet or your local
phone directory for local recycling centers and / or
follow local government regulations.
+
Polarity
-
L
+
08/28/13
9

ITM. / ART. 966690
RM20-2SS TravelerGrill
Regulator&HoseInstructions, Gas TankInstructions
Gas Installation
CorrectLPGas TankUse
LPgasgrillmodelsaredesigned forusewithastandard20 lb.(9.1kg)LiquidPropaneGas(LPGas)tank,whichis
notincludedwiththe grill. Neverconnectyourgasgrilltoan LPgastankthatexceedsthiscapacity.Atankof
approximately12in.(305mm)indiameterby18-1/2in. (472mm)high isthemaximumsizeLPgastanktouse.You
mustusean “OPD”gastankwhichoffersalisted OverfillPrevention Device.Thissafetyfeaturepreventstanks
frombeingoverfilledwhichcan causemalfunctionoftheLPgastank, regulatorand grill.
The LPgastankmust beconstructedandmarkedin accordancewiththe SpecificationsforLP-GasCylindersofthe
U.S.Departmentof Transportation (D.O.T.)ortheNationalStandardof Canada,CAN/CSA-B339, Cylinders,
Spheresand TubesforTransportationof DangerousGoodsand Commission,asapplicable.
The LPgastankmust haveashutoffvalveterminatinginanLPgassupplytankvalveoutletthatiscompatible
withaType1tankconnection device.TheLPgastankmustalsohaveasafetyrelief orreleasedevicethathasa
directconnectionwiththe vaporspaceofthetank. Whentheapplianceisnot inuse,thegasmust beturned off
atthe supplytank.
The tanksupplysystemmusthaveameansforvaporwithdrawal.
The LPgastankused must haveacollartoprotectthetankvalve.
Never connect anunregulated LPgastanktoyourgasgrill.Thegasregulatorassemblysupplied withyourgas
grillisadjusted tohaveanoutlet pressureof 11 in. watercolumn(W.C.)/27.9cmwatercolumn(W.C.)for
connectiontoan LPgastank. Onlyusetheregulatorand hoseassemblysupplied withyourgasgrill.
Replacementregulatorsandhoseassemblies mustbethosespecifiedbyRICHMANGrills.
HaveyourLPGasdealercheckthereleasevalveafterevery filling toensureit remainsfreeof defects.
Alwayskeep theLPgastankinan upright position.Do notsubjectthe LPgastanktoexcessiveheat.
ToproperlystoreyourLPgastank,placethe dust capon cylindervalveoutletwheneverthecylinderisnotinuse.
Onlyinstall thetype of dust capon thecylindervalveoutletthatisprovided withthe cylindervalve.othertypesof
capsorplugsmayresultinleakageof propane.
Storageof anapplianceindoorsispermissibleonlyifthe LPgastankisdisconnected andremovedfromthe appliance.
Disconnected LPgastanksmust bestoredoutdoorsout of reachofchildrenand must not bestored inabuilding,
garage,oranyotherenclosed area.
The regulatorandhoseassemblymust beinspectedbeforeeachuseofthegrill.Ifthereisexcessiveabrasionor
wearorif thehoseiscut,it must bereplacedpriortousing thegrillagain.
Never lightyourgasgrillwiththelidclosed orbeforecheckingtoensurethe burnertubesarefullyseated overthe
11
08/28/13
gasvalveorifices.
WARNING:
Always operatethe grillonatabletop,no higher
than 32inches.Place thepropanetank onthe ground
immediatelyadjacenttothe tabletop,no further than 24
inchesfrom the grill.Failure tofollowtheseinstructions
couldcausethepropanetank tooverheat andvent propane
which canpossiblyigniteresultinginseriouspersonal
injuriesor propertydamage, oratripping hazard overthe
hose or propane tank,pulling thegrilloff the tabletop
resultinginseriouspersonalinjuriesorproperty damage.
10

ITM. /ART. 966690
RM20-2SS Traveler Grill
•Never allow children to operate your grill. Do not allow children or pets to play near your grill.
•Use of alcohol, perscription or non-prescription drugs may impair the consumers ability to assemble or safely operate
the grill.
•Keep a fireextinguisher readily accessible. In the event of an oil or greasefire, do not attemptto extinguish with water.
Immediately call the fire department. AType BC or ABC extinguisher may, in some circumstances contain the fire.
•In the event of rain, snow, hail, sleet or other forms of percipitation while cooking with oil or grease, cover the
cooking vessel immediately and turn off the appliance burners and gas supply. Do not attempt to move the
appiance or cooking vessel.cover the grill and turnoff the burner and gas supply.
•Use your grill on a level, stable noncombustible surface in an area clear of combustible material. An asphalt surface
(blacktop) may not be acceptable for this purposde. Ensurethe folding legs arelocked beforeuse.
•Do not leave the grill unattended when in use.
•Do not movethe grill when in use. Allow the grill to cool before moving or storing
•This appliance will be hot during and after use. Use insulated oven mitts or gloves for protection from hot surfaces or
splatter from cooking liquids.
•Do not use your grill as a heater.
•This grill is not intended to be installed in or on recreational vehicles and / or boats and is not intended for
commercial use.
Warning
A. Do not storea spareLP gas tank under or near this appliance.
B. Never fill the tank beyond 80 percentfull;
C. If the information in “(a)” and “(b)” is not followed exactly, afirecausing death or serious injurymay occur.
It is very important to keep your appliance’s free of and away from any combustible materials.
Maintain at least 36 in./ 91.4cm of clearance from sides and back of unit and do not use under
overhead combustible construction. This appliance shall be used only outdoors and shall not be
used in a building, garage or any other enclosed area.
12
NO overhead
combustible
construction
08/28/13
91.4 cmm
91.4 cm
36 in.
36 in.
11

ITM. /ART. 966690
RM20-2SS Traveler Grill
NotesAbout LP Gas Tank Exchange Programs
•Many retailers that sell grills offer you the option of replacing your empty LP gas tank through an exchange
service. Use only those reputable exchange companies that inspect, precision fill, test and certify their
tanks. Exchange your tank only for an OPD safety featureequipped tank as described in the LP gas tank
section of this manual.
•Always keep new and exchangedLP gas tanks in an upright position during use, transit or storage.
•Leak test new and exchangedLP gas tanksBEFORE connecting one to your grill.
Testing For Gas Leak
•Test all connections for gas leaks beforefirst use, at the beginning of each new season, or when gas
cylinder is changed.
•Make sure procedureis carried out in a well ventilated area and never in the presence of flame, sparksor
heat source. If you smell gas, never attempt to light the grill.
•Make sure that all temperatureknobs on the grill are in the OFF position.
•Open the gas valve of the gas cylinder and / or the pressure regulator.
•Test all connections for leaks. For testing use a half water / half soap solution. Apply the solution to the
connectionpoints with a clean paint brush.
•If bubbles occur,immediately turn off the gas supply on thevalve of the gas cylinder. Tighten all
connectionsagain and repeat the test.
•If gas bubbles still occur, do not use the grill and contact the RICHMAN Grills customerservice hotline
at: 1-866-898-8187 in North America,M-F 9:00am –4:30pm PST, or by email at
info@richmangrills.com.
Warning
Never check for gas leaks using a match or any other open flamedue to risk of explosion.
Warning
Whenyour gas cylinder is empty, do not try to refill it by yourself . Bring it back to an authorized reseller who will
safelyrefill it or exchange it.
13
08/28/13
12

Warning
Thegas pressure regulator and hose assemblyprovided with this outdoor cooking appliance must
be used. This regulator is set for an outlet pressure of 11 in.water column (W.C.) / 27.9cm water
column (W.C.).
Regulator:
Your regulator is equipped with a Q.C.C. Type 1 quick connect system. It will not allow gas to flow until a
positive seal has been made. It has a thermal element that will shut off the gas flow if the temperature
reaches 239 degrees F (115 degrees C). It also has a flow-limiting device that will restrict the flow of gas to
9.8 cubic feet per hour (0.28 cubic meters per hour).
To Connect The Cylinder To The Regulator And Hose:
:
1. Be sure the LP cylinder is “OFF” by turning the hand wheel clockwise until it stops.
2. Be sure all burner controls are turned to the “OFF” position.
3. Remove the safety capfrom the cylinder valve.
4. Center the nipple of the regulator into the cylinder valve.
5. Turnthe black nut clockwise until it stops.
Hand Tighten Only. Do Not Use A Wrench.
CAUTION: Whenthe appliance is not in use the gas must be turned off at the tank.
ITM. / ART. 966690
RM20-2SS Traveler Grill
Regulator and LP Cylinder Connections
14
08/28/13
13

ITM. /ART. 966690
RM20-2SS Traveler Grill
Flow Limiting Valves On LP Gas Tanks
Your LP gas tank is equipped with a flow limiting valve that will restrict the flow of gas due to a sudden
changein pressure. This can often activate without your knowledge. You will notice among other things that
your grill does not get as hot as it should, will takelonger to heat up, or you may not be able to light all
burners. If you notice any of the above, then you should reset the valve and clear your gas line.
To Do This:
1. Ensure the LP gas tank valve is OFF.
2. Disconnect the regulator from the LP gas tank.
3. Open all burner control knobsincluding the side burner to Hi/Light at the sametime.
4. Turn all burner control knobs to OFF.
5. Let the LP gas tank standfor at least 10minutes.
6. Reconnect the regulator assembly to the LP gas tank.
7. Slowly, meaning about 1/4 turn at a time, turn on the LP gas valve.
8. Follow the burner lighting procedures to light the burner farthest away from the gas source.
9.Theflow limiting valve should now be reset.
This flow limiting valve is triggered by sudden changes in pressure. This can be caused by a leak, faulty
connectionof the regulator to the LP gas tank, turning on the LP gas tank valve too quickly, or turning the
burners off by turning the LP gas tank valve off beforeturning the burner control knobsto off.
Note: Always turn off your burners using the burner control knobsfirst beforeturning the LP gas tank valve off.
TransportationAnd Storage
1. Place a dust cap on the cylinder valve outlet whenever the cylinder is not in use. Only install the type of
dust cap on the cylinder valve outlet that is provided with the cylinder of propane valve. Other types of
caps or plugs may result in leakage.
2. Always transport your cylinder in an upright position.
3. Do not smokewhen transporting your cylinder.
DisconnectingALiquid Propane Gas (LPG) Tank From Your Grill
Make sure the burner valves and LP gas tank valve are off.(Turn clockwise to close.)
Detach the hose and regulator assembly from the LP gas tank valve by turning the quick coupling nut
counterclockwise.
15
08/28/13
14

•Open the lid of the grill. Make sure that gas valve knobs are in theOFF position.
•Open the valve of the gas cylinder.
•Keep your faceand body as far away from the grill as possible while igniting.
•Push and turn thevalve knobto the IGNITE/HI position, press the valve knob down, until you hear a
click. Repeat 3 or 4 times until the burner lights.
•If the grill does not ignite right away, wait for 5minutes to give the gas time to disperse.
•After the burner has been ignited, ignitethe other burner using thevalve knob. Push each one and set it
to the IGNITE/HI position to ignite it. All burners can be used together or in any preferable combination.
•Adjust the heat by turning thevalve knob(s) between LO andIGNITE/HI position.
16
ITM. /ART. 966690
RM20-2SS Traveler Grill
Operating instructions Warning
Set Up
•This gas grill is only intended for outdoor use. Place the grill in a well-ventilated location.
•Make sure that there are no flammableobjects near or over the grill, Keep the gas grill at least 4.9 ft. / 1.5m
away from flammable objects.
•Do not place the grill under a pavilion, sun umbrella or similar objects.
Burn-off Procedure
•Before using the gas grill for the first time, burn-off residues of foreign matter remaining from the
manufacturingprocess.
•Withhood open, operatethe gas grill at high temperatureabout 10-15 minutes (See Igniting the Grill)
•After all residues are burned, turn off the unit, allow it to cool down and clean (See Cleaning and Care)
Igniting The Grill
08/28/13
Please note that if burner flames are accidently extinguished, turn off all valve knobs to the off
position, open hood to vent the remaining gas, close the valve of the gas cylinder and allow 5
minutes to give the gas time disperse. After 5 minutes, repeat the igniting of the grill process.
15

IGNITE / HI
LO
Appearance Of The Flame
•The burner flame should appear blue and stable as shown in pictures. There should be no yellow sparks,
loud noise nor should it be raised upfrom the nozzle.
•A yellow flamemeansthat there is not enough oxygen supply. Loud noises and a flame raised up from the
nozzle means that there is too muchoxygen.
•Check the appearanceof the burner flame prior to each use. Should deviations be present, contact a gas
specialist to reset the grill.
ITM. /ART. 966690
RM20-2SS Traveler Grill
Igniting The Gas Grill With A Match
1. Openthe lid.
2. Ensure all burners are in the “OFF” position.
3. Slowly turn on the gas at the LP cylinder valve if it is not already on.
4. Place a match in the matchlight stick. This is located on the side of the grill.
5. Use the stick to slide the lit matchthrough the cooking grates and the front of the heat
diffuser to the burner you wish to light.
6. Press and turn the burner control knobto “IGNITE/HI”. Continue to push in and hold up to 5 seconds
or until the burner lights.
7. If the burner does not light within 5 seconds, turnthe burner control knob to “OFF”. Wait 5 minutes
for gas to clear, and try again.
8. Whenlit, turn the control knobto the desired heat setting.
17
OFF
08/28/13
1 in.
2.5cm
16

ITM. /ART. 966690
RM20-2SS Traveler Grill
Turning Off The GasGrill
•After each use, turn the temperatureknobs to OFF position and let the gas grill cool down on this position
for about 5 minutes. Make sure that the lid is open at this time.
•Close thevalve on the gas cylinder. Waituntil the gas grill has completely cooled off beforeclosing the lid.
•If you do not use the grill for a long period of time, disconnect the gas cylinder from the grill and store it in
a safelocation.
•Cover up your gas grill with a commercially available cover, or your RICHMAN Grill cover if you do
not plan to use it for a long period of time.
Cooking Tips
Beforeusing the gas grill, brush the grill grates with cookingor vegetable oil. Use a soft bristle grill brush with
a long handle. The juices from the food drip ontothe flametamer during cooking andvaporize. The steam
arising from this process contributes to the taste of the food.
•Set the temperature knobs to the desired positions in order to reach your desired results.
•A more consistent result can be reached with the lid closed. In this case however, the temperature
should be set to thedesiredtemperatureforthefoodsbeingcooked.
•Withthe lid closed, foods such as larger pieces of meat or whole chickencan be cooked.
•Whenthe lid is closed, heat collects inside the gas grill. Therefore, you should avoid opening it too
oftenas accumulated heat escapes each time and thegrilling time increases as a result.
Tips Regarding Burning Grease:
•Grease and juice that drips from meat onto the flame tamer produces flames which also contribute to the
grilling taste.
•Make sure that bursts of flame are not produced, otherwise the meat could burn.
•Before grilling meat, cut away as muchfat as possible and do not use too muchmarinate so that the
meat does not burn.
•Only use meat that is suitable for grilling. Try to avoid grilling meat with too muchfat.
•If a greasefire occurs, turn the temperatureknobs to the OFF position. Turn off the gas supply on the gas
cylinder and wait until the fire goes out by itself.
•Keep a fire extinguisher readily accessible. In the event of an oil or grease fire, do not attempt to
extinguish with water. Use a Type B fire extinguisher or smother with dirt, sand or baking soda.
18
08/28/13
17

ITM. /ART. 966690
RM20-2SS Traveler Grill
Care and Maintenance
Proper careandmaintenance will keep your grill in good operating condition and prolong its life.
Follow these cleaning procedures on a timely basis and your grill will stay clean and operate with
minimum effort.
CAUTION: Be sure your grill is off and cool beforecleaning, and always wear protective
gloves when cleaning your grill.
Cleaning The Cooking Grids
Wash your cooking grates in a mild soap and warm water solution. You can use a wash cloth,
vegetable brush, or nylon bristled brush. Never use any type of steel bristled brush. Dry them
when finished.
Cleaning The Flame Tamers
Wash the flame tamersperiodically in a soap and warm water solution. Use a vegetable brush
to remove stubborn burnt-on cooking residue. Dry the flame tamersthoroughly beforeyou
reinstall them intothe firebox.
Cleaning The GreaseTrayAnd Box
To reduce the chanceof fire, the greasetray and grease pan should bevisually inspected before
each grill use. Remove any grease and wash both with a mild soap and warm water solution.
Cleaning The Inside Of The Grill Lid
Greasecan have a tendency to build up on the inside of the grill lid and could drip onto the deck or
patio. Withthe lid opened, visually inspect the inside of the grill lid beforeeach grill use. Remove
any grease and wash with a mild soap and warm water solution.
Annual Cleaning Of The Grill Interior
Burning-off excessfood after every cookout will keepit ready for instant use. Werecommendyou
periodically give the entire grill a thorough cleaning to minimize your risk of greasefire and keep
the grill in good shape. Follow these steps:
1. Turnall burner valves to the “OFF” position.
2. Turnthe LP gas tank valve to the “OFF” position.
3. Disconnect the regulator assembly from the gas tank. Inspect the hose for cracking, cuts or any
other damage, and replace as necessary. Refer to the Parts List in this Operator’s Manual.
4. Removeand clean the cookinggrates, flametamers, warming rack, burners, and grease tray.
5. Cover each gas valve orifice with aluminum foil.
6. Brush the inside and bottom of the grill with a fiber pad or nylon brush and wash with a mild soap
and warm water solution. Rinse thoroughly and let dry.
19
08/28/13
18

20
ITM. / ART. 966690
RM20-2SS TravelerGrill
7. Removealuminumfoilfromorificesandcheckeachorificeforobstruction.
8. Replacetheburners, ensuringthe burnersfitdownovereachvalveorifice.
9. Checkandclean eachelectrodetip.Adjustthespacing between the tipsandthe burner
asnecessary. The spacebetween theelectrodetipandburnershouldbeapproximately3/16 in. / 0.47cm.
10. Replacetheflametamers, grates, warming rack,andgreasetray.
11. Reconnectthegassourceandobservethe burnerflameforcorrect operation.
CleaningExteriorSurfaces:
Washwithamilddishsoap andwarmwatersolution.Asoft clothshould beused. Rinsethoroughly
and wipe dry.
CleaningExteriorStainless Steel Surfaces: Washwithamilddishsoap and warm watersolution.
Clean andpolishwithastainless steelcleaner.Therearemanygood qualitystainless steelcleanersandpolishes
available.Followthemanufacturer sdirections.Alwayspolishinthedirection of thelines.Do not allowdirtand
greasetoaccumulate. Donotusesteel woolasit will scratchthesurface.Do notuseabrasivecleanersand
scrubbers. Useonlyasoft clothforapplyingapprovedcleanersand polishes.
CAUTION:
Heat,weathering,machineoilsused in the manufacturing of stainless steel,and dirt canallcause
exteriorstainless steelsurfacestoturntan incolor.Inaddition,the followingproductsand naturallyoccurring
substancesintheoutdoorswill damageallstainless steelfinishes. Usecaution sotheydo notcomeincontact
withyourgrill.Immediatelywashthemoff and dry the stainlesssteelshould theyevercomeincontactwithyour
gasgrill.Theyinclude,but arenotlimited to, poolchemicals(chlorineandbromine),lawnfertilizer, icemelting
salts, sea orsalt water,urine,birddroppingsand tree sap.
•Failuretocomplywiththeseinstructionsmayresult inahazardoussituation which,if not avoided,
mayresultin injury.
•Keep grill area clearandfreefromcombustible materials, gasoline andotherflammablevaporsand
liquids.
•Do notobstructtheflowof airforcombustionand ventilation.
•Keeping theventilationopening(s)of thecylinderenclosurefreeandclearfromdebris
08/28/13
19
This manual suits for next models
1
Table of contents
Other Richman Grill manuals
Popular Grill manuals by other brands

Coleman
Coleman 9939 Series Instructions for use

Pit Boss
Pit Boss PB200P manual

Broil King
Broil King 10084-K74 1205 Assembly manual and parts list

Flame-N-Go
Flame-N-Go Wagon owner's manual

Sovereign
Sovereign Alpha Installation and operating instructions

Electri-Chef
Electri-Chef 4400-EC-448-I-S-32 Features