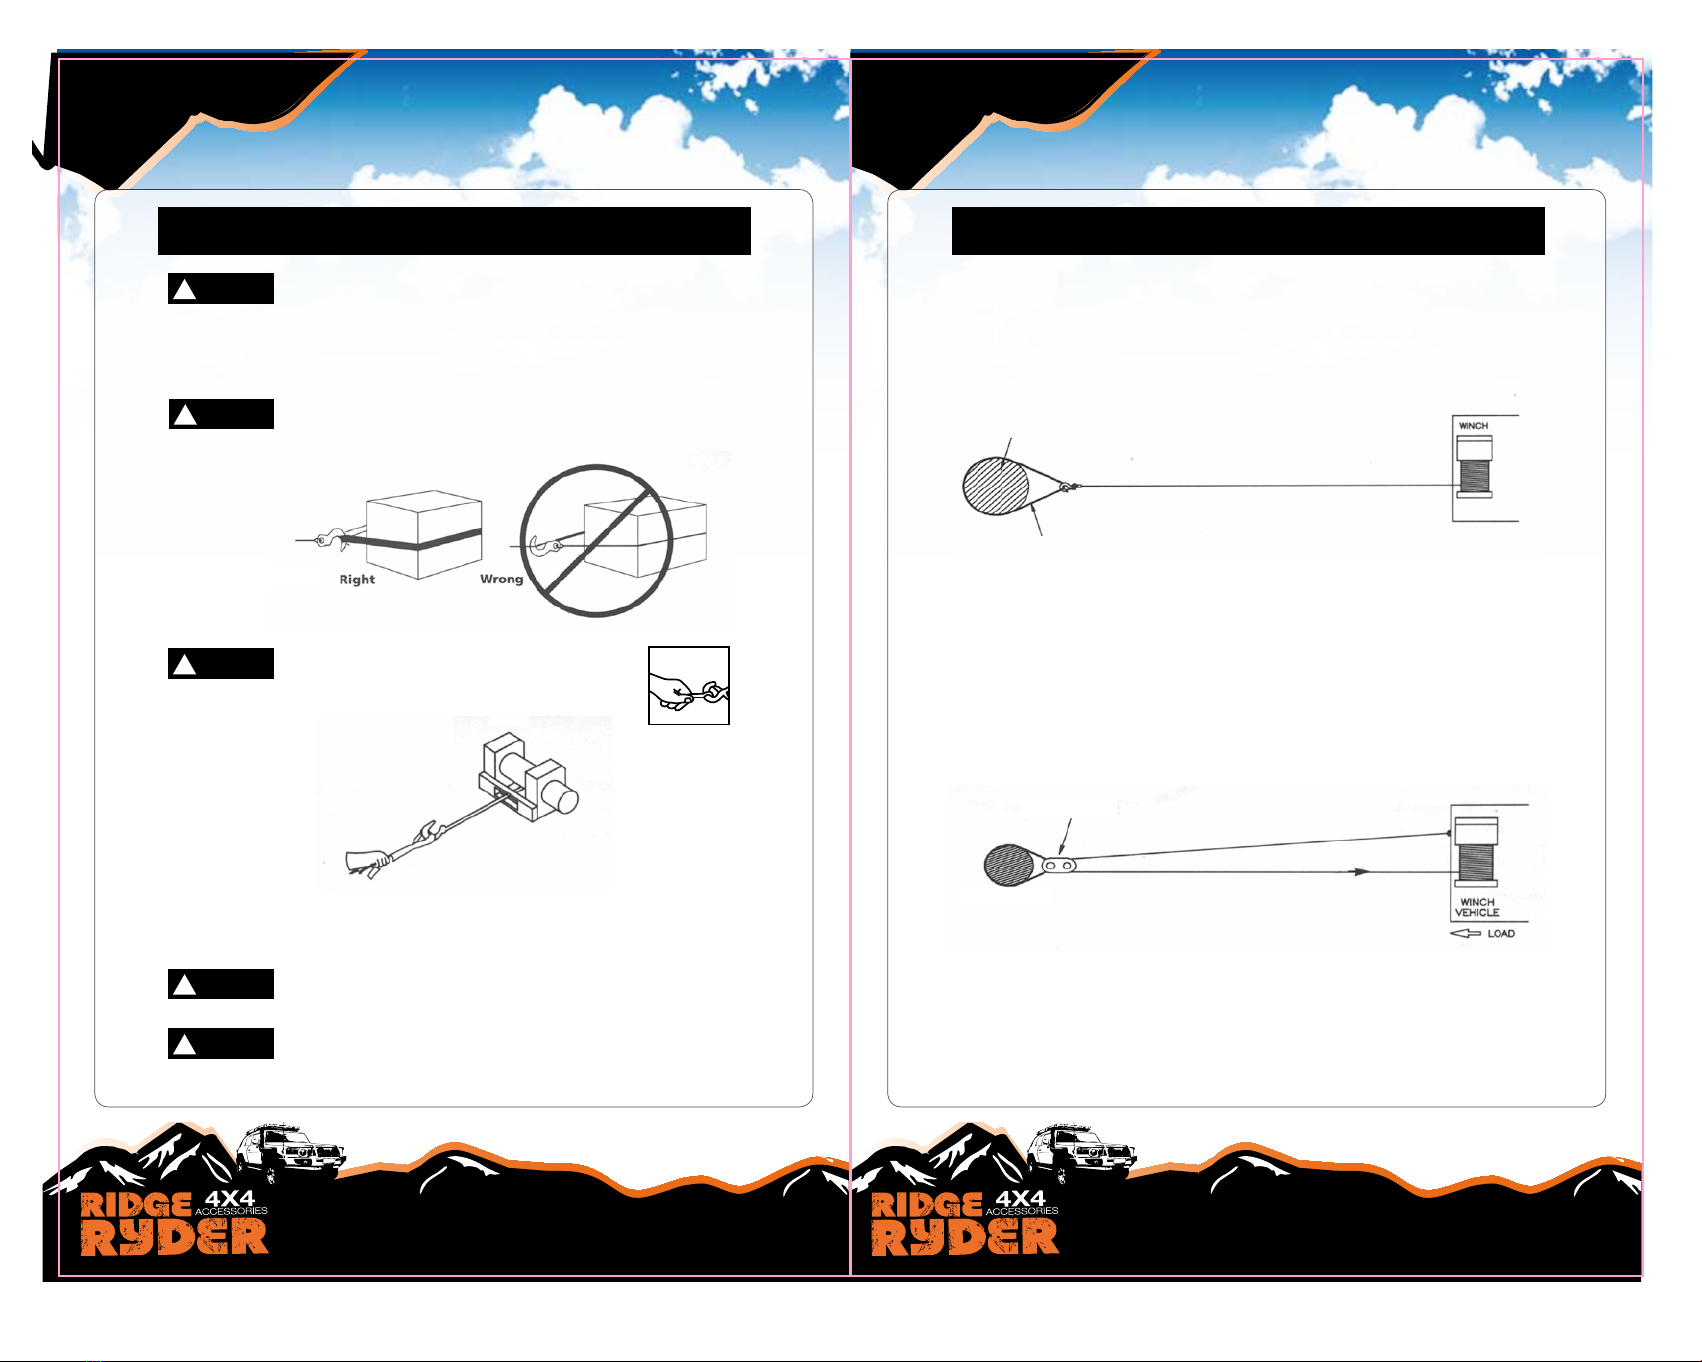
1. Maximum working load capacity is on the winch rope layer closest to the
drum. DO NOT OVERLOAD. DO NOT ATTEMPT PROLONGED PULLS AT
HEAVY LOADS. Overloads can damage the winch and/or the winch rope and
create unsafe operating conditions. FOR LOADS OVER 1/2 RATED
CAPACITY, WE RECOMMEND THE USE OF THE OPTIONAL PULLEY BLOCK
TO DOUBLE LINE THE WINCH ROPE (Figure 2). This reduces the load on the
winch and the strain on the winch rope by approximately 50%. Attach hook
to load bearing part. The vehicle engine should be running during
winch operation. If considerable winching is performed with the engine
o, the battery may be too weak to restart the engine.
2. AFTER READING AND UNDERSTANDING THIS MANUAL, LEARN
TO USE YOUR WINCH. After installing the winch, practice using it
so you will be familiar with it when the need arises.
3. DO NOT "move" your vehicle to assist the winch in pulling the load. The
combination of the winch and vehicle pulling together could overload the
winch rope and the winch.
4. ALWAYS STAND CLEAR OF WINCH ROPE, HOOK AND WINCH. IN THE
UNLIKELY EVENT OF ANY COMPONENT FAILURE IT'S BEST TO BE OUT OF
HARM'S WAY.
5. Inspect winch rope and equipment frequently. A Frayed winch rope with
broken strands should be replaced immediately.
Periodically check the winch installation to ensure that all bolts are tight.
6. Use heavy leather gloves when handling winch rope. Do not let winch rope
slide through your hands.
7. Never winch with less than 5 turns of winch rope around the winch drum
since the winch rope end fastener may NOT withstand full load.
The responsibility for safe installation and operation of
the winch and prevention of the winch and prevention of
personal injury and property damage ultimately rests
with you, the operator. There is no subsitute for the use of
good judgement and caution in operating a winch.
Warning
!
The winch rope may break before the winch stalls. For
heavy loads, use a pulley block to reduce the load on the
winch rope.
Warning
!
Single Line Double Line
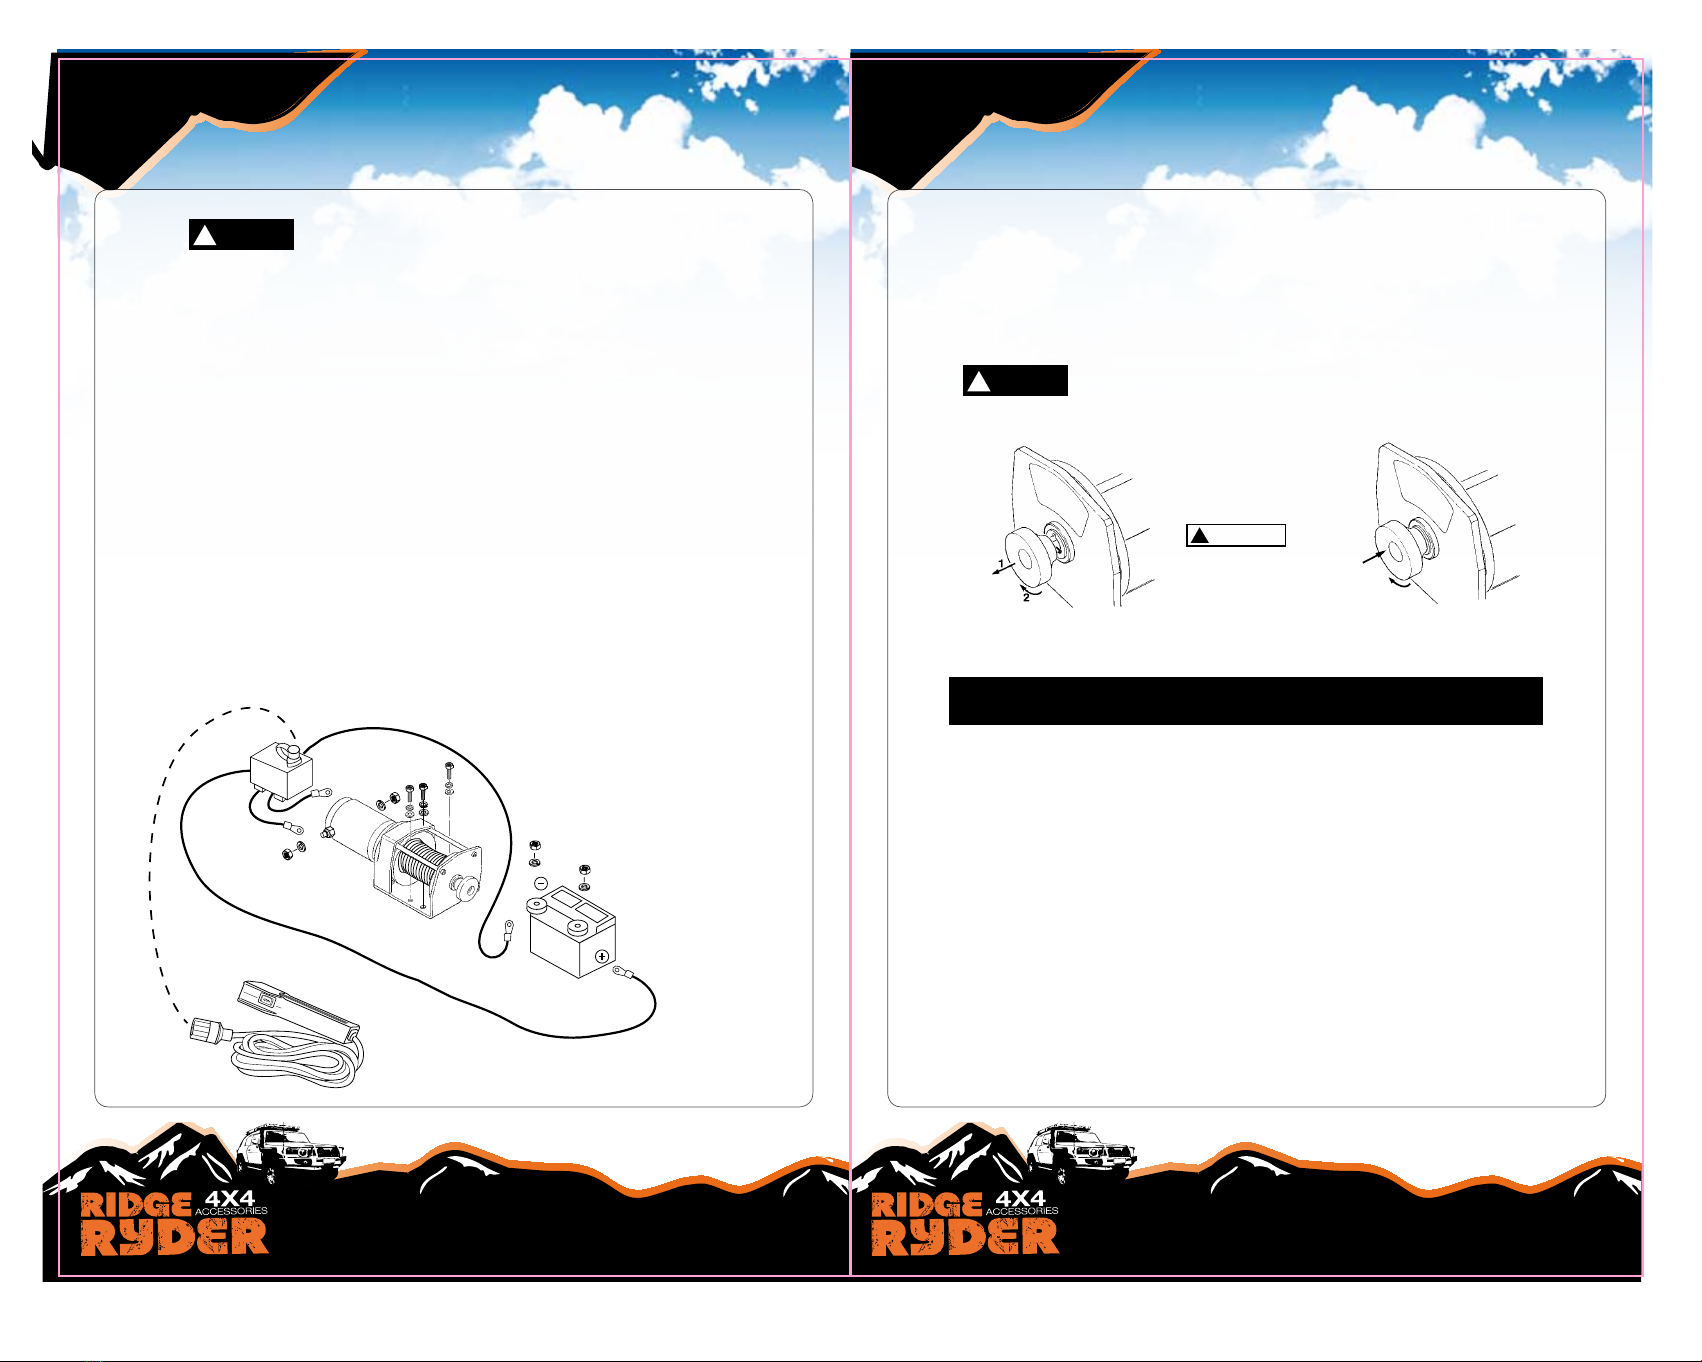
8. Never put your nger through the hook. If your
nger should become trapped in the hook, you
could lose your nger. ALWAYS USE THE
HANDSAVER when guiding the winch rope in or out
(See Figure 3).
12.
NEVER OBSCURE THE WARNING INSTRUCTION LABELS.
13.
Always operate winch with an unobstructed view of the winching
operation.
14.
Equipment such as tackle, hooks, snatch blocks, straps, etc. should be
sized to the winching task and should be periodically inspected for damage
(4)
Figure 5
Right W rong
Figure 6
Figure 4
W rong Right
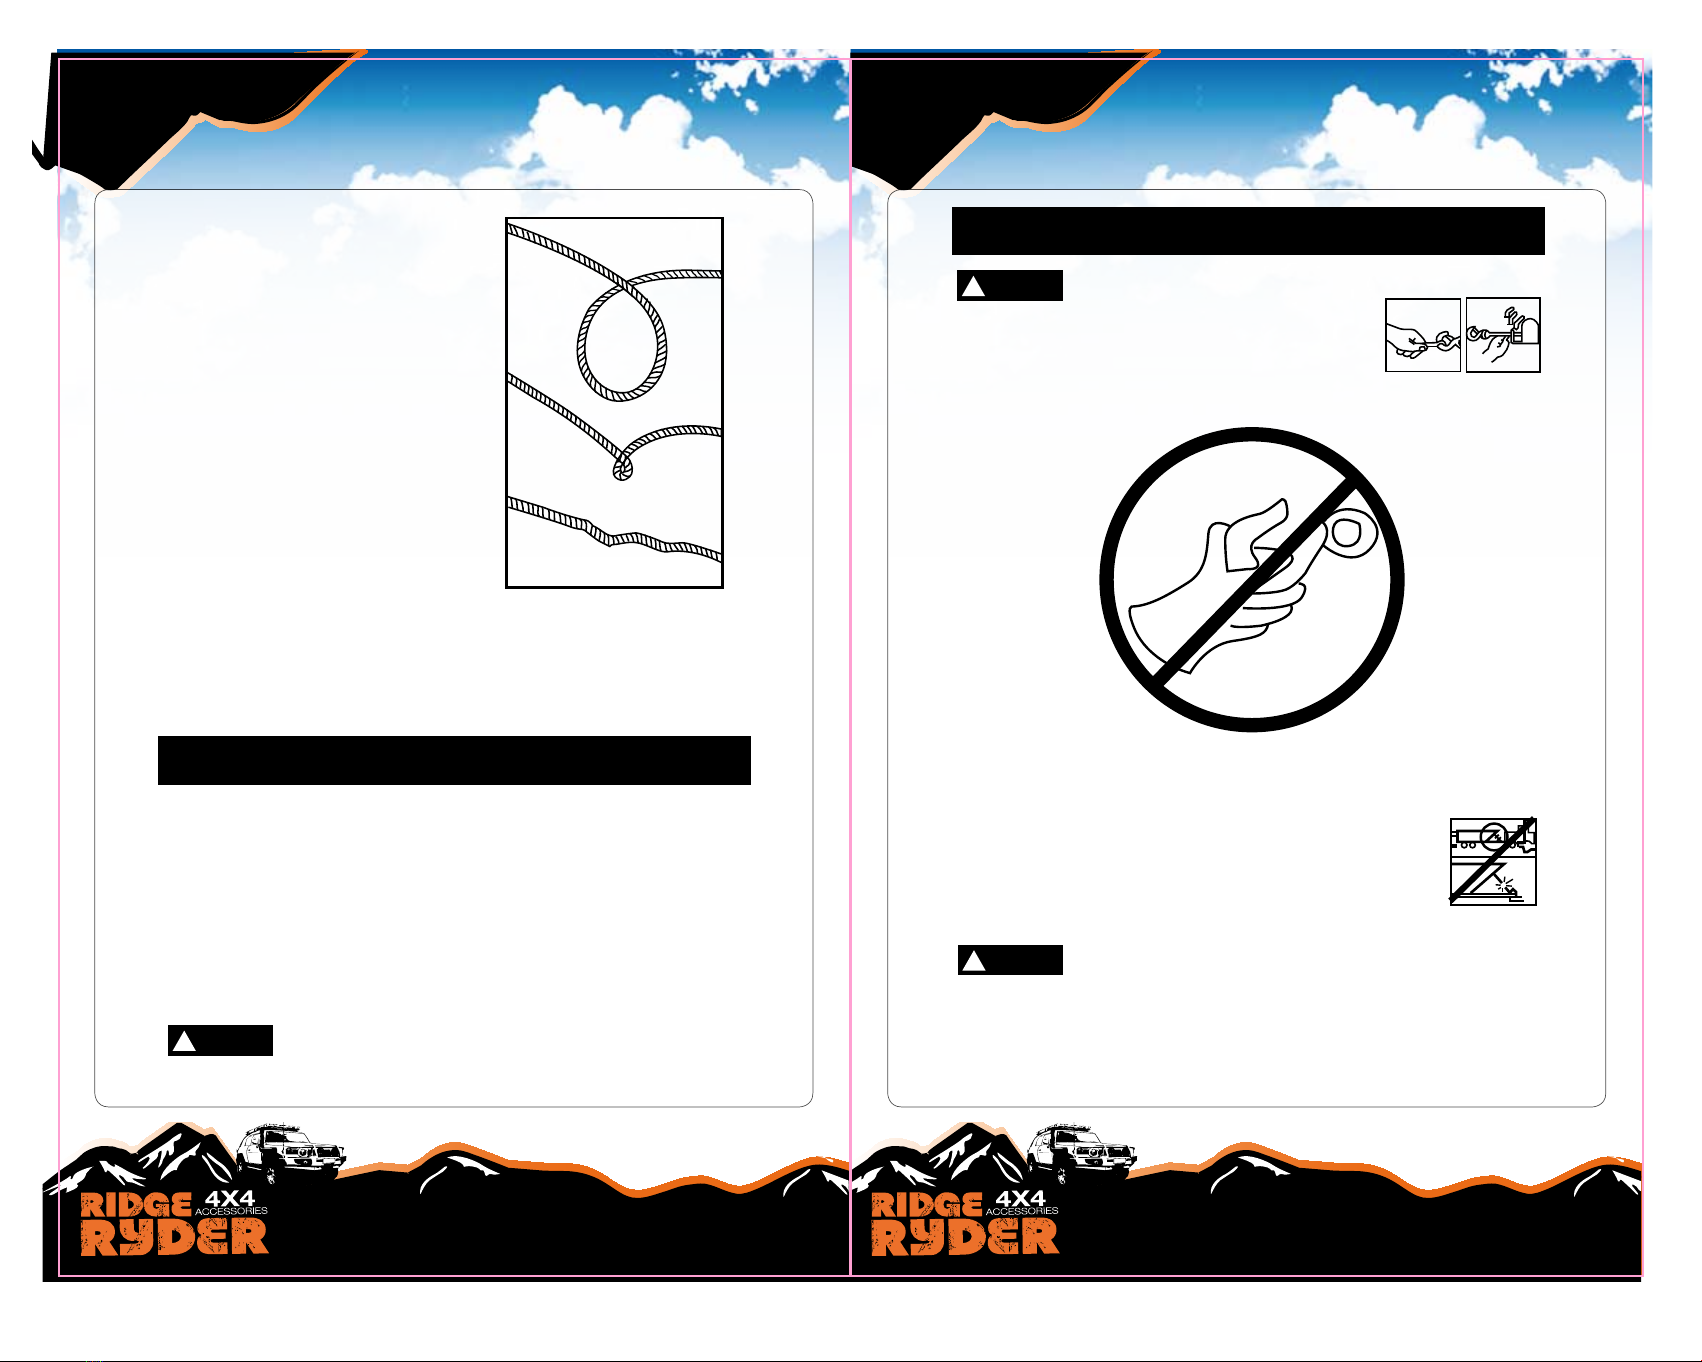
9. NEVER HOOK THE WINCH ROPE BACK ONTO ITSELF because you could
damage the winch rope. Use a nylon sling (Figure 4).
10. It is a good idea to lay a heavy blanket or damper over the winch rope
near the hook end when pulling heavy loads (Figure 5). If a winch rope
failure should occur, the damper will help prevent the rope from whipping.
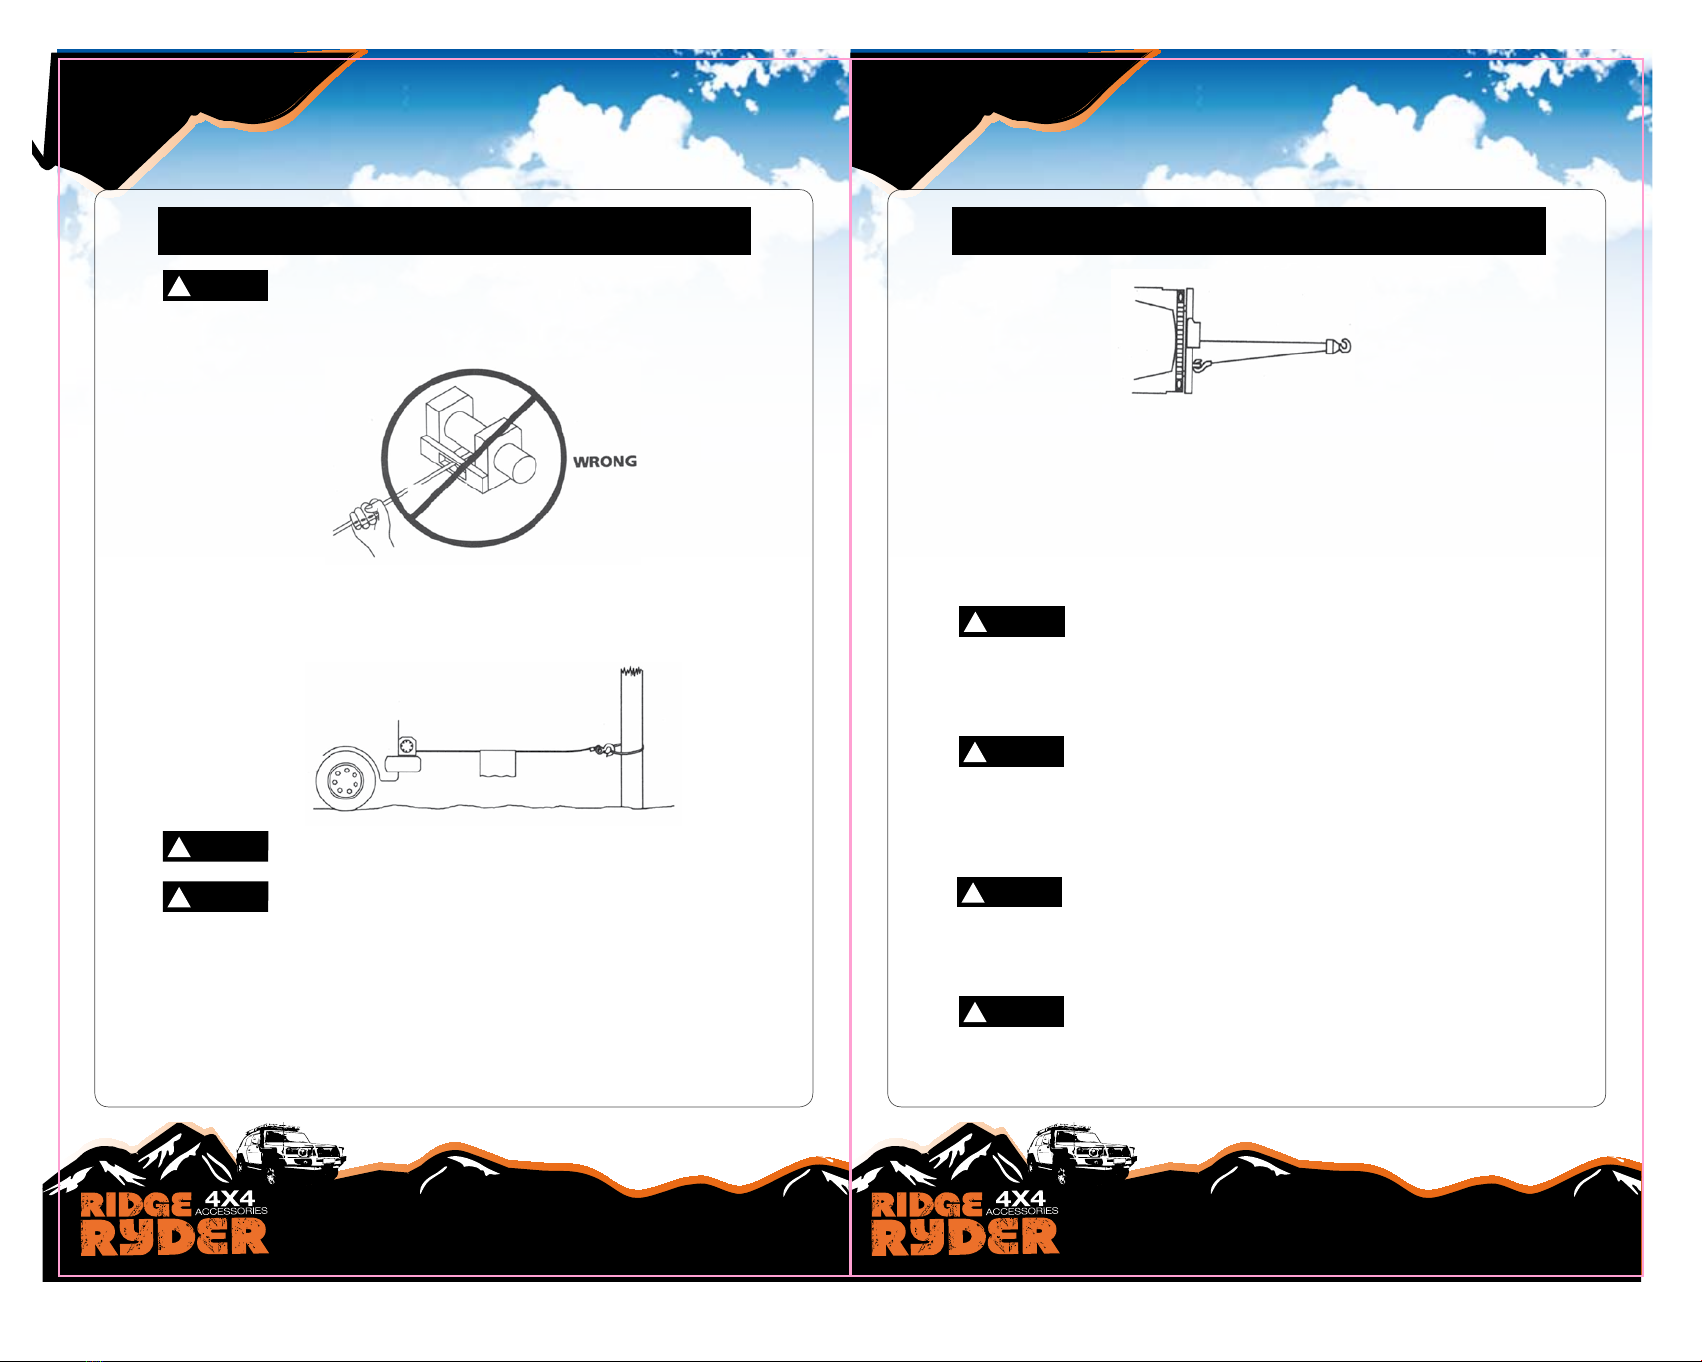
11. AVOID CONTINUOUS PULLS FROM EXTREME ANGLES as this will cause
the winch rope to pile up on one end of the drum (Figure 6). This can jam
the winch rope in the winch, causing damage to the rope or the winch.
Figure 3
1. Maximum working load capacity is on the winch rope layer closest to the
drum. DO NOT OVERLOAD. DO NOT ATTEMPT PROLONGED PULLS AT
HEAVY LOADS. Overloads can damage the winch and/or the winch rope and
create unsafe operating conditions. FOR LOADS OVER 1/2 RATED
CAPACITY, WE RECOMMEND THE USE OF THE OPTIONAL PULLEY BLOCK
TO DOUBLE LINE THE WINCH ROPE (Figure 2). This reduces the load on the
winch and the strain on the winch rope by approximately 50%. Attach hook
to load bearing part. The vehicle engine should be running during
winch operation. If considerable winching is performed with the engine
o, the battery may be too weak to restart the engine.
2. AFTER READING AND UNDERSTANDING THIS MANUAL, LEARN
TO USE YOUR WINCH. After installing the winch, practice using it
so you will be familiar with it when the need arises.
3. DO NOT "move" your vehicle to assist the winch in pulling the load. The
combination of the winch and vehicle pulling together could overload the
winch rope and the winch.
4. ALWAYS STAND CLEAR OF WINCH ROPE, HOOK AND WINCH. IN THE
UNLIKELY EVENT OF ANY COMPONENT FAILURE IT'S BEST TO BE OUT OF
HARM'S WAY.
5. Inspect winch rope and equipment frequently. A Frayed winch rope with
broken strands should be replaced immediately.
Periodically check the winch installation to ensure that all bolts are tight.
6. Use heavy leather gloves when handling winch rope. Do not let winch rope
slide through your hands.
7. Never winch with less than 5 turns of winch rope around the winch drum
since the winch rope end fastener may NOT withstand full load.
(3)
The responsibility for safe installation and operation of
the winch and prevention of the winch and prevention of
personal injury and property damage ultimately rests
with you, the operator. There is no subsitute for the use of
good judgement and caution in operating a winch.
Warning
!
The winch rope may break before the winch stalls. For
heavy loads, use a pulley block to reduce the load on the
winch rope.
Warning
!
Single Line Double Line
8. Never put your nger through the hook. If your
nger should become trapped in the hook, you
could lose your nger. ALWAYS USE THE
HANDSAVER when guiding the winch rope in or out
(See Figure 3).
12.
NEVER OBSCURE THE WARNING INSTRUCTION LABELS.
13.
Always operate winch with an unobstructed view of the winching
operation.
14.
Equipment such as tackle, hooks, snatch blocks, straps, etc. should be
sized to the winching task and should be periodically inspected for damage
Figure 5
Right W rong
Figure 6
Figure 4
W rong Right
9. NEVER HOOK THE WINCH ROPE BACK ONTO ITSELF because you could
damage the winch rope. Use a nylon sling (Figure 4).
10. It is a good idea to lay a heavy blanket or damper over the winch rope
near the hook end when pulling heavy loads (Figure 5). If a winch rope
failure should occur, the damper will help prevent the rope from whipping.
11. AVOID CONTINUOUS PULLS FROM EXTREME ANGLES as this will cause
the winch rope to pile up on one end of the drum (Figure 6). This can jam
the winch rope in the winch, causing damage to the rope or the winch.
280 x 215mm