5
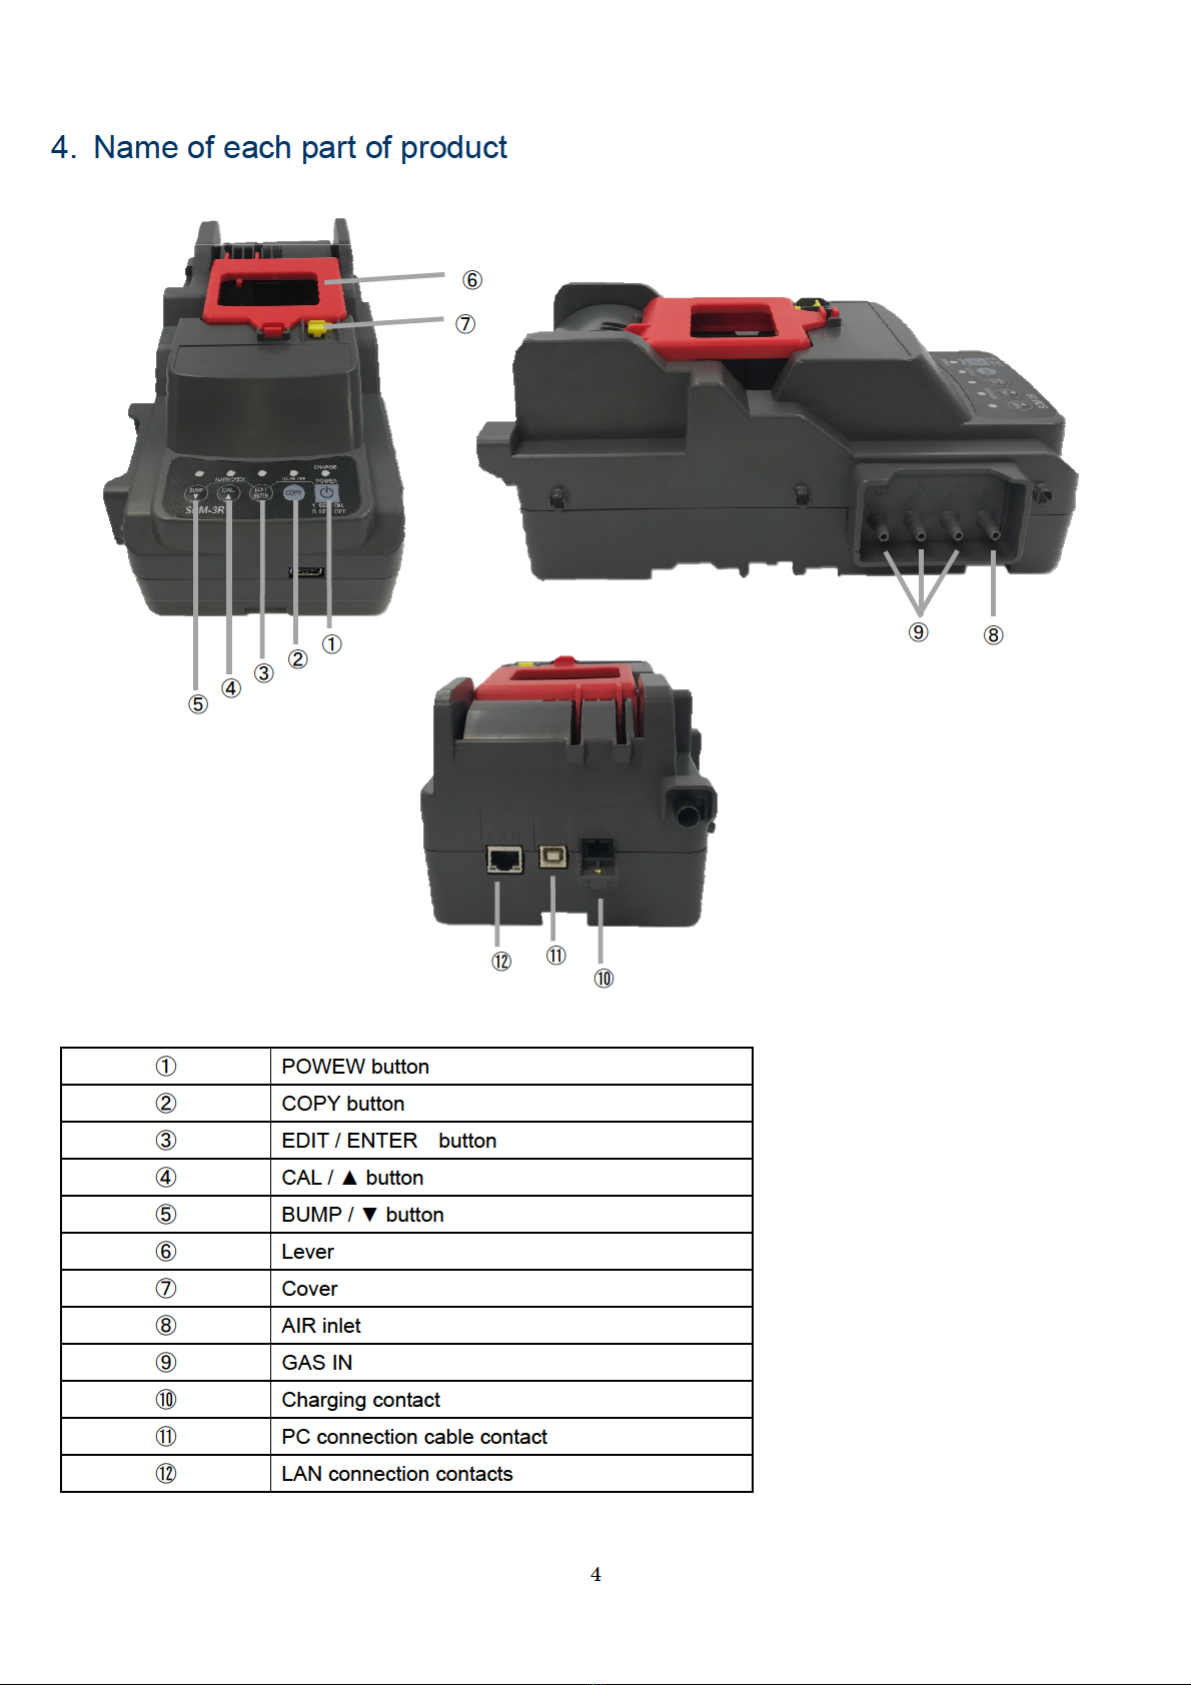
5. Power on / off operation of SDM-3R and GX-3R / GX-3R Pro
5.1 Power on operation of SDM-3R
1. Press and hold the "SDM-3R" "POWER" switch for more than 1 second to turn on the power.
Initially all the LEDs turn orange and then the "CHARGE" LED blinks green.
2. Charging will start when the GX-3R / GX-3R Pro is loaded.
・"CHARGE" LED blinks orange while charging.
・Lights up green when charging is complete.
・If there is a problem with charging, it turns red.
・When the power of the GX-3R / GX-3RPro is turned on, charging ends and changes to green blinking.
5.2 Powering off the SDM-3R
1. Hold down the POWER switch for 3 seconds to turn off the SDM-3R.
2. Power OFF operation is effective only when not in communication with GX-3R / GX-3R Pro.
5.3 Power on the GX-3R / GX-3R Pro
1. When the SDM-3R cover is closed, the power of the GX-3R / GX-3R Pro turns on.
2. Turn on the power of GX-3R / GX-3R Pro and start communication with SDM-3R.
3. "CHARGE" LED blinks green when communication starts.
4. Once communication is established, the gas name and calibration concentration value set in the
GX-3R / GX-3R Pro are displayed on the GX-3R / GX-3R Pro LCD.
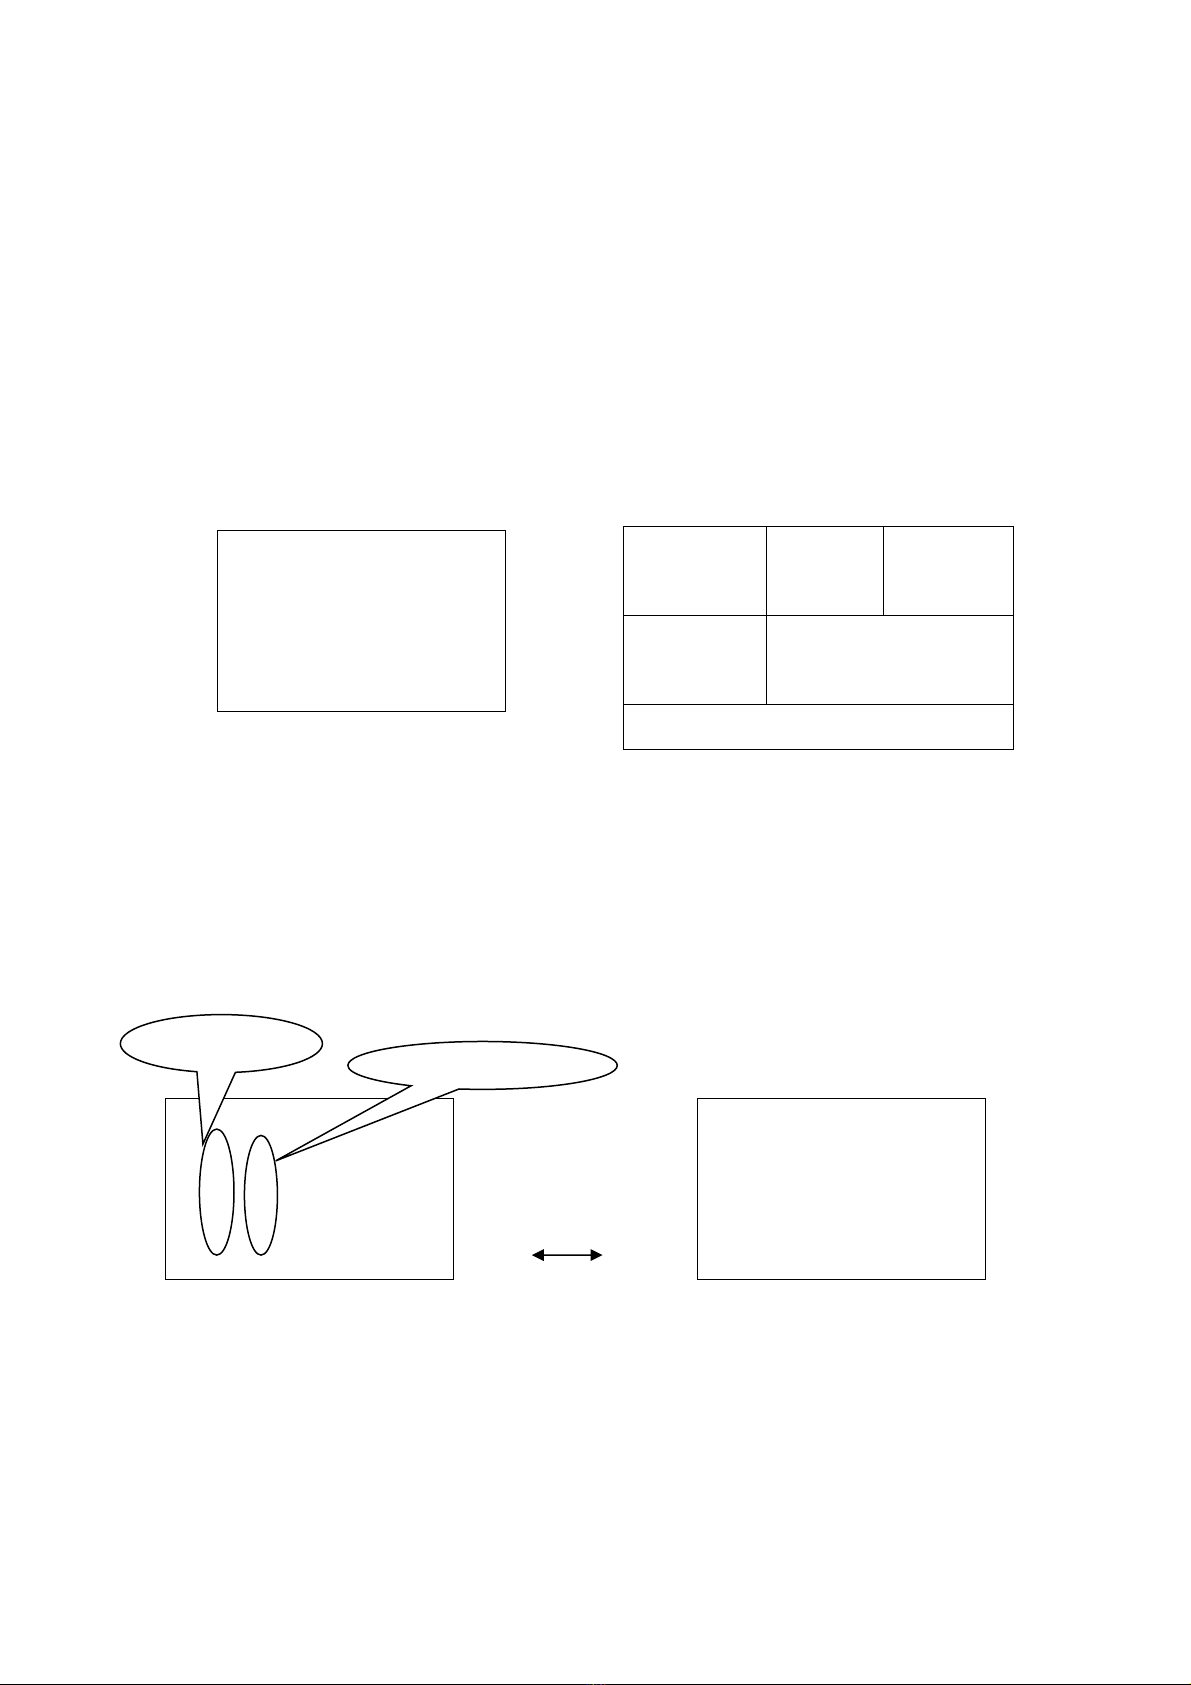
【 Name of gas caliblation concentration 】
【 Basic screen(GX-3R) 】 【 Basic screen (GX-3R Pro) 】
※ The left screen is GX-3R, the right screen is GX-3R Pro.
CH4 %LEL O2 %
50 12.0
CO ppm H2S ppm
50 25.0
TRANSMIT
CH4 %LEL CO ppm H2S ppm
50 50 25.0
O2 vol% CO2 ppm
12.0 0
TRANSMIT