RLE Technologies FDS-PC User manual

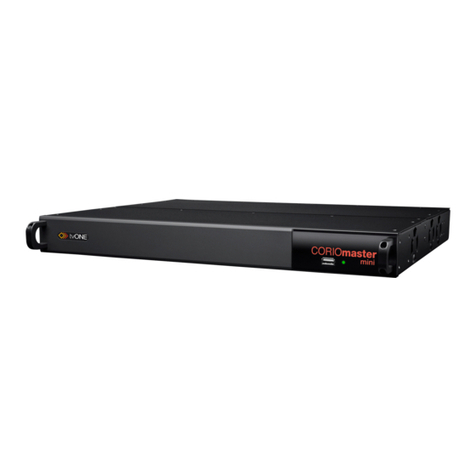
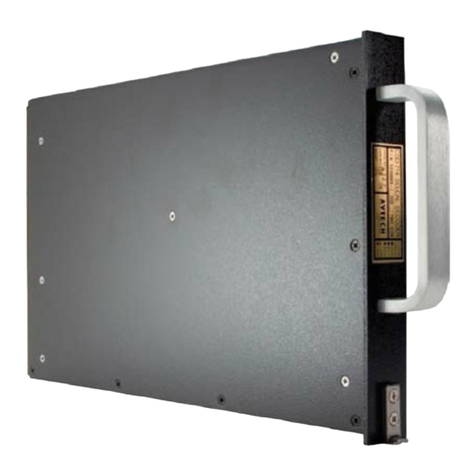
Protocol Converter
Quick Start Guide
hank you for purchasing the FDS-PC Protocol Converter. This guide
describes how to install the Protocol Converter.
If you need further assistance, contact RLE Technologies on our
website at http://www.rletech.com/ (go to the Support Link) or by calling
970.484.6510, Option 2.
1Pre-Installation
Information You Need
Consult with your IT administrator to determine the following network settings for
the Protocol Converter:
IP address ___________________________________
Subnet mask ___________________________________
Default gateway___________________________________
Supplies You Need
18 AWG shielded, twisted-pair stranded copper wire for EIA-485 Modbus
RTU communication. RLE recommends no more than 2,000 feet (609.6m) of
wire at this specification. If longer runs are needed, contact RLE Technologies
for application guidance.
Straight-through CAT5 cable for network connectivity.
Straight-through, nine-pin serial cable (temporary connection; only as
necessary).
18 – 22 AWG ground wire.
Electrostatic discharge (ESD) protection.
2Mounting the Protocol Converter
The Protocol Converter comes in a 19-inch (.48m), rack-mount enclosure. Rack-
mount brackets and hardware are included.
1Attach the brackets to the sides of the Protocol Converter using the
hardware provided.
2Install the Protocol Converter in the rack.
3Use the proper anchoring method to mount the unit securely.
3Wiring the Protocol Converter
Connect the wiring for the Protocol Converter as described in the following
subsections.
IMPORTANT Before connecting any wiring, be sure to take precautions to protect
the Protocol Converter from electrostatic discharge.
Power Supply and Ground Connections
1Connect power to the Protocol Converter in one of two ways:
aPlug the wall adapter (provided) into the power jack on the Protocol
Converter and into a UPS outlet.
bConnect a dedicated 24VDC power supply to the + and - terminals to the
left of the power jack.
2Connect an 18 – 22 AWG ground wire (not included) to the Protocol
Converter’s ground lug and to a suitable earth ground.
Note: RLE Technologies recommends powering the Protocol Converter
from a UPS (uninterruptible power supply) so the Protocol Converter
can send alarm notifications during a power outage.
RJ45 Ethernet Connection
The Protocol Converter has an internal 10/100BaseT Ethernet port used to
configure the Protocol Converter. The Ethernet port supports Web browser
access, BACnet, Modbus, SNMP, and SMTP (email).
Direct connection between the Protocol Converter and a computer or laptop using
the crossover cable (provided):
Typical Protocol Converter connection on a subnet using a hub or switch and
straight-through CAT5 cables:
EIA-232 COM Connection
The EIA-232 port can be connected to a PC for IP configuration, firmware
downloads, and troubleshooting. The EIA-232 is typically only used as a
temporary connection.
Connect the straight through, 9-pin, serial cable:
Modbus EIA-485 Connections
The Protocol Converter can function as a Modbus Slave or Modbus Master over
an EIA-485 hardware connection. The Dual Port Protocol Converter has two
2-wire and one 2- or 4-wire EIA-485 ports for extended Modbus communication
over multiple trunk lines.
Standard Protocol Converter
Dual-Port Protocol Converter
T

© Raymond & Lae Engineering, Inc. 2010, 2011. All rights reserved. RLE®is a registered
trademark and Seahawk™, Falcon™, and Raptor™ are trademarks of Raymond & Lae
Engineering, Inc. The products sold by Raymond & Lae Engineering, Inc. are subject to
the limited warranty, limited liability, and other terms and conditions of sale set forth at
http://rletech.com/RLE-Terms-and-Conditions.html. 4987 4/2011
104 Racquette Drive
Fort Collins, CO 80524
970.484.6510
www.rletech.com
4Setting the IP Address
The Protocol Converter will not communicate over a user’s network the first time
it is connected to the network. At the factory, the Protocol Converter is set with a
default IP address of 10.0.0.188 and Subnet Mask: 255.255.255.0.
You must change this default address to an IP address that corresponds with
your network before the Protocol Converter can communicate over the network.
Use a Web browser to change the IP address as described here.
1Plug the crossover network cable (included) into the laptop or workstation
that will be used to configure the Protocol Converter.
2Write down the computer's current IP address and Subnet Mask.
IMPORTANT You will need to change the computer's IP address and Subnet
Mask back to the original settings after changing the IP address and Subnet Mask
for the Protocol Converter.
3Change the IP address and Subnet Mask of the computer from its existing
address to one that will allow it to communicate with the Protocol Converter,
such as 10.0.0.180.
Note: It may be beneficial to set the IP address to one that is one number
different from the Protocol Converter's IP address. Consult the
computer's manual or your IT department before attempting this
procedure.
4Connect the other end of the network cable to the Ethernet port on the back
of the Protocol Converter.
5Access the Protocol Converter through a Web browser by typing the IP
address (10.0.0.188) into the location bar.
6When prompted, enter the Protocol Converter user name (fds). There is no
default password; leave this field blank.
7Select the Configuration link from the top bar, then select the Network and
Web link from the Configuration menu.
8On the Network and Web page, change the IP address, Subnet Mask (Net
Mask), and Default Gateway (Def Route) to one provided by your network
administrator.
9Press the Submit Changes button.
The Protocol Converter saves the new IP address, Subnet Mask, and
default Gateway and then reboots.
10 Change the IP address of the computer back to its original IP address.
11 If the computer was configured as DHCP (the network domain controller
assigns an IP address), return it to this state. This procedure might require
assistance from your IT department, or you might need to consult the
computer's manual.
The computer and the Protocol Converter are both configured to
communicate on the network. Both should be accessible via the network.
5Completing the Configuration
Once you have completed the tasks in this quick start guide, the Protocol
Converter can communicate over the network and over any of the other
communication ports you have connected. You must perform additional tasks to
configure the devices attached to the Protocol Converter.
Accessing the User Guide
Consult the Protocol Converter User Guide at http://www.rletech.com/resources
for information about completing these additional tasks:
General configuration
Device configuration
Registers setup
Registering the Protocol Converter
Go to http://www.rletech.com/product-registration.html and enter the requested
information. Click the Register button to register your product.
Table of contents
