DeutschDeutsch
CAUTION
RISK OF ELECTRIC
SHOCK
DO NOT OPEN
910
Auto-MP3-Spieler mit PLL-UKW/Stereo-Radio, USB / SD und Ferbedienung.
BEDIENUNGSANLEITUNG
Bitte lesen Sie aufmerksam diese Bedienungsanleitung, um sich mit Ihrem neuen Autoradio
vertraut zu machen, bevor Sie es zum ersten Mal in Betrieb nehmen. Bitte bewahren Sie diese
Anleitung auf, um später jederzeit nachschlagen zu können.
INHALTSVERZEICHNIS
• Lage der Bedienungselemente
• Merkmale
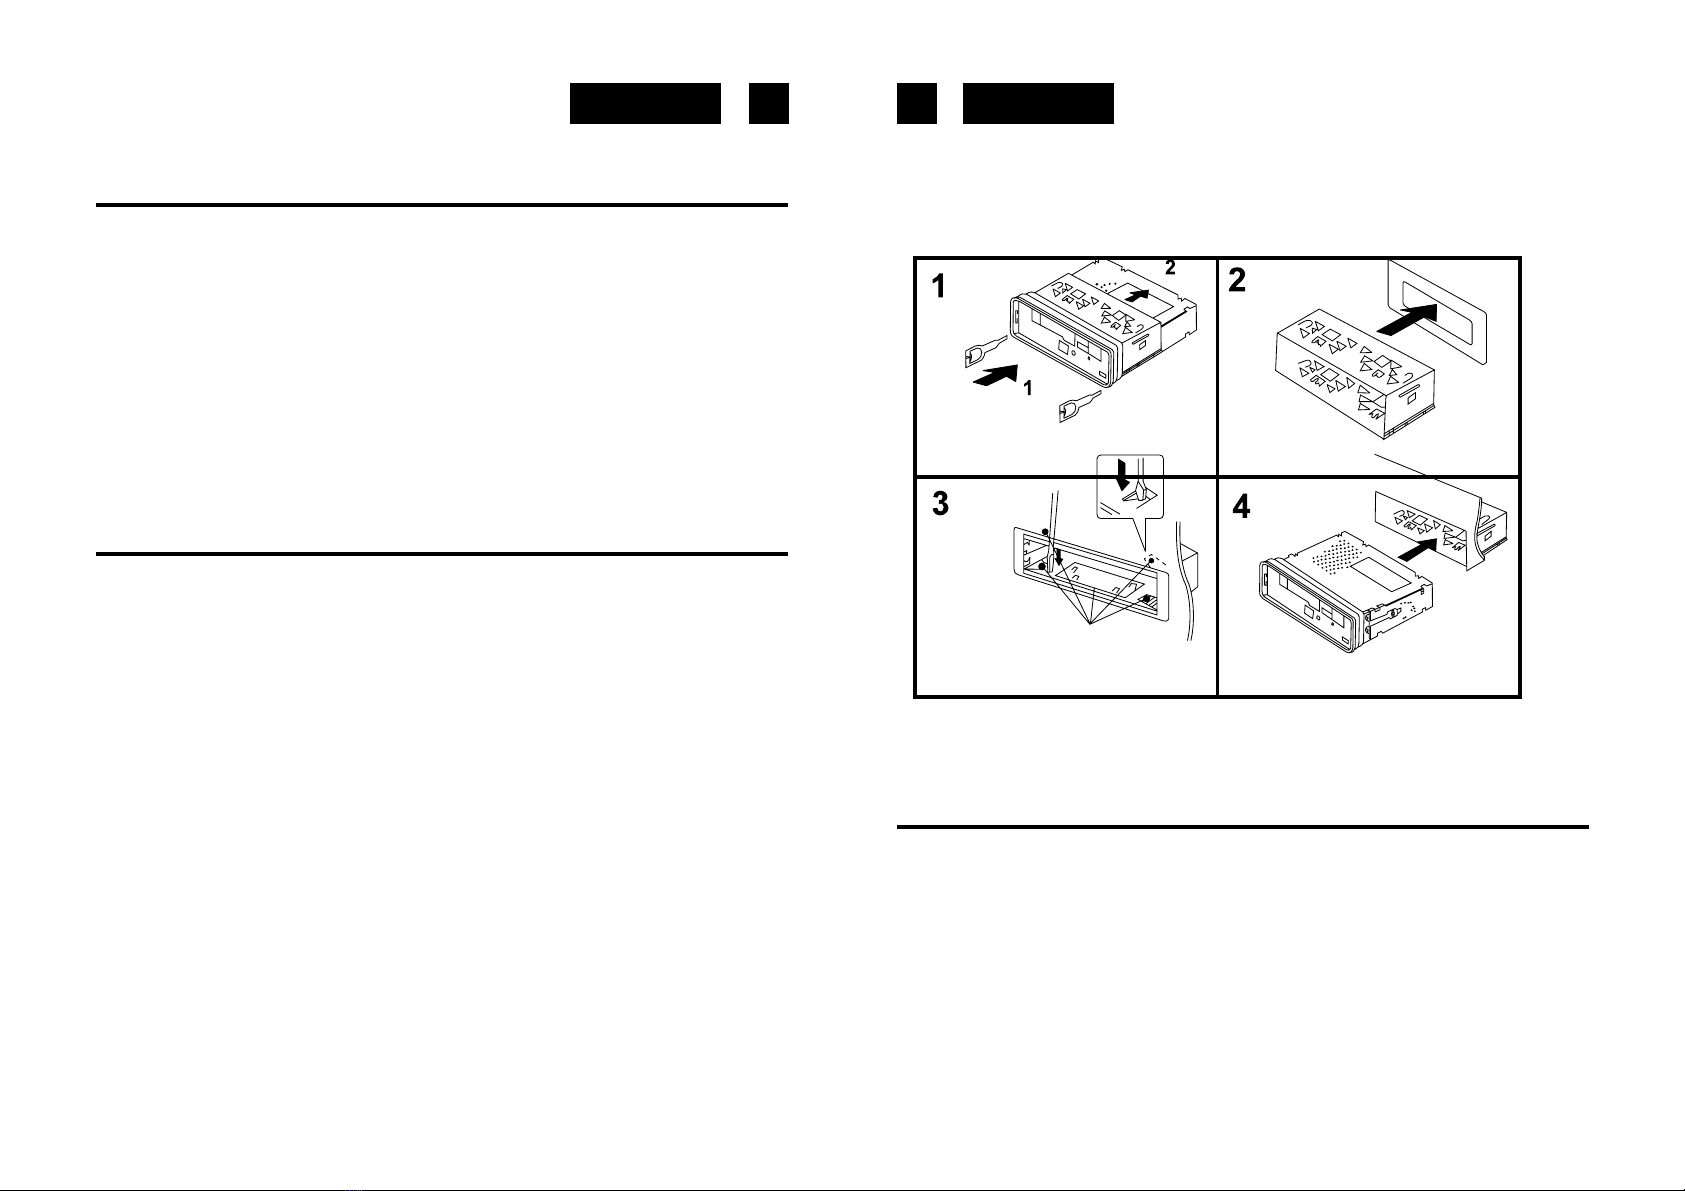
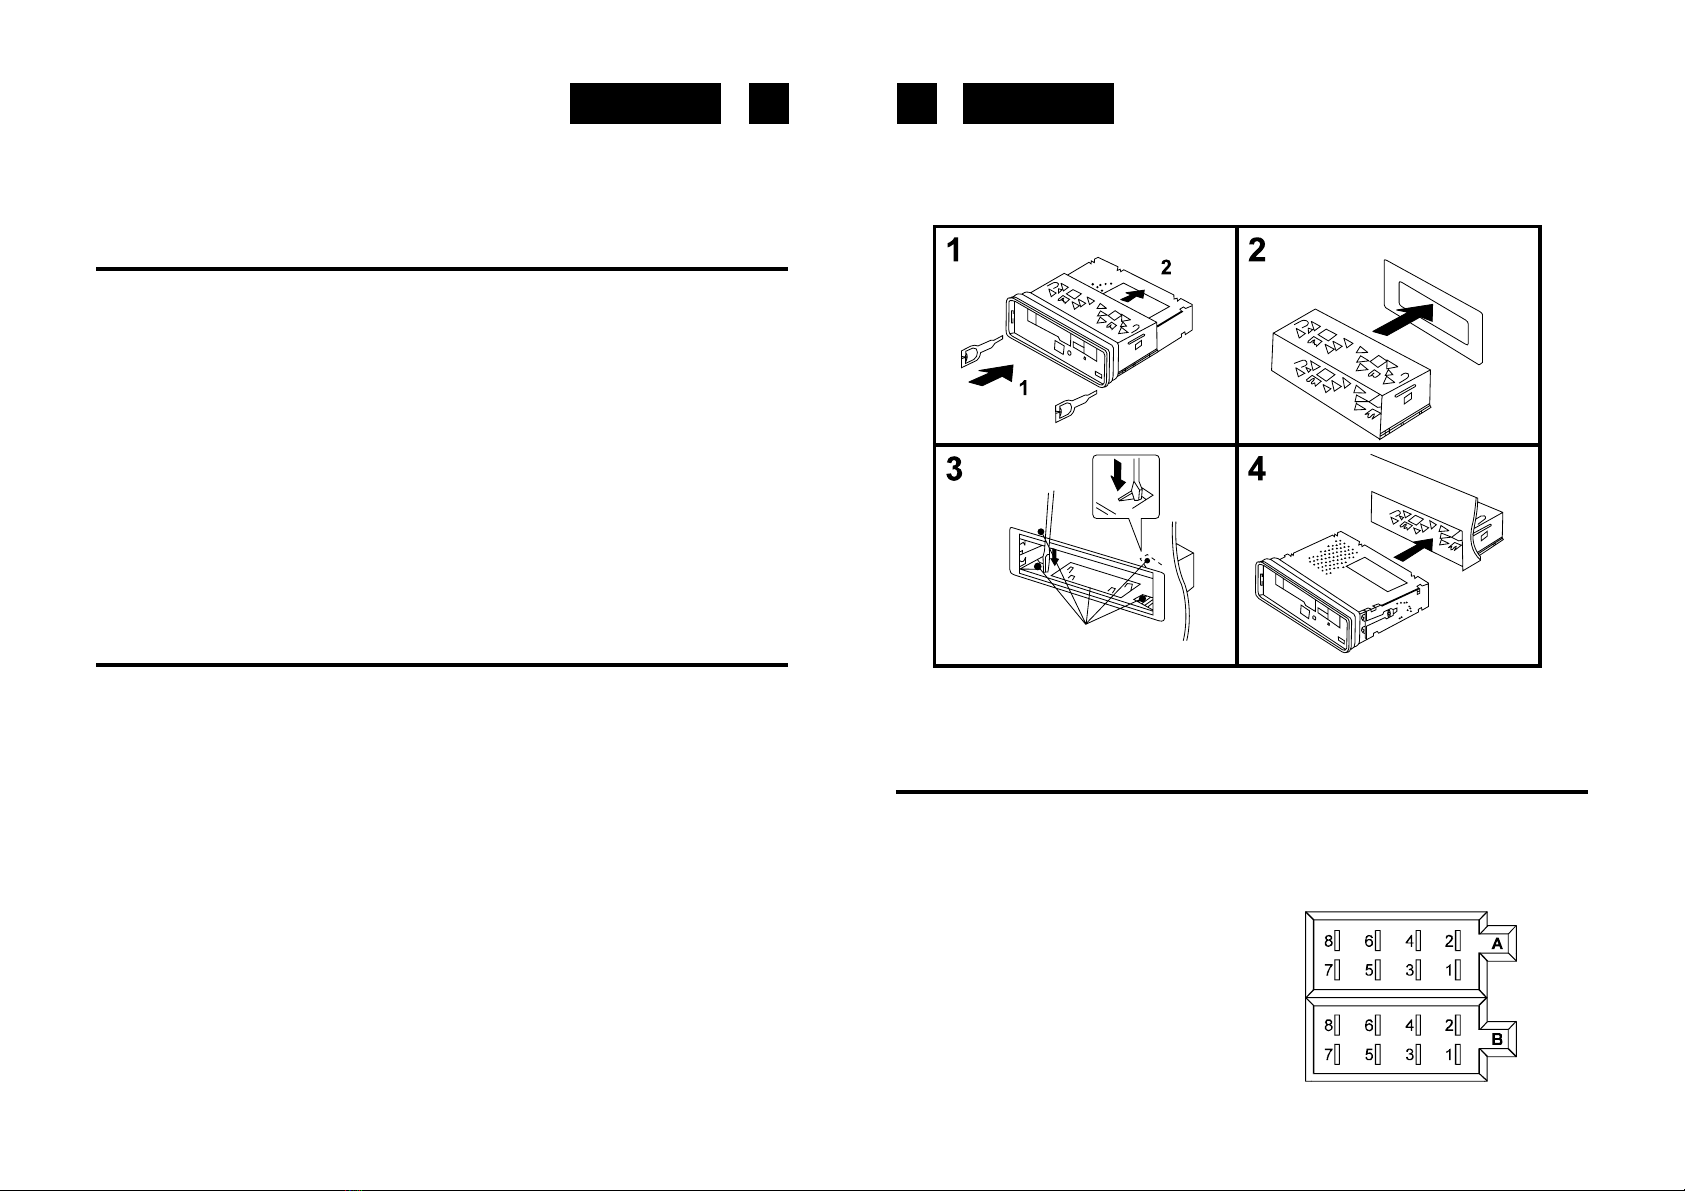
• Installation
• Vorsichtsmaßnahmen und Wartung
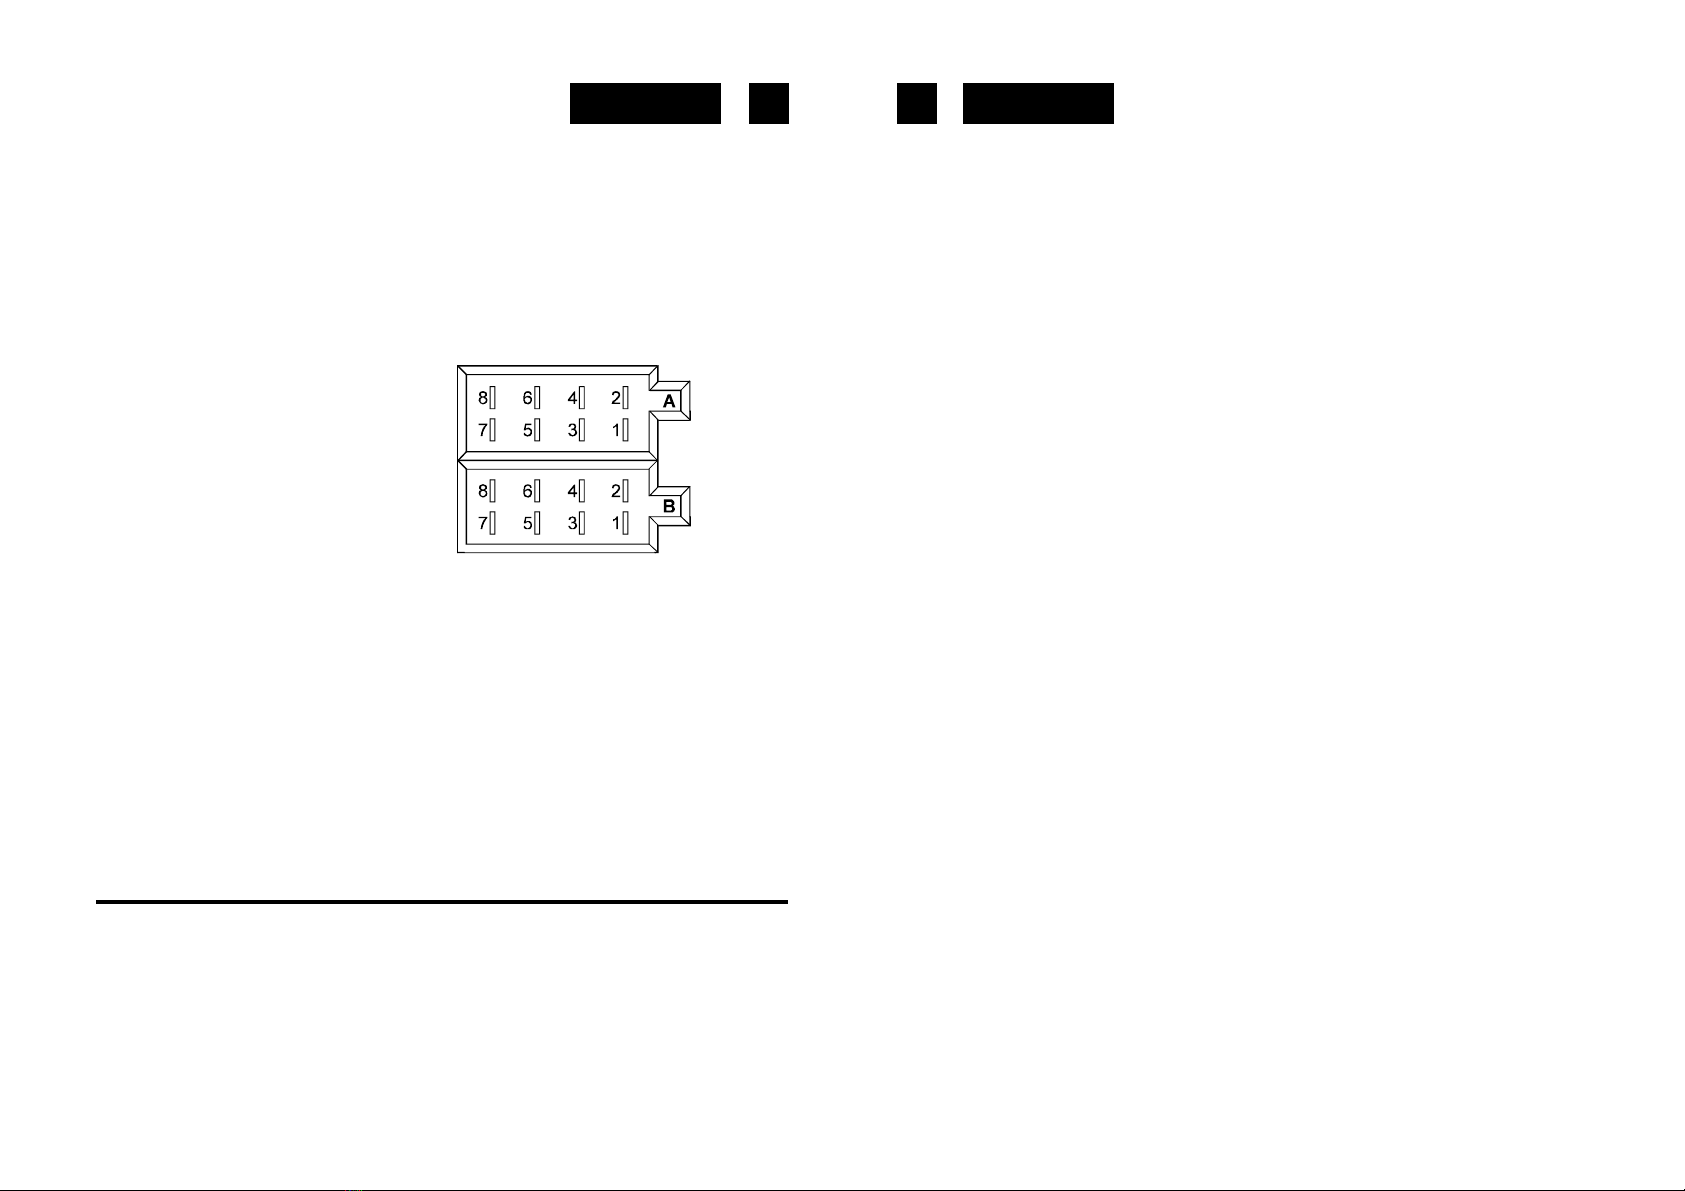
• Anschlüsse
• Funktionsanleitungen
• Technische Daten
LAGE DER BEDIENUNGSELEMENTE
1. Netztaste EIN/AUS
2. WAHL-FUNKTION BASSE/HOHEN/LOUDNESS/EQ/DX-LO/ST. - MONO
3. Lautstärkeregelung AB /AUF (+,- Bässe/Höhen/Balance/Fader)
4. Vorwahl-Tasten (1,2,3,4,5,6)
5. Automatischer Sendersuchlauf-Taste
6. Ausgleich (Equalizer)-Taste
7. PLAY/PAUSE-Taste
8. Display-Taste
9. Funktionswahlschalter (USB/SD/RADIO)
10. Band-Taste (FM1-FM2-FM3)
11. Auto/Manuell-Suchlauf AB (<<)/ Suchlauf AUF (>>) MP3-SKIP
12. MUTE-Taste
13. LCD-Anzeige
14. Fernsteuerung-sensoren
15. USB PORT
16. SD CARD SLOT
17. Directory-oben-Taste
18. Intro-Taste
19. Wiederhol-Taste (REPEAT)
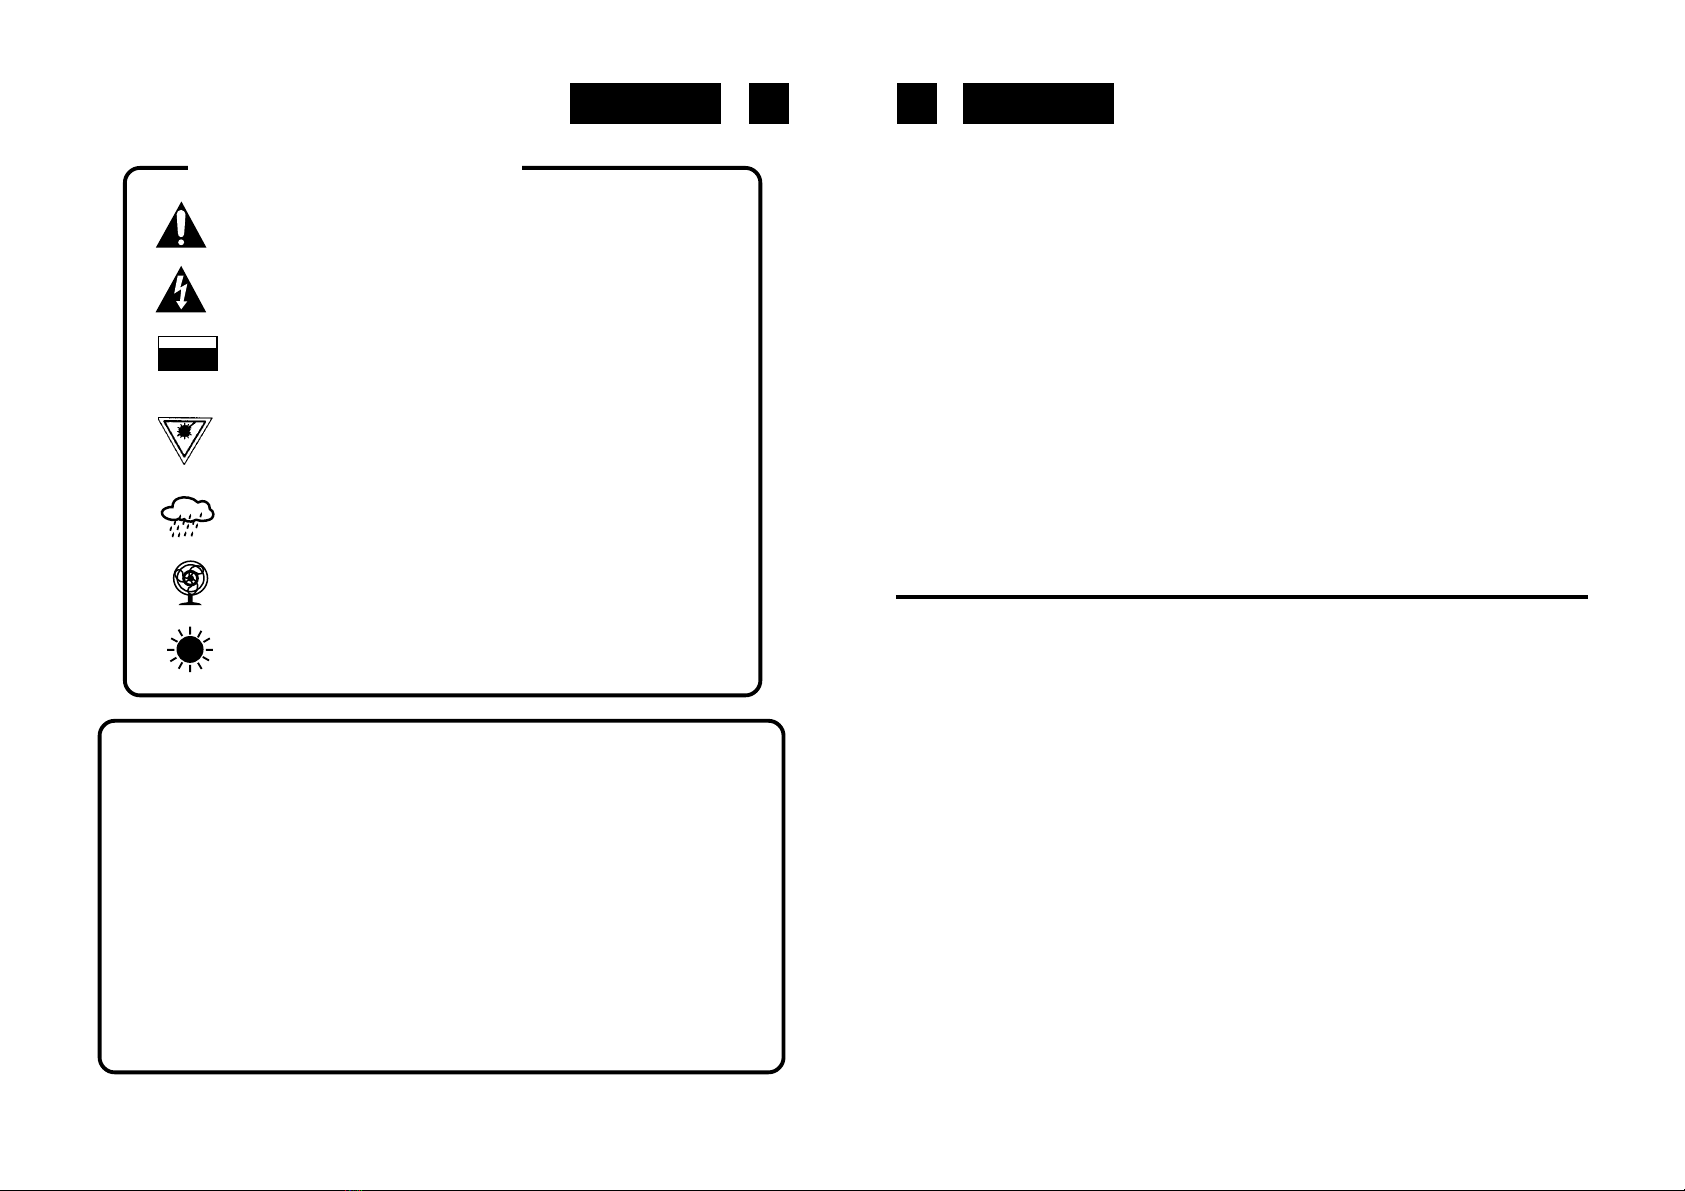
SICHERHEITSHINWEISE
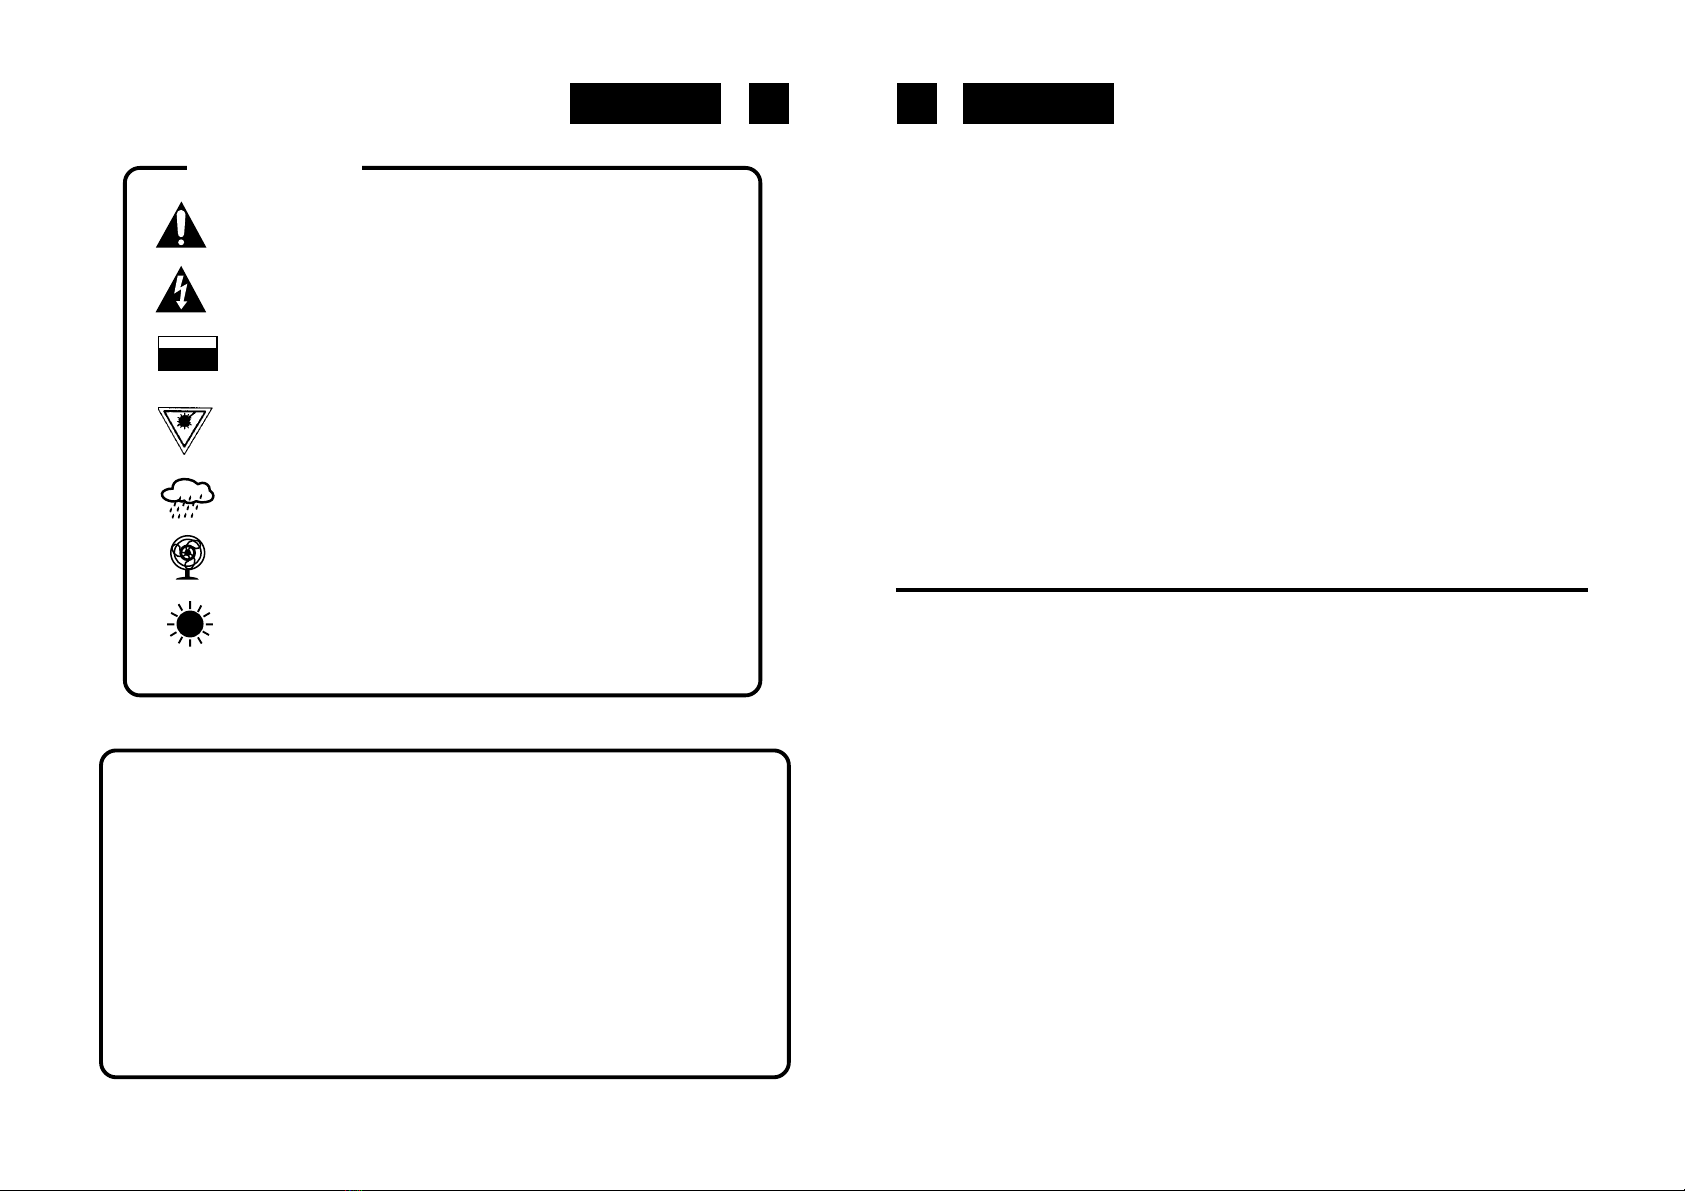
Das Ausrufszeichen im Dreieck weist den Benutzer auf wichtige
Bedienungs- und Wartungsanweisungen (Service) in diesem Handbuch
hin, die unbedingt zu befolgen sind.
Das Blitzsymbol im Dreieck weist den Benutzer auf “gefährliche
Spannungen” an einigen freiliegenden Bauteilen im Innem des Gerätes
hin.
Um die Gefahr elektrischer Schläge auszuschliessen, Gehäuse auf keinen
Fall abnehmen. Im Innem befinden sich keine vom Benutzer selbst
instandsetz-barenTeile. Reparaturen dürfen nur von einer autorisierten
Fachwerkstatt durchgeführt werden.
Dunkelstrahlung bei geöffneten Geräten und defektem Verschluss.
Bedienung oder Regulierung der technischen Eigenschaften oder
sonstige nicht spezifierte Prozeduren auf dieser manuellen Betriebsart
können zurAusetzung gefährlicher Laserstrahlen führen.
Setzen Sie das Gerät weder Feuchtigkeit noch Regen aus.
Stellen Sie das Gerät so auf, dass immer eine ungestörte Frischluftzufuhr
sichergestellt ist.
Setzen Sie das Gerät weder direkter Sonneneinstrahlung noch
Wärmequellen aus.
Korrekte Entsorgung dieses Produkts (Elektromüll)
Die Kennzeichnung auf dem Produkt bzw. auf der dazugehörigen
Literatur gibt an, dass es nach seiner Lebensdauer nicht zusammen
mit dem normalen HaushaltsmüIl entsorgt werden darf. Entsorgen Sie
dieses Gerat bitte getrennt von anderen Abfallen, um der Umwelt bzw.
der menschlichen Gesundheit nicht durch unkontrollierte
Müllbeseitigung zu schaden. Recyceln Sie das Gerät, um die
nachhaltige Wiederverwertung von stofflichen Ressourcen zu fördern.
Private Nutzer sollten den Händler, bei dem das Produkt gekauft wurde,
oder die zuständigen Behörden kontaktieren, um in Erfahrung zu
bringen, wie sie das Gerät auf umweltfreundliche Weise recyceln
können.
Gewerbliche Nutzer sollten sich an Ihren Lieferanten wenden und die
Bedingungen des Verkaufsvertrags konsultieren. Dieses Produkt darf
nicht zusammen mit anderem
RU-265RC