6200 Inst. Manual PAGE
8
7
7.
.
I
I
S
ST
TA
AL
LL
LA
AT
TI
IO
O
:
:
Fit the gasket onto gauge’s gasket seat.
Carefully insert float arm into adapter or coupling then gear housing and stem through the adapter
being careful not to bend or damage them (counterweight should not be permanently bended).
Verify that gasket is properly seated in the adapter gasket recess.
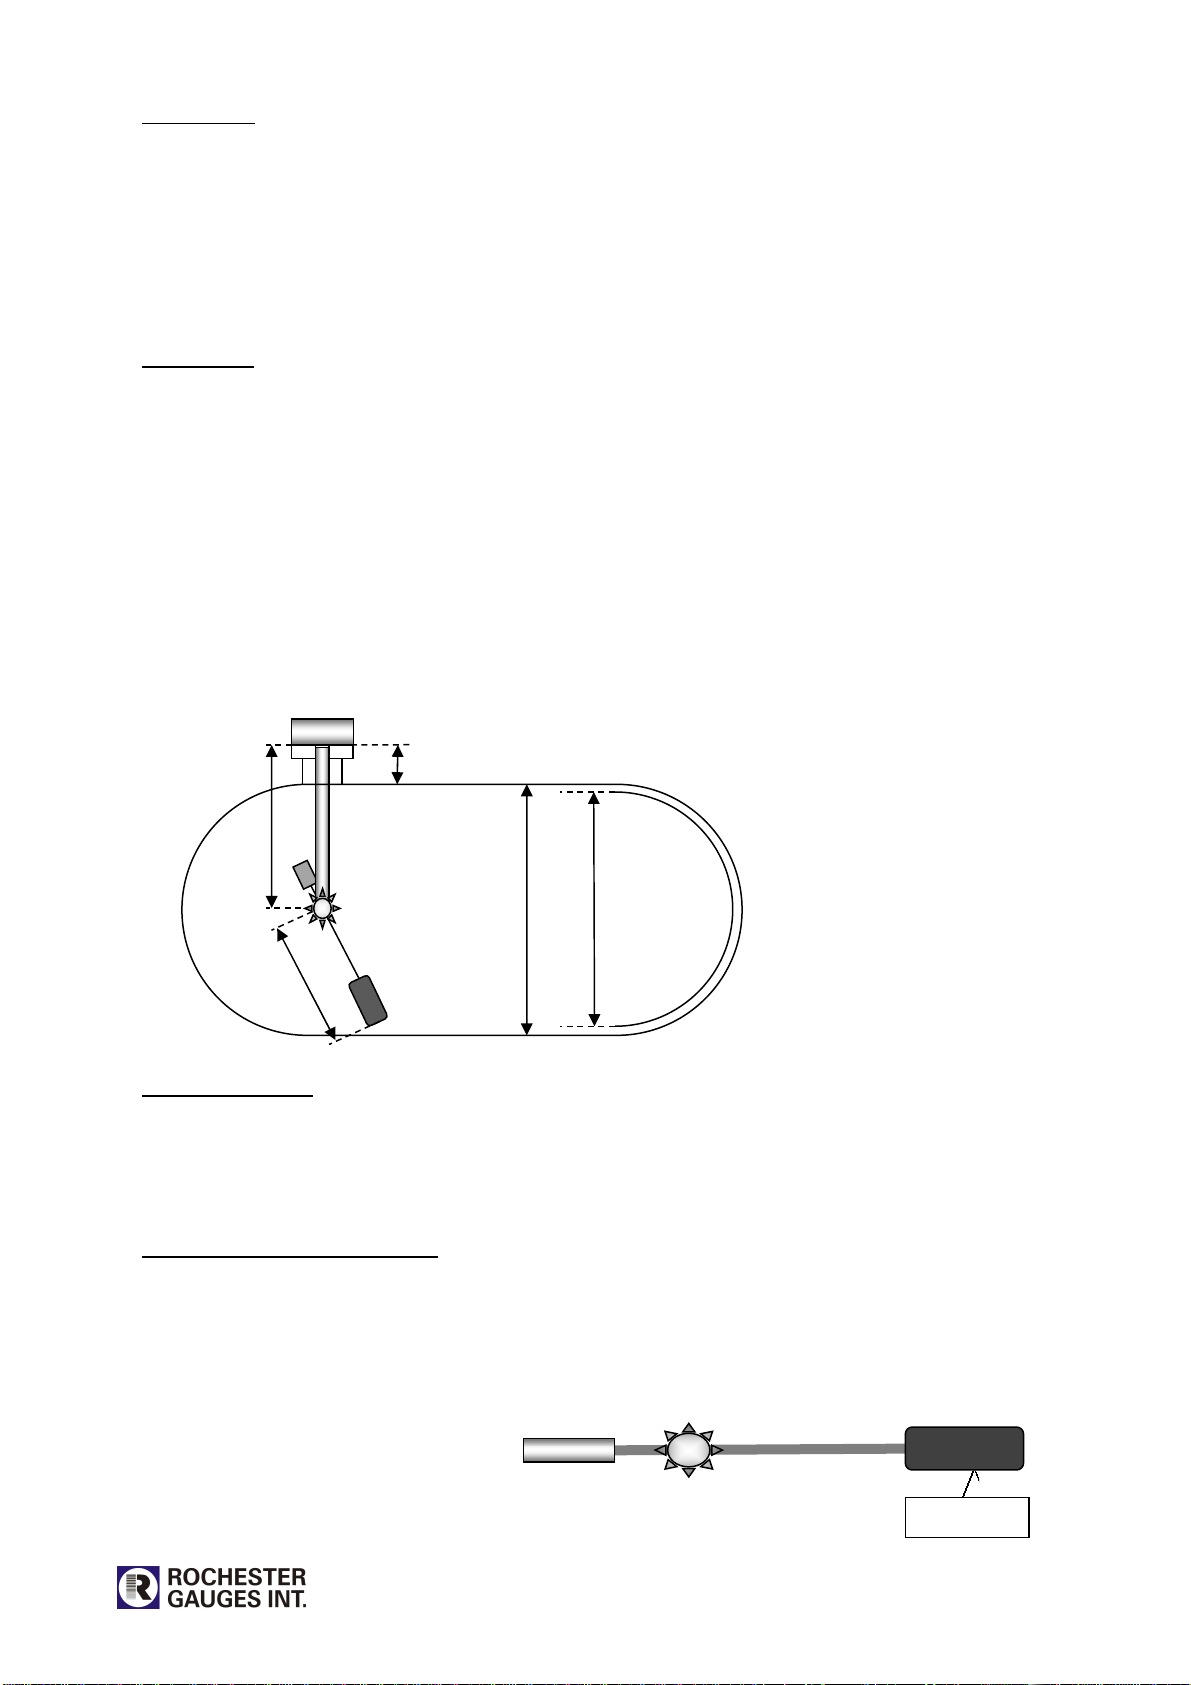
Align head for proper/adequate orientation of float arm inside the tank: make sure there are no
potential interferences of float arm nor counterweigh with any inside pipe or baffle.
Torque the (4) screws evenly in several steps to the recommended torque value (see below), using a
crossing torque pattern.
CAUTION: do not over torque. Do not re torque later unless leaking. Over tightening may cause
damage to head and gasket with a consequence of potential leaking path.
8
8.
.
D
D
I
IA
AL
L
R
RE
EP
PL
LA
AC
CE
EM
ME
E
T
T
:
:
Determine and install the appropriate dial based on gauge and system requirements. The dial type
supplied may not be suitable for all applications and for those applications other dials are available.
WARNING: Do not remove gauge mounting screws or bo ts; tank contains high pressure f ammab e
gas. A hazard of fire or exp osion may exist if gauge mounting screws, bo ts or gauge’s head are
oosened or removed!
Record reading on old dial, disconnect connection to Twiniste™ (if in place).
Using a Philips screwdriver, remove the (2) screws retaining the old dial chamber and remove it.
Install replacement dial (or Twiniste™) assuring that dial chamber fits gauge head and torque dial
mounting screws at 0.4 [Nm].
Compare new dial reading to recorded reading or estimated tank content.
If the new dial reading is not correct, remove dial and use a magnet near the back of the dial, rotate
the pointer to approximate the expected dial reading and re install dial.
If reading still seems incorrect, the dial may be a wrong type.
CAUTION: improper selection or application may result in inaccurate gauge readings. Release of tank
content as well as damage to equipment and safety hazard may result if tank is overfilled.
Combustible exhaustion may occur if tank content is more than indicated.
9
9.
.
R
R
E
EF
FR
RI
IG
GE
ER
RA
A
T
TS
S
W
W
A
AR
R
I
I
G
G
:
:
Specially designed gauges can be used with refrigerant gases except R12B1, R21, R22, R40, R40B1,
R114B2.
These gauges are rated for 30 bars pressure and temperature of 40° to +70°C.
The gasket has to be selected according to the refrigerant (with consultation of Rochester Gauges).