03 12
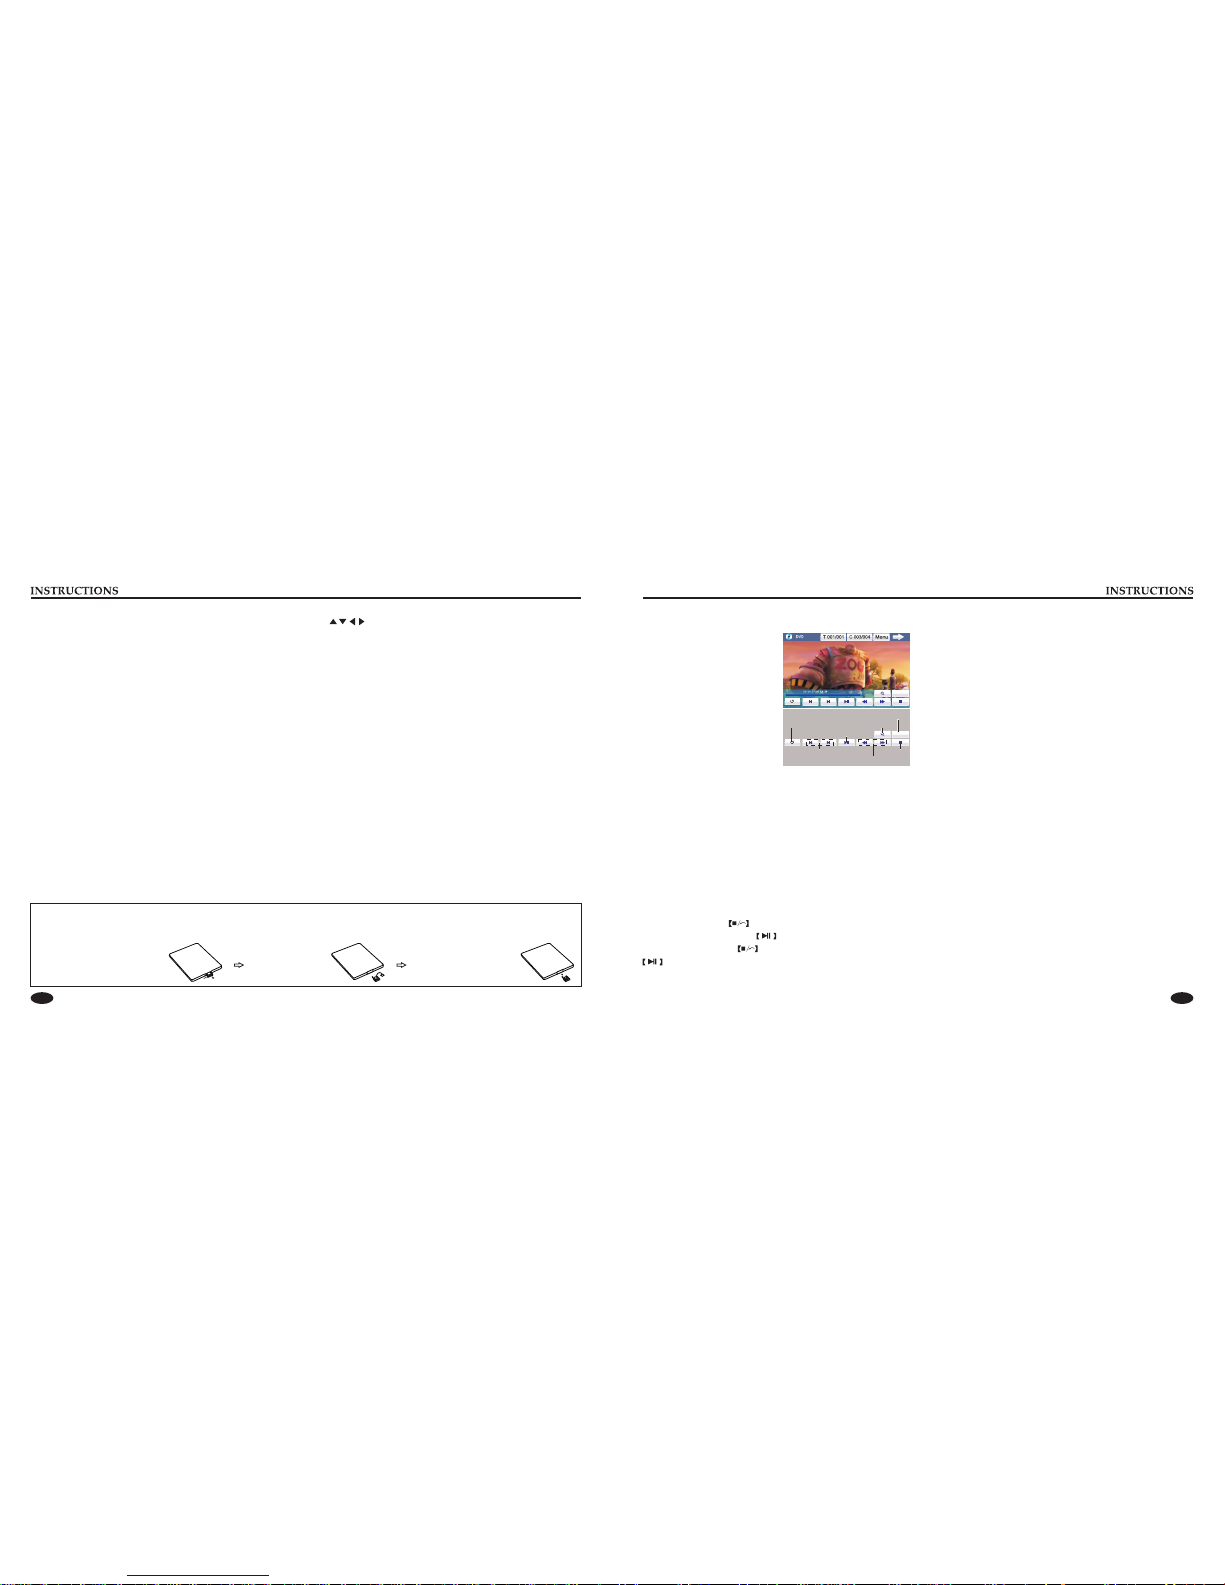
Skip/Speed forward/backward play
In playback mode, short press [SEEK-/SEEK+] on the remote
control to skip play, long press it to speed forward/backward
play. The speed changes as below: X2→X4→X8→X16→X32.
Repeat Play
In MP3 play, press [RPT] button on the remote control to choose
repeat mode: single repeat.
After you select single repeat, the unit will play the current song
repeatedly.
Select Song
In playback mode, directly press number buttons 1-9 on the
remote control to input the serial number of the song, the unit
will play the corresponding program automatically.
For the discs have more then 10 songs, use number button 10+
and 0-9 on the remote control to choose.
Stop
Touch button on the remote control to stop playing MP3 files.
NOTE: These function can also be achieved by screen operation.
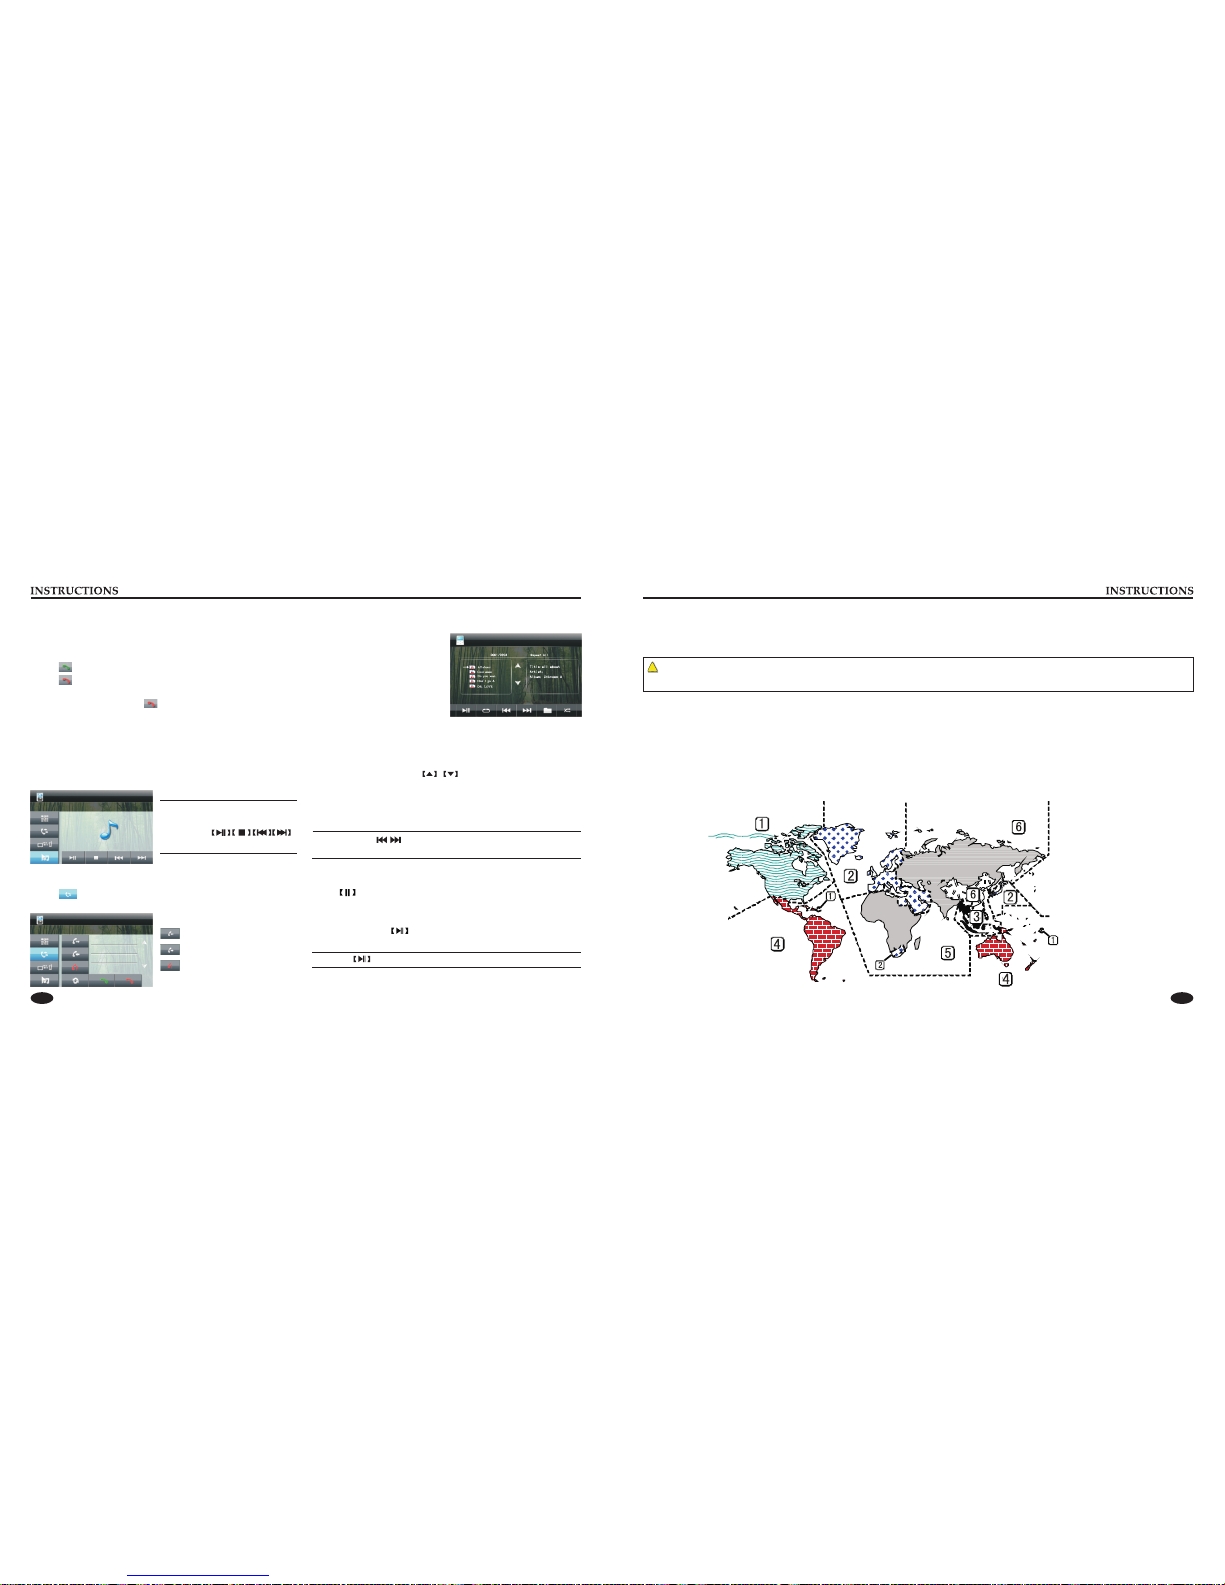
MP3 Function Operation
After inserting SD card, U disc or
the MP3 disc playing MP3 files,
you will enter the interface:
Touch the file icon and you want
to play tracks, you can enter to
read the play.
Touch button on the screen to access previous/next track,
Touch to play.
00:00:29/00:04:15
002 Big big world
003 My Heart
001 My Heart 1.MP3
001 My Heart 1.MP3
001 My Heart 1.MP3
001 My Heart 1.MP3
001 My Heart 1.MP3
001\
Pause
In the MP3 file, touch button on the remote control to switch
between play and pause.
BT Function Operation
Enter/Exit
Touch BT icon on the main
interface to enter BT interface:
Pair/Connect
The first time you match you phone with the unit, please do
follow the procedures:
(1) Touch icon to enter the
interface:
(2) Touch icon.
(3) Open the BT function in your
and set searching (with in 10
meters), the screen displays
paring, when the system receives signals from the cell phone,
your phone shall display the name of the unit.
(4) During linking you phone suggests you to input connecting
password, input “0000” and then begin to pair.
(5) After successful pairing, the screen displays linked.
(6) Touch to disconnect the BT, Then press can relink.
Touch to clear BT pair information and resume to factory
default setting.
Dial/Answer/Switch/Hand-up
Dial
After successful linking between the phone and unit, input phone
number by touching number button on the screen, then touch
button to dial.
In dial process, if you put wrong number click to delete one by
one, long press it to delete all.
In the dial mode, click to hang up the call.
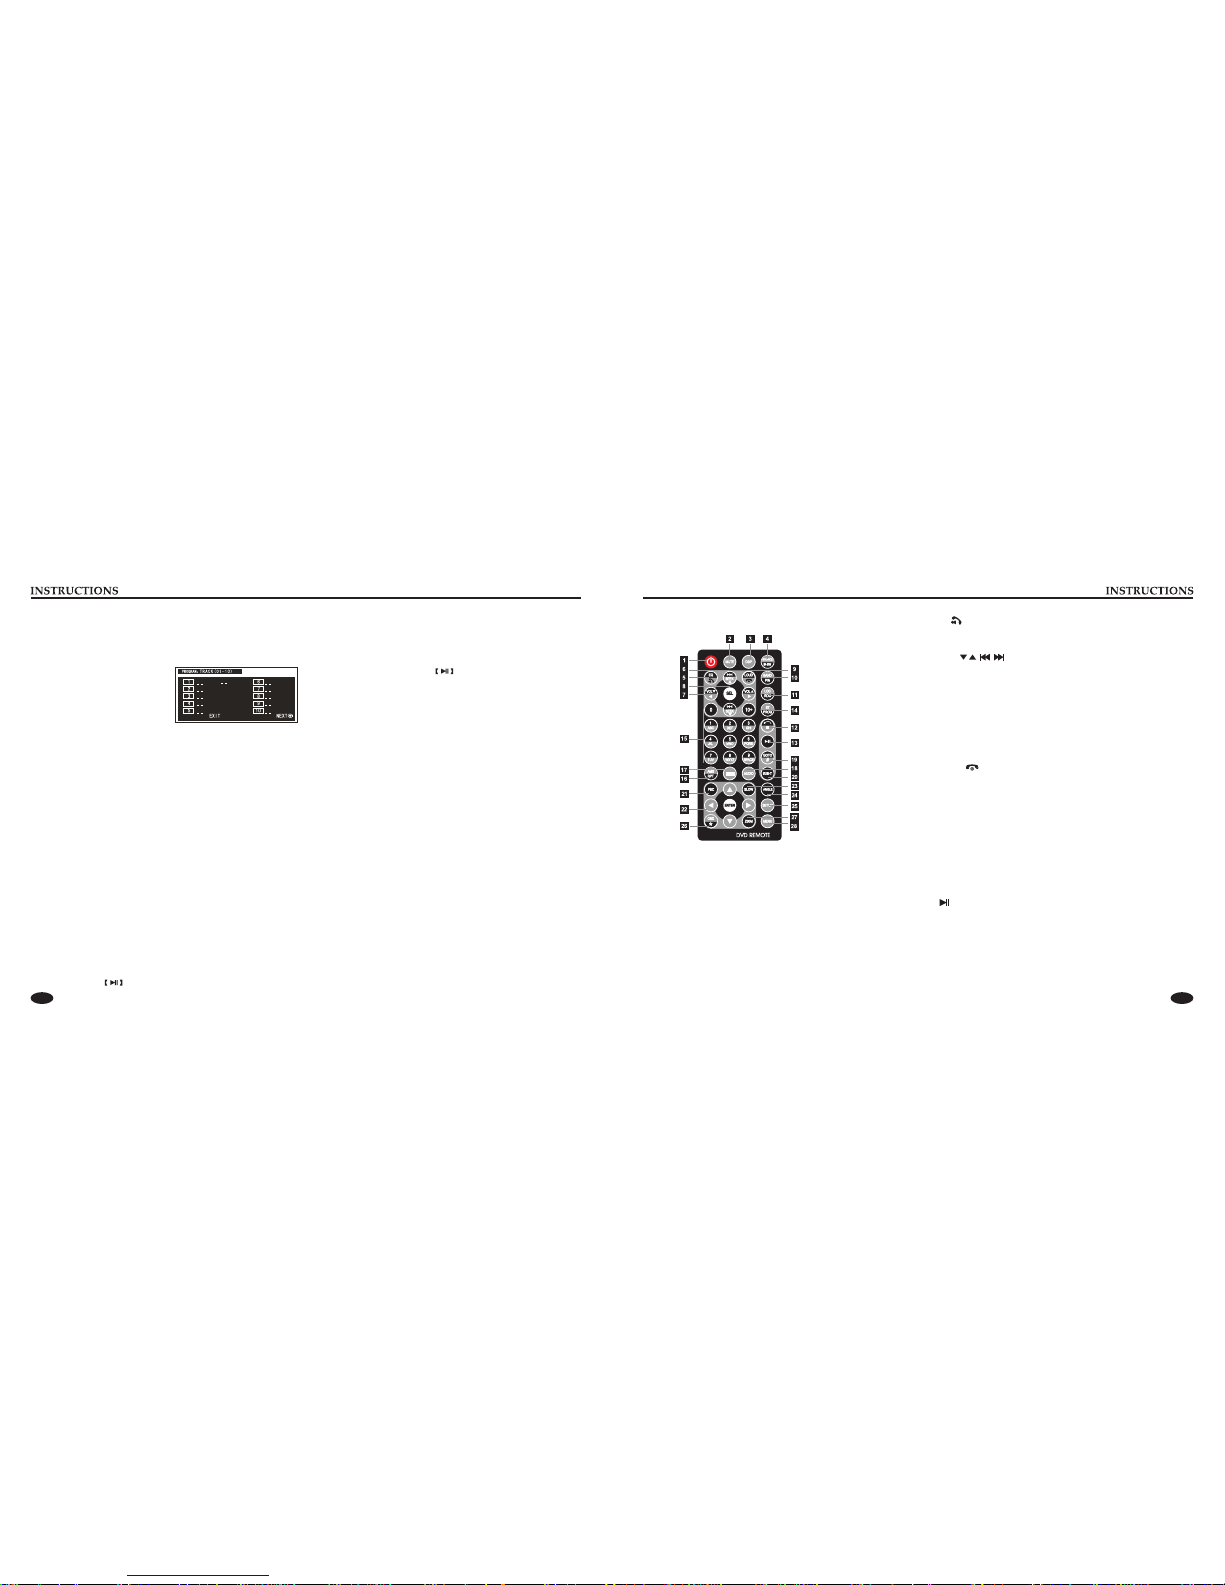
Panel function description
1. SRC/VOL button
Press this button will turn on power, during working longer press
this button will turn off power, on any mode, shortly press will
return main menu, rotate this button will adjust volume level.
2. DVD button
In any mode, press the button to enter into DVD auto reading mode.
3. RADIO button
In any mode, press the button to access radio mode.
Note: For certain machine model press the button in radio mode to
band switch.
4. APS button
In radio mode, short press the button to browse memorized station,
long press to search stored stations automatically.
5. BT button
In any mode, press the button to enter BT mode.
6. SD slot
Insert a SD card to read video and audio files.
7. RESET
Press this button can back to default mode.
8. USB slot
Connect a USB device to read video and audio files.
Warning You can only use either front or rear USB at a time.
Never connect both front and rear USB at the same time! This
could cause malfunctions.
9. AUX slot
To input external audio.
Warning: You can only use either front or rear AUX at a time.
Never connect both front and rear AUX at the same time.
10. MUTE button
Press the button to close volume output, re-press it to resume
previous volume level.
11. EQ button
In a source mode, press the button to enter equalizer setup.
12. MODE button
Press this button for a short moment to turn on power. Every
button-press activates mode change as follows: RADIO→DVD→
USB (Optional)→SD (Optional)→AUX→BT (Optional)→RADIO
Note: When the device without connection to USB, SD, or DVD
no disc inside, the system will automatically skip these related
working mode.
13. Eject disc
Press this button can eject the disc.
14. SEEK button
In radio mode, rotate the knob to select station upward/backward.
Long rotate the knob to automatically scan station.
In playback mode, short rotate the knob to select song upward/
backward, long rotate it to achieve speed forward/backward
function.
15. IR
It can receive infrared signal of remote control.
16. Disk load slot
Enter / exit disc window.
17. MIC
Input socket for microphone.