03 12
Remote controller operation
1. PWR
Press the button to turn power on/off.
2. MUTE
Press the button to turn the volume output on/off, repress it to
resume previous volume level.
3. NAVI
Press the button to enter/exit the navigation interface.
4. SOURCE/IR-SW---mode switch
Short press the button to switch the mode. Long press the button
to switch between foreground/background controls for the remote
controller.(Only effective when the background mode is enabled.)
5. EQ/ preset equalizer select/answer
Press the button to select different sound effect mode.
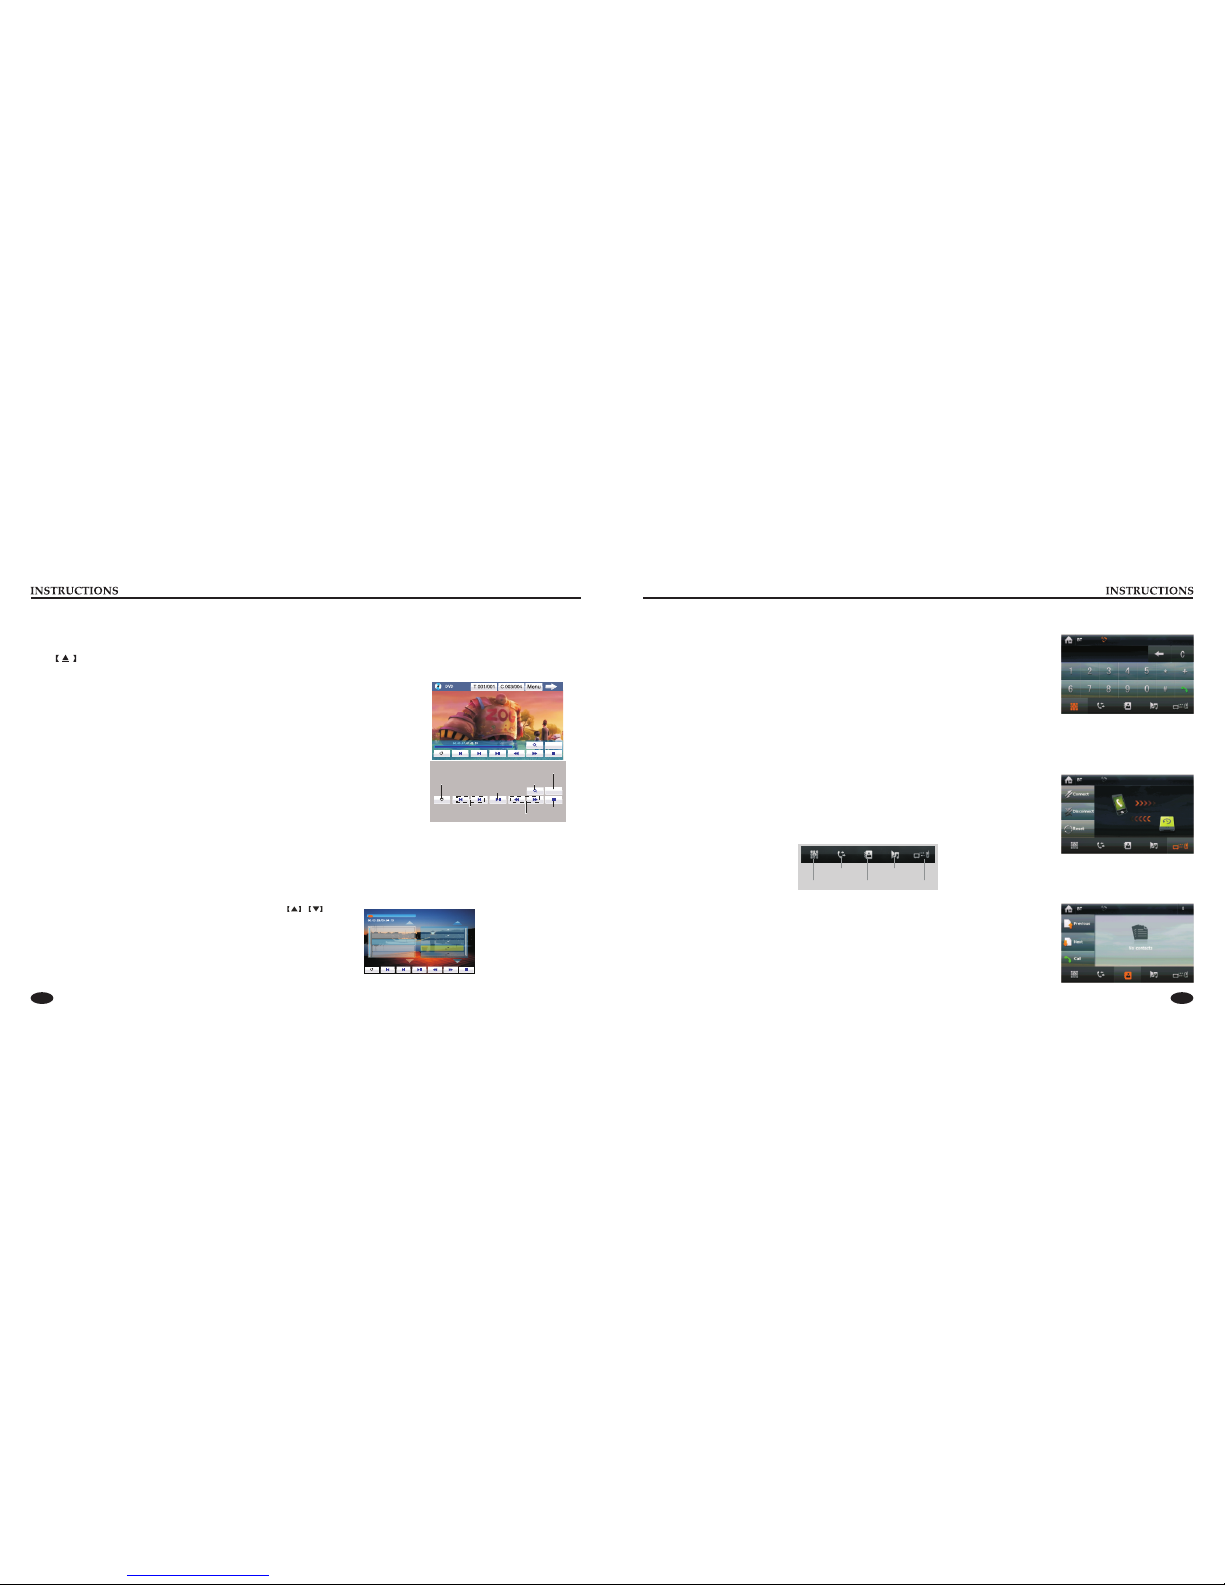
When the unit supports BT function, press the button can answer
a call.
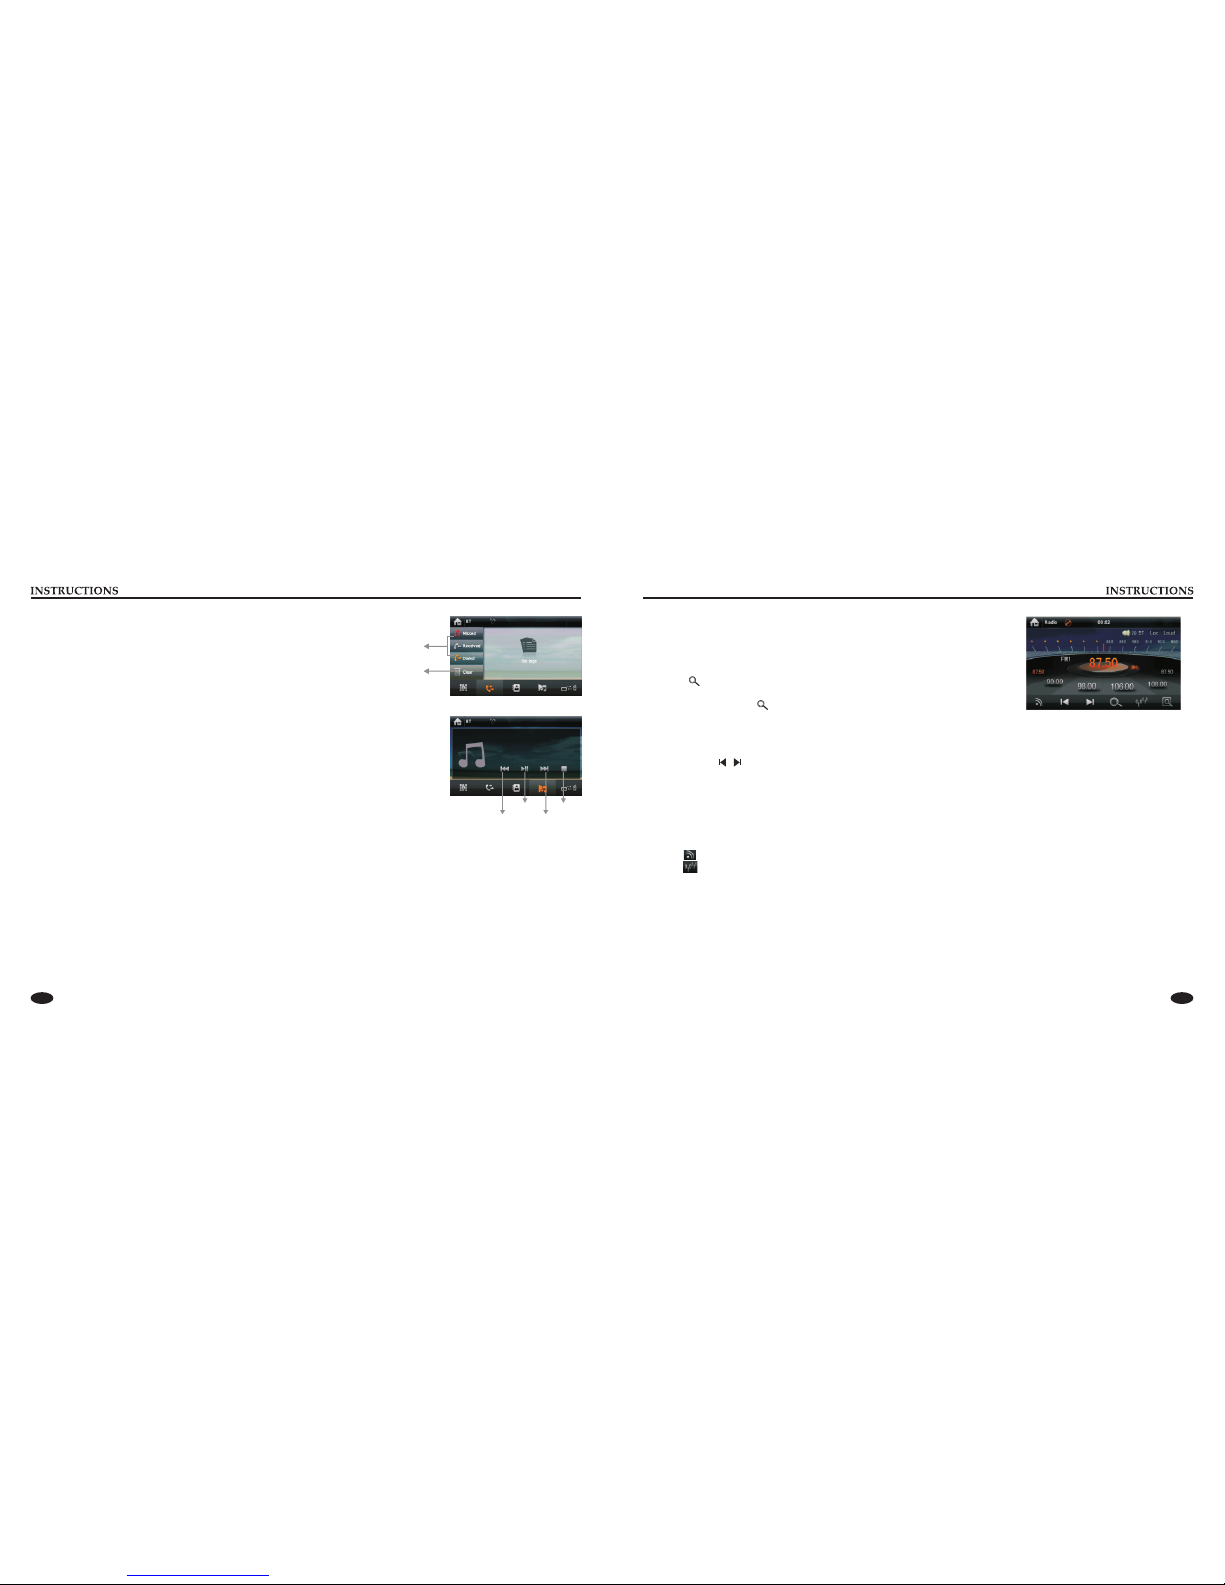
6. SEEK
In playback mode, short press the button to select the previous/
next file; long press the button to fast forward/backward play.
In radio mode, short press the button to fine tune and search for
station manually. Long press the button to scan station
automatically.
7. VOL
Press the button to increase/decrease the volume.
8. SEL---sound feature
Repeat to press the button to select sound feature.
9. LOUD/ equal loudness compensation/hang up
Press the button to turn the LOUD function on/off. When the unit
supports BT function, press the button to hang up a call after a call
is finished.
10. BAND/P/N
In radio mode, press the button to switch the band. Under
playback status, press the button to switch the system.
11. LOC/RDM
In radio mode, press the button to switch between local/distant. In
playback mode, press the button to start random play.
12. STOP
Press the button once to pause, press it twice to completely stop.
13. Play/pause
Press the button to switch between play and pause; under stop
status, press the button to start playback.
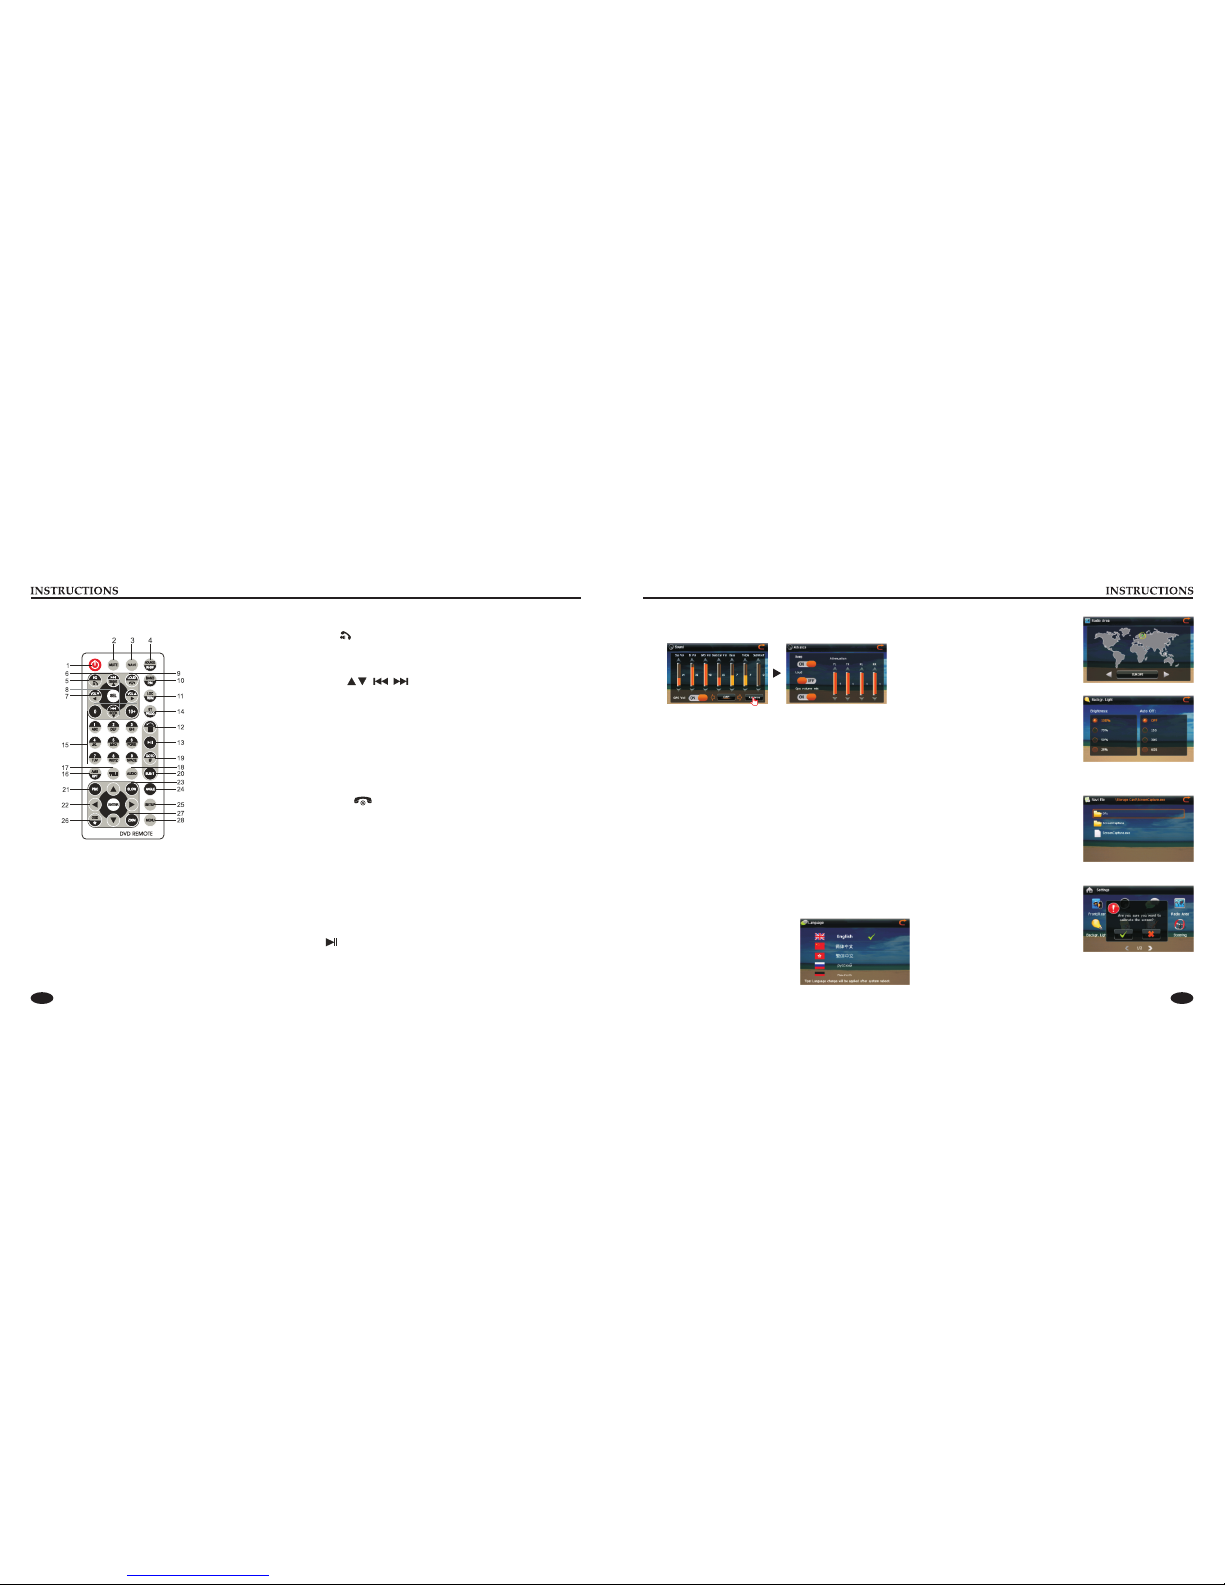
Sound Setup
Touch [Volume] icon to enter sound setup interface.
Sound effect setup: select general, pop, classic or rock, you can
adjust to the best audio effect according to your preferences.
System/BT/GPS/Back Car/Bass/Treble/Subwoofer volume: adjust
volume level of System/BT/GPS/Back Car/Bass/Treble/Subwoofer mode.
GPS Vol: Select the turn on/off GPS VOL.
When GPS VOL is open, You can manually adjust the volume, and no
matter how the master volume changes, GPS volume unchanged.
Advance:
Screen click sound: select to turn screen click sound on/off. After
click sound is turned off, there is no beep sound when you touch
the screen.
Loudness: Select the turn on/off loudness function.
Left/Right front and Left/Right rear speaker attenuate: adjust
volume level of left/right front and left/right rear speaker.
GPS volume mix: Select the turn on/off GPS volume mix.
Touch the icon to enter the sound settings interface.
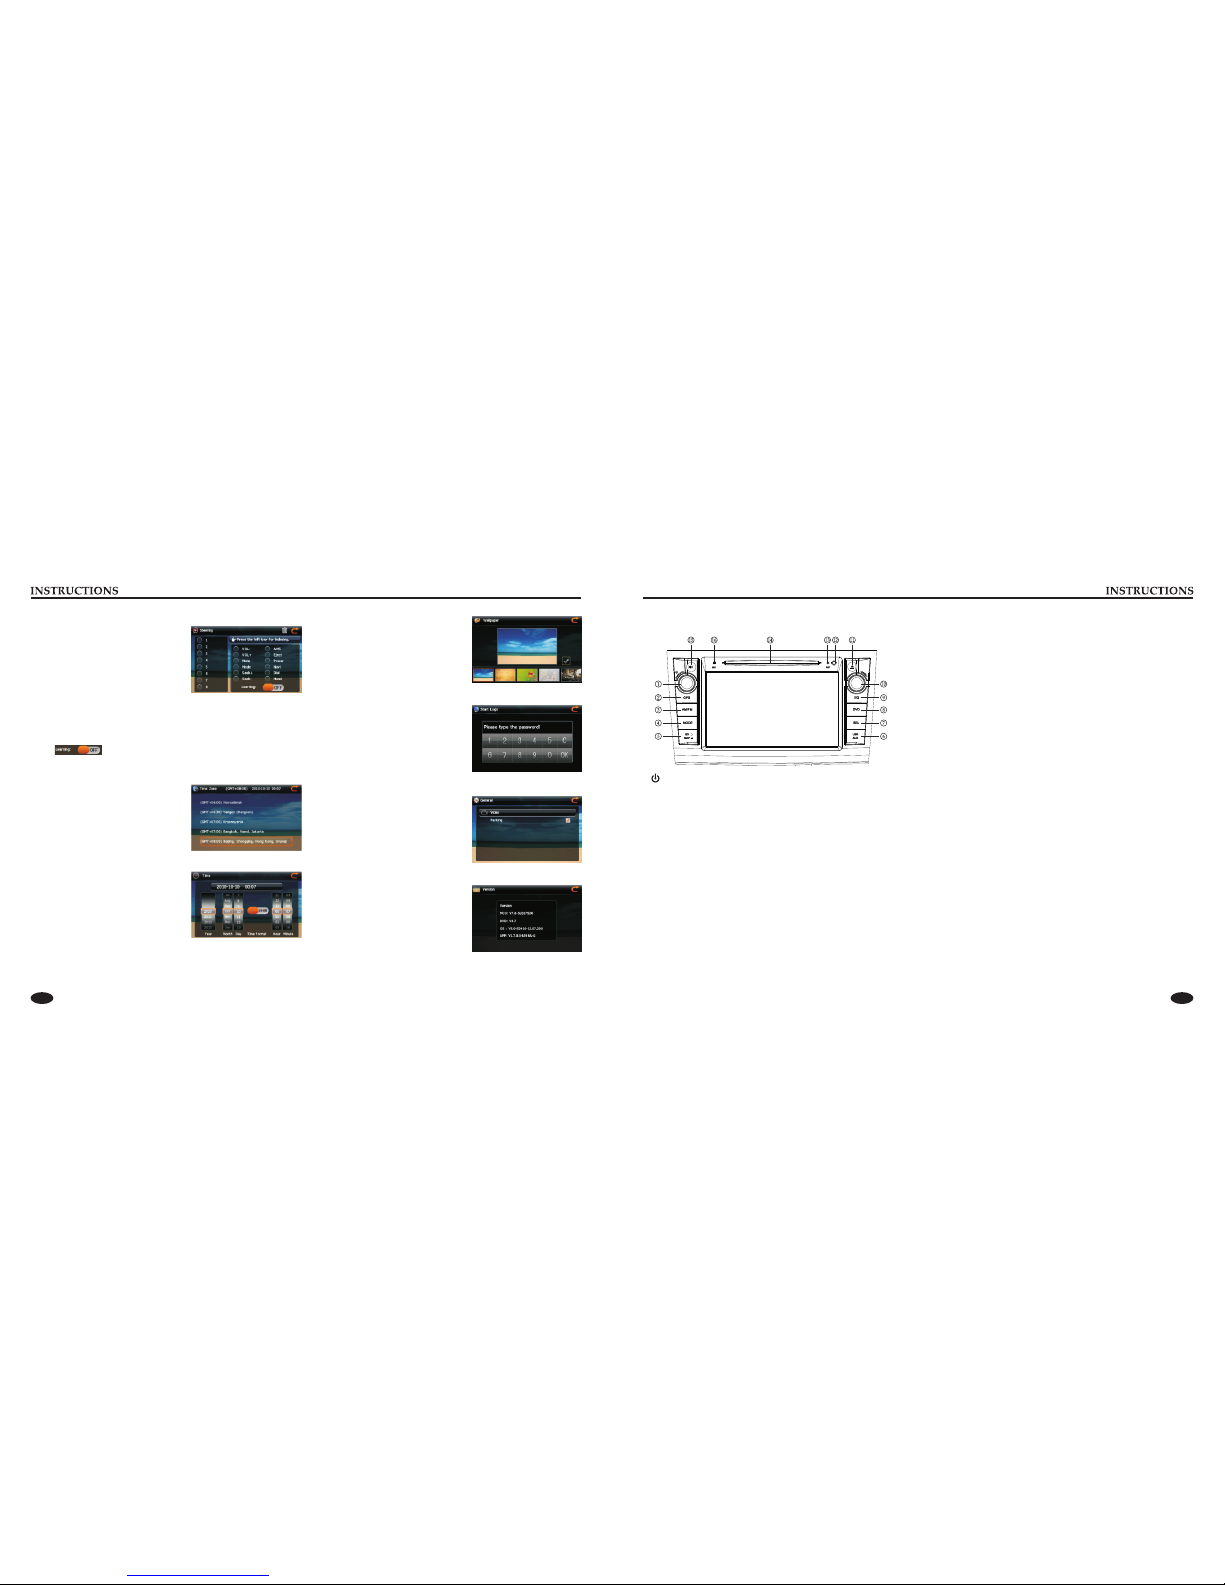
Language Setup
You can select your familiar language to display menu by
language setup. At the language set
interface click appropriate language
icon, the selected language will be
displayed as the menu language.
Note: The language change will take
effect after the system is restarted.
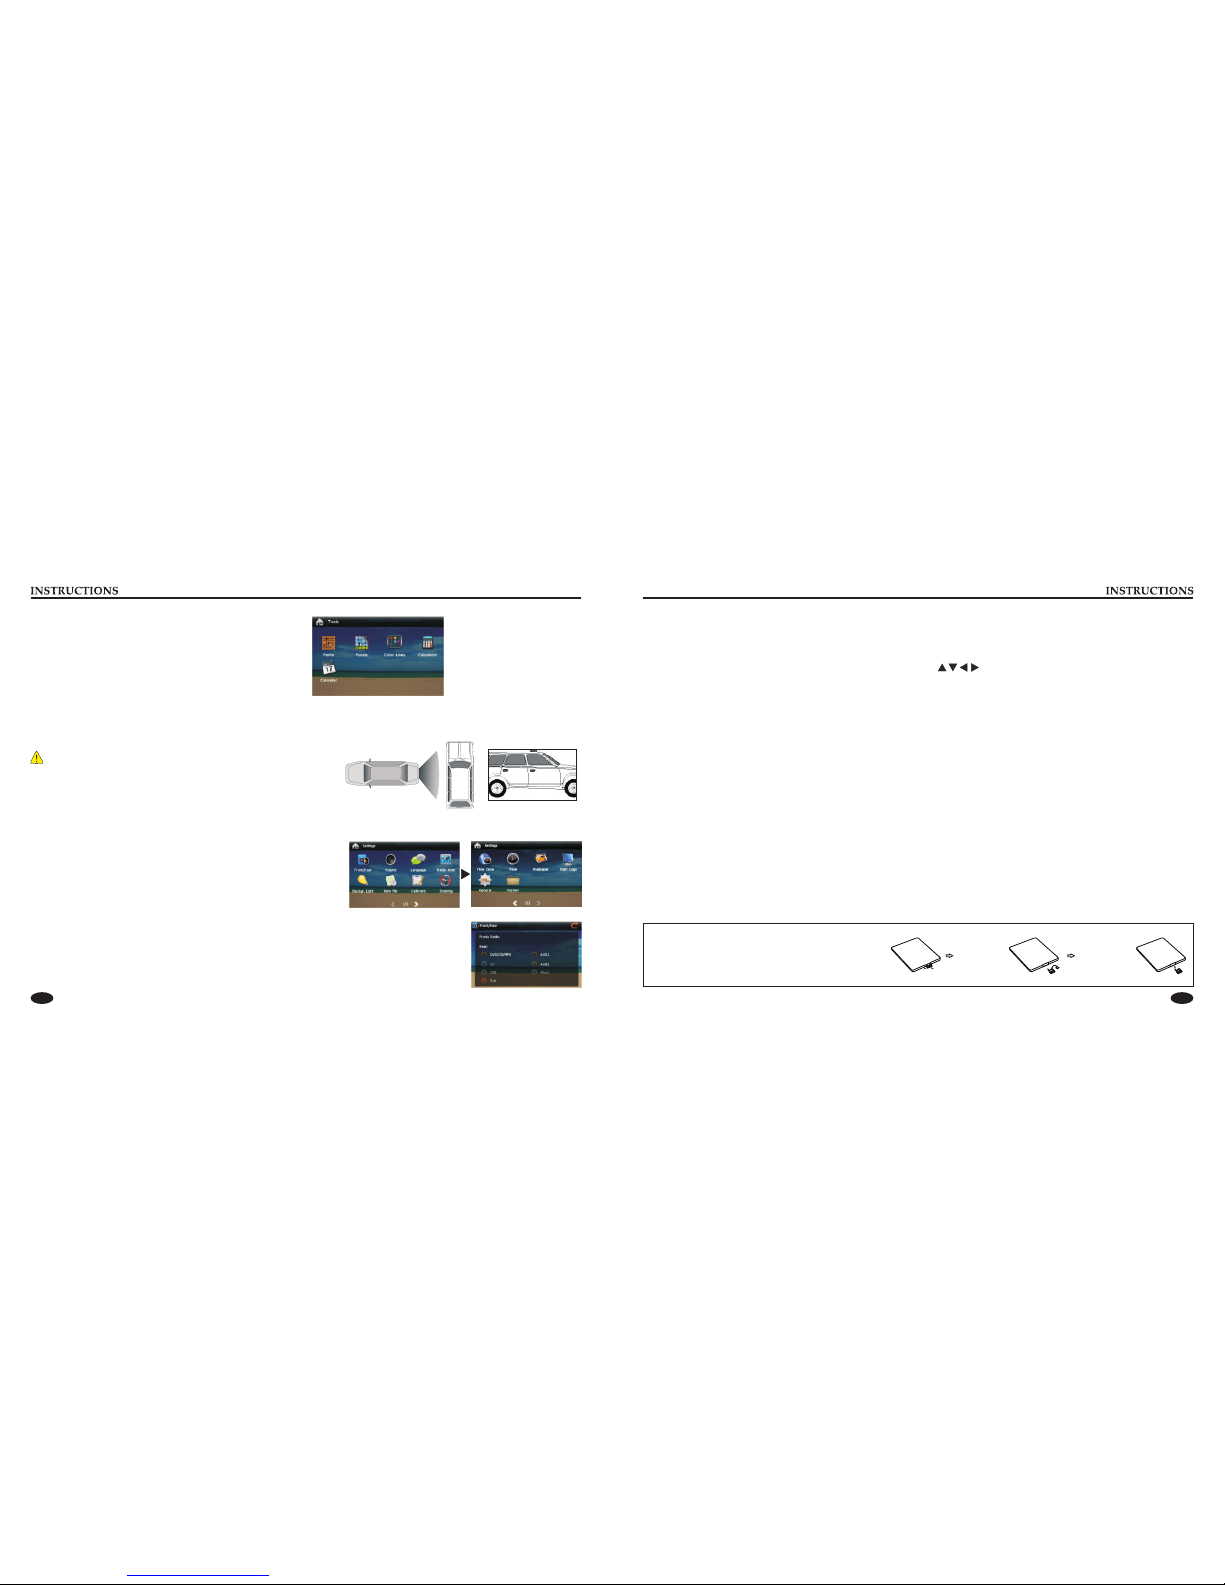
Radio Area Setup
Touch [Radio Area] icon to enter
into the radio area setup interface.
You need to select your radio area
before you use radio function.
Backlight Setup
Via backlight setup interface, you
can manually adjust the display
screen brightness according to the
intensity of light of the environment to achieve satisfactory effect.
Touch [Backgr. Light] icon to enter
backlight setup interface.
Navigation Path Setup
Navigation path is already set when
you buy the product. Do not enter
into the navigation setup interface
to change path arbitrarily. Otherwise
you may cause navigation program abnormal.
Touch Screen Calibration
If errors occur in touch position, you
can calibrate touch coordinates.
Enter touch calibration interface, Use
a touch pen to click the central area of
symbol “+”, calibrate the screen in the
moving sequence of the central area of “+”. After calibration is
completed, system will automatically save data and exit the screen.