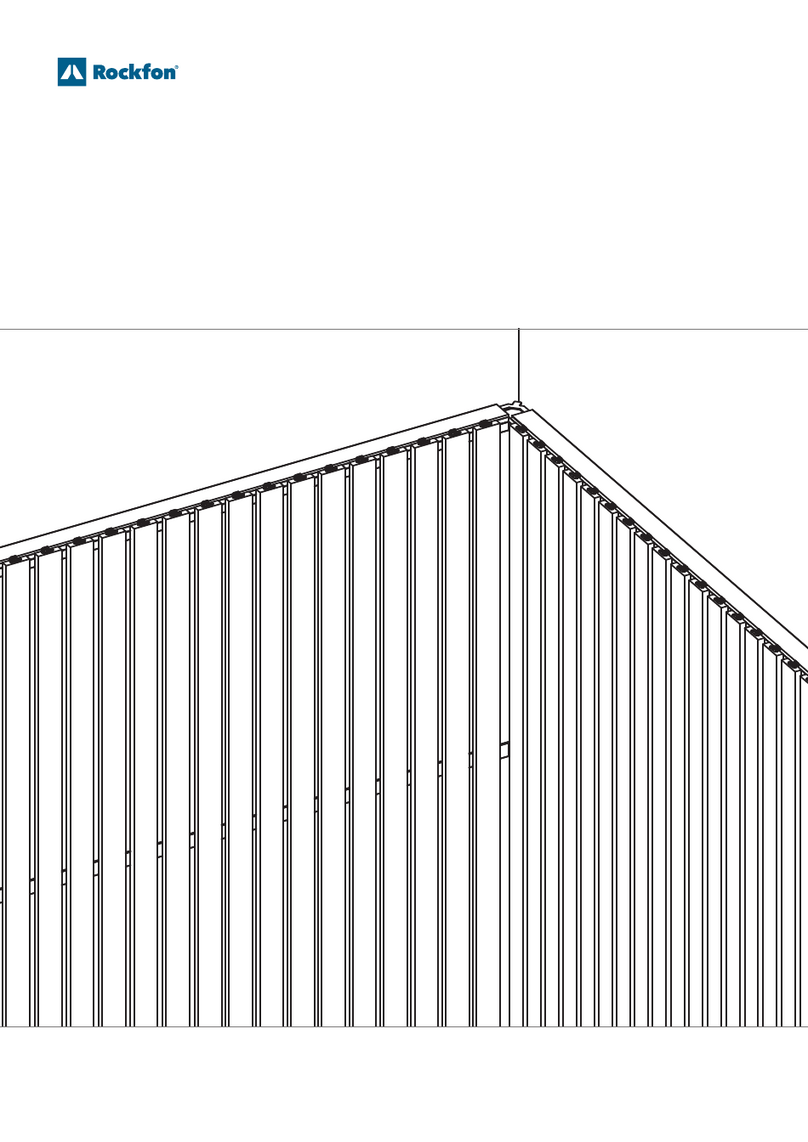
Rockfon Canva Floor screen User manual

Sounds Beautiful
Floor screen
INSTALLATION GUIDE
- Bringdesignexibilityandacousticexcellencetomoderninteriors
- Threedifferentbase-designsthatallowforcustomisation
oftheproductbasedonyourdesignlayout
- Arrivesfullyassembled,justsecurethebasetotheframe
StatementDesign
FlawlessAcoustics

2
Printed, detachable and replaceable stretch
textile canvas.
Three different base-designs: at, wheeled, or
elevated.
The handtag is always positioned in the lower
right corner and can be tucked in if desired.
Description
Rockfon Canva Floor screen istheexiblewaytodecorateinterior
environmentsthatneedsefcientsoundmanagementandexible
oorplan.
Theproductincludesa40mmstonewoolabsorberwitha61mm
powdercoatedmattealuminumframe.Thefrontiscoveredwitha
printed,detachableandreplaceablestretchtextilecanvasavailable
inamultitudeofcolourandgraphicoptions.
Theoorscreencomeswith3differentoptionsforthebase,allowing
youtohavemobileorstationaryacousticoorscreenelements.
Restrictions
WerecommendnottouseRockfonCanvaFloorscreeninhigh
humidityareaslikeswimmingpoolsoroutsideenvironments.
Also,werecommendnottoinstallRockfonCanvaFloorscreenin
areassubjecttodirectsunlight.
Rockfon®Canva™Floorscreen

3
System components
1.Flatbasekit
2.Elevatedbasekit
3.Wheeledbasekit
x 12
x 12
x 12
x 2
x 2
x 2
x 4
Panel
x 12
Components
Tool List
Tools
Screwmachine
Rockfon®Canva™Floorscreen Rockfon®Canva™Floorscreen

4
Installation
1
2
3
FLAT BASE..............................................................................5
ELEVATED BASE..................................................................... 6
WHEELED BASE.....................................................................7
There are 3 different kinds of installation,
depending on the base design:
Rockfon®Canva™Floorscreen

5
1 2
3 4
1. FLAT BASE
Positioning of the at base. Placement of the pads.
Mounting of the at base. End result.
Position the at base pointing inward. This enables the creation of
90° angle cubicle corners and placement of Rockfon Canva Floor Screens
directly next to one another or against walls.
Make sure to mount the at base in the correct way
(base screw holes are asymmetrical).
Rockfon®Canva™Floorscreen Rockfon®Canva™Floorscreen

6
1
2 3
Positioning of the elevated base .
Mounting of the elevated base. End result.
2. ELEVATED BASE
Rockfon®Canva™Floorscreen

7
1
2
Positioning of the wheeled base.
Mounting of the wheeled base.
3. WHEELED BASE
Make sure to mount the wheeled base in the correct
way (base screw holes are asymmetrical).
Positioning the wheeled base pointing inward enables the creation of 90° cubicle corners and
placement of Rockfon Canva Floor Screens directly next to one another ‘‘or against walls’’.
Rockfon®Canva™Floorscreen Rockfon®Canva™Floorscreen

8
3
4
Click on the wheels.
End result.
Rockfon®Canva™Floorscreen

9
Care and maintenance
ToensureoptimalperformanceandappearanceofyourRockfon
Canvapanels,regularcleaningofthesurfaceisanimportantstep.
Theacousticdetachablecanvasisnaturallyresistanttomoisture,
whichinhibitsthegrowthofmicroorganismswithoutanyadditional
treatments.
Cleaning
Dusting / Vacuuming:
Needstobedoneonaregularbasistohindertheaccumulationof
dustanddirtonbothframeandcanvasfabric.Useasoftbrushwhen
dusting/vacuumingasitwilltreatthepanelsmoregently.
Cleaning with soap and water:
Useliquidsoaporasimilaruniversalcleaningproductinwarmwater.
Wipedownwithacleanclothoracleansoftsponge.Squeezethe
clothorspongeoutwellinordertonotoverwettheacousticpanels.
Machine wash:
RemovethecanvasfabricbypullingtheRockfonhandtaginthe
bottomrightcorneruntilitcomesloosefromtheframe.Thecanvas
supportsfrequentmachinewashupto70°C.Makesurethatthe
canvasisdrywhenmountedagain.
Stain removal:
Incaseofstainsonyouracousticpanels,werecommendtoreactto
themasquicklyaspossible.Trytosoakupanyexcessliquidbeforeit
hastimetosoakinanddryoutinthecanvasfabricortheunderlying
acousticbasematerial.Proceedwiththeabovementioned
guidelinesforcleaningwithwaterandsoapfornalizingstain
removal.Ifcleaningwithwaterandsoapdoesnotremovethestain
completely,thenremovethecanvasandmachinewashit.
Disinfection
Ethanol / Alcohol:
Ethanol/alcohol-baseddisinfectantscanbeusedwithoutdamaging
thecanvasfabricnortheprint.Concentrationshouldbebetween
70-85%.Alwaysfollowthespecicmanufacturer’sinstructions.
Antibacterial spray / wipes:
Antibacterialwipesorsprayandwipecanbeusedtodisinfectthe
acousticpanelswithoutdamagingthecanvasfabricnortheprint.
Alwaysfollowthespecicmanufacturer’sinstructions.
Steam cleaning:
SteamcleaningcanbeusedtodisinfectyourRockfonCanvapanels
withouttheuseofchemicals.Alwaysfollowinstructionsandsafety
guidelines.
Rockfon®Canva™Floorscreen Rockfon®Canva™Floorscreen

10
Rockfonhasdevelopedspecictoolsthatareavailableoncee.rockfon.international
Tools
Visit our online CAD Library or BIM portal to
assist you in your project design.
Explore our vast library of reference projects on
our website.
Generate specication texts for our products
on our website.
Additional features
Remount the canvas
Detach and replace canvas
Removethecanvasfabricbypullingthe
Rockfonhandtaginthebottomright
corneruntilitcomesloosefromtheframe.
Ordering a new canvas
Updatethemessage,moodandenergyinthe
roombyrefreshingyourCanvasurface.Contact
yourRockfonpartnertoorderanewcanvas.
1. Press the canvas
into in the
groove in the
frame corners.
3. Tug in the canvas pressing
the rubber lip into the
groove up, down and
side to side. Work section
by section for an even
distribution of tension
over the canvas without
creases or wrinkles.
Tip: Use a plastic card as a
tool to secure the rubber
lips competently into the
groove, eliminating the
last small creases.
2. Tug in the canvas in
the middle of the
frame groove to avoid
accumulating fabric
as you work your way
around the frame.
Never stretch the
rubber lip.
Rockfon®Canva™Floorscreen

Sounds Beautiful
11.2022 | All colour codes mentioned are based on the NCS - Natural Colour System®© property of and used on license from NCS Colour AB, Stockholm 2012 or the RAL
colour standard. Subject to alterations in range and product technology without prior notice. Rockfon accepts no responsibility for printing errors.
Part of ROCKWOOL Group / cee.rockfon.international
Table of contents
Other Rockfon Indoor Furnishing manuals