Rockworth AO630/308-2 User manual

2HP • 50L
AIR COMPRESSOR
AO630/308-2

2
ITEM
DATA
Model 2HP 50litre
Power 1.5Kw/2HP
Voltage 230V
Frequency 50Hz
Motor Poles 2P
Rated Speed 2850 r/min
Current 6.5A
Delivery 206L/Min
Discharge Pressure115PSI/8 Bar
Tank Capacity L05
SPECIFICATIONS
Warranty
This product has been manufactured to a high quality standard. It is guaranteed against faulty
materials and workmanship for 12 months from the date of purchase. Please retain your receipt
as proof of purchase.
If the product is found to be defective within the relevant time period, we will either replace all
defective parts or, at our discretion, replace the unit free of charge with the same item or items of
a greater value and/or specification.
This guarantee does not cover defects caused by or resulting from: misuse, abuse or neglect;
lack of maintenance; trade, professional or hire use; repairs attempted by anyone other than our
authorised service agent; or damage caused by foreign objects, substances or accident.

3
GENERAL SAFETY INSTRUCTIONS
Before attempting to operate this compressor the following basic safety precautions should
always be taken to reduce the risk of fire, electric shock and personal injury. It is importantto
read the instruction manual to understand the application, limitations and potential hazards
associated with anytool. They are designed for the safety of yourself and others, ensuring a
long and trouble free service life from your machine.
SAFE OPERATION
Work Area
Workbenches should be kepttidy because cluttered benches and work areas invite accidents.
Floors should be kept clean and free from rubbish. Special care should be taken if the floor is
slippery due to sawdust or wax.
Work Environment
Keep the work area well lit. Do not use compressor in areas where there is a risk of explosion
or fire from combustible materials, flammable liquids, e.g., paint, varnish, petrol etc or flam-
mable gases and dust of an explosive nature.
Guard Against Electric Shock
Do not expose your compressor to rain, or use in damp or wet locations.
Beware Children and Pets
Children and pets should be kept out of the work area.
Use the right tool
Select the righttoolfor the job. Do not use a tool for a job for which it was not designed. Do
not force a small tool to do the job of a heavy-duty tool.
Personal safety Clothing
Do not wear loose clothing, jewellery or anything that could get caught in moving machinery.
Hair
Long hair should be tied back or contained in a protective covering.
Eye Protection
All ways use protective safety goggles or safety glasses.
Ear Protection
Ear protection is advised during periods of extended operation.
Footwear
Where there is a risk of heavy objects damaging feet or if there is a risk of slipping on wet or
slipperyfloors suitable non-slip safety footwear should be worn.

4
Secure the Work Piece
Wherever possible secure the work piece using clamps or a vice. It is safer than using your hand
and leaves both handsfree to controlthe air tool.
Do Not Over-reach
Do not over-reach, keep proper footing and maintain your balance at all times.
Maintain Tools with Care
Keep cutting tools sharp and cleanfor better and safer performance. Follow the instructionsfor
lubricating and changing accessories. Check the tool power cord periodically and if damaged
have it replaced by an authorised service facility. Keep handles dry, clean and free from oil and
grease. Ensure that ventilation slots are kept clean and free from dust at all times. Blocked venti-
lation slots can cause overheating and damage tothe motor.
Stay Alert
Watch what you are doing, use common sense, and do not operate the air tool when you are
tired or have taken medication that causes drowsiness, consumed alcohol or drugs.
FOR ADDITIONAL PROTECTION FROM ELECTRIC SHOCK
It is recommended that this tool be used in conjunction with a residual current device (RCD)
with a rated residual current of 30mA or less.
General Warnings for compressors
•
Do not attempt to modify the compressor in any way.
•
The use of any tools or accessory other than those designed for use with compressed air
could result in injury to the operator.
•
The output pressure of the compressor should be adjusted to the design pressure of the
air tool or accessory being used.
•
Always check thatthe output of the compressor does not exceed the maximum pressure
for any attached tool or accessory.
•
Repairs should only be carried out by qualified persons using original spare parts. Fail-
ure to do so may result in considerable danger to the user.
Breathable Air Warning
This compressor/pump is not equipped and should not be used to supply breathing quality air
for any application of air for human consumption.
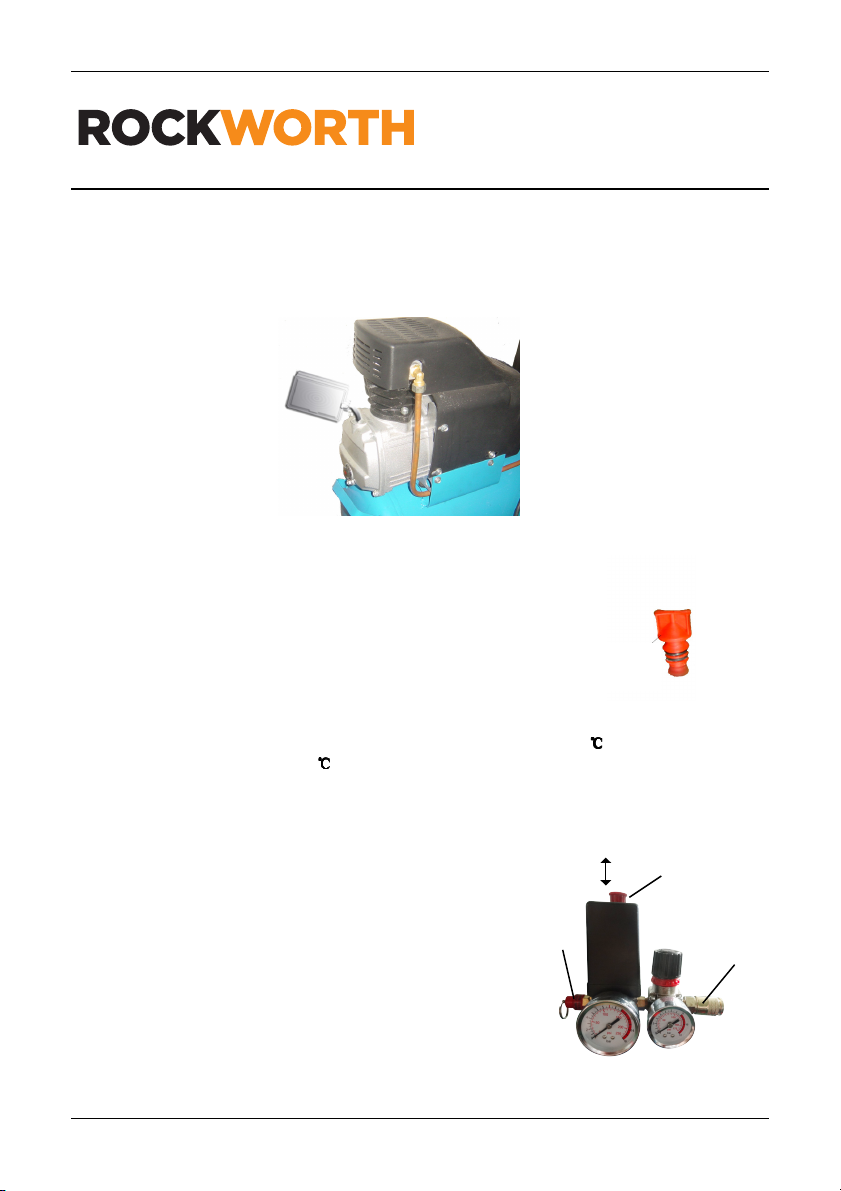
Overload protection. This compressor is fitted with an overload protection device. In the event
that the motor becomes too hot, a thermal protection device will cut the mains supply tothe mo-
tor. When the motor temperature returns to normal the mains supply will be restored automati-
cally.

5
Extension Cords and Reels
In general, it is not recommended to use an extension lead. A longer air line is recommended as
voltage drop on extension leads may lead to motor damage and will void warranty. If a exten-
sion cord must be used,for lengths up to 5 metres, an approved 15amp rated cord must be
used.
Do Not Abuse the Power Cord
Never yank or pull on the power cord to disconnect it from the mains supply socket. Never carry
or drag your compressor by its power cord. Keep the power cord away from heat, oil, solvents
and sharp edges. If the power cord becomes damaged have it replaced by an authorised service
facility.
Check Damaged Parts
Before using the compressor it should be carefully checked to determine that it will operate prop-
erly and perform its intendedfunction. Check for the correct alignment of moving parts ensuring
they do not bind. Check for broken or missing parts and have them replaced or repaired at an
authorised service centre. Check any other condition that may affect the operation of the com-
pressor. A guard or any other part of the compressor that is damaged should be properly re-
paired or replaced by an authorised service centre.
Disconnect Compressor
Ensure that the compressor is disconnected from the mains supply and the tank is empty when
not in use, before servicing, lubricating or making adjustments to air lines when changing acces-
sories such as blades, bits, nails and cutters on air tools .
Avoid Unintentional Starting
Ensure that the switch is in the OFF position before plugging the compressor into the mains
supply
Turning the compressor ON and OFF
Use the red knob on top of the pressure switch to turn the unit on and off. Pull the knob up to
turn the compressor on and push the knob in toturn it off. Turning the unit on and off from the
mains supply only will result in damagetothe motor and void warranty as the pressure switch
has an additional function to purgethe air trapped in the delivery pipe when the motor is turned
off. This minimises the load on the motor when it is next started.

6
2HP/50L
GENERAL VIEW AND MAIN COMPONENTS
Main compressor
Pressure switch
Outlet Valve
Regulating Valve
Pressure gauge
Non-Return Valve
Drain cock
Wheel
Discharge pipe
Air tank
Safety valve
Fan cover
Note: Fittings may differ from those shown above.
12
1
10
98
7
11 2
4
3
5
6

7
Assembly
This air compressor requires some minor assemble before it can be used.
Locate the accessory pack. It should contain :
1. Wheels and axle set
2. Rubber stopper
3. Air Filter
4. Oil Breather plug
5. A bottle of oil
• Fit the wheels to the unit using the axle kit
provided and insert the rubber stopper into the
spigot on the bottom of the tank.
• Fit the air filter to cylinder head of the compressor.
• Locate the plastic dust plug in the oil filler hole and remove it
to expose the oil filler hole.
1.5HP
Oil filler hole

8
Oil Warning :
This unit is shipped without oil in the compressor pump. Oil must be
added to the unit prior to operating.
Oil
•
Using the oil provided carefullyfill the crank case until the oil reaches the red mark on
the sight glass
2HP
•
Check thatthe small hole in the top of the breather pipe
is clear andthen insert it into the oil filler hole.
NOTE:
The oil must be changed after the first 10 hrs of operation then every 20 hrsthereafter
.
Recommend compressor oil: Use SAE30 for temperatures over 10
and use SAE10 below 10 .
INITIAL STARTUP
•
Ensure the unit is stable in a well-ventilated dry posi-
tion.
•
Ensure that drain the valve is closed and air outlets
are closed.
Connect the power lead to the mains.
•
Startthe compressor by pulling on the red knob.
•
Check for air leaks
Warning: Use the red knob toturnthe unit on and off, not the
mains switch. Turning the unit on and off from the mains only
will result in damage to the motor
Breather
Pipe
Note: Output fittings may differ from
those shown above.
Discharge
valve
Safety
valve
Knob
ON
OFF

9
Operation
The pressure in the tank is controlled by the action of the pressure switch located under the
pressure switch cover
When the set maximum pressure is reachedthe pressure switch activates and the motor is
turned off. The pressure will then decreases as the air is used until the set minimum is
reached after which the pressure switch turns the motor to on again.
The operator of the compressor should be well awarethat during use of the compressor the
motor will cycle (start and stop) under the influence of the rising or falling pressure in the tank
and the motor will start without any warning.
The maximum and minimum pressures are factory set and should not be altered.
You can utilise eitherthe direct outlet and/or the regulated outlet. The pressure of the
regulated outlet can be changed by turning the control knob. Rotate the knob clockwise to
increase pressure and anti-clockwise to decrease
Safety Valve
Unregulated output
Tank Preasure
guage
Delivery preasure
guage
Regulated output
Control Knob
ON
OFF
Note: Output fittings may differ from those shown

10
MAINTENANCE
Daily
1. Check oil level before each use.
2. Drain the condensation from the air receiver.
3. Check for air leaks.
Weekly
1. Remove air filter element and clean or replace as required.
Monthly
1.Inspect non-return valve (clean or replace as required)
Caution: ensure That air the tank is empty for this operation.
2. Manuallytest the safety valve by pulling the ring.
Warning:
Before maintenance operation, stop the air compressor, disconnect the unit
from the mains supply and discharge all air in the air tank.
Three Monthly
1. Change Oil
2. Tighten cylinder head bolts.
3. Clean and check valve assembly, replace gaskets/ valves if worn or damaged.
Recommend compressor oil use SAE30 for temperatures over 10 and use SAE10
below 10 .

11
TROUBLES AND REMEDIES
Trouble Possible causes Remedies
Motor unable to
run or running
slow
Fault in line, or voltage insufficient
Power wire too thin or too long
Fault in pressure switch
Fault in motor
Sticking of main compressor
Check the line
Replace the wire
Repair or replace
Repair or replace
Check and repair
Sticking of
main
compressor
Moving parts burnt due to the oil insufficient
Moving parts damaged, or stuck by foreign
body
Check crankshaft, bearing, con-
necting rod, piston, piston ring, etc.
and replace if necessary
Excessive vibra-
tion
or abnormal
noise
Connecting part loosed
Foreign body got into main compressor
Piston knocking valve seat
Moving parts seriously worn
Check and retighten
Check and clean away
Replace with thicker
paper gasket
Repair or replace
Pressure
insufficient or
discharge
capacity
decreased
Motor running too slow
Air filter choked up
Leakage of safety valve
Leakage of discharge pipe
Sealing gasket damaged
Valve plate damaged, carbon buildup or
stuck
Piston ring and cylinder worn or damaged
Check and remedy
Clean or replace the cartridge
Check and adjust
Check and repair
Check and replace
Replace and clean
Repair or replace
Excessive oil
consumption
Oil level too high
Breath pipe choked up
Piston ring and cylinder worn or damaged
Keep the level within
set range
Check and clean
Repair or replace

6
SYMBOLS
Before use, read the handbook carefully
Warning, hot surfaces
Obligatory eye protection
Danger - automatic control (closed loop)
Dangerous voltage
Pumping unit
Power
Tank capacity
Air intake
Absorbed current
Max. pressure
Revolutions / min. (rpm)
Voltage and frequency
Weight
Package overall dimensions
Oil amount
Power cable cross section

63
230V ~ Ac
50 Hz
230V ~ Ac
50 Hz
67

RAAC2/24 and RAAC2.5/36
Warranty Information
Rockworth products have a limited warranty against defects in material and workman-
ship from the date of purchase. Rockworth products are designed for Domestic/Light
Industrial use and the warranty does not apply to defects resulting from accidental
damage, improper use, or exceeding the design limits of the product.
Please take time to read the instruction manual provided. For more information on the
range, please visit www.rockworthproducts.co.za
Rockworth is exclusively manufactured for and distributed by Agrinet (Pty) Ltd.
Private Bag x165, Centurion, 0046
T: +27(0) 12 657 2222
Table of contents
Other Rockworth Air Compressor manuals
Popular Air Compressor manuals by other brands

RIDGID
RIDGID GP80145SW owner's manual

Scheppach
Scheppach HC30o Translation of original instruction manual

Gardner Denver
Gardner Denver TR20 Rear CW Installation operating & maintenance manual

Chicago Pneumatic
Chicago Pneumatic CPVS 20 Product description

Grip Rite
Grip Rite GR55G10X Operating manual and parts list

MasterCraft
MasterCraft 8 U.S. GALLON (30.3 L) AIR COMPRESSOR instruction manual