Preface
R&S®OSP‑B157W8(PLUS) R&S®OSP‑B157WX
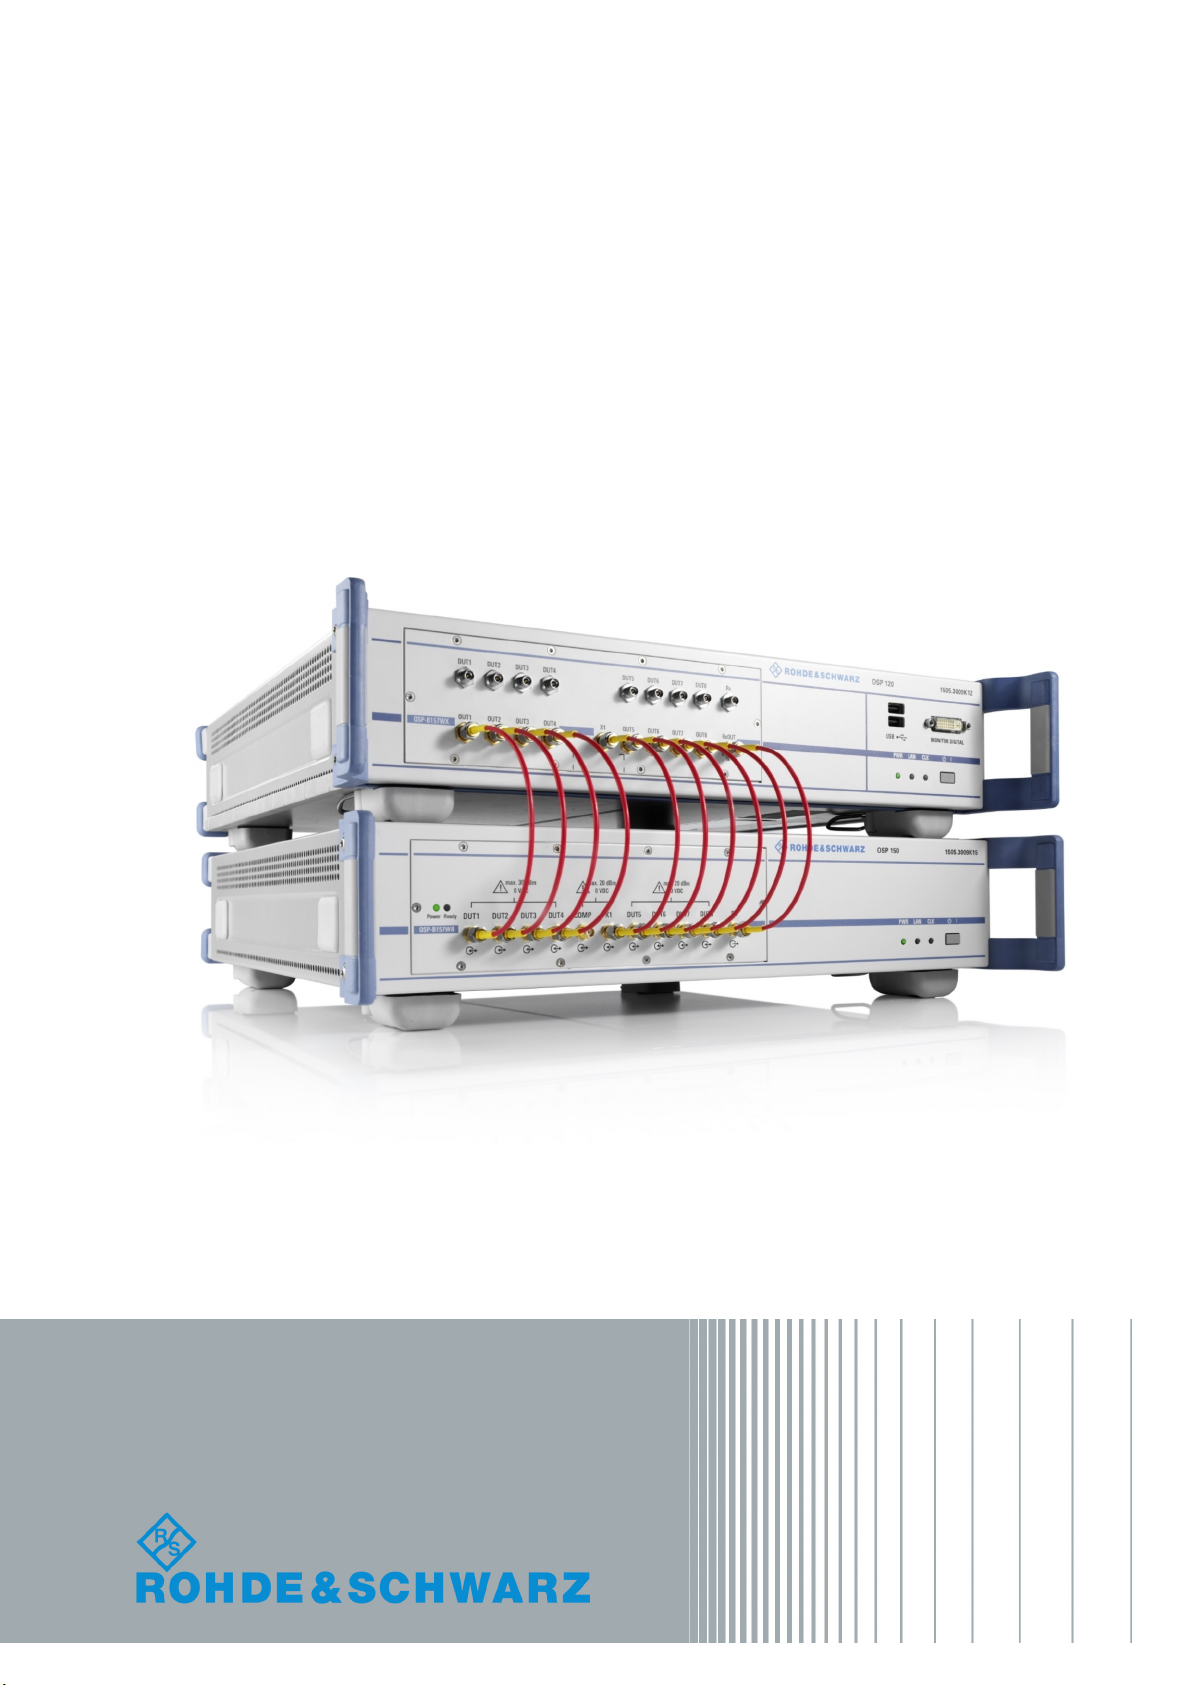
6Getting Started 1178.5808.02 ─ 03
Except for one optional additional single-slot module in slot A11 of the switch unit,
no additional modules can be installed in a single switch unit beside one
R&S OSP-B157W8, one R&S OSP-B157W8PLUS or one R&S OSP-B157WX.
For all information related to the R&S OSP switch units, refer to their operating
manual.
Frequency ranges
Basically, the modules are designed to cover the 2.4 GHz and 5 GHz frequency
bands. However, some of the above mentioned regulatory ETSI and FCC tests
include measuring spurious emissions up to 18 GHz or even up to 40 GHz.
Therefore, the frequency coverage of the modules is as follows:
●The R&S OSP-B157W8 operates in a frequency range up to 6 GHz. The
R&S OSP-B157W8PLUS operates in a frequency range up to 7.5 GHz. Both
base modules offer a special by-path for spurious emissions measurements
up to 18 GHz. The integrated power meter and signal conditioning is designed
for in-band use only.
The lower end of the frequency range of the R&S OSP-B157W8 and
R&S OSP-B157W8PLUS depends on the selected paths and application. It
starts, for example, approximately at 100 MHz, if internal power measure-
ments are involved, or approximately at 1 GHz, if directional couplers are
involved.
●The R&S OSP-B157WX extends the spurious emissions frequency range up
to 40 GHz. Signals to be measured in this frequency range are not forwarded
to the DUT input ports of the base module, but bypassed directly to the signal
analyzer.
Key features of the base module R&S OSP-B157W8
The 6 GHz module R&S OSP-B157W8 with up to 8 channels is based on a prin-
ted RF switch board in solid-state relay (SSR) architecture. It allows flexible oper-
ation of the connected DUT (up to 8 ports) and measurement instruments.
The module features:
●Signal conditioning by integrated attenuators, couplers and combiners (with-
out amplifiers or filters)
●RF switching for wireless test cases up to 6 GHz
●RF switching for spurious emission measurements up to 18 GHz (exception: if
a frequency extension module R&S OSP-B157WX is present, these signals
are handled within the extension module)