Rohnson R-893 User manual

R-893
Portable Air Conditioner
User’s Manual

Thank you for choosing this mobile air conditioner to provide you and your family with all of the
“Home Comfort”requirements for your home, cottage or office. The appliance can be moved
from room to room within your home and set-up in just minutes.
It is a multi-functional room air exchanging, air-processing appliance, designed to offer you the
functions of: Air conditioner, Dehumidifying, Independent Fan. The external static pressure at
which the appliance was tested 0Mpa.
This manual will provide you with valuable information necessary for the proper care and
maintenance for your new appliance. Please take a few moments and read the instructions
thoroughly. If properly maintained, your appliance will give you many years of trouble-free
operation.
1. All wiring must comply with local and national electrical codes and be installed by a qualified
electrician. If you have any questions regarding the following instructions, contact a qualified
electrician.
2. Check available power supply and resolve any wiring problems before installation and operation of
this unit.
3. For your safety and protection, this unit is grounded through the power cord plug when plugged into
a matching wall outlet. If you are not sure whether the wall outlets in your home are properly
grounded, please consult an electrician. If supply cord is damaged, it must be replaced by the
manufacture, its service agent or similarly qualified person to avoid hazard.
To reduce the risk of fire, electrical shock or injury when using your air conditioner, follow these basic
precautions:
1. Plug into a grounded 3 prong outlet.
2. Do not remove ground prong.
3. Do not use an adapter.
4. Do not use an extension cord.

5. Unplug air conditioner before servicing.
6. Use two or more people to move and install air conditioner.
7. This appliance can be used by children aged from 8 years and above and persons with
reduced physical, sensory or mental capability or lack of experience and knowledge if
they have been given supervision or instruction concerning use of the appliance in a safe
way and understand the hazards involved.
8. Children shall not play with the appliance. Cleaning and user maintenance shall not be made by
children without supervision.
9. If the supply cord is damaged, it must be replaced by the manufact
10. The appliance shall be installed in accordance with national wiring regulations.
11. The appliance is not intended for use by persons (including children) with reduced physical,
sensory or mental capabilities, or lack of experience and knowledge, unless they have been
given supervision or instruction concerning use of the appliance by a person responsible for
their safety. Young children should be supervised to ensure that they do not place with the
appliance.
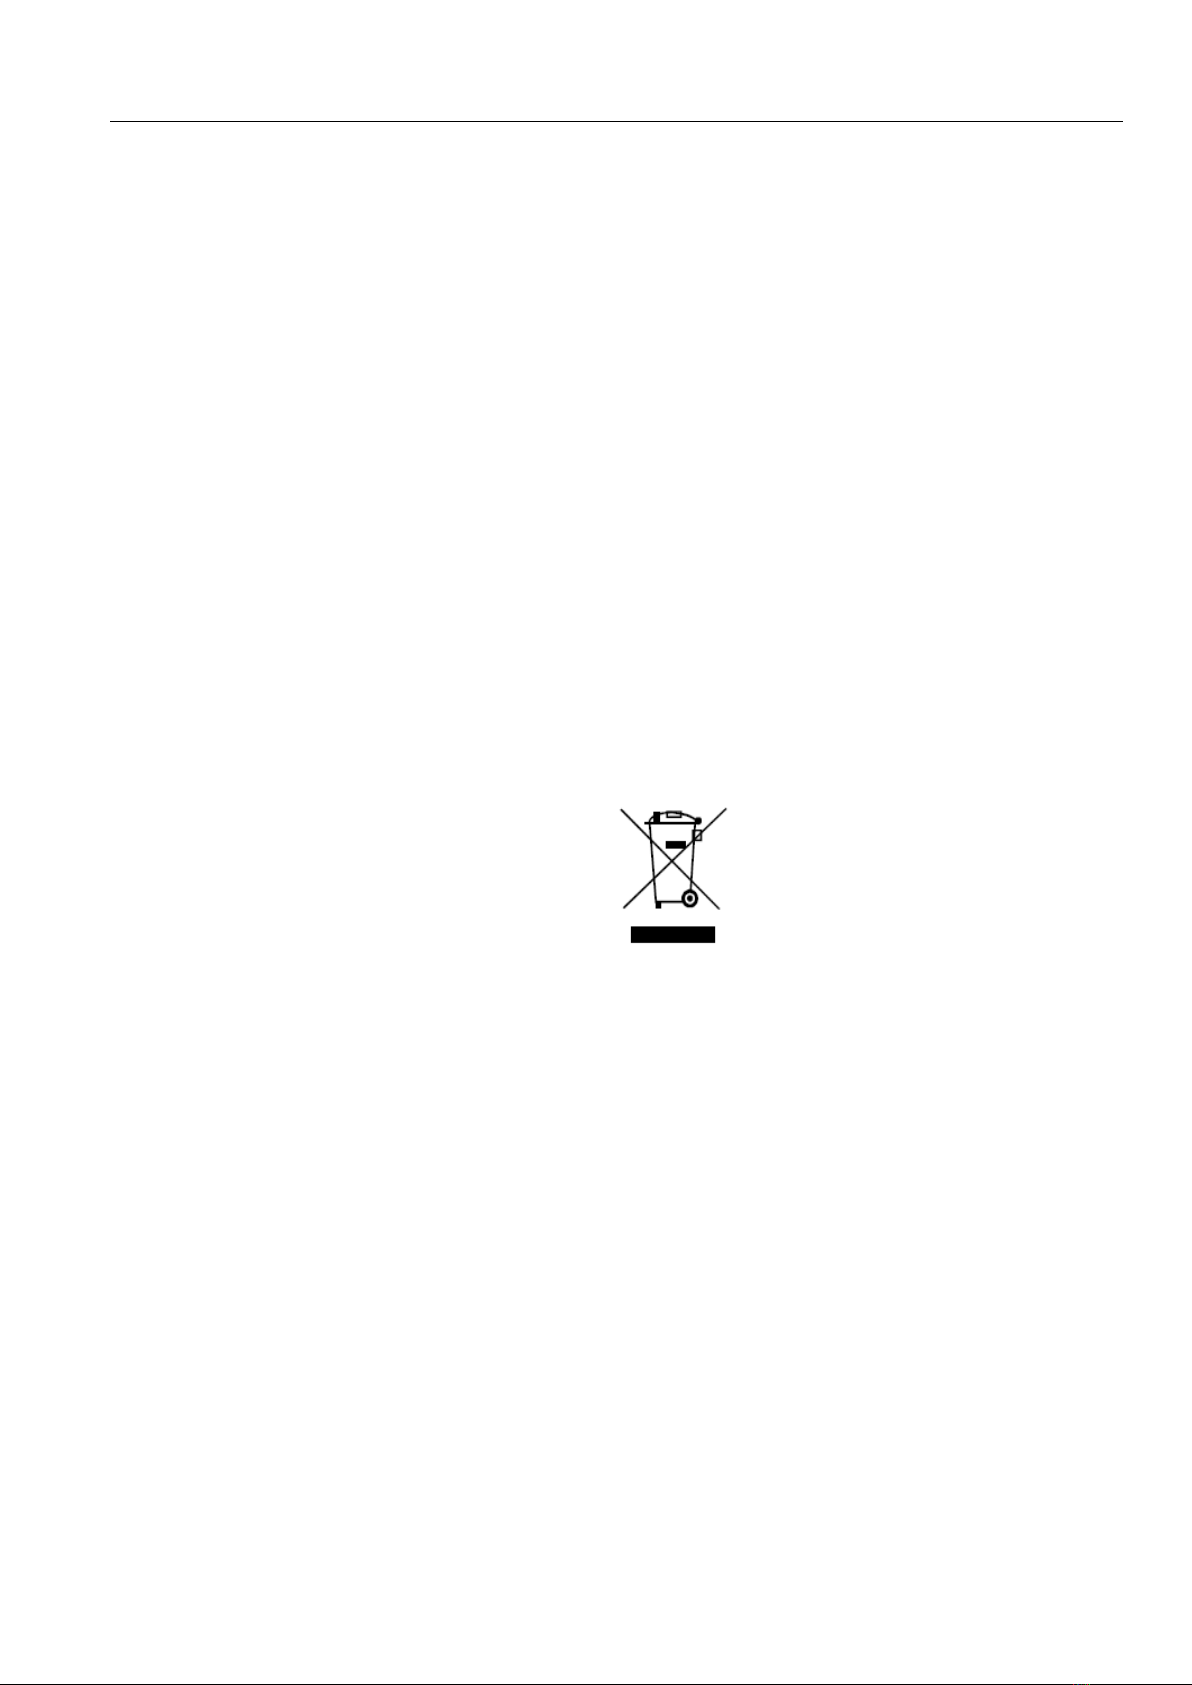
12. Correct Disposal of this product
This marking indicates that this product should not be disposed with other household wastes
throughout the EU. To prevent possible harm to the environment or human health from uncontrolled
waste disposal, recycle it responsibly to promote the sustainable reuse of material resources. To return
your used device, please use the return and collection, systems or contact the retailer where the
product was purchased. They can take this product for environmentally safe recycling.
13. Do not use means to accelerate the defrosting process or to clean, other than those
recommended by the manufacturer.
The appliance shall be stored in a room without continuously operating ignition sources for
example: open flames, an operating gas appliance or an operating electric heater.
Beware that refrigerant may not contain an odor. Do NOT pierce or burn.
14. When the machine malfunctions, do not repair it yourself. Please contact a professional organization or
a professional trained maintenance personnel or a service organization recommended by the supplier
for repair!-- The maximum refrigerant charge amount: 120g

1. Control panel
2. Signal Receptor
3. Cold Air Outlet
4. Remote Controller
5. Transport Handle
6. Air Outlet Hose
7. Evaporator Air Intake
8. Primary Drain Port
The figures in this manual are based on the external view of a standard model.
Consequently, the shape may be different from that of the air conditioner you have selected.

Control Panel This section explains proper mobile air conditioner operation.
Push buttons
Power button Speed button Timer/ Temperature up button
Timer button Mode button Timer/Temperature down button
Sleep button low. High fan speed
Automatic, Cool, Dehumidify, Fan
Control Panel Operation
⚫Automatic, Cool, Dehumidify, Fan
1.Turn on the unit
a) Plug in, then the unit beeps once.
b) Press the button, then the unit is turned on.
The LED displays the room temperature.
Press the button again, the unit is turned off.
2.Select operating mode
Press the ““button each time the mode will circle as below, when the mode indicator flash and no further
Press on the button, after several seconds, the operation mode is selected.
3.Adjust Temperature
In cool mode only, the temperature can be set within a range of 15℃to 31℃.

Press “+”or “– “button to increase or decrease the temperature 1℃by pressing once.
The unit LED shows the target temperature for 5 seconds and then displays the room temperature
4.Adjust Fan Speed
Press the ““button to select a desired fan speed shown as below:
5.Power
When you press ““button again, the unit will beep and stop working.
Notice:
Each mode working principle
mode
1.Once the operation is selected, the indoor temperature sensor detects room temperature.
automatically to select the desired operation mode with
2. When the room temperature ≥24℃, the unit will automatically select mode.
3. When the room temperature <24℃, the unit will automatically select mode.
Dehumidify mode
1.The up centrifugal fan will run at low speed, and the speed can’t be adjusted.
2.The unit adopts constant temperature dehumidifying mode, and the adjustment of temperature is no
effective.
Cool mode
1.When the room temperature is higher than set temperature, the compressor starts to run.
2.When the room temperature is lower than set temperature, the compressor stops, and upper fan operates
at original set speed.
Fan mode
1.The fan runs at set speed, and the compressor does not run.
2.The adjustment of temperature is no effective.
Time function
1.Press “Timer’ button to set Automatically Off time while the unit is running, the timer icon (h) light is on.
2.Press “Timer” button to set Automatically On time while the unit is ready, the timer icon(h)light is on.
3.The time can be adjusted within a range of 1 hour to 24 hours. Press the temp up (+) or temp down (-)
button to increase or decrease the time 1 hour by pressing once.
Sleep mode
1.The operation is effective when the unit is under mode.
2.Press the button in mode, then the unit will work under sleep mode and the up
centrifugal fan will turn to low speed automatically (the speed icon light remains the

previous setting). The set temperature will increase 1℃after one hour and increase 2℃after two hours. After
six hours the unit will stop running.
Child lock operation
1. Press and hold the button for 5seconds, the buttons will be locked.
Press and hold the button for 5seconds again, the buttons will be unlocked.
Swing operation
When the swing button is activated, the swing blade swings left and right automatically.
If you want to stop, press the button again.
Notice:
Except the AUTO mode, the appliance has the memory function: when the appliance is turned on it will return
to the working mode before it turned off in case the appliance has never been unplug form the main source.

The remote controller transmits signals to the system
button
turn on /off the appliance
MODE
Select the mode
SPEED
Select the fan speed
SETTING
Adjust the room temperature and the timer.
SLEEP MODE
Set or cancel Sleep mode operation.
TIMER
Set automatic off and automatic on time.
SWING
Used for automatic swing set.

1. Open the back cover, and take off the isolating film on the batteries.
2.Put the batteries inside the slot, with anode and cathode in right directions;
3. Put on the back cover.
Notices;
1) The anode and cathode of the batteries must be corresponding to the signs of “+”
and “-“on the remote control;
2) Do not use new battery cells together with run-down cells.
3) For long time no use, take out the batteries
4) To prevent environmental pollution, take out the used batteries and dispose safely
and appropriately.

HOW TO USE
To operate the air conditioner, point the remote
controller at the signal receptor. The remote
controller will operate the air conditioner at
distance of up to 5m when pointing at signal
receptor of the air conditioner.

The protective device will work in the following cases.
⚫Restarting the unit at once after operation stops or changing mode during
⚫
⚫operation, you need wait for 3 minutes.
Special reminder: there is condensing water recycling hidden
within this unit. The condensing water is partly kept recycling between the
condenser and the water plate. When the water level rises to upper level, the
float switch and water full indicator (E4) lights on to remind draining water.
Please cut off the power supply, move the appliance to a suitable place,
remove the drain plug, and connect the hose (inner diameter 10mm, not
included) to drain water completely. After the drain, re-install the drain plug, or
the appliance may leak and make your room wet. If the appliance is placed in
a position admitting drain water, you also can connect the drain hose to the
drain port to drain water.
The protective device may operate and stop the appliance in the cases listed
below.
Cooling
Indoor air temperature is over 43°C
Room temperature is below 15°C
Dehumidifying
Room temperature is below 15°C

.If the appliance will not be used for a long time, be sure to Pull
out the primary and the secondary rubber plug of the drain
port, to drain the water. Re-install the rubber plug after
drain.
2. Keep the appliance running with fan only for a half day during
a sunny day to dry the appliance inside and prevent from going moldy.

3. Stop the appliance and pull out the power supply plug, then
take out the batteries of remote controller and store appliance
properly.
1. Clean the air filter and reinstall it.
2. 5. Remove the air hoses and store them properly, and cover the
hole tightly.
The following cases may not always be a malfunction, please check suggestions
below before asking for service.
Does not run
* If the protector trip or fuse is blown.
* Please wait for 3minutes and start again, protector device may be
preventing unit from working.
* If batteries in the remote controller are exhausted.
If the plug is not properly plugged in
Runs for a short while only
* If the set temperature is close to room temperature, you can lower the
set temperature.
* Air outlet is blocked by obstacle. Take the obstacle away.
Runs but not cooling
* If the door or window is open.
*If there is another appliance heat-working like heater or lamp etc.
* The air filter is dirty, please clean it.
* Air outlet or intake is blocked.
* Set temperature is too high.
Water leak during moving
* Drain the condensate before moving.
* To avoid water leakage, please locate the unit on flat ground.
* Pull out the rubber plug to drain water.
* If it’s often in this state, please contact qualified service technical.

Before claiming repair, check the machine as follows:
Failures
Causes
Solutions
Machine fails to start up.
Power supply failure:
1. Not plugged
2. Plug or socket damaged
3. Fuse broken
1. Plug in
2. Replace the power cord or socket;
Contact qualified technical service
3. Replace the furse by service provider
(specification: 6.3A/250V AC)
Machine automatically
stops
TIMING shut down or set
temperature reached
Restart or wait for auto-switch
No cold air under COOLING
mode
1. Room temperature lower than
set temperature
2. Machine enters into anti-frost
protection
1. This is a normal phenomenon, the
machine will auto-switch while the room
temperature is higher than the set
temperature
2. The machine will auto switch after
anti-frost protection is over
LED displays failure code
“E2”
Room temperature sensor fails or
damaged
Replace the room temperature sensor.
Contact qualified technical service.
LED displays failure code
“E3”
The evaporator oil pipe sensor
fails or damaged
Replace the evaporator coil pipe sensor.
Contact qualified technical service.
LED displays failure code
“E4”
Water-full warning
Drain out the water

1.Air exhaust duct 2.. Connector of air exhaust duct
3. Window exhaust adapter 4. Remote control
5. Baffle plate
⚫Beside a window, a door or a French window.
⚫Keep the required distance from the return air outlet to the wall or other obstacles at least
60cm (19 1/2”)
⚫Fix one end of the air hose on the air outlet underside the appliance Extend the air hose to
ensure that other end of the air hose has clearance between the window,
Door, or French window, or wall hole.
⚫Air outlet or intake cannot be blocked by protective grid or any obstacle.
- 1 0-

How to connect the connectors to the Air exhaust duct.
1. Extend the air exhaust duct (A) by drawing out the two ends of the duct.
2. Screw the air exhaust duct into the connector of air exhaust duct
3. Screw the connector of window into the plastic connectors.
4. Connect the connector of air exhaust duct to
the unit.

The manufacturer provides 1year warranty starting from the date on which the appliance arrives
at the destination port.
The repair under warranty may only be carried out by an authorized service center. When
making a claim under the warranty, the original bill of purchase (with purchase date) must be
Submitted.
The warranty will not apply in cases of:
- Normal wear and tear
- Incorrect use, e.g., overloading of the appliance, use of non-approved accessories
- Use of force, damage caused by external influences
- Damage caused by non-observance of the user manual, e.g., connection to an unsuitable
mains supply or non-compliance with the installation instructions
- Partially or completely dismantled appliances
* Keep the unit at least 1meter away from TV or radios to avoid electromagnetic interference.
* Do not expose the unit under direct sun light to avoid surface color fading.
* Do not tilt the unit for more than 35ºor upside-down while transporting
* Place the unit on a flat surface with less than 5ºinclination
* The unit operates more efficiently in certain room location (see technical specifications)
* Empty the condensed drainage pan before putting the unit in storage to prolong the unit
lifetime at the end of the season.
* Do not use chemical solvents (e.g., Benzene, alcohol-glazer) to clean the unit surface to avoid
scratching, damaging the surface.
* Make sure to cut off the power before disassembling or installing the air-inlet fence.
* Please empty the water from the water tank if you want to move the machine.
* The battery must be removed from the appliance before it is scrapped
* The battery is to be disposed of safely
* The plug must be removed before cleaning, maintaining, or filling the appliance.

Model
R-893
Cooling Capacity (W)
2600W
Rated Voltage / Frequency (V/Hz)
220-240V~/50Hz
Net Weight (kg)
20Kg
Dimensions
WXDXH
Body(mm)
310x310x640mm
Package (mm)
372x372x850mm
Refrigerant
R290/120g
IMPORTANT INFORMATION FOR CORRECT DISPOSAL OF THE PRODUCT IN ACCORDANCE WITH EC
DIRECTIVE 2002/96/EC.
At the end of its working life, the product must not be disposed of as urban waste.
It must be taken to a special local authority differentiated waste collection centre or to a dealer providing this
service.
Disposing of a household appliance separately avoids possible negative consequences for the environment and
health, deriving form inappropriate disposal and enables the constituent materials to be recovered to obtain
significant savings in energy and resources. As a reminder of the need to dispose of household appliances
separately, the product is marked with a crossed-out wheeled dustbin.
Table of contents
Other Rohnson Air Conditioner manuals
Popular Air Conditioner manuals by other brands

Trane
Trane Packaged TerminalAir Conditioners & Heat... Installation operation & maintenance

Mitsubishi Electric
Mitsubishi Electric Mr.Slim MS-GK36VA operating instructions

Crosley
Crosley CAE10MR410A13 use & care

INVENTOR
INVENTOR OMI-09 owner's manual

Toshiba
Toshiba HWS-455XWHM3-E owner's manual

Mitsubishi Electric
Mitsubishi Electric MXZ-2D33VA-E1 Service manual