manuals.online logo
Brands
  1. Home
  2. •
  3. Brands
  4. •
  5. Roland
  6. •
  7. Recording Equipment
  8. •
  9. Roland TurboStart VG-99 User manual

Roland TurboStart VG-99 User manual

Other Roland Recording Equipment manuals

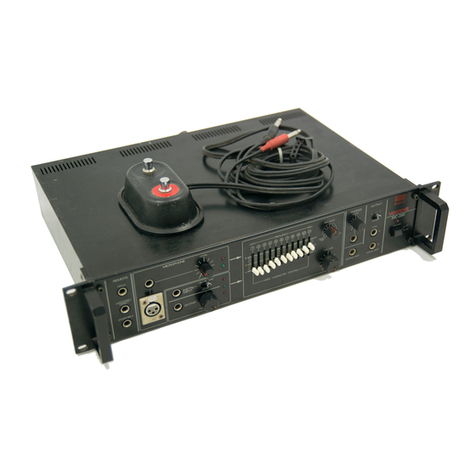
Roland TR-626 User manual

Roland

Roland TR-626 User manual

Roland INTEGRA-7 Quick start guide

Roland

Roland INTEGRA-7 Quick start guide

Roland Soun Canvas P-55 User manual

Roland

Roland Soun Canvas P-55 User manual

Roland XI Series General instructions

Roland

Roland XI Series General instructions

Roland AR-100 User manual

Roland

Roland AR-100 User manual

Roland DIF-AT User manual

Roland

Roland DIF-AT User manual

Roland Boss GT-6 User manual

Roland

Roland Boss GT-6 User manual

Roland EDIROL PCR-300 User manual

Roland

Roland EDIROL PCR-300 User manual

Roland AR-3000 User manual

Roland

Roland AR-3000 User manual

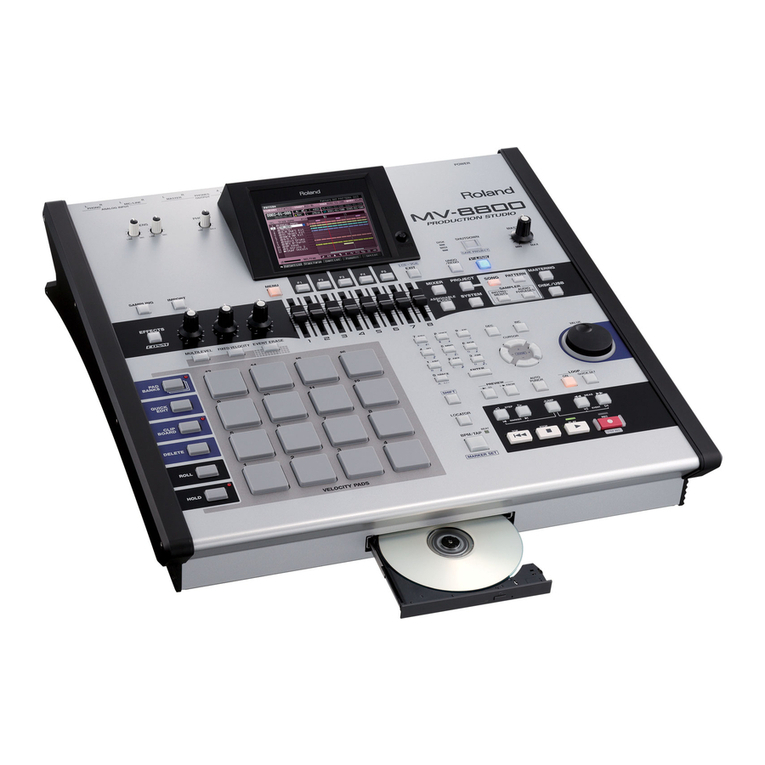
Roland MV-8000 Operating and maintenance manual

Roland

Roland MV-8000 Operating and maintenance manual

Roland S-770 User manual

Roland

Roland S-770 User manual

Roland V-Bass VB-99 Specification sheet

Roland

Roland V-Bass VB-99 Specification sheet

Roland MKS-80 User manual

Roland

Roland MKS-80 User manual

Roland Audio Canvas UA-100 User manual

Roland

Roland Audio Canvas UA-100 User manual

Roland U110 User manual

Roland

Roland U110 User manual

Roland MPU-IPC User manual

Roland

Roland MPU-IPC User manual

Roland AR-3000SD User manual

Roland

Roland AR-3000SD User manual

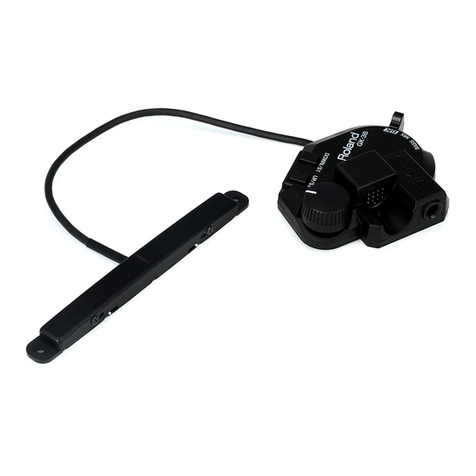
Roland GK-3B User manual

Roland

Roland GK-3B User manual

Roland CD-2e User manual

Roland

Roland CD-2e User manual

Roland Edirol PCR-30 User manual

Roland

Roland Edirol PCR-30 User manual

Roland Edirol R-44 User manual

Roland

Roland Edirol R-44 User manual

Roland CD-2e User manual

Roland

Roland CD-2e User manual

Roland XV-3080 Operating and maintenance manual

Roland

Roland XV-3080 Operating and maintenance manual

Roland MKS-50 User manual

Roland

Roland MKS-50 User manual

Popular Recording Equipment manuals by other brands

ThermoFisher Scientific Dionex DRS 600 Installation checklist

ThermoFisher Scientific

ThermoFisher Scientific Dionex DRS 600 Installation checklist

Shure ANIUSB-Matrix user guide

Shure

Shure ANIUSB-Matrix user guide

Nady Audio HE-1 user guide

Nady Audio

Nady Audio HE-1 user guide

AUDAC APM 01 User manual & installation guide

AUDAC

AUDAC APM 01 User manual & installation guide

Teac GF-350 owner's manual

Teac

Teac GF-350 owner's manual

Fractal Audio MFC-101 MARK III owner's manual

Fractal Audio

Fractal Audio MFC-101 MARK III owner's manual

bmcm USB-OI16 manual

bmcm

bmcm USB-OI16 manual

HHB BurnIT CDR-830 Service manual

HHB

HHB BurnIT CDR-830 Service manual

GE VersaMax IC200CPUE05 manual

GE

GE VersaMax IC200CPUE05 manual

IntesisBox MH-RC-MBS-1 user manual

IntesisBox

IntesisBox MH-RC-MBS-1 user manual

Attero Tech unD4l user manual

Attero Tech

Attero Tech unD4l user manual

Sennheiser UI 765 instruction manual

Sennheiser

Sennheiser UI 765 instruction manual

Sony RCD-W1 Operating Instructions  (primary... Service manual

Sony

Sony RCD-W1 Operating Instructions (primary... Service manual

8x8 Inc Valcom V-2001A manual

8x8 Inc

8x8 Inc Valcom V-2001A manual

Waves SUB Align user guide

Waves

Waves SUB Align user guide

Mitsubishi Electric MAC-334IF-E installation manual

Mitsubishi Electric

Mitsubishi Electric MAC-334IF-E installation manual

Robotics Technologies microBus-Cam II installation manual

Robotics Technologies

Robotics Technologies microBus-Cam II installation manual

Seca 460 quick start guide

Seca

Seca 460 quick start guide

manuals.online logo
manuals.online logoBrands
  • About & Mission
  • Contact us
  • Privacy Policy
  • Terms and Conditions

Copyright 2025 Manuals.Online. All Rights Reserved.

©2007 Roland Corporation U.S. www.RolandUS.com TBS257
®ÂØÒňήVG-99 V-Guitar System
1
Welcome
Congratulations on your purchase of the Roland VG-99. This TurboStart contains step-by-
step instructions that will quickly introduce you to the VG-99’s major features.
Making Connections
Confirm that the power is off on the VG-99.1
Connect one end of the 13-pin cable to the GK pickup.2
Connect the other end of the 13 -pin cable to the GK IN jack on the VG-99.3
With a standard guitar or instrument cable, connect the L(MONO) MAIN OUTPUT4
on the VG-99 to the input of your amp, mixer, or PA. Or if you prefer, connect your
headphones to the VG-99’s PHONES output.
Note: Use the VG-99’s GUITAR OUT jack to send your dry guitar signal to a different amp if
you’d like—none of the VG-99’s modeled sound comes out of the GUITAR OUT jack.
Now turn on the VG-99 and your amp.
5
Setting Sensitivity
Setting the sensitivity for the GK divided pickup is crucial for optimal playing results. Use
the following steps to adjust the pickup sensitivity:
Press the VG-99’s SYSTEM button.
1
Press the PAGE2  or buttons to select Page 1.
Press the F3 button (GK).3
Press PAGE4 or to select Page 2.
Press F1 repeatedly to select the pickup type you have:
5 GK-3, GK-2A, or PIEZO.
Press PAGE
6 twice to select Page 4.
Play the high E string repeatedly with moderate force.
7
Turn the F1 knob while playing the string to adjust the sensitivity value until a8
square box appears at the right side of the display.
Adjust the sensitivity for each of the remaining strings using the F2-F6 knobs.
9
Press EXIT twice when you’re finished to return to the Play screen.10
Tip: To learn about further adjustments of the GK settings, refer to Pages 21and 22 in the
VG-99 Owner’s Manual.
Using the Tuner
The VG-99 features an on-board tuner that lets you quickly and easily tune your guitar.
Here’s how to use the tuner:
Press TUNER.
1
Repeatedly play the first—High E—string unfretted.2
Tune the guitar until “E” shows in the center of the VG-99 display between the two3
pointing arrows, like so: E . If a different letter shows in the display, continue
to tune the string until the “E” appears.
Repeat the tuning process for the remaining strings.
4
Press EXIT when you’re finished to return to the Play screen.5
Output Select
It’s a good idea to tell the VG-99 what you’re connected to for amplification; i.e. a guitar
amp or PA system, etc. This setting—referred to as “Output Select”—allows the VG-99 to
optimize its sound for the type of system you’re using.
Press GLOBAL.
1
Press PAGE2 to select Page 1.
Turn the F4 knob to select the output that best suits the amplifier or mixer you‘re
3
connected to.
Press EXIT when you’re finished to return to the Play screen.
4
Selecting Patches
To select a patch from the Play screen:
Turn the PATCH/VALUE dial to select the desired patch.1
You can also find and select patches by category. Here’s how:
Press CATEGORY.1
Press F1 or F2 to select the category you want.2
Turn the PATCH/VALUE dial or press F3 or F4 to select the desired patch.3
©2007 Roland Corporation U.S. www.RolandUS.com TBS257
®ÂØÒňήVG-99 V-Guitar System
2
WelcomeSelecting Guitar Models
The VG-99 offers a stunning collection of different guitar models to choose from. Two
models can be used simultaneously if desired. Use the following steps to audition a few
of them. Let’s start with Patch 204, Acoustic:
Turn the VALUE dial to select
1 Preset Patch 204, ACOUSTIC.
Press the A button.
2
Turn the F2 knob to select the desired model group.3
Turn the F3 knob to select and audition the different models within the group.4
Tip: You can also press the F2 or F3 buttons to select the various models.
Press EXIT when you’re finished to return to the Play screen.
5
Alternate Tunings
The Alternate Tuning capabilities of the VG-99 are amazing. Each string can have its own
special tuning and can be instantly accessed from each patch. Here’s how to choose
different tunings for each string. For this example, we’ll use Patch 213, Jazz Combo.
Turn the VALUE dial to select
1 Preset Patch 213, Jazz Combo.
Press the ALTERNATE TUNING button.
2
Press F1 until A/B LINK is set to3 ON.
Turn the F3 knob clockwise to select
4 ON.
Turn the F4 knob clockwise to choose
5 USER.
Press F3 (USER).
6
Turn the F1 knob to adjust the tuning for the first—High E—string.7
Now turn F2 to tune the second—B—string.8
Turn each of the remaining F knobs as desired.9
Press EXIT twice when you’re finished to return to the Play screen.10
The Effect Chain
Positioning an effect before or after another can significantly change the sound of a
patch. Effect positioning takes place within the Chain section of the VG-99 as follows:
Select the patch you want to edit.
1
Press CHAIN.2
Press the F2 or F3 button to select the effect you want to move.3
Press F4 or F5 to move the selected effect to a new location within the chain.4
Repeat Steps 3 and 4 for any other effects you want to re-position.5
Press EXIT when you’re finished to return to the Play screen.6
Direct Patch
Direct Patch is a feature that lets you quickly select five of your favorite patches using the
DIRECT PATCH buttons. Here’s how to store your own direct patches:
Press SYSTEM.
1
Press Page2 to select Page 1.
Press F2 (DIRECT).
3
Turn the F1-F5 knobs to select the desired patches for each DIRECT PATCH button.4
Press EXIT twice when you’re finished to return to the Play screen.5
Naming and Storing User Patches
You can store each of your own patches in any one of the VG-99’s 200 User memory
locations. (There are also 200 permanent Preset patches.) To store a User patch:
Press WRITE.
1
Press F1 (NAME).2
Turn the PATCH/VALUE dial to select the desired first character.3
Press PAGE4 to select the next character’s position.
Turn the PATCH/VALUE dial to select the desired character for that position.
5
Repeat Steps 4 and 5 until you’ve named the patch.6
Press WRITE.7
Turn PATCH/VALUE to select the location in which you’d like to save the patch.8
Press WRITE.9