Roma Heating RW800i User manual

The Professionals Choice
RW800i WiFi Thermostat Instruction
EASY
INSTALL
UNDERFLOOR HEATING
OMA

Scan QR Code To Download App
01 Thermostat description
03 Technical specication
04 Display symbols
05 WiFi connection
06 Function & User operation
07 Advanced settings
09 Dimension
10 Installation and wiring instructions
08 Troubleshooting
02 Main functions
Guide
01
01
01
02
03 + 04
05 - 10
10 + 11
12
12
13 + 14

FEATURES.
DESCRIPTION
Supply voltage: 85-265V 50/60Hz Maximum switching current: 15A
Power saving low energy use
Temperature display
Time & Day display
Automac, Hold & Holiday Modes
Key-lock
Frost protecon
Floor temperature protecon
Sensor selecon, (Air & Floor)
TECHNICAL SPECIFICATION
IP rang: IP21Standby power: <1W Wire diameter: ≤2.5mm²
Frost Protecon Symbol
Day indicator
Automated Heang Period Indicator
Holiday Mode
Holiday Days Le
Clock
Degrees Celsius
Fahrenheit
Floor Temp Limit Reached Symbol
Advanced Setup
Edit Hold Sengs
Down
Up
WiFi
Key Lock Indicator
Floor Temp
Room Temp
Set Temp
Heang On Symbol
Temperature
Edit Automated Heang Cycle
Edit Holiday Sengs
Edit Time & Date
Confirm
Return
Power
℉
℃
TEMP
HIGH
SET
ROOM TEMP
FLOOR TEMP
HOLD
h
HOLIDAY
EDIT
SAT
FRITHU
WED
MON TUE SUN
WAKE LEAVE RETURN SLEEP LEFT
HOLIDAY HOLD SETUP
DISPLAY SYMBOLS
A smart thermostat used to control electric under floor heang systems. Designed to keep your home or office
at a comfortable temperature whilst minimizing energy use. It is also a WiFi thermostat that allows you to
control your heang from smart phone at any me and from anywhere in the world.
01 02

WIFI CONNECTION
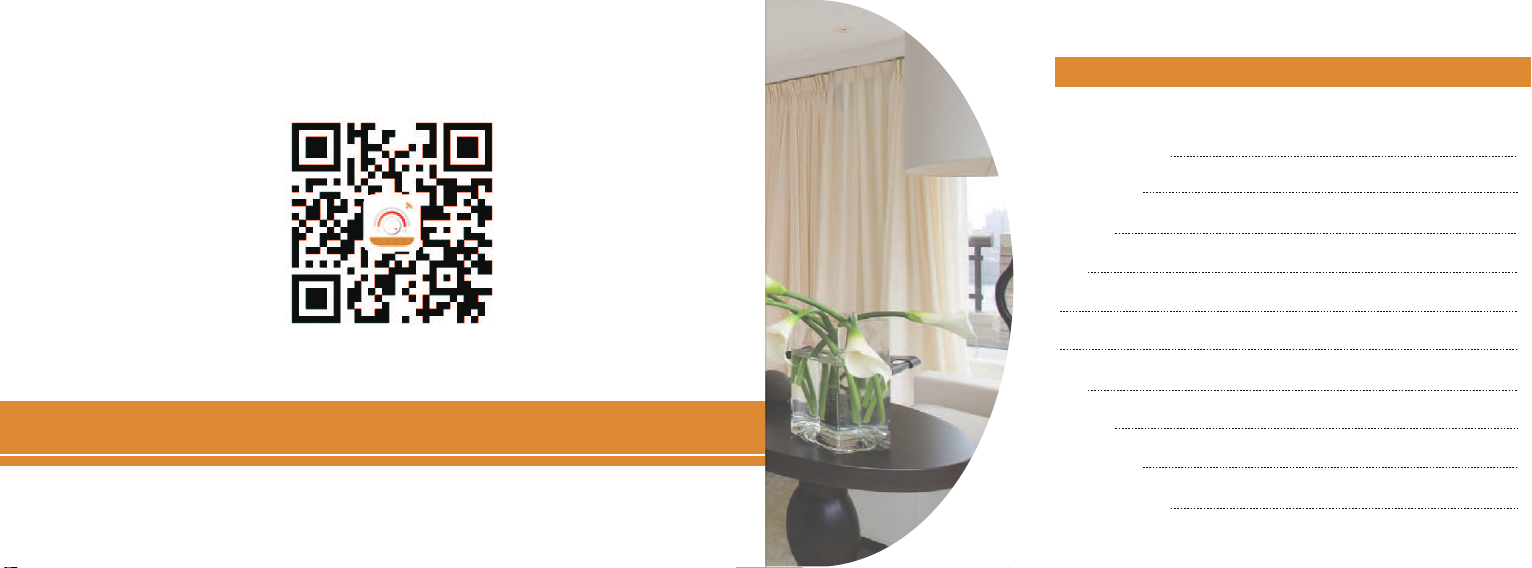
Step 1: Scan the QR code on the inside cover page
with your smart phone or download the APP
“Warmme” and install onto your phone.
Step 2: Open Warmme, and register / log in following the on
screen instrucons using your phone number, email or
third-party APP IE Facebook,..etc..
Step 4: Hold both the up and down buons on thermostat for 3 seconds,
F1 will appear. If F2 appears repeat the process, (hold up + down keys for 3
seconds) to switch between F1 & F2. Once F1 is showing on thermostat
screen with WIFI symbol flashing click “Next Step” on your phone screen.
Step 6: Click “done” on phone screen aer successful connecon. You have now
completed the APP setup and can now use your phone to control this thermostat.
Note: If connecon fails go back to step 4 and repeat
steps 4, 5 & 6 selecng F2, (Not F1) on
thermostat during step 4.
03 04
Note: Steps 1-6 will setup one phone as the primary user. Each
thermostat can only have one primary user. If these steps are repeated using
a different phone on this thermostat then the original primary user will be
deleted and the new phone will become the new primary user.
Note: To add more phones to a thermostat the primary user must
share this thermostats WIFI access with other smart phones through the
Warmme APP on therir phone by adding them in “Device Sharing”. Only the
primary user phone can add or remove other phones.
Note: Only the primary user will have access to all the APP features.
Note: Mulple thermostats can be linked to one phone and also
mulple phones can be linked to one thermostat.
Step 3: Make sure the thermostat is on and your phone has the
Warmme APP live on the front screen, click “Add Device”. Note:
From this point onward the warmme APP has basic on screen
instrucons you may also wish to follow.
Important: Both this thermostat and your smart phone will require a strong WIFI signal to connect and operate correctly. Please make sure your phone WIFI is turned on.
Step 5: Warmme APP will ask you to enter your WIFI network
password on your phone screen, once entered click next.
You Phone and thermostat should now be connecng. Note: This can
take a few minutes depending upon your WIFI signal strength.
Step 7: You can now use your phone to switch
thermostats on / off, check or change temperature,
change mode, lock screen or adjust the menu sengs.
Note: To set up the automated program cycle, this can
only be completed on thermostat.
Step 8: To connect with addional thermostats simply repeat steps 3 - 6 for each
unit. Note: If your thermostat is already connected with a smart phone repeang
steps 3-6 will disconnect the old phone and install the new phone as the primary
user, (See Notes to le in RED text).

Press to turn thermostat On/Off.
FUNCTION & USER OPERATION
On/O
Set The Time
Key-Lock
Holiday Mode
Hold Mode
Note: When frost protecon mode is On, the thermostat will automacally turn itself on to
maintain the frost protecon set temperature. If the ambient temperature drops below the set
frost protecon temperature even when in power ‘Off’ mode.
In holiday mode, the thermostat will turn all heang off for a set number of days unless the
temperature falls below your set frost protecon temperature, (this is defaulted to 5 degrees
unless programmed otherwise).
Press and clock will start to flash.
Press △or ▽ to select holiday.
Press and holiday days will flash.
Press △or ▽ to set number of holiday days .
Press to confirm and return to Home screen.
Note: In holiday mode,’HOLIDAY LEFT’ and the days
remaining will show on display.
Set the holiday days to 0 to cancel holiday mode.
The HOLD feature allows the user to set a specific temperature for a specific length of me. Once the
me ends the thermostat will automacally revert back into the automated program cycle.
When the thermostat is powered ‘On’, Press and the clock symbol will flash.
Press again and the day will flash.
Press △or ▽ to set the day.
Press to confirm and the hours will flash.
Press △or ▽ to set hours.
Press to confirm and the minutes will flash.
Press △or ▽ to set minutes.
Press to confirm then press to revert to Home screen.
Note: The thermostat updates the me automacally when first connected to Internet.
05 06
All thermostat keys can be locked, press and holding for 3 seconds to lock all buons.
To unlock buons simply repeat the process and again hold for 3 seconds to cancel.

To set up a new automated cycle press and the clock will start flashing.t
Press △or ▽ to select EDIT.
1: Press “MON” will start flashing, (you can select a specific day with △ or ) but during first set up select
MON, (Monday) and press again to connue.
2: WAKE will now be flashing, (you can select specific period with △or ▽) but again during inial setup
select “WAKE” and press to connue.
3: The Time Hours will be flashing. Use △and ▽ to set the me you would like the heang to come on in the
morning / when you wake and press to confirm and set the minutes again using the △and ▽ keys. Once
done press to connue. Note: The me you are seng is the me you want the heang to change
temperature for the day and period you have selected in steps 1 & 2 above. In step 4 next you will set the
temperature you want the thermostat to change to for the duraon of this period.
4: Temperature will now be flashing. Use △and ▽to set your new temperature you would like at the me
you have just set in step 3, once done press to connue - (LEAVE should now be flashing).
You have just completed the “WAKE” period for “MON”. Now repeat the above steps for each period, (WAKE -
LEAVE - RETURN - SLEEP) for each day of the week using to select and move on, △& ▽to make changes
and to go back if needed.
To set HOLD mode press and the clock will start flashing.
Press △or ▽ to select HOLD.
Press and hold hours will start flashing.
Note: In hold mode,’HOLD’ will show on display.
Set the hold me to 00:00 to cancel hold mode.
This thermostat can be programmed to automate your heang cycle. The programming is based upon 4
Periods per day - 7 day cycle, WAKE - LEAVE - RETURN - SLEEP / Monday - Sunday. A me and temperature
will need to be set for each period of each day. This will then allow the thermostat to change the
temperature up and down as per your set temperature for each period to suit your lifestyle.
Note: There is no On or Off sengs in this mode but simply different temperatures. If you set a tempera-
ture below ambient room temperature the thermostat will keep the heang off. If you set a temperature
above Ambient room temperature the thermostat will turn the heang on unl the set temperature is
achieved. The default automated seng mes and temperatures are shown in the table on page 10.
Press △or ▽ to set hour.
Press and hold minutes will start flashing.
Press △or ▽ to set minute.
Press and hold temperature will start flashing.
Press △or ▽ to set hold temperature.
Press to confirm and return to the home screen.
07 08
Automated Heating Cycle Mode.
▽

Automated Heang Cycle Default Sengs.
Mon----Fri 6:00 20℃ 8:00 15℃
10:00 15℃
16:00 20.5℃ 22:00 15℃
23:00 15℃16:00 20.5℃8:00 20.5℃Sat----Sun
Week Days WAKE LEAVE RETURN SLEEP
ADVANCED SETTING
Cauon: These are normally set by technicians during inial installaon.
We recommend not changing these sengs as doing so can adversely affect how the thermostat works.
Should you need to access these sengs first make sure the thermostat is ON.
Press and the clock symbol will flash. Use △or ▽to select ‘SETUP’ and then again to enter the
advanced sengs menu.
Use to move through each sengs and △& ▽ to make changes if needed.
Once you have made your changes press to confirm and go back to the home screen.
The table on page 11 shows all default / recommended advanced seng values.
09 10
Once programmed the thermostat will turn the heang on or off to try and reach your set temperature for
each period. Once one period ends and the next period starts the thermostat will adjust the heang to try and
reach the new set temperature for that period.
Note: When programing the thermostat the me for each period should run sequenally.
Note: Remember, there is no On and Off sengs, only different temperature sengs for each period. If you
want the heang to not turn on during a specific period set the temperature to ‘0’ for that period and the
heang will not turn on unless frost protecon is acvated or the ambient temperature drops to ‘0’.
Note: When the thermostat is on and running your automated sengs, you can temporarily change the
pre-programmed temperature any me by simply using the △or ▽ keys. The new temperature will then be
held but only unl the next automated period kicks in, (when changing the temperature this way, the new SET
temperature will flash for 15 seconds before the screen reverts back to the current FLOOR or ROOM
temperature). To check the current set temperature simply tap the △or ▽key once and the current set
temperature will flash for 15 seconds before reverng back to the current floor or room temperature.

1
2
3
No. Name Default value Ranges
Room temperature calibraon 0
℃
0
℃
ON
- 5℃-- 5℃
- 5℃-- 5℃
OFF/ON
Floor temperature calibraon
Frost Protecon
4
5
6
7
8
9
10
5℃
02
35℃
℃
5℃--15℃
00:Built-in sensor
01:Floor sensor
02:Both sensors
20℃-45℃
00:℃
01:℉
00:0s
01:30s
02:60s
03:90s
00:0.5℃
01:1℃
02:2℃
03:3℃
00:no reset
01:Reset
Frost Protecon temperature
Sensor selecon
Floor temperature limit(both sensors)
Temperature unit
Output delay
Temperature switching differenal
Seng inializaon
00
1℃
00
TROUBLESHOOTING
DIMENSION (MM)
87
51
51
42
2616
60
87
E1 = Built-in sensor short-circuit or disconnected.
E2 = Floor sensor short-circuit or disconnected.
Note: 1 x floor sensor is supplied with each thermostat and is located in the boom of each box. If this
floor sensor is not connected the thermostat will not funcon. The floor sensor must always be wired in
and the probe on the end of sensor cable must always be fied in close proximity to the heang mat or
cable in accordance with the heang systems fing instrucons. This allows the floor probe / sensor to
accurately measure the floor temperature.
Fault Codes
PARAMETER
PARAMETER
11 12

Installation
INSTALLATION AND WIRING INSTRUCTIONS
This thermostat can be programmed to automate your heang cycle. The programming is based upon 4
Periods per day - 7 day cycle, WAKE - LEAVE - RETURN - SLEEP / Monday - Sunday. A me and temperature
will need to be set for each period of each day. This will then allow the thermostat to change the
temperature up and down as per your set temperature for each period to suit your lifestyle.
Note: There is no On or Off sengs in this mode but simply different temperatures. If you set a tempera-
ture below ambient room temperature the thermostat will keep the heang off. If you set a temperature
above Ambient room temperature the thermostat will turn the heang on unl the set temperature is
achieved. The default automated seng mes and temperatures are shown in the table on page 10.
Replace front panel whilst
ensuring the pins engage
properly in the circuit board.
Fix the back secon to wall box
with screws provided.
Wire the back secon in as shown
in the wiring diagram on page 14.
Loosen fixing screw on the base of
the thermostat and separate front
panel from back secon.
13 14
Cauon: Ensure power is disconnected when wiring!
Step 1 Step 2 Step 3 Step 4
Power
Load
Note: This thermostat should be mounted in a standard deep fit 1
gang back box. We recommend a 47mm deep back box.
Heating
System
Table of contents
Other Roma Heating Thermostat manuals
Popular Thermostat manuals by other brands

Lux Products
Lux Products PSPU721T instruction manual

Danfoss
Danfoss DEVIreg Touch installation guide

Honeywell
Honeywell CT50 owner's manual

Trane
Trane BAYSENS019C Installer's guide

Chromalox
Chromalox PK405-18 Installation Instructions and RENEWAL PARTS IDENTIFICATION

Carrier
Carrier Touch-n-go TC-PAC owner's manual