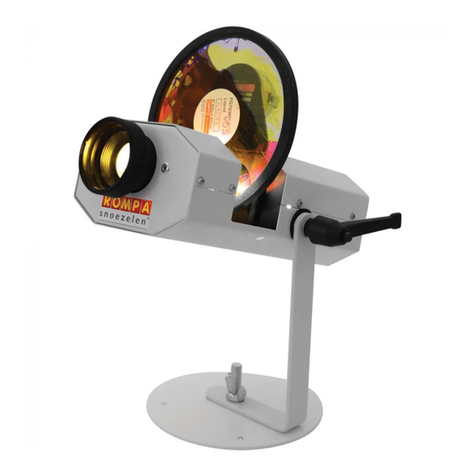
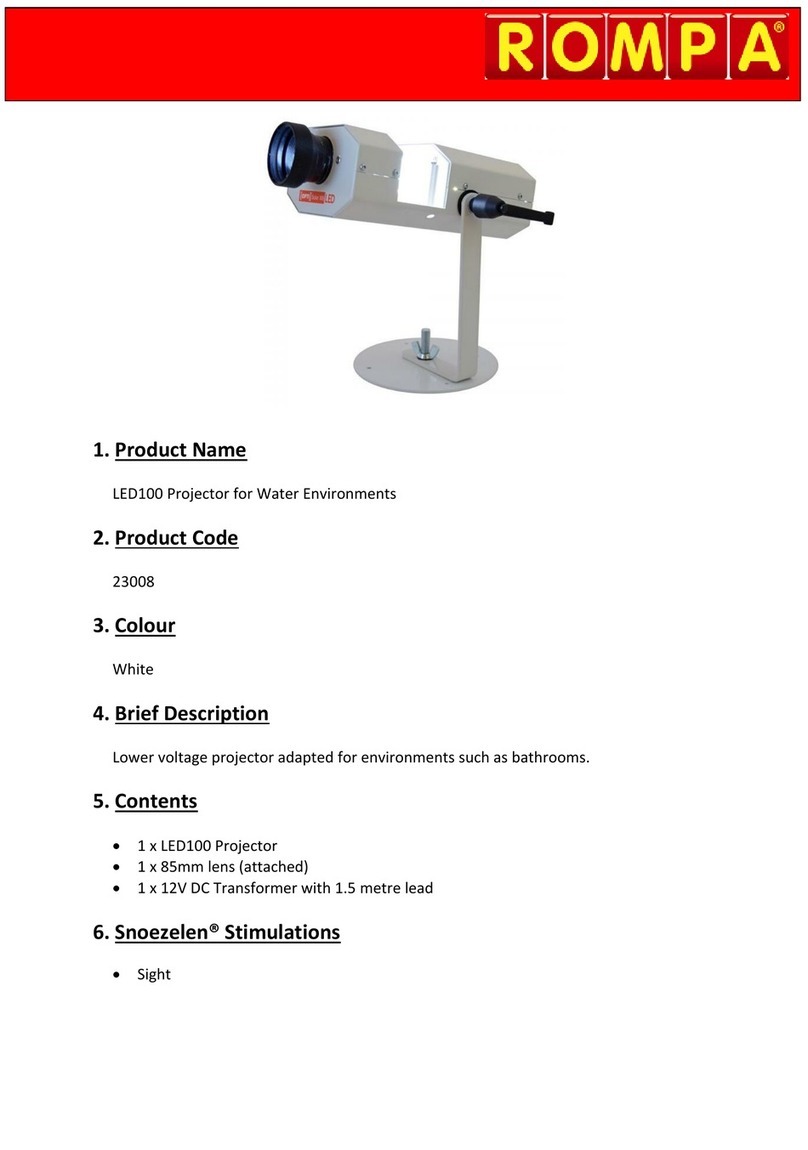
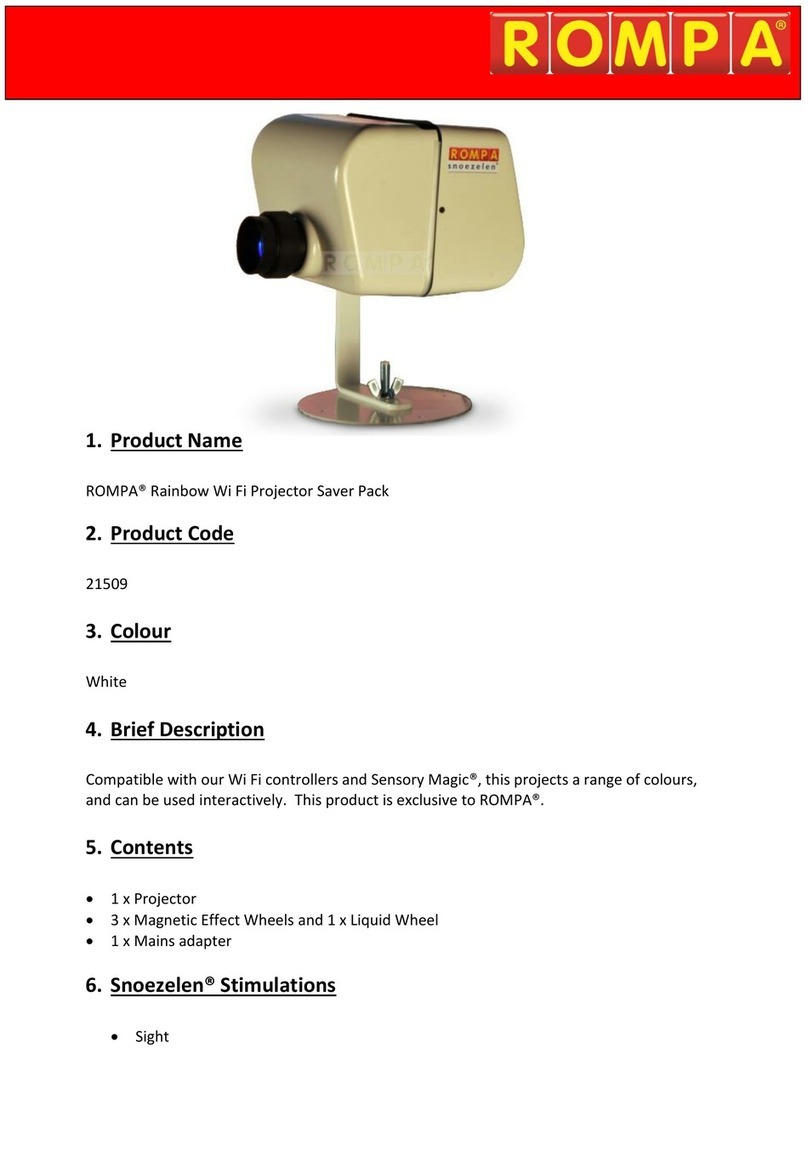
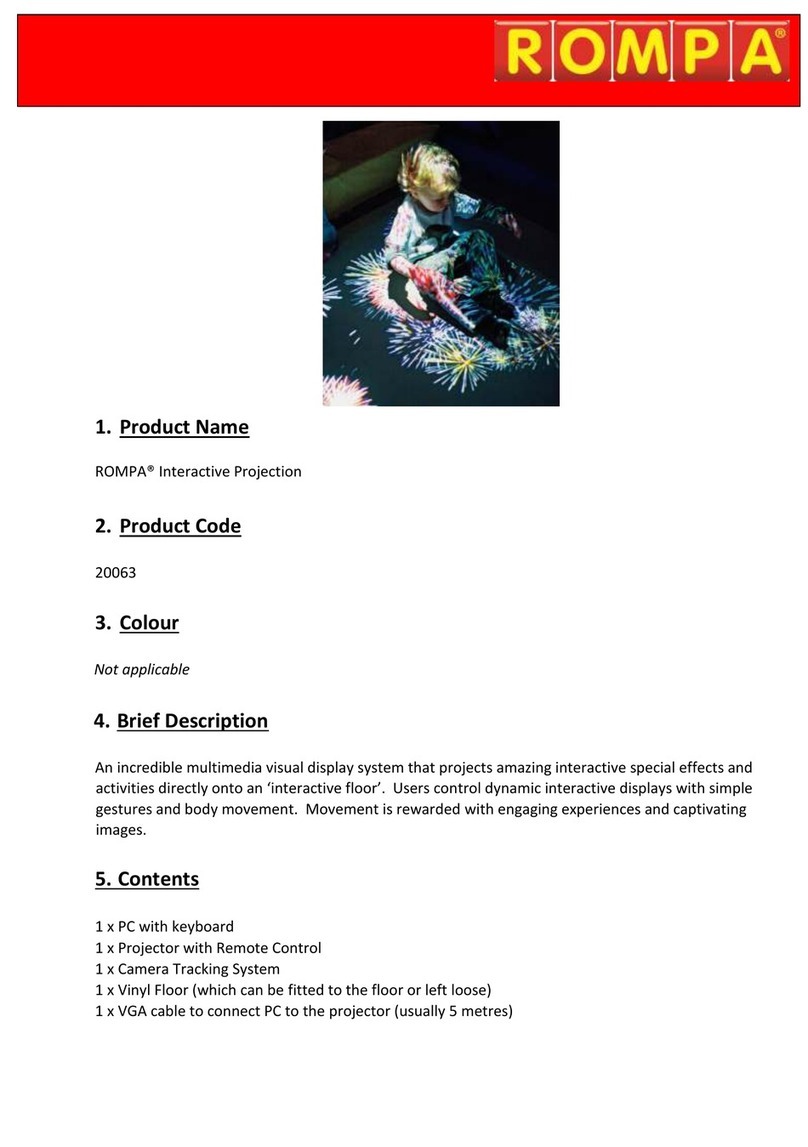
Rompa 20997 User manual

1. Product Name
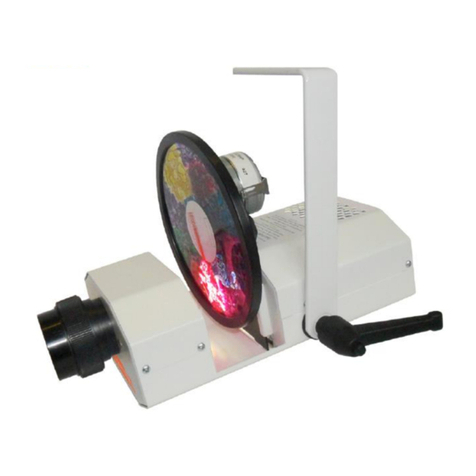
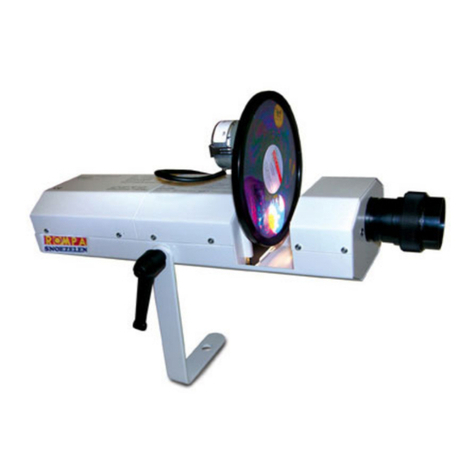
LED Projector
2. Product Code
20997
3. Colour
White
4. Brief Description
Energy-efficient, cool running, quiet and virtually maintenance-free. Integral 40W LED lamp
provides bright, white light and typically lasts 100,000 hours (over 50 times the life of our
15980).
5. Contents
1 x Projector with 85mm lens (attached)
1 x 2m IEC lead (power lead)

6. Snoezelen® Stimulations
Sight
7. Best Use
This product looks most effective in a darkened environment when used with a Wheel
Rotator and an Effect Wheel.
8. Compatible ROMPA® Products
The LED Projector must be used with an accessory in the rear gate, typically a Wheel
Rotator:
13170 Wheel Rotator –1 revolution in 2 minutes
16570 Wheel Rotator –1 revolution in 6 minutes
An Effect Wheel must be used in the Wheel Rotator e.g. 13342 Deep, 20507 Sensory …
Please see www.rompa.com for our extensive range of wheels
Further accessories may be used with the Effect Wheels to move or multiply the effects e.g.
19742 Distortion Wheels, 14024 Panoramic Rotator …
Please see www.rompa.com for our extensive range of accessories
9. Starting Up
Install indoors using appropriate fixings.
Plug in.
10. Detailed Description
Energy-efficient, cool running, quiet and virtually maintenance-free. Integral 40W LED
lamp provides bright, white light and typically lasts 100,000 hours (over 50 times the life
of our 15980). Approximately half the power consumption of the Solar 100C.
Compatible with the same accessories and wheels as the Solar 100C. Can be used on a
table top (under supervision). Directly connect your own switches to stop/start the
rotated image. With 85mm lens.
11. Safety
Always supervise the use of this product.
Take all appropriate safety measures to ensure that this product is installed correctly
and safely –indoors.

12. Technical Specification
Size: 37L x 13.3W x 23cmD (including bracket)
34.7cmL without lens
10.2cmD without hanging bracket
Power rating: 62W max
Voltage: Operating Voltage 220-240V~ 50-60Hz or 110-120V~ 50-60Hz
Output: 12V~ output current 750mA maximum
Light: 40W LED Module
Average LED Module life 100,000+ hours
Fuses: Mains 220-240V~ T1A/250V (20 x 5mm diameter)
Mains 110-120V~ T1.6A/250V (20 x 5mm diameter)
Weight: 3.2kg
CE: Meets requirements of CE
Sound levels: up to 36 dBA (Solar 100C produces up to 46 dBA, Projector by ROMPA 16396
produces up to around 46 dBA)
Lumens: 662 Lumens
Colour : Colour temperature: 4000K
Cooling : Tubeaxial fan
Standard lens: 3 Element 85mm f2.8 42.5mm Helical Focus Groove

Technical Specification
continued

13. Installation
1. Choose a suitable location for the projector, bearing in mind the following:
Install indoors in dry environments only
This product requires one electrical socket
Make sure the projection will be onto a suitable surface –a surface free of objects
and white or pale in colour
The projector is a visual product and should not be handled. However, you may wish
to access the projector periodically to change effects or to insert switch jacks etc
There must be unrestricted airflow around the projector, especially around the air
inlet grille.
2. Use the projector’s bracket to mount the projector. Either:
Suspend from above
Ensure that the bracket is attached to a suitable
surface (that is capable of holding the weight of
the product safely). Fit and secure a safety chain
to an immovable object, with a maximum drop of
30cm. Ensure that all nuts, bolts, hanging bracket
knobs and all other fixings are securely tightened.
Fixed with the bracket flat on an immovable
surface
Make sure the surface is flat, stable and capable of
holding the weight of the product safely. The
bracket has additional screw holes for fine angular
adjustment.
With the bracket as an adjustable stand
Make sure the surface is flat, stable and capable of
holding the weight of the product safely.
3. Place a suitable accessory in the projector e.g. Wheel Rotator with
an Effect Wheel. Connect these to the 12V~ sockets
on the side of the Projector (if they plug in). Slide the
Wheel Rotator into the rear gate runners (the main
effect goes into the rear gate runners, with
Distortion Wheels etc in the front gate runners).
4. Connect the IEC lead (kettle lead) into the back of the projector.
Plug in at the wall.
5. Switch the projector ON/OFF switch to ON.
Switches
If you are using an external switch first plug in the correct jack plug into the appropriate
socket at the rear of the projector.
Flick the appropriate switch to the function required as shown below.

14. Care and Maintenance
Make sure the product is disconnected from the mains (unplugged at the wall)
before attempting any installation, maintenance or cleaning. Pull the plug out by the
plug –not by pulling the cable.
Do not block the fan inlet grille.Ensure the air inlets are clear of obstruction.
Do not attempt to service the projector yourself.
Replace fuse as required.
Do not use the product if the power cord is damaged or if the product has been
dropped or damaged.
Make sure the location of the power lead does not create a hazard (e.g. make sure it
can’t be tripped over).
Keep the power cord away from sources of heat.
Once this product (or a component) is eventually exhausted, please dispose of it
appropriately.
Keep in a dry environment.
Use only compatible accessories.
Adjusting the Bracket
When setting up the projector, to project the image where
required, it may be necessary to adjust the hanging bracket.
1. Loosen the central knobs on both sides and rotate the
bracket or projector into the desired position.
2. Tighten the knobs securely.
To focus the projected image
Focus the image by twisting the focusing lens (on the front of the projector)
to move the image in / out of focus. Take care not to rotate too far anti-
clockwise as this may detach the lens from the projector.
Lens Cleaning
The focusing lens may need cleaning from time to time. Use a
soft tissue or cloth with a little methylated spirit or pure
alcohol to clean the lens.

Care and Maintenance continued
Cleaning the Interior Optics
Occasionally the internal lenses may need cleaning.
1. Switch off the mains supply and allow to cool for 10 minutes.
2. Remove the 8 cover screws and carefully lift the cover away from the lower body.
3. Carefully clean the glass lenses using a soft tissue or lens cloth with a little methylated
spirit or pure alcohol.
DO NOT TOUCH THE LED MODULE –IT IS A STATIC SENSITIVE DEVICE
4. Before refitting the cover ensure that the internal Earth lead is connected to the cover.
5. Carefully refit the cover avoiding trapping any internal wires.
6. Replace all 8 cover screws to secure.
Changing the Fuse
The mains fuse is fitted into the rear IEC panel:
1. Prise out the fuse holder with a flat ended screwdriver.
2. Remove the old fuse and replace with an appropriate
new fuse (see specification).
3. Refit the fuse holder and push in until it is flush with the
surface of the IEC socket panel.

15. Troubleshooting
In the unlikely event of product failure, please check the following:
Problem: Product will not light up
• Check that the mains IEC power lead is pushed firmly into the projector
• Make sure the projector is plugged in and switched ON
•Check the switch settings
• Make sure the fan inlet grille is not blocked. If this is not clear, the projector may overheat
and the thermal cut-out may switch the projector off
•It is highly unlikely that the LED module would fail. In this highly unlikely event, only a
qualified service engineer should replace this.
Problem: The Clip On Prism (or other accessory) will not fit on the front lens of the
projector
• Check that the ‘click-clack’has not been removed. This is a cylindrical piece that sits inside
the lens (shown below). Check that this is not still attached to the accessory that has
previously been removed from the projector. Reattach this part to fit an accessory onto the
front lens in order to attach an accessory.
Further copies of these instructions can be downloaded at www.rompa.com
We hope you find our instructions invaluable. If you have any suggestions for improving
them further your comments will be greatly received –please contact us at
LED Projector 20997, May 2016
Copyright ROMPA® Ltd

1. Produit
Projecteur LED
2. Code
20997
3. Couleur
Blanc
4. Brève Description
Sans Entretien, silencieux. Lampe LED 40 W de longue durée 100,000 heures. La
consommation d’énergie est moitié moindre que celle du Solar 100 C.
5. Contenu
1 x Projecteur avec lentille 85mm (attachée)
1 x fil d’alimentation de 2m IEC

6. Stimulations Snoezelen®
Vue
7. Usage
Les effets visuels sont encore plus attrayants dans le noir. Ce produit nécessite une
Roue Rotative et une Roue à Effets.
8. Produits Compatibles de ROMPA®
Il faut se server de ce Projecteur LED avec une accessoire dans le guide arrière du
projecteur, typiquement une Roue Rotative:
13170 Roue Rotative –une rotation toutes les deux minutes
16570 Roue Rotative –une rotation toutes les six minutes
Il faut se servir d’une Roue à Effets dans la Roue Rotative ex. 13342 Profondeurs (Deep),
20507 Les sens (Sensory) …
Prière de voir www.nenko.fr ou www.nenko.be pour notre grande gamme de roues.
On peut se servir des autres accessoires aussi pour faire bouger ou multiplier les effets ex.
19742 Roue de Déformation, 14024 Rotateur Panoramique …
Prière de voir www.nenko.fr ou www.nenko.be pour notre grande gamme d’accessoires
9. Fonctionnement
Installez à l’intérieur en vous servants des fixations convenables.
Branchez.
10. Description
Sans entretien et silencieux. Lampe LED 40 W de longue durée 100,000 heures. La
consommation d’énergie est moitié moindre que celle du Solar 100 C. Utilisation avec
les mêmes accessoires que le Solar 100 C. Lentille 85mm.
11. Sûreté
Il faut toujours surveiller l’usage de ce produit.
Prenez grand soin d’installer ce produit de façon correcte et sure, à l’intérieur.

12. Caractéristiques Techniques
Dimensions: 37 cm x 13,3 m x 23 cm (support inclus)
34,7 cm (longueur) sans lentille
10,2cm (profondeur) sans support
Watts: 62W max
Tension: Tension pendant usage 220-240V~ 50-60Hz or 110-120V~ 50-60Hz
Sortie: 12V~ courant de sortie 750mA maximum
Lumière: 40W Module LED
Vie typique du Module LED 100,000+ heures
Fusibles: Alimentation 220-240V~ T1A/250V (20 x 5mm diamètre)
Alimentation 110-120V~ T1.6A/250V (20 x 5mm diamètre)
Poids: 3,2kg
CE: Conforme aux exigences de CE
Sons: jusqu’au 36 dBA (le Solar 100C produit jusqu’au 46 dBA, le Projecteur 16396
produit jusqu’au environ 46 dBA)
Lumens: 662 Lumens
Couleur : Couleur température: 4000K
Ventilateur : ventilateur ‘Tubeaxial’
Lentille standard : 3 Elément 85mm f2.8 42.5mm ‘Helical Focus Groove’

Caractéristiques Techniques
(suite)
DEVANT
ARRIÈRE

13. Installation
1. Choisissez un lieu convenable pour votre projecteur, se tenant compte des points
suivants:
N’installez qu’à l’intérieur, au sec
Ce produit ne nécessite qu’une seule prise d’alimentation
Assurez-vous que la projection sera sur une surface convenable - une surface sans
objets ; une surface blanche ou pâle
Le projecteur est un produit visuel –on ne devrait pas le manier. Cependant, de
temps en temps, on peut vouloir accéder au projecteur pour changer les effets ou
introduire les contacteurs etc.
Il faut un courant d’air libre autour du projecteur, surtout autour de la grille de prise
d’air.
2. Servez-vous du support du projecteur pour monter le projecteur. Ou:
Suspendre du dessus
Vérifiez que le support soit attaché à une surface
convenable (qui soit capable de tenir le poids du
produit sans risque). Attachez de façon sûre une
chaine de sécurité à un objet fixe, pour que le
projecteur ne tombe pas plus de 30cm. Vérifiez
que tous les écrous, les boulons et les poignées
du support soient serrés.
Attacher le support sur une surface fixe
Vérifiez que la surface soit plate, stable et capable
de tenir le poids du projecteur sans risque. Le
support a des trous pour les vis pour permettre
de l’ajustage fin de l’angle.
Avec le support comme pied ajustable
Vérifiez que le surface est convenable - capable de
tenir le poids du produit sans risque.
3. Mettez un accessoire convenable dans le guide
arrière du projecteur ex. Roue Rotative avec une
Roue à Effets. Introduisez la prise de la Roue
Rotative dans la prise femelle 12V~ au côté du
Projecteur (certains accessoires n’ont pas de prises).
La Roue Rotative avec l’effet principal devrait se
trouver dans le guide arrière (REAR GATE), tandis
que les Roues de Déformation se trouvent dans le guide devant.
4. Introduisez le câble IEC dans la prise à l’arrière du projecteur.
Branchez.
5. Allumez en vous servant du bouton ON/OFF.

Contacteurs
Si vous vous servez d’un contacteur, introduisez la prise jack du contacteur dans la prise
femelle convenable à l’arrière du projecteur.
Appuyez sur le bouton convenable pour choisir le mode voulu (voir les images au-dessous).
Sans contacteur attaché :
Avec contacteur attaché :
ÉTEINT ALLUMÉ ALLUMÉ
Appuyez sur ce Appuyez sur ce Appuyez sur ce
bouton pendant bouton pour bouton pendant
quelques instants ÉTEINDRE et quelques instants
pour ÉTEINT ALLUMER pour ALLUMÉ
Pour contrôler la prise des accessoires 12V~
Pour contrôler la lumière LED
Sans contacteur attaché :
Avec contacteur attaché :
Appuyez sur ce Appuyez sur ce
bouton pour bouton pendant
ETEINDRE et quelques instants
ALLUMER pour ALLUMÉ
ALLUMÉ ALLUMÉ

14. Soin et Entretien
Vérifiez que le projecteur soit débranché avant de l’installer, de le maintenir ou de le
nettoyer. Débrancher en tirant la prise –ne pas tirer le câble.
Ne pas bloquer la grille de prise d’air. Vérifiez que les prises d’air soient libres.
Ne pas essayer de réviser le projecteur vous-même.
Remplacez le fusible selon besoin.
Ne pas se server du produit si le fil d’alimentation soit endommagé, ou si on a laissé
tomber ou endommagé le projecteur.
Vérifiez le bon positionnement du fil d’alimentation (pour éviter les trébuches etc.).
Gardez le fil d’alimentation à l’écart des sources de chaleur.
Une fois que ce produit (ou une partie constituante de ce produit) soit
éventuellement épuisé, prière de le jeter de façon responsable.
Gardez ce produit au sec.
N’utilisez que les accessoires compatibles.
Ajuster le Support
En installant le projecteur, pour projeter l’image dans le lieu
voulu, il peut être nécessaire ajuster le support.
1. Desserrez les poignés centrales sur chaque côté, et
tournez le support ou le projecteur à la position
voulue.
2. Serrez les poignés de façon fixe.
Pour mettre au point l’image projeté
Tournez la lentille de point (au devant du projecteur) pour mettre au point
l’image. Prenez soin de ne pas tourner trop loin la lentille (dans le sens
inverse des aiguilles d’une montre) – sinon on risque le détacher du
projecteur.
Nettoyer la Lentille
De temps en temps il faut nettoyer la lentille de point. Servez-
vous d’un torchon ou tissu doux et un peu de l’alcool pour
nettoyer la lentille.

Soin et Entretien (suite)
Nettoyer les Optiques à l’Intérieur
De temps en temps il faut nettoyer les lentilles à l’intérieur.
1. Débranchez et laissez refroidir le projecteur pendant 10 minutes.
2. Enlevez les 8 vis qui tiennent le couvercle et levez le couvercle avec soin.
3. Avec soin, nettoyez les lentilles en verre en vous servant d’un torchon ou tissu doux et
un peu de l’alcool pour nettoyer la lentille.
NE PAS TOUCHER LE MODULE LED –IL EST UN APPAREIL TRÈS SENSIBLE
4. Avant de remettre le couvercle, vérifiez que la masse interne soit attachée au
couvercle.
5. Avec soin, remettez le couvercle –ne pas coincer les fils internes.
6. Remplacez tous les 8 vis pour serer le couvercle.
Changer le Fusible
Le fusible d’alimentation se trouve dans le panneau arrière
IEC:
1. Enlevez le support du fusible en faisant levier avec le
bout plat d’un tournevis.
2. Enlevez la fusible use et la remplacez avec une nouvelle
fusible des mêmes caractéristiques techniques (voir les
Caractéristiques Techniques).
3. Remettez le support de fusible et le poussez en position
jusqu’au moment où il soit à ras de la surface du
panneau IEC.

15. En cas de problèmes
En cas peu probable de panne, vérifiez :
Problème: pas de lumière
• Vérifiez que le fil d’alimentation IEC soit bien introduit dans le projecteur
• Vérifiez que le projecteur soit branché et allumé
• Vérifiez les boutons pour contrôler les contacteurs
• Ne pas bloquer la grille de prise d’air. Vérifiez que les prises d’air soient libres – sinon, on
risque surchauffer le projecteur. En ce cas-là, un disjoncteur interne thermique éteindra le
projecteur
•Il est peu probable que le Module LED se tombera en panne. En cas peu probable, il faut
qu’un ingénieur qualifié le remplace.
Problème: Le Prisme (ou un autre accessoire) ne se met pas sur l’objectif au-devant du
projecteur
• Vérifiez que le ‘click-clack’soit toujours sur l’objectif. Cette partie est visible dans l’image
suivante. Vérifiez que cette partie n’est pas toujours dans l’accessoire détaché après l’usage
antérieur. Attachez cette partie de nouveau pour attacher un autre accessoire.
En cas peu probable de problèmes, prière de nous contacter.
Projecteur LED 20997, mai 2016
Copyright ROMPA® Ltd
Table of contents
Languages:
Other Rompa Projector manuals

Rompa
Rompa 22126 User manual

Rompa
Rompa 19548 User manual

Rompa
Rompa Rainbow User manual

Rompa
Rompa Super Solar 100C User manual

Rompa
Rompa LED100 User manual

Rompa
Rompa 20777 User manual

Rompa
Rompa Aura Projector User manual

Rompa
Rompa 20063 User manual

Rompa
Rompa 100 LED Mini Projector User manual

Rompa
Rompa 23008 User manual