Rompa Rainbow User manual

1. Product Name
ROMPA® Rainbow Wi Fi Projector Saver Pack
2. Product Code
21509
3. Colour
White
4. Brief Description
Compatible with our Wi Fi controllers and Sensory Magic®, this projects a range of colours,
and can be used interactively. This product is exclusive to ROMPA®.
5. Contents
1 x Projector
3 x Magnetic Effect Wheels and 1 x Liquid Wheel
1 x Mains adapter
6. Snoezelen® Stimulations
Sight

7. Best Use
This product looks most effective in a darkened environment.
To get the most from this Projector, we recommend the use of a ROMPA® Wi Fi
controller such as the Deluxe 8 Colour Wirefree Controller.
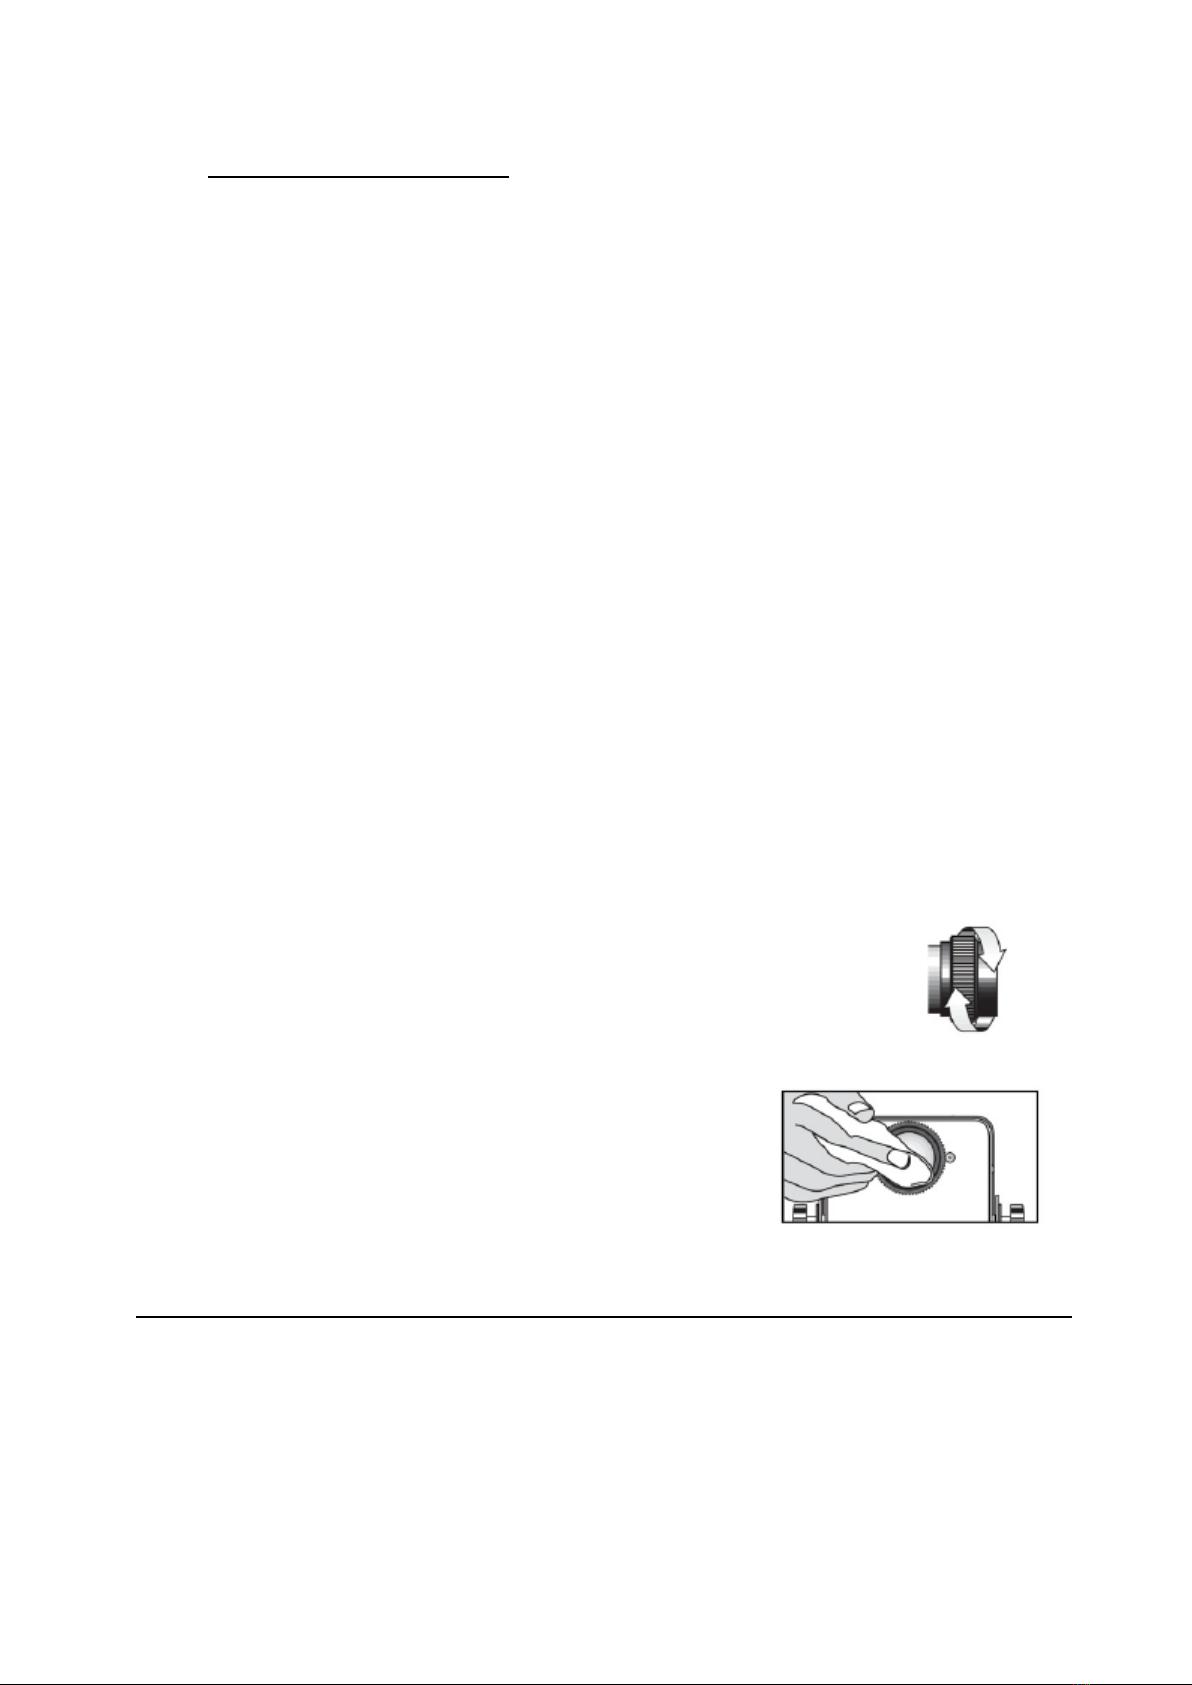
Use the included Liquid Wheel for relaxation as the
simple changing patterns do not demand any
intellectual reasoning or anticipation of what might
follow.
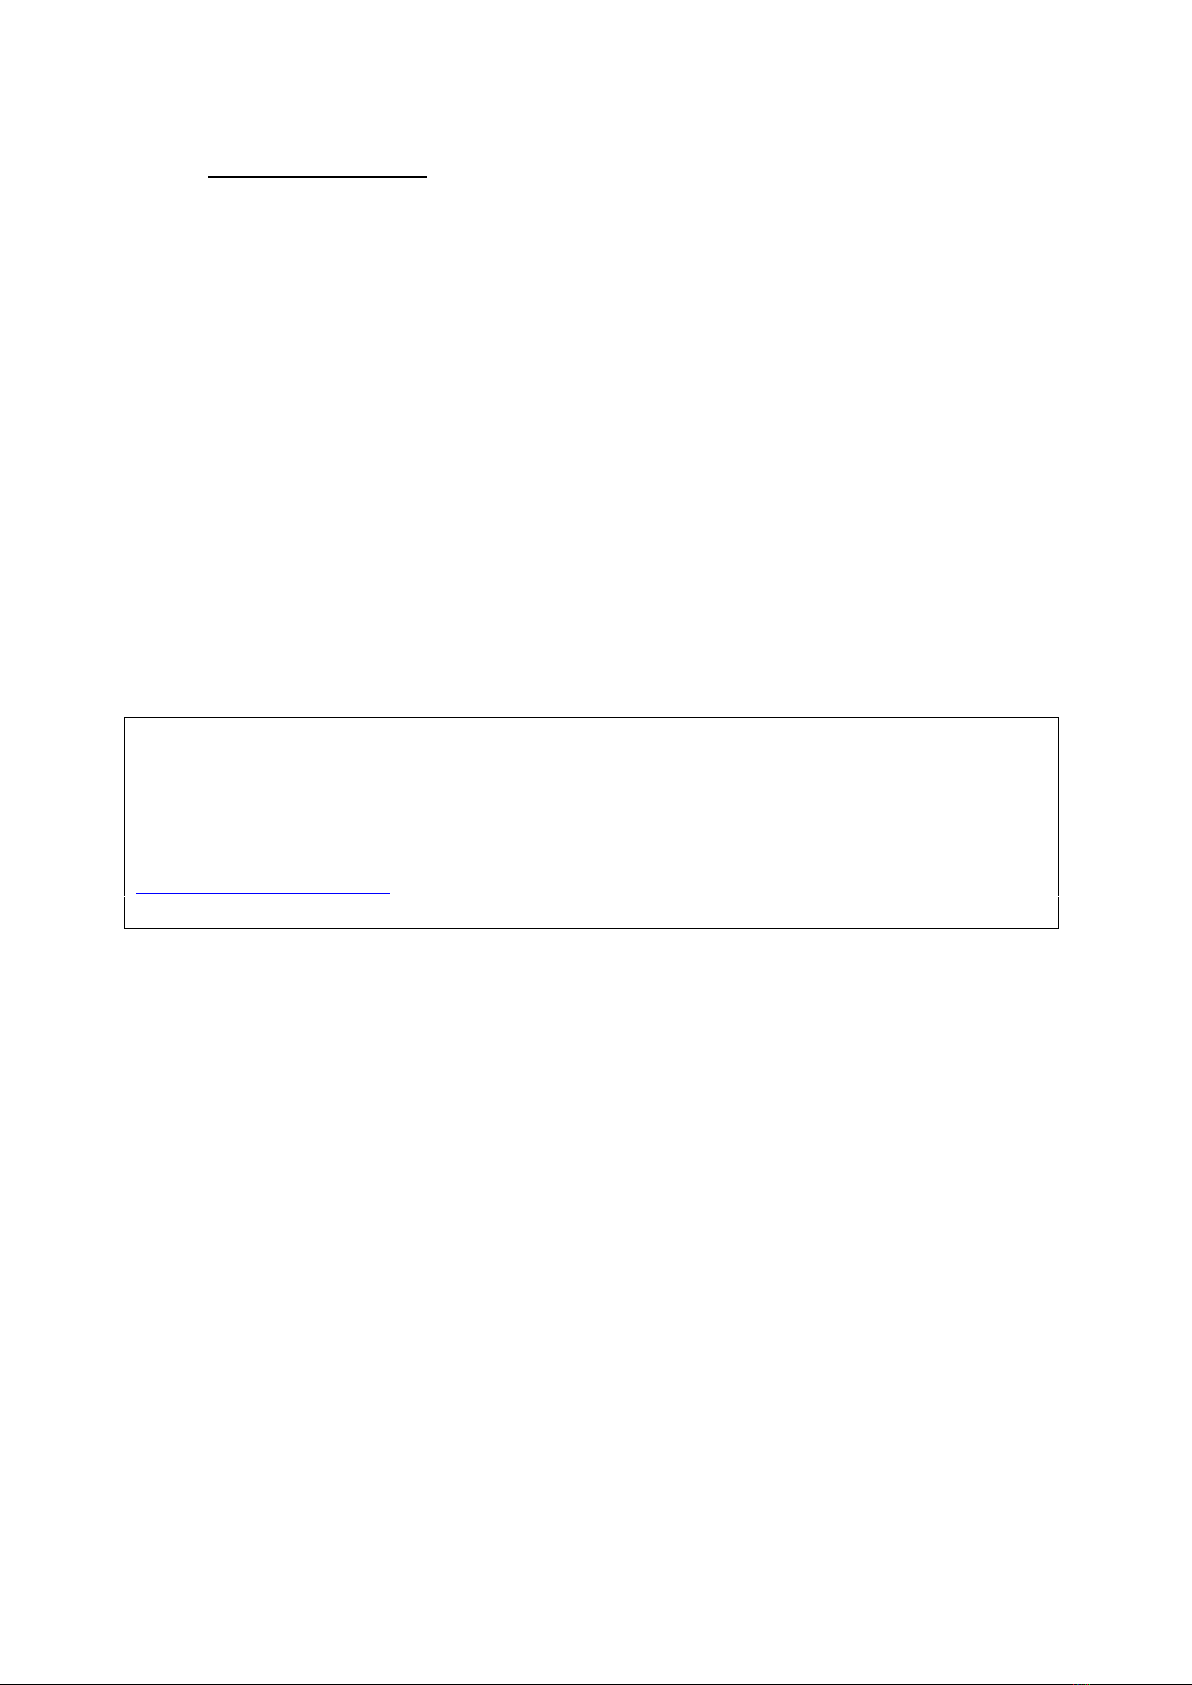
Use the wheel with shapes as an educational tool for
shape recognition activities and language activities.
Ask your clients to identify shapes or to count their
sides. Take this activity further by matching shapes to
colours using your ROMPA® Wi FI Controller –for
example, ask your client to make the square blue or
the star yellow using the Controller. As a shape could
be any colour, this is a no-fail activity.
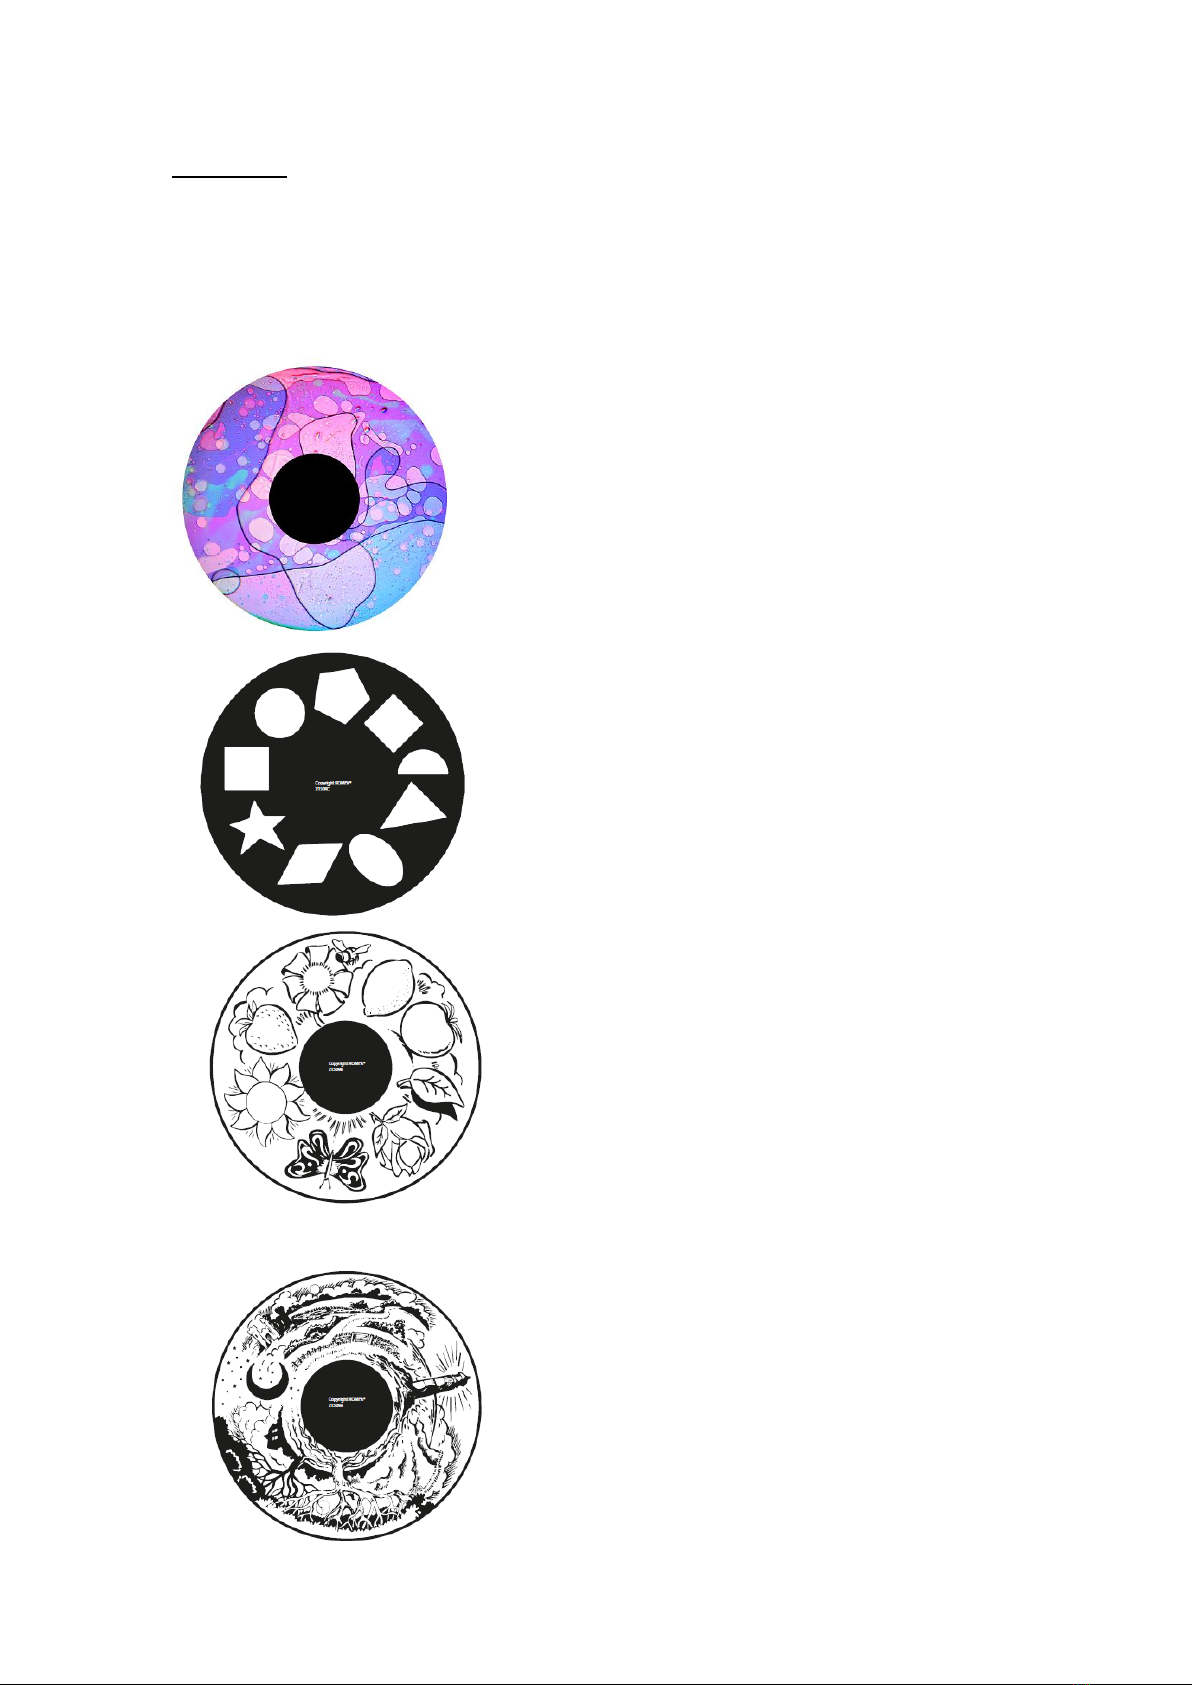
Use this wheel for colour matching. Unlike the wheel
with shapes, some of the objects shown have fixed colours.
For example a lemon is typically yellow and a strawberry is
typically red. The flowers, leaf and butterfly could be
several colours. This wheel could also be used to prompt
conversation about sensory preferences. For example, the
lemon and strawberry could prompt conversation about
taste and likes and dislikes –some individuals like sour and
bitter tasting foods, others like sweet tasting food more
than salty and savoury food. The sun and butterfly could
prompt conversation about the seasons and tactile preferences such as whether a person
prefers to be warm or cool, and what clothes they like to wear.
Use this Effect Wheel for story-telling and for creating
an atmosphere. More able clients may be able to
associate colours with times of the day, or with moods
and emotions. For example, they may choose blue for
the part of the Effect Wheel that shows a sky with a
moon and stars, or they may associate the black sky and
dark tree outline with potential danger and choose to
turn the projection red.

8. Compatible ROMPA® Products
20848, 21098 Sensory Magic®
19847 –Deluxe 8 Colour Wirefree Controller
21006 –8 Colour Wirefree Controller
21728 - ROMPA® Wi Fi App Control Box
18870 –Talking Cube
20402 - Mini Talking Cube
19939 - Wi Fi Interactive Mat Switch Set
21917 - ROMPA® Wi Fi Microphone
21918 –Wi Fi Override Transmitter
9. Starting Up
Install indoors using appropriate fixings.
Plug in.
10. Detailed Description
Compatible with our Wi Fi controllers and Sensory Magic®, this projects a range of
colours, and can be used interactively. Includes 3 effect wheels and a Liquid Wheel.
Wonderful for choice and control in multi-sensory Snoezelen® environments, as well as
for story-telling, colour matching and scene-setting. You may wish to use the Create Your
Own Effect Wheel with a permanent marker to increase your projection effects. Other
effect wheels with a magnetic fitting can be used with this projector. Not suitable for use
with our standard effect wheels that don’t have a magnetic fitting.
11. Safety
Always supervise the use of this product.
Take all appropriate safety measures to ensure that this product is installed correctly
and safely –indoors.

12. Technical Specification
Size: 25L x 17W x 26cm (including bracket)
15cmH without bracket
Power rating: 15W max
Power Supply: mains adapter 100 –240V AC
with an internal fuse (the projector itself has an internal self-resetting fuse)
Operating Voltage:
12V DC
Weight: 2.2kg (including bracket)
CE: Meets requirements of CE
13. Installation
1. Choose a suitable location for the projector, bearing in mind the following:
Install indoors in dry environments only
This product requires one electrical socket
Make sure the projection will be onto a suitable surface –a surface free of objects
and white or pale in colour
The projector is a visual product and should not be handled. However, you may wish
to access the projector periodically to change the effects.
There must be unrestricted airflow around the projector.
2. Use the projector’s bracket to mount the projector.Either:
Suspend from above
Ensure that the bracket is attached to a suitable surface (that is capable of holding the
weight of the product safely). Fit and secure a safety chain (not included) to an
immovable object, with a maximum drop of 30cm. Ensure that all nuts, bolts, hanging
bracket knobs and all other fixings are securely tightened.
Fixed with the bracket flat on an immovable surface
Make sure the surface is flat, stable and capable of holding the weight of the product
safely.
With the bracket as an adjustable stand
Make sure the surface is flat, stable and capable of holding the weight of the product safely.
3. Place one of the included wheels in the slot of the projector. The fixing is magnetic –the
magnetic ring needs to meet the magnetic fixing inside the slot at the top of the
projector. You will feel a slight pull as the magnets meet. To remove a wheel, gently
push the wheel forwards then upwards.
4. Connect the mains adapter into the back of the projector. The power lead is 1.8m long.
Plug in at the wall.
5. Switch the projector ON/OFF switch to ON.

14. Care and Maintenance
Make sure the product is disconnected from the mains (unplugged at the wall) before
attempting any installation, maintenance or cleaning. Pull the plug out by the plug –
not by pulling the cable.
Do not attempt to service the projector yourself. The guarantee is void if the
projector has been opened or if a repair has been attempted by anyone other than an
Optikinetics authorized dealer.
Do not use the product if the power cord is damaged or if the product has been
dropped or damaged.
Make sure the location of the power lead does not create a hazard (e.g. make sure it
can’t be tripped over).
Keep the power cord away from sources of heat.
Once this product (or a component) is eventually exhausted, please dispose of it
appropriately.
Keep in a dry environment.
Use only compatible accessories.
Adjusting the Bracket
When setting up the projector, to project the image where required, it may be necessary to
adjust the hanging bracket.
1. Loosen the central knob and rotate the bracket or projector into the desired position.
2. Tighten the knobs securely.
To focus the projected image
Focus the image by twisting the focusing lens (on the front of the projector)
to move the image in / out of focus. Take care not to rotate too far anti-
clockwise as this may detach the lens from the projector.
Lens Cleaning
The focusing lens may need cleaning from time to time. Use a
soft tissue or cloth with a little methylated spirit or pure
alcohol to clean the lens.
There is no need to access the interior of the Projector –do not attempt to do so

15. Troubleshooting
In the unlikely event of product failure, please check the following:
Problem: Product will not light up
• Check that the mains adapter is connected firmly into the projector
• Make sure the projector is plugged in and switched ON
•It is highly unlikely that the LED module would fail. In this highly unlikely event, only a
qualified service engineer should replace this.
•The internal thermal fuse would trigger should the Projector have become excessively hot
Problem: Wheel does not rotate
• Check that the magnetic wheel is fitted securely to the magnetic adapter
• Make sure the projector is plugged in and switched ON
•It is highly unlikely that the rotator would fail. In this highly unlikely event, only a qualified
service engineer should replace this.
Further copies of these instructions can be downloaded at www.rompa.com
We hope you find our instructions invaluable. If you have any suggestions for improving
them further your comments will be greatly received –please contact us at
ROMPA® Rainbow Wi Fi Projector Saver Pack 21509, January 2017
Copyright ROMPA® Ltd
This manual suits for next models
1
Table of contents
Other Rompa Projector manuals

Rompa
Rompa 19548 User manual

Rompa
Rompa 22126 User manual

Rompa
Rompa 100 LED Mini Projector User manual

Rompa
Rompa Aura Projector User manual

Rompa
Rompa LED100 User manual

Rompa
Rompa 20063 User manual

Rompa
Rompa 23008 User manual

Rompa
Rompa 20997 User manual

Rompa
Rompa 20777 User manual

Rompa
Rompa Super Solar 100C User manual
Popular Projector manuals by other brands

Dukane
Dukane 8412 user manual

Digital Projection
Digital Projection Titan series user manual

Runco
Runco LightStyle LS-100d Installation & operation manual

Digital Projection
Digital Projection TheaterScope System installation manual

Sharp
Sharp AJ-1800 - Notevision PG-M10X XGA DLP... Operation manual

Q.P.T.I.
Q.P.T.I. QPI-1 user manual