Using Rinse Agent For Best Results
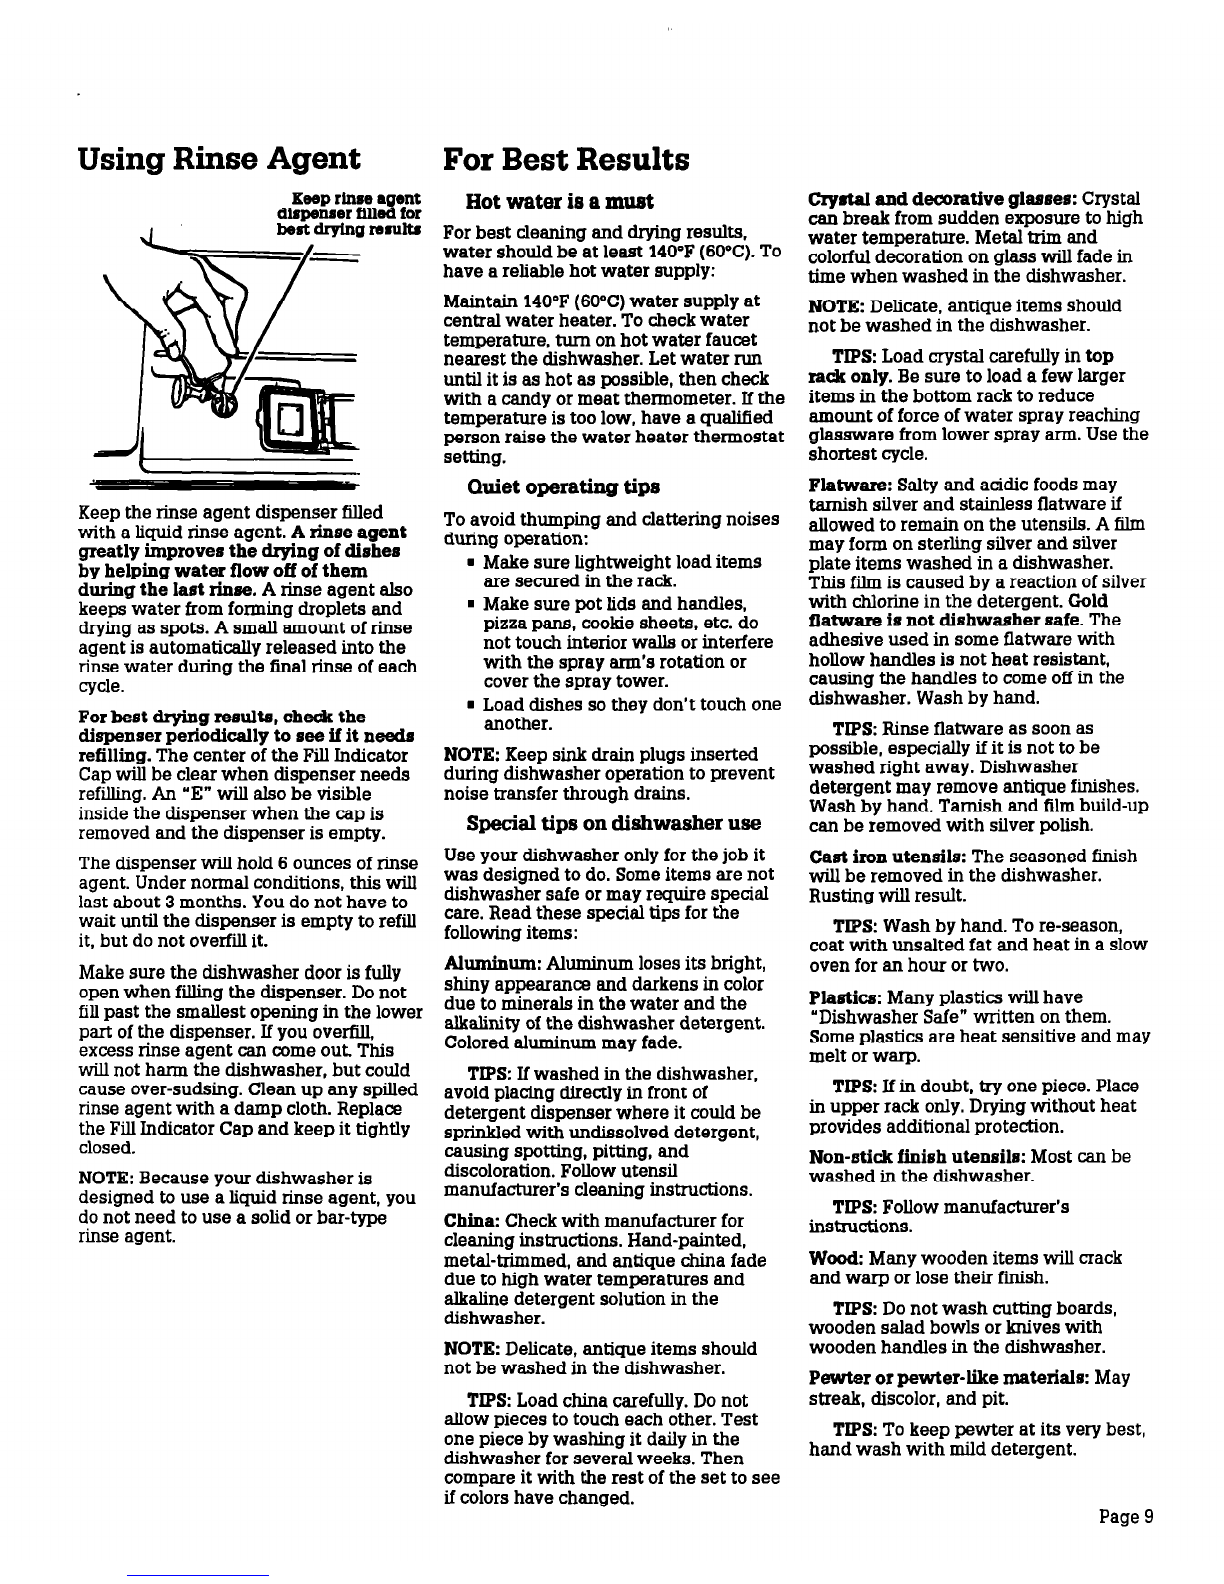
Keep
rinseagent
dlspenwr
fllled for
bestdryfng remlItm
Keepthe rinse agent dispenser filled
with aliquid rinse agent. A rinse agent
greatly improves the drying of dishes
by helping water flow off of them
during the last rinse. A rinse agent also
keepswater from forming droplets and
drying asspots. A small amount ofrinse
agent is automatically released into the
rinse water during the final rinse of each
cycle.
For best drying results, check the
dispenser periodically to seeif it needs
refilling. The center of the Fill Indicator
Capwill be clear when dispenser needs
refilling. An ‘E” will alsobe visible
inside the dispenser when the cap is
removed and the dispenser is empty.
The dispenser will hold 6 ounces of rinse
agent. Under normal conditions, this will
last about 3months. You do not have to
wait until the dispenser is empty to refill
it, but do not overfill it.
Make sure the dishwasher door is fully
openwhen filling the dispenser. Donot
fill past the smallest opening in the lower
part ofthe dispenser. If you overfill,
excessrinse agent can comeout. This
will not harm the dishwasher, but could
causeover-sudsing. Clean up any spilled
rinse agent with a damp cloth. Replace
the Fill Indicator Capand keep it tightly
closed.
NOTE:Becauseyour dishwasher is
designed to use aliquid rinse agent, you
donot need to use a solid or bar-type
rinse agent.
Hot water ie a must
For best cleaning and drying results,
water should be at least 140’F (60%). To
have areliable hot water supply:
Maintain 140°F(60%) water supply at
central water heater. To checkwater
temperature, turn on hot water faucet
nearest the dishwasher. Let water run
until it is ashot aspossible, then check
with acandy or meat thermometer. If the
temperature is too low, have aqualified
person raise the water heater thermostat
setting.
Quiet operating tips
To avoid thumping and clattering noises
during operation:
Make sure lightweight load items
are secured in the rack.
Make sure pot lids and handles,
pizza pans, cookie sheets, etc. do
not touch interior walls or interfere
with the spray arm’s rotation or
cover the spray tower.
Load dishes sothey don’t touch one
another.
NOTE: Keepsink drain plugs inserted
during dishwasher operation to prevent
noise transfer through dmins.
Special tips
on dishwasher use
Useyour dishwasher only for the job it
was designed to do. Someitems are not
dishwasher safeor may require special
care.Readthese special tips for the
following items:
Aluminum: Aluminum losesits bright,
shiny appearance and darkens in color
due to minerals in the water and the
alkalinity of the dishwasher detergent.
Colored aluminum may fade.
TIPS:If washed in the dishwasher,
avoid placing directly in front of
detergent dispenser where it could be
sprinkled with undissolved detergent,
causing spotting, pitting, and
discoloration. Follow utensil
manufacturer’s cleaning instructions.
China: Checkwith manufacturer for
cleaning instructions. Hand-painted,
metal-trimmed, and antique china fade
due to high water temperatures and
alkaline detergent solution in the
dishwasher.
NOTE: Delicate, antique items should
not be washed in the dishwasher.
TIPS:Load china carefully. Donot
allow pieces to touch each other. Test
one piece by washing it daily in the
dishwasher for several weeks. Then
compareit with the rest of the set to see
if colors have changed.
Crystal and decorative glasses: Crystal
can break from sudden exposure to high
water temperature. Metal trim and
colorful decoration on glass will fade in
time when washed in the dishwasher.
NOTE: Delicate, antique items should
not be washed in the dishwasher.
TIPS:Load crystal carefully in top
rack only. Besure to load a few larger
items in the bottom rack to reduce
amount of force of water spray reaching
glassware from lower spray arm.Usethe
shortest cycle.
Flatware: Salty and acidic foodsmay
tarnish silver and stainless flatware if
allowed to remain on the utensils. A film
may form on sterling silver and silver
plate items washed in a dishwasher.
This film is causedby areaction of silver
with chlorine in the detergent. Cold
flatware is not dishwasher safe.The
adhesive used in someflatware with
hollow handles is not heat resistant,
causing the handles to comeoff in the
dishwasher. Washby hand.
TIPS:Rinse flatware assoon as
possible, especially if it is not to be
washed right away. Dishwasher
detergent may remove antique finishes.
Washby hand. Tarnish and film build-up
can be removed with silver polish.
Cast iron utensils: The seasonedfinish
will be removed in the dishwasher.
Rusting will result.
TIPS:Washby hand. To re-season,
coat with unsalted fat and heat in a slow
oven for an hour or two.
Plastics: Many plastics will have
“Dishwasher Safe” written on them.
Someplastics are heat sensitive and may
melt or warp.
TIPS:If in doubt, try one piece. Place
in upper rack only. Drying without heat
provides additional protection.
Non-stick finish utensils: Most can be
washed in the dishwasher.
TIPS:Follow manufacturer’s
instructions.
Wood: Many wooden items will crack
and warp or lose their finish.
TIPS:Donot wash cutting boards,
wooden salad bowls or knives with
wooden handles in the dishwasher.
Pewter or pewter-like materials: May
streak, discolor, and pit.
TIPS:To keep pewter at its very best,
hand wash with mild detergent.
Page9