manuals.online logo
Brands
  1. Home
  2. •
  3. Brands
  4. •
  5. Rosewill
  6. •
  7. Rack & Stand
  8. •
  9. Rosewill RMS-MT3710 User manual

Rosewill RMS-MT3710 User manual

Flosewill
RMS-MT3710
Universal
Tilting
Wall
Mount
User
Manual
Tools
Required
+
Phillips
Head
Screwdriver
e
Ratchet
or
Driver
with
1/2”
(13
mm)
Socket
*
Portable
or
Electric
Drill
©
1/4*
(6
mm)
Drill
Bit
and
Stud
Finder
for
Drywall
Installation
*
7/16"
(11
mm)
Masonry
Bit
for
Concrete
Installation
Warnings
1.
Make
sure
these
instructions
are
read
and
completely
understood
before
attempting
installation.
If
you
are
unsure
of
any
part
of
this
installation,
contact
a
professional
installer
for
assistance.
2.
The
wall
or
mounting
surface
must
be
capable
of
supporting
the
combined
weight
of
the
mount
and
the
display;
otherwise
the
structure
must
be
reinforced.
3.
Safety
gear
and
proper
tools
must
be
used.
A
minimum
of
two
people
are
required
for
this
installation.
Failure
to
use
safety
gear
and/or
attempting
this
installation
alone
can
result
in
property
damage,
serious
injury,
or
death.
4.
Follow
alll
instructions
and
recommendations
regarding
adequate
ventilation
and
suitable
locations
for
mounting
your
display.
Consult
the
owner's
manual
for
your
display
for
more
information.
Hardware
Kit
(Ref)
Item
(Qty)
(Jammu
(A)
Max12
Bott
(x4)
(SB)
M430
Bolt
(x4)
(C)
M4
Lock
Washer
(x4)
Rewer)
(D)
M5x12
Bolt
(x4)
(GEE
©
MO
Bot
(x4)
(F)
M5
Lock
Washer
(x4)
wail
Maxi2
Bot
oa)
(NOTON
+)
Meas
Bott
4)
SE
(WMG
Lock
Washer
(x4)
emma
ereeereneercenerne
renee
een
()
MBx16
Bott
(x4)
pl
(4)
Max40
Bot xa)
SPE
(L)
MB
Lock
Washer
(x4)
—_
(M)
Small
Spacer
(x4)
ia
(N)
Large
Spacer
(x4)
(LL
(O)
Me
Washer
(x4)
O
=
(P)
Concrete
(Q)
M8x63
R
(R)
Lag
Bott
BS
FF®
anchor
(6)
SSF
Lag
Bolt
(x6)
ue)
Washer
(x6)
RResewill
RMS-MT3710
Universal
Tilting
Wall
Mount
User
Manual
Part
1a
-
Mounting
the
Wall
Plate
(Drywall)
Important!
For
safety,
this
mount
must
be
secured
to
two
adjacent
wood
studs
at
least
16”
apart.
1.
Using
a
stud
finder,
locate
and
mark
two
adjacent
studs
for
securing
the
mount.
2.
Place
the
wall
plate
against
the
wall
and
level
it
using
the
bubble
guide.
.
Mark
four
locations
(two
per
stud)
on
the
wall
where
the
mount
will
be
secured.
Be
sure
to
use
the
center
of
each
stud.
4.
Remove
the
wall
plate
and
drill
a
1/4"
(6
mm)
pilot
hole
at
each
location
using
an
electric
drill.
.
With
the
help
of
another
person,
replace
the
wall
plate
and
fix
it
to
the
wall
using
the
Lag
Bolts
(Q)
and
Lag
Bolt
Washers
(R)
provided
(Fig.
1).
.
Do
not
over-tighten
the
bolts
and
do
not
release
the
wall
plate
until
all
screws
are
secure.
7.
Attach
the
cable
manager
to
the
middle
of
the
top
crossbar
(Fig,
2).
o
a
Fig.
1
-
Attach
the
wall
plate
to
the
wall.
a
Part
1b
-
Mounting
the
Wall
Plate
(Concrete)
1,
Place
the
wall
plate
against
the
wall
and
level
it
using
the
bubble
guide.
2.
With
the
help
of
another
person,
mark
off
six
(6)
locations
for
fixing
the
mount
to
the
wall.
3.
Place
the
wall
plate
aside
and
drill
a
hole
at
each
location
using
a
7/16”
(11
mm)
masonry
bit.
Remove
any
excess
dust
from
the
holes.
.
Insert
one
Concrete
Anchor
(P)
into
each
hole.
A
hammer
can
be
used
to
lightly
tap
the
anchors
into
place
if
necessary.
.
With
the
help
of
another
person,
replace
the
wall
plate
and
fix
it
to
the
wall
using
the
Lag
Bolts
(Q)
and
Lag
Bolt
Washers
(R)
provided
(Fig.
1).
a
a
6.
Do
not
over-tighten
the
screws
and
do
not
Fig.
2
-
Attach
the
cable
manager
release
the
wall
plate
until
all
screws
are
secure.
to
the
top
crossbar.
7.
Attach
the
cable
manager
to
the
middle
of
the
top
crossbar
(Fig.
2).
esewill
RMS-MT3710
Universal
Tilting
Wall
Mount
User
Manual
Part
2
-
Attaching
the
Arms
to
the
Display
Important!
Use
extra
care
during
this
part
of
the
installation.
Avoid
laying
your
display
face
down
if
possible
as
it
may
damage
the
viewing
surface.
1.
Examine
the
back
of
your
television.
If
the
back
of
your
display
is
flat,
you
will
be
using
one
of
the
shorter
bolts
from
the
hardware
kit.
If
the
back
of
your
display
is
curved
or
recessed,
you
will
be
using
one
of
the
longer
bolts
and
a
spacer
(Fig.
4).
2.
Determine
the
correct
diameter
bolt
to
use
by
trying
one
bolt each
from
Bags
1
-
4
of
the
hardware
kit.
Do
not
force
any
of
the
bolts
—
if
you
feel
resistance
stop
immediately
to
avoid
damaging
your
display.
3.
Attach
the
arms
to
the
back
of
your
display
using
the
bolts
identified
in
Steps
1
and
2
and
the
corresponding
Lock
Washer
(C,
F,
|,
or
L)
(Fig.
4).
You
will
need
to
use
the
M6
Washers
(O)
if
you
are
using
the
M4, M5,
or
M6
bolts.
If
your
display
has
a
curved
or
recessed
back,
you may
also need
to
Fig.
3
-
Attach
the
arms
to
the
back
use
a
Spacer
(M
or
N).
penal
4,
Make
sure
the
screws
are
snug,
but
do
not
over-tighten.
For
displays
with
flat
For
displays
with
curved
backs.
or
recessed
backs..
Fig.
4
-
Use
a
longer
bolt
and
spacer
for
displays
with
curved
or
recessed
backs.
Do
not use
the
M6
Washer
(O)
if
you
are
using
the
M8
Bolts
(J
or
K).
Flosewill
RMS-MT3710
Universal
Tilting
Wall
Mount
User
Manual
Part
3
-
Final
Installation
and
Adjust-
ment
.
With
the
help
of
another
person,
carefully
lift
your
display
and
place
it
on
the
wall
plate
(Fig.
5).
Do
not
release
the
display
until
the
mounting
arms
have
securely
hooked
onto
the
crossbars!
.
Move
the
safety
tab
located
on
each
arm
into
position
to
avoid
having
the
display
accidentally
lifted
from
the
mount.
A
padlock
can
be
inserted
into
one
of
the
tabs
to
help
prevent
theft
of
your
display
(Fig.
6).
.
The
cable
manager
can
be
used
to
keep
your
power
cord
and
other
A/V
cables
in
order.
.
To
adjust
the
tilt
position,
have
one
person
hold
the
display
in
position
while
another
person
ys
ante
ee
me
loosens
the
two
tilt
adjustment
knobs
located
on
either
side
of
the
wall
plate
(Fig.
7).
Once
the
knobs
are
loose,
move
the
display
to
the
desired
angle.
Re-tighten
the
knobs
before
releasing
the
display.
N
o
a
Fig.
6
-
A
small
padlock
can
be
used
to
help Fig.
7
-
Loosen
the
adjustment
knobs
to
prevent
theft
of
your
display.
change
the
tilt
angle.
There
is
one
knob
on
each
side
of
the
mount.
Thank
you
for
purchasing
a
quality
Rosewill
Product.
Please
register
your
product
at
:
www.rosewill.com
for
complete
warranty
information
and
future
support
for
your
product.
4

Other Rosewill Rack & Stand manuals

Rosewill RHMS-11003 User manual

Rosewill

Rosewill RHMS-11003 User manual

Rosewill RMS-A660 User manual

Rosewill

Rosewill RMS-A660 User manual

Rosewill RMS-SWM01 User manual

Rosewill

Rosewill RMS-SWM01 User manual

Rosewill RMS-SDM01 User manual

Rosewill

Rosewill RMS-SDM01 User manual

Rosewill RMS-MF2720 User manual

Rosewill

Rosewill RMS-MF2720 User manual
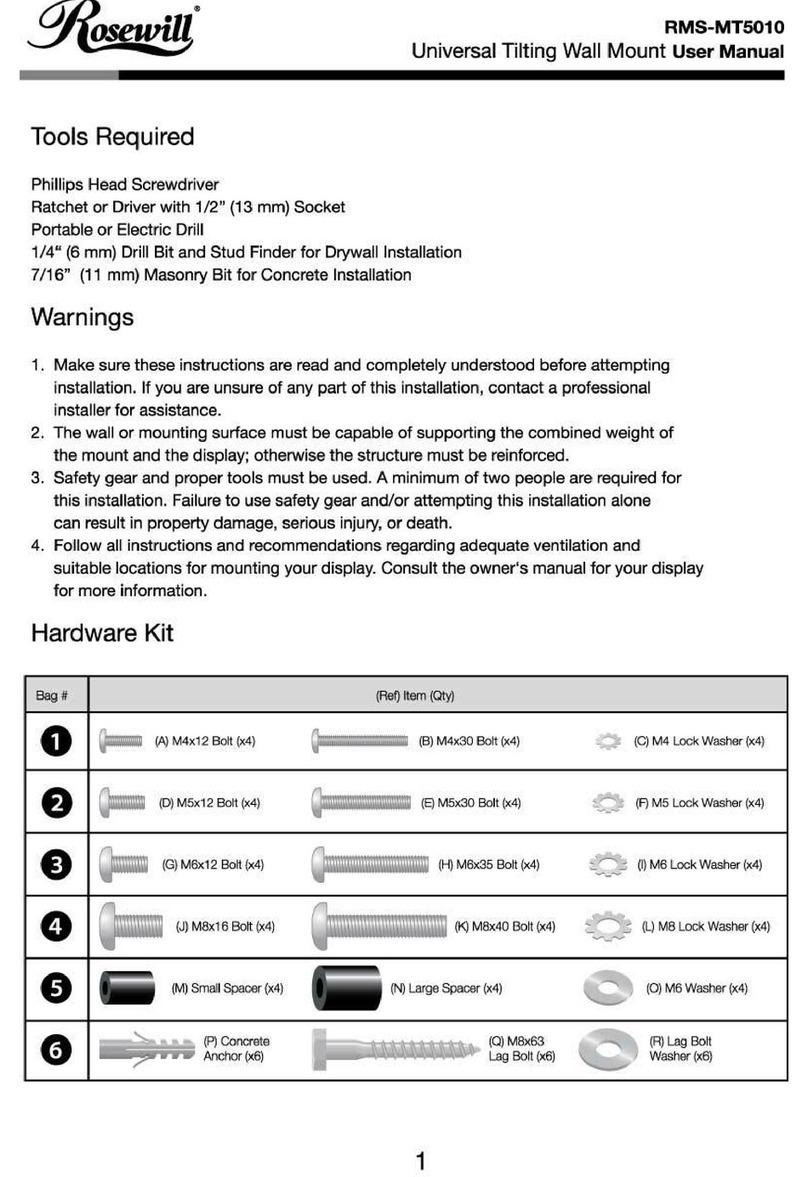
Rosewill RMS-MT5010 User manual

Rosewill

Rosewill RMS-MT5010 User manual

Rosewill RMS-DDM01 User manual

Rosewill

Rosewill RMS-DDM01 User manual

Rosewill RMS-A871 User manual

Rosewill

Rosewill RMS-A871 User manual

Rosewill RMS-MT6020 User manual

Rosewill

Rosewill RMS-MT6020 User manual

Rosewill RHMS-11002 User manual

Rosewill

Rosewill RHMS-11002 User manual

Rosewill RMS-A520 User manual

Rosewill

Rosewill RMS-A520 User manual

Rosewill RMS-FDM02 User manual

Rosewill

Rosewill RMS-FDM02 User manual

Rosewill RMS-FDM01 User manual

Rosewill

Rosewill RMS-FDM01 User manual

Rosewill RSPR-9U001 User manual

Rosewill

Rosewill RSPR-9U001 User manual

Rosewill RMS-17004 User manual

Rosewill

Rosewill RMS-17004 User manual

Rosewill RMS-DDM02 User manual

Rosewill

Rosewill RMS-DDM02 User manual

Rosewill RMS-A650 User manual

Rosewill

Rosewill RMS-A650 User manual

Rosewill RMS-MA2740 User manual

Rosewill

Rosewill RMS-MA2740 User manual

Rosewill RSR-2P6U001 User manual

Rosewill

Rosewill RSR-2P6U001 User manual

Popular Rack & Stand manuals by other brands

Ergotron LX Desk Mount LCD Arm Assembly instructions

Ergotron

Ergotron LX Desk Mount LCD Arm Assembly instructions

Atdec AWMS-2-BT75-FS installation guide

Atdec

Atdec AWMS-2-BT75-FS installation guide

Valcom V-9804 installation instructions

Valcom

Valcom V-9804 installation instructions

Premier Mounts PCM-MS2 installation manual

Premier Mounts

Premier Mounts PCM-MS2 installation manual

CHIEF XSM1U installation instructions

CHIEF

CHIEF XSM1U installation instructions

Touchboards peerless-AV SR560M-AB manual

Touchboards

Touchboards peerless-AV SR560M-AB manual

Yakima DoubleDown ACE 2 manual

Yakima

Yakima DoubleDown ACE 2 manual

Vicon V2000D-PM quick guide

Vicon

Vicon V2000D-PM quick guide

Wize T80 instruction manual

Wize

Wize T80 instruction manual

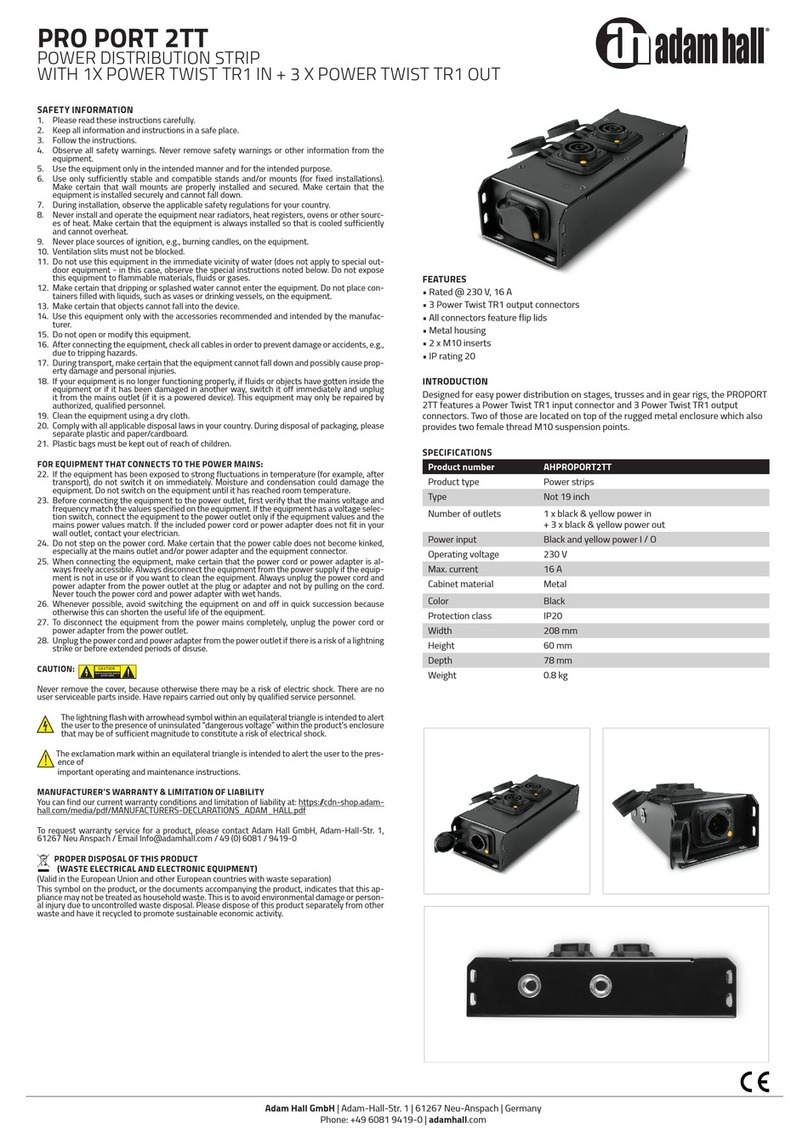
Adam Hall PRO PORT 2TT quick start guide

Adam Hall

Adam Hall PRO PORT 2TT quick start guide

CHIEF Fusion FCA802 installation instructions

CHIEF

CHIEF Fusion FCA802 installation instructions

Vivo STAND-TV70B instruction manual

Vivo

Vivo STAND-TV70B instruction manual

Edbak SV17 installation manual

Edbak

Edbak SV17 installation manual

NeoMounts Select NM-D775DXBLACK instruction manual

NeoMounts

NeoMounts Select NM-D775DXBLACK instruction manual

Soozier AA0-029 quick start guide

Soozier

Soozier AA0-029 quick start guide

Whispbar K455W Fitting instructions

Whispbar

Whispbar K455W Fitting instructions

peerless-AV CMJ300 quick start guide

peerless-AV

peerless-AV CMJ300 quick start guide

Sealey VS5281 instructions

Sealey

Sealey VS5281 instructions

manuals.online logo
manuals.online logoBrands
  • About & Mission
  • Contact us
  • Privacy Policy
  • Terms and Conditions

Copyright 2025 Manuals.Online. All Rights Reserved.