5User manual
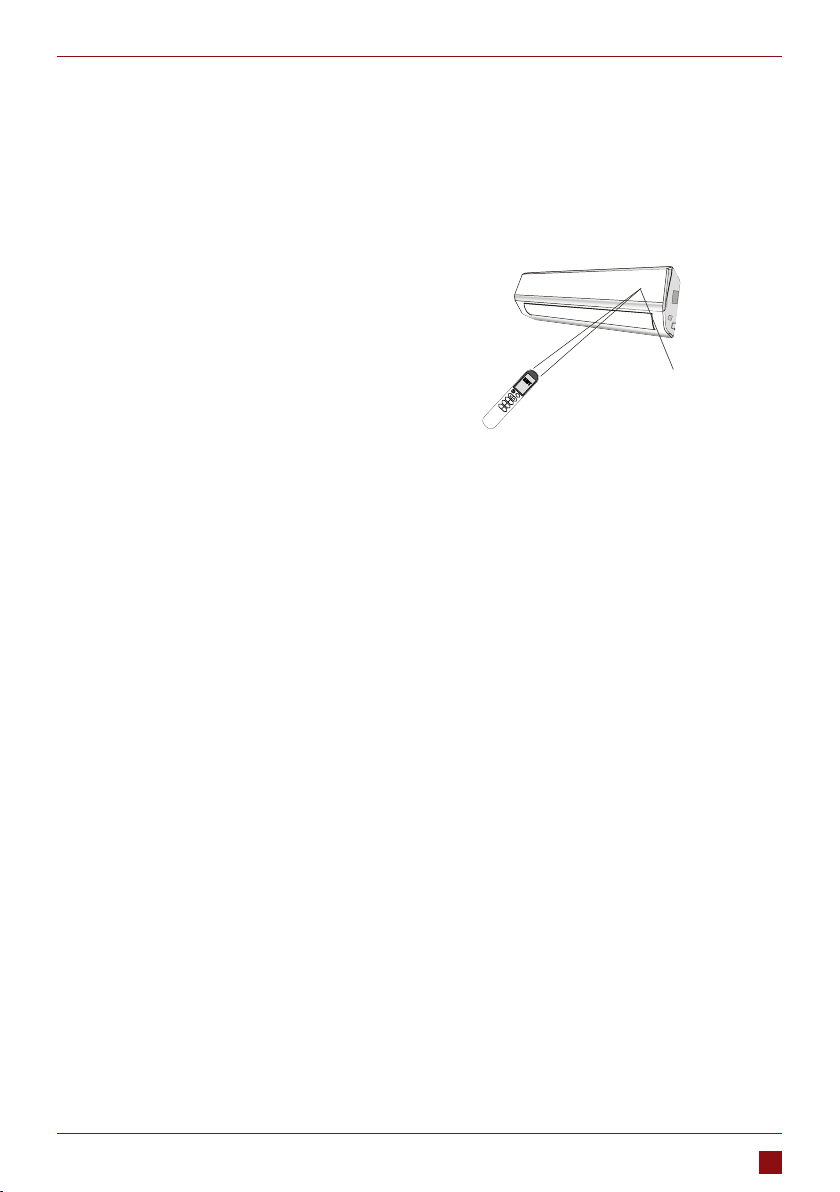
DAGA wireless controller
PART 1. GENERAL INFORMATION
ON/OFF Mode Function
OFF
AUTO CLEAN, TIMER, DISPLAY, HEALTH, I FEEL, 8°CH
COOL CLEAN, TIMER, DISPLAY, HEALTH, SLEEP, MILDEW, I FEEL, 8°CH
DRY CLEAN, TIMER, DISPLAY, HEALTH, MILDEW, I FEEL, 8°CH
FAN CLEAN, TIMER, DISPLAY, HEALTH, I FEEL, 8°CH
HEAT CLEAN, TIMER, DISPLAY, HEALTH, SLEEP, I FEEL, 8°CH
CAUTION
You will hear a beep when you press the following buttons or select the following optional functions,
though the actual model haven't this function, we express our apologies:
HEALTH (Optional Function: generate the ionizer)
(Button: SWING LEFT/RIGHT)
[8°CH] (Optional Function: 8°C Heating)
2. REMOTE CONTROLLER DISPLAY
No. Symbols Meaning
1. Single indicator
2. Child Lock function indicator
3. Battery indicator
4. AUTO Mode Auto function indicator
5. COOL Mode Cooling indicator
6. DRY Mode Dry indicator
7. FAN Mode Fan indicator
8. HEAT Mode Heating indicator
9. ECO ECO function indicator
10. Timer indicator
11. Temperature indicator
12. Fan speed indicator: Auto/low/mid/high
13. Mute indicator
14. SUPER indicator
15. Flap swing angle indicator
16. Deector swing angle indicator