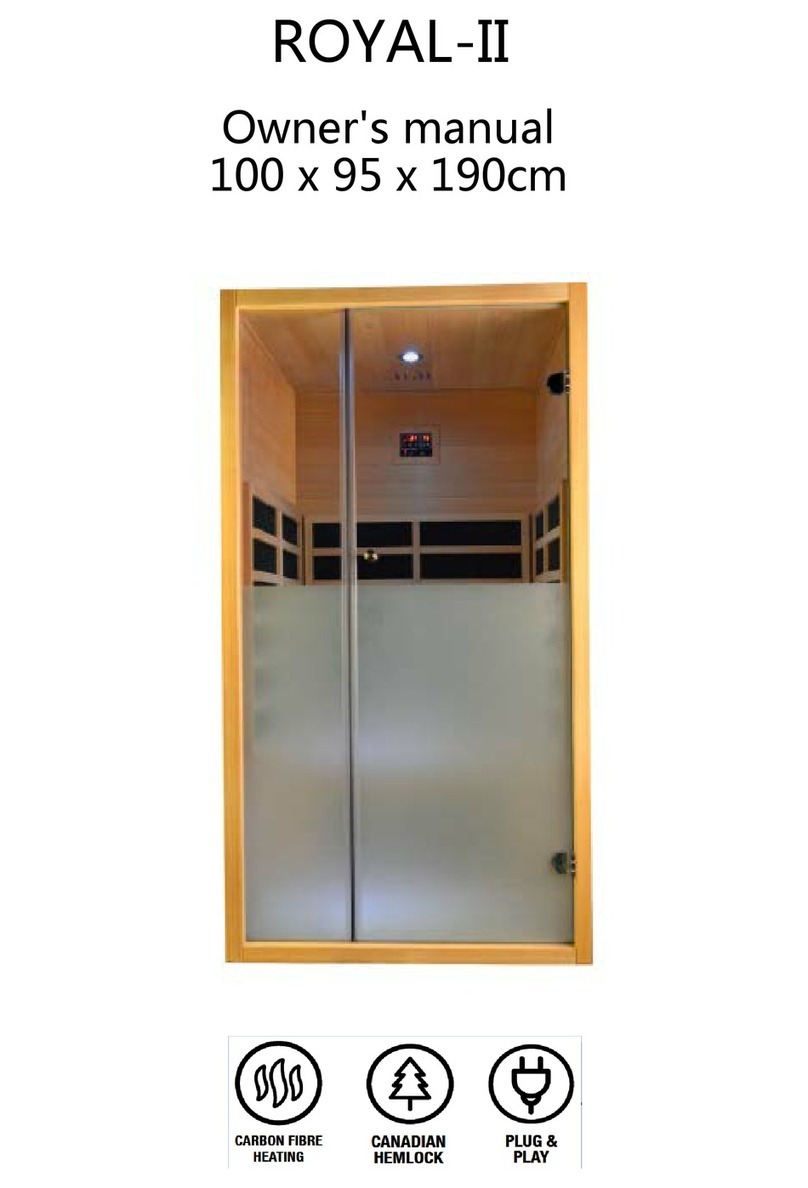
ROYAL SAUNAS TR170 Instruction Manual

Installation user manual

Instructions before use
1. A member of the high blood pressure, heart disease, high blood pressure do not sauna.
2. Who has a cold should not be sauna because the sauna room hidden cryptococcus bacteria can enter
human body through respiratory tract, such as easy to cause pneumonia, etc.
3. Do not sauna when overwork and can't sleep in sauna room. People with poor muscle tone when they are
tired, reduce the stimulation of cold and hot resistance ability, easy to cause collapse when sauna.
4. Do not sauna when on an empty stomach, lest cause cardiovascular collapse.
Should not be sauna after overstrain brain or strenuous exercise, it can cause brainanemia or shock.
5. It is not suitable for sauna not after half an hour feast, because the high temperature make the skin
vasodilation , blood backflow in great quantities, which affects the blood supply of the digestive organs,
interfere with digestion and absorption of food.
6. Do not sauna after drinking. After heavy drinking, it can make the brain systems at the mercy of the
function to drop, at this time if sauna, under the effect of alcohol, a amount of sweat will make human body
caused by rapid filtration syncope.
7. Do not wear jewelry when sauna, like jade, necklaces, watches, etc are easy absorption of heat may be burn
the skin.
8. Do not apply cosmetics, because it can block pore, prevent sweat evaporation.
9. Sauna is not suitable for the elderly, sitting in a sauna room, the body sweat more, the blood becomes
sticky, it is easy to form thrombus, cause of various cardiovascular diseases. Especially the elderly, their body
temperature regulating center not too sensitive, so not suitable for sauna.
10. Sauna should not be too long, if too long, excessive sweating can make the person to exhaustion;
temperature is too high, can be difficulty breathing. In general, in the sauna room should be come out every
5-10 minutes. Setting temperature personalized, it is recommended that the dry steam temperature between
60 to 80 make the person feels more moderate.
11. Do not immediately come with cold air after sauna, prevent big difference temperature cause vascular
contractions induced stroke.
12. Go with partner sauna, should be timely supplement moisture, do not wait until thirsty to drink.
13. Keep awake when sauna, if have shortness of breath, dizziness and other symptoms should immediately
stop sauna, lie down in a better air circulation place, drink some cold boiled water, not drink too low water
temperature .
14. Do not get up too fast and too hard, be sure slow up and adequate rest.
Instructions before assembly
1. At least two people are required to assemble the sauna.
2. Assembly location: check whether the ground or platform is horizontal, and slight slope will not affect the
assembly and use of sauna, but if the slope is evident, a pad is needed to keep the sauna level.
3. All screw heads to assemble sauna must be completely inserted into wood to avoid scratching skin during
use.
4. Please find qualified electricians to install the electrical elements in sauna. We will provide a plastic
hammer for installation. Screw driver (power drill), Tape, Bar level should be prepared by the installers.

Parts list
1. Regular Staves: 64pcs (32pcs for the right side, 32pcs for the left side).
2. Top stave: 3pcs (different sizes. only 1pc needed)
3. Bottom stave: 1pc (with 2 holes)
4. Front panel part: 3pcs
5. Back panel part: 3pcs
6. Base: 1set (4pcs wooden parts)
7. Inside floor panel: 2pcs
8. Glass door +door handle + door hinge —1set
9. Inside bench & bench leg ----2sets
10. Triangle wooden piece ---2pcs
11. Heater Fence --1set (3pcs wooden part)
12. backrest --- 2pcs
13. Bitumen roof material---50pcs
14. Steel strip ----2sets
15. Screws - 1 bag
FIRST CONSIDERATIONS
When you begin the initial layout for assembly, it is very important to check your floor or deck to see if it is
level. Most garage floors, basement floors, and decks are sloped for drainage. If this is the case in your
installation, it is suggested that you use shims to make the sauna level. Failure to do this can result in
unplumbed panels, poor fit and or poor function of your sauna.
OUTDOOR INSTALLATION RECOMMENDATIONS
Take caution to prevent the wind from catching and breaking the glass door. Do not install boards with knots
on the top of the sauna where water could accumulate and freeze, causing the board to split.
NOTE: While your Barrel Sauna is designed for outdoor use, it is important to build the sauna in accordance
with these instructions to minimize water seepage into the sauna. Properly installed, water will not drip into
the sauna. However, over time water may seep between the staves due to the porous nature of softwood.
This will not hurt the sauna and will quickly evaporate once the sauna heater is turned on. If the water
proofing is desired, shingles or other roofing material can be installed on the top section of the Barrel Sauna.

1. Base installation:
The screws list.
1). The thread screw sets for two ends of the base. A Screw
2). The thread sets for middle base B screw
Instruction.
1) 1)Screw the thread of A screw into the base (Two ends base)
2) Connect the support beam with the base. The thread should go through the beam per the hole.
3) Screw well the nuts.

4) Same for the other side of the bases. Finally, use the black plastic cover the screw holes.
2. Match the 2pcs wooden dowel with the 2 holes on the bottom stave and place the bottom stave in the
middle of the base.
3. Place 7pcs additional staves on each side of the drain stave to each end of the cradle base. Use a rubber
hammer to gentle tap the staves together to make them fix compactly.

4. Front + Back panel assembly with screws provided + metal piece provided.
5. Install glass door, door handle, door magnet.
6. Place the front panel & back panel.
7. Place additional 14pcs staves on each side of the barrel. Use 56pcs 3*30mm screws to fix the 28pcs staves
to the front & back panel.

8. Install the rest of 14pcs staves on each side forwards the top BUT DO NOT WITH SCREWS!!!!!. Use rubber
hammer to make sure all the staves are installed tightly.
9. Top piece provided with 2 sizes. Choose the one that fits. After the top piece is well installed, fix all the
staves with screws.

10. Steel strip assembly --- Caution! Sharp Edge! Protective gloves needed. Pls refer to Steel strip assembly
manual.
Each of the steel strip assemblies are made of the following components:
(1) stainless steel bands with brackets
(2) nuts
(3) threaded rod
Place stainless steel bands with pre-assembled brackets around sauna, spaced evenly apart. The two end
stainless steel bands should cover the nails you used to hold the staves in place during assembly. Insert threaded
rod thought the bracket. Tighten nuts evenly so that the banks are of equal tension. Before tightening nuts,
check to make sure bands are still even. Tighten nuts and install black vinyl thread protectors. You may place
the brackets at the same level or vary them at different heights depending on our styling preference.
11. Cover the bottom stave holes and install the floor with 4pcs 4*40mm screws.
12. Install the seat with 4*40mm screws.

13. Place the backrest & heater frame.
14. Heater Fence Assembly: 4pcs 6*35mm flathead screws needed.
15. After heater installation, pls fix the heater fence to the wall with 4pcs 4*40mm sharpen head screws.
16. Install the front cover (3*30mm screws).
The center of the cover must match the center of the barrel.
17.Install the wooden piece at the center of the holes of the front panel by screw
Then cover each holes with metal net cover.
Screw: 1pc 3*25mm

18. Install bitumen roof ( Pls refer to the Bitumen roof installation manual)
Bitumen roof installation
Install the triangle wood piece to the barrel with 3*30mm screws at both sides.

Pls install the shingles from bottom to the top, from both sides at the same time. 3*14mm screws needed
On the left Side:


Table of contents
Other ROYAL SAUNAS Plumbing Product manuals
Popular Plumbing Product manuals by other brands

ZUCCHETTI
ZUCCHETTI Z94147 Instruction for the installation

Gessi
Gessi EQUILIBRIO 52002 manual

Axor
Axor Starck 10801000 Instructions for use/assembly instructions

Helvex
Helvex Gourmet E-305 installation guide

Sterling Plumbing
Sterling Plumbing 71140115 Specification sheet

newform
newform BLINK CHIC instructions