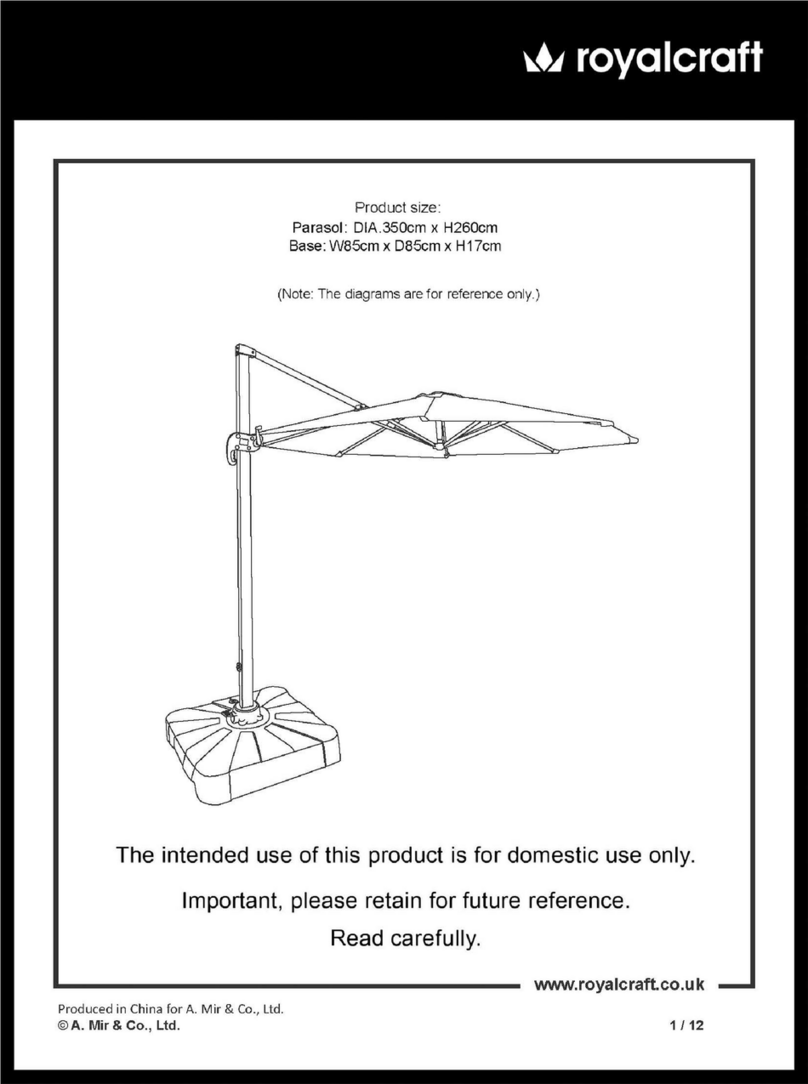
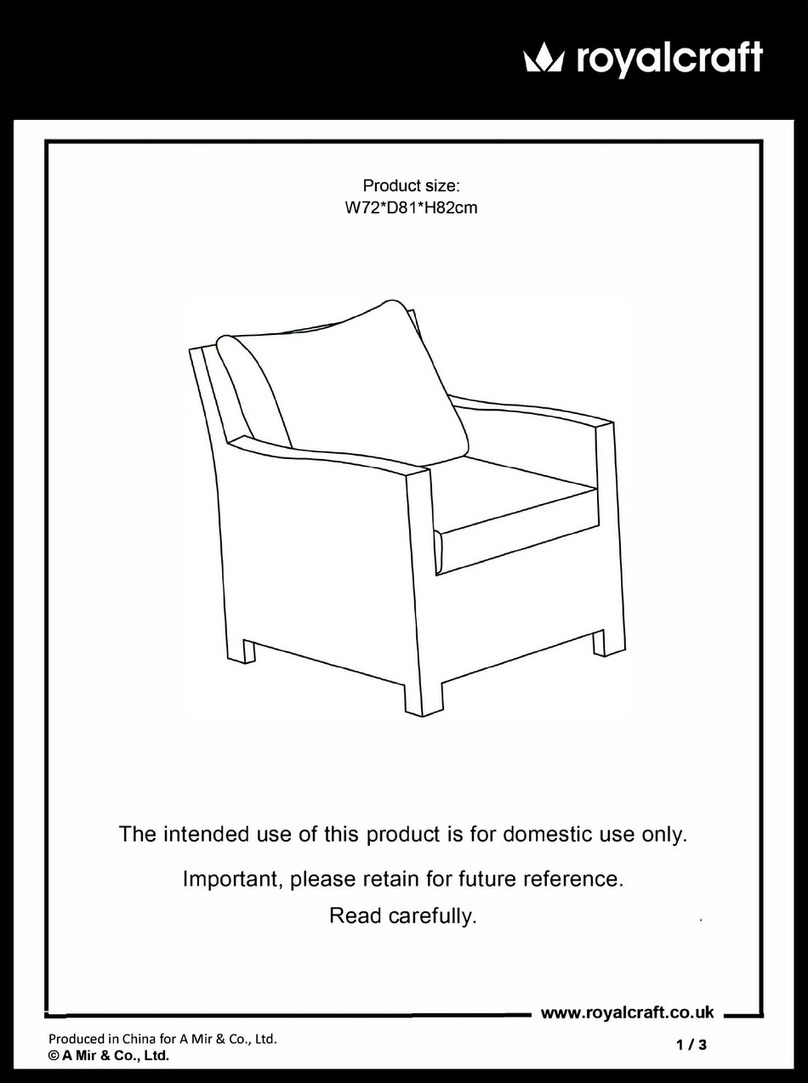
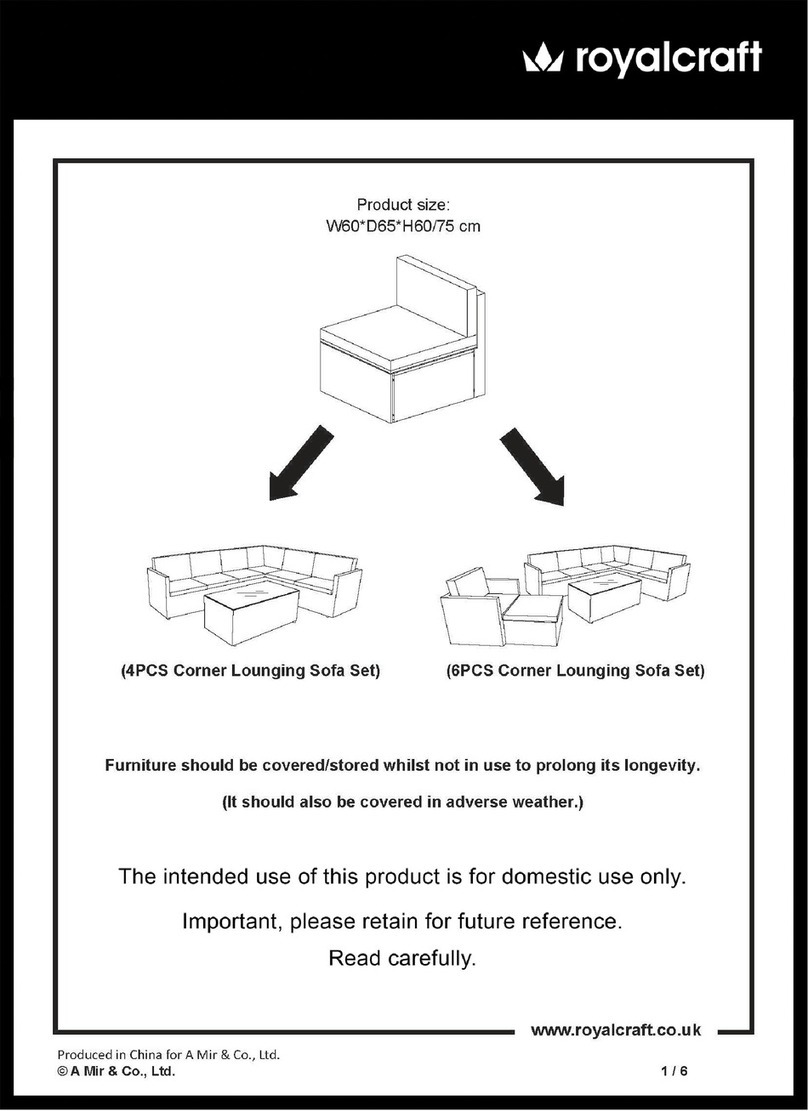
Royalcraft Verona Padded User manual

Verona Padded 6 Piece Dining Set
Assembly Instructions
ProducedinChinaforA.Mir&Co.,Ltd.
© A. Mir & Co., Ltd. 1 / 10
www.ro
y
alcraft.co.uk
Product size:
Table: L90*W90*H74 cm
Chair: W54*D71*H88.5 cm
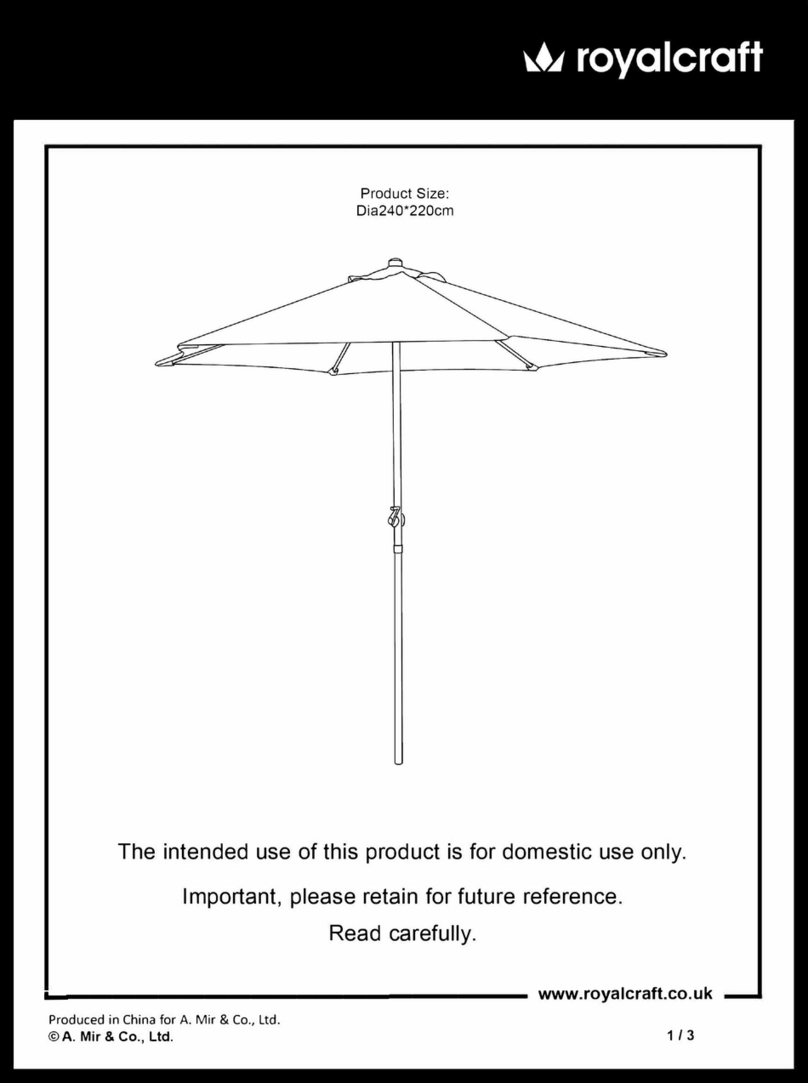
Parasol: Dia230*H213 cm
The frame of this product is manufactured from mild steel coated with a weather resistant paint.
Steel has a natural tendency to rust over time and, whilst we expect you to be able to enjoy your
furniture for many years to come, we recommend that you check the product from time to time for
signs of paint damage and/ or rust. If the paint should become damaged, or if rust begins to form,
you should clean the affected area and apply a suitable “thinners based” touch-up paint.
Such paints are readily available from all good hardware and DIY stores.”
This product is for Domestic Use only
IMPORTANT, RETAIN FOR FUTURE REFERENCE
READ CAREFULLY

Verona Padded 6 Piece Dining Set
Assembly Instructions
ProducedinChinaforA.Mir&Co.,Ltd.
© A. Mir & Co., Ltd. 2 / 10
www.ro
y
alcraft.co.uk
Before you start
Warnings
IMPORTANT, RETAIN FOR FUTURE REFERENCE
READ CAREFULLY
See enclosed instructions for assembly, safety and care
information.
Failure to follow the warnings could result in serious injury.
Handle heavy parts with care.
Ensure that this product is fully assembled as illustrated before
use.
This product should only be used on firm, level ground.
Keep small parts out of reach of children.
Do not stand or climb onto this product.
This product is intended for domestic use only.
Furniture can be dangerous if incorrectly used. No liability will be
accepted for damage or injury caused by incorrect use of this
product.
Dos
When you are ready to start, make sure that you have the right
tools, plenty of space and a clean, dry area for assembly.
Remove all packaging and banding and place the components
carefully on suitable surfaces to prevent damaging or scratching
them.
Check the pack and make sure you have all of the parts listed.
Check all screws and bolts are tightened and inspect regularly.
This product is suitable for all year outdoor use, but we
recommend that a furniture cover be used to add additional
protection to your product when not in use.
PLEASE NOTE - All cushions should be stored indoors after use.
THE CUSHIONS ARE NOT WATERPROOF.
During severe weather conditions and in the winter months we
recommend moving your furniture inside into a cool, dry place.
Before storage, ensure that the product is clean and dry.
To clean, wipe down with a sponge and warm soapy water and
wipe with a clean, dry cloth.
Cushions should be cleaned following the care instruction on the
label.
Don’ts
Do not use scourers, abrasives, washing powders, chemical cleaners
or any other substances containing abrasives since these substances
can damage the product, including the glass panel.
Never tilt the chair during use.
Do not place very hot or very cold items on the glass surface
unless adequately thick table-mats are used to prevent such
items from coming into contact with the glass.
Do not use the glass as a chopping surface. Do not strike glass
with hard or pointed items.
Do not strike the glass with hard or pointed items.
Do not use power tools to construct this product.
Do not use this product if parts are missing, damaged or worn.
Do not sit or lean on the table.
Do not stand or climb onto the product and do not use it as a ladder,
as this could lead to it unbalancing and overturning.
Never drag furniture when moving it, always lift it.
Number of people required for assembly
Two people.
Time to assemble
40 minutes
Tools required
Tips:
Do NOT fully tighten bolts before
all components are connected.
Only fully tighten once you are
satisfied with the alignment of all
components.
Do not overtighten bolts.
Verona Padded 6 Piece Dining Set
Assembly Instructions
ProducedinChinaforA.Mir&Co.,Ltd.
© A. Mir & Co., Ltd. 3 / 10
www.ro
y
alcraft.co.uk
This Dining Set is a set of 6 pieces.
Please find the member parts.
Member Part
Part No. Diagram Name Qty
MP1
Table 1 PC
MP2
Armchair 4 PCS
MP3
Parasol 1 PC

Verona Padded 6 Piece Dining Set
Assembly Instructions
ProducedinChinaforA.Mir&Co.,Ltd.
© A. Mir & Co., Ltd. 4 / 10
www.ro
y
alcraft.co.uk
Components, fixtures & fittings (not actual size)
Parts List
Part
No. Diagram Qty Part
No. Diagram Qty
A
Table Top Frame
1 PC B
Table Leg
4 PCS
C
Connecting Ring
1 PC D
Armchair Seating
4 PCS
E
Armchair Backrest
4 PCS F
Armchair Right Armrest
Leg
4 PCS
G
Armchair Left
Armrest/Leg
4 PCS F7
Self-Tapping Screw
4 PCS
N3
M6*15mm
8 PCS N21
M6*32mm
28
PCS

Verona Padded 6 Piece Dining Set
Assembly Instructions
ProducedinChinaforA.Mir&Co.,Ltd.
© A. Mir & Co., Ltd. 5 / 10
www.ro
y
alcraft.co.uk
N10
M6*50mm
4 PCS F3
M6 Washer
40
PCS
F4
M6 Nut
8 PCS F6
M6 Nut Cap
8 PCS
F10
M6 Bolt Head Cap
32
PCS
H
Seat/BackrestCushion
4 PCS
F1
Spanner
1 PC AK
Allen Key
1 PC
Step by step assembly instructions
Note: All Bolt Head Caps and Nut Caps should not be attached before finally tightening all Bolts.
Only tighten all bolts when you are satisfied with the alignment of all components.
Step by step assembly instructions
MP1 – Dining Table
Step One
With the help of another person, place Dining Table Top (A) upside down on a flat,
non-abrasive surface to avoid scratching the table surface or rim.

Verona Padded 6 Piece Dining Set
Assembly Instructions
ProducedinChinaforA.Mir&Co.,Ltd.
© A. Mir & Co., Ltd. 6 / 10
www.ro
y
alcraft.co.uk
Step Two
Locate the assembly position on
the bottom side of
the Dining Table Top (A).
Attach the Table Legs (B) onto
the assembly position
(pre-fitted plastic socket).
Fasten the Self-Tapping Screw (F7)
to fix the Table Legs (B)
Step Three
Place the Connecting Ring(C) onto the
Table Legs (B), using
Bolts (N21 ) & (N10), Washers (F3),
Nuts (F4) and Nut Caps (F6).
Please note the different assembly position for
the Bolt (N21) & (N10).
Once you are satisfied with the
alignment of the components,
carefully tighten all bolts using
Spanner (F1) & Allen Key (AK).
Do not over-tighten.

Verona Padded 6 Piece Dining Set
Assembly Instructions
ProducedinChinaforA.Mir&Co.,Ltd.
© A. Mir & Co., Ltd. 7 / 10
www.ro
y
alcraft.co.uk
Step Four
With the help of another person,
carefully turn over the table and
place it in the upright position.
Your table is now ready for use.
Note: When using a parasol with this table always use a suitable base weight.
MP2 - Armchair
Step One
With the help of another person,
assemble the Armchair Seating (D) to the
Armchair Right Armrest/Leg (F) and Left Armrest/Leg (G)
using Washers (F3), Bolts (N3 & N21) and
Bolt Head Caps (F10).
Please note the different assembly position for
the Bolt (N3) & (N21).

Verona Padded 6 Piece Dining Set
Assembly Instructions
ProducedinChinaforA.Mir&Co.,Ltd.
© A. Mir & Co., Ltd. 8 / 10
www.ro
y
alcraft.co.uk
Step Two
Insert the tube of the Armchair Backrest (E) into the
tube of the Armchair Seating (D),
align the tube holes of Armchair Backrest (E) ,
Armchair Seating (D) and the Right Armrest/Leg (F).
Assemble them together using Washers (F3),
Bolts (N21), and Bolt Head Caps (F10).
Repeat above steps for the assembly of another side.
Step Three
Place the Seat/Backrest Cushion (H) to
the partly-assembled armchair.
Your Armchair is now ready for use.
Never tilt the Armchair during use.
Ensure the product is always placed firmly
on the ground.

Verona Padded 6 Piece Dining Set
Assembly Instructions
ProducedinChinaforA.Mir&Co.,Ltd.
© A. Mir & Co., Ltd. 9 / 10
www.ro
y
alcraft.co.uk
MP3 - Parasol Parts List
Part
No. Diagram Qty Part
No. Diagram Qty
PA
Main Parasol Part
1 PC PB
Bottom Parasol Pole 1 PC

Verona Padded 6 Piece Dining Set
Assembly Instructions
ProducedinChinaforA.Mir&Co.,Ltd.
© A. Mir & Co., Ltd. 10 / 10
www.ro
y
alcraft.co.uk
Assembly & Usage Steps
1. Press the button on the Bottom Pole (PB) and insert the Bottom Pole (PB) into the
Main Parasol Part (PA).
2. Rotate clockwise the Crank to spread the parasol canopy.
3. The parasol is closed by reversing above steps.
PLEASE KEEP THESE INSTRUCTIONS FOR FUTURE REFERENCE
Safety Warning
To avoid hurting your fingers, when
you use one hand to rotate the crank
handle, another hand which is holding
the parasol pole should be placed
out of the rotating area of the crank handle.
Table of contents
Other Royalcraft Patio Furniture manuals

Royalcraft
Royalcraft Onyx User manual

Royalcraft
Royalcraft Aspen User manual

Royalcraft
Royalcraft AMALFI IVORY 2.3M PARASOL User manual

Royalcraft
Royalcraft Berlin User manual

Royalcraft
Royalcraft Faro User manual

Royalcraft
Royalcraft 735340 User manual

Royalcraft
Royalcraft 5020125294554 User manual

Royalcraft
Royalcraft Deluxe Cube Chair without Footstool User manual

Royalcraft
Royalcraft 735255 User manual

Royalcraft
Royalcraft Weather Shield Wentworth Rattan Armchair User manual