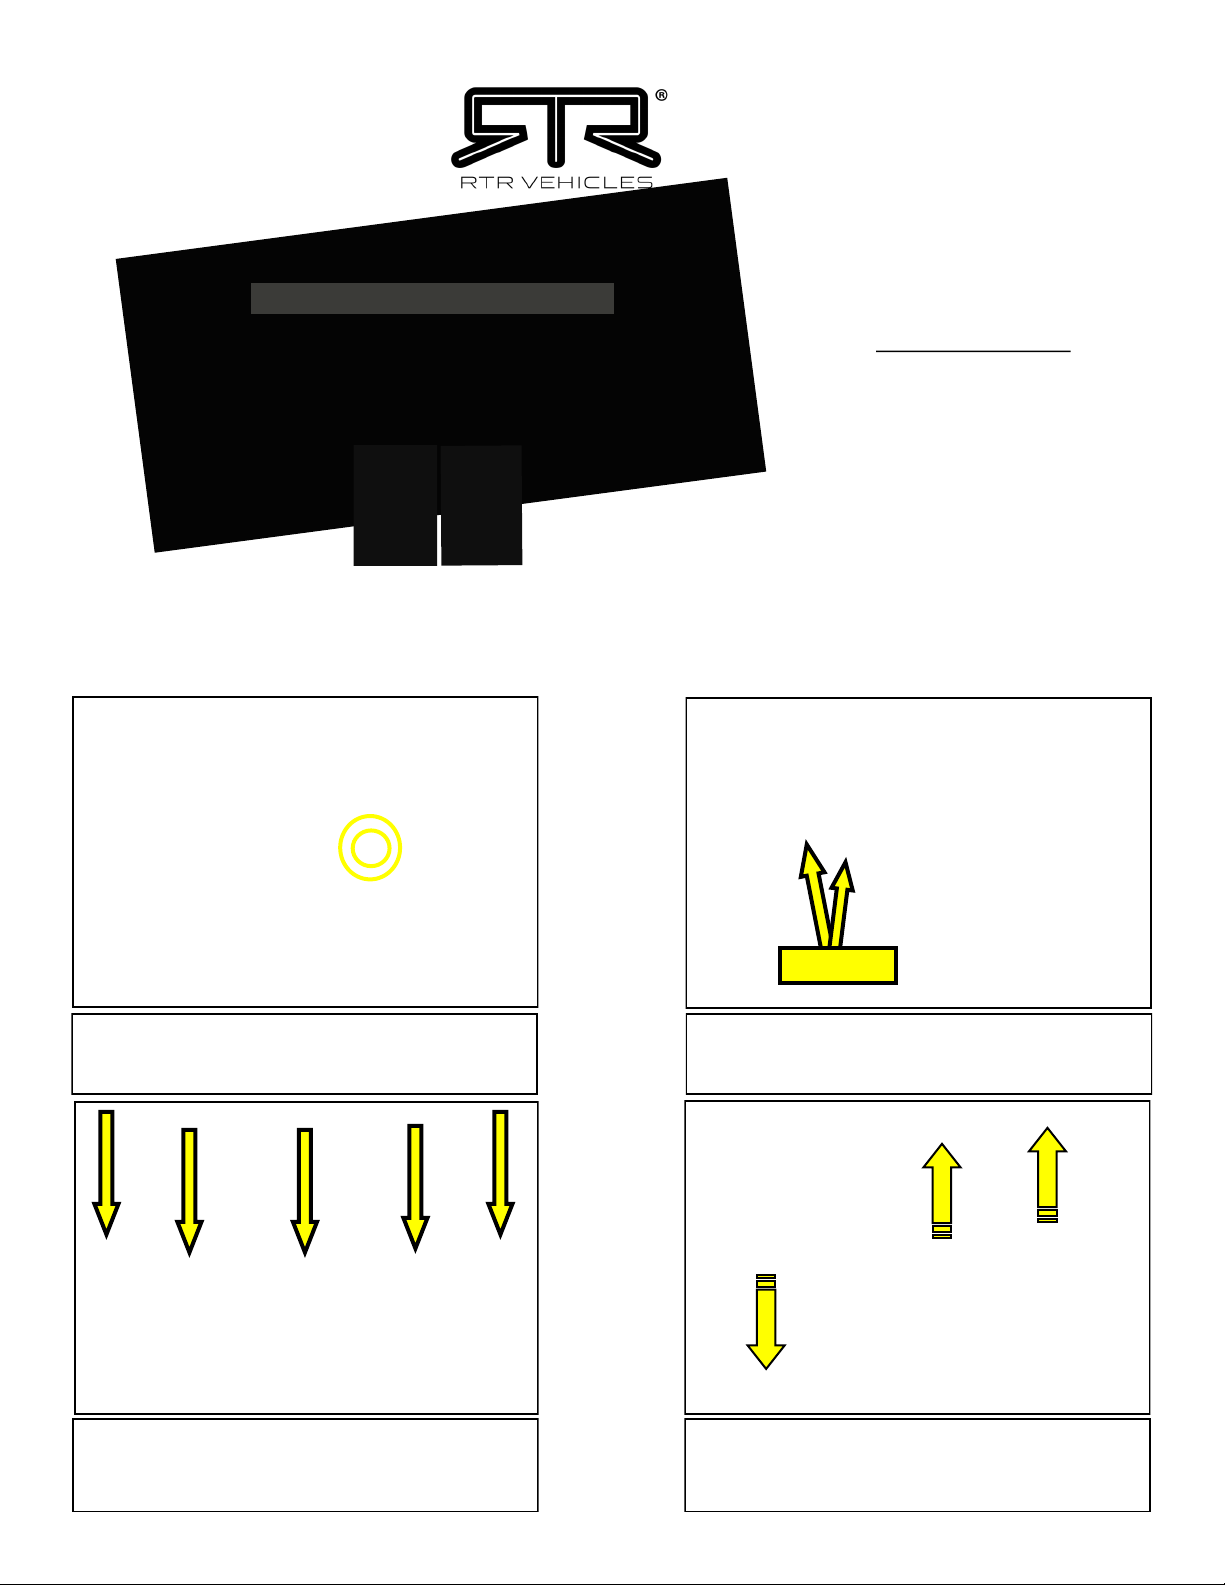
RTR 1992-7001-01 User manual

1
2019 Ford Ranger
RTR Upper Grille
Part numbers:
1992-7001-01 with Lighting Kit
1992-7003-01 with Non LED
Inserts
Components Included
1. RTR Grille 1
2. Grille Bezel 1
3.a RTR Lighng kit 1
3.b RTR Non LED Inserts 1
4. Truss head Screws 10
5. 6” Cable Ties 10
6. Grille Badge 1
NOTE: Does not t Wildtrack Ranger
1. Raise the vehicle hood and disconnect the negave
terminal on the baery.
2. Using a T-30 Torx bit, remove the airbox inlet screws
and set them aside.
3. Remove the 5 plasc rivets in the core support cov-
er.
4. Pull upward forcefully on the core support cover to
unseat it from the retenon clips. Slide the cover out
from underneath the airbox inlet and set it aside.
T-30 TORX
In addion to common hand tools, installaon of this part will require the use of a body clip
tool or equivalent, T-25 & T-30 sockets, painters tape and isopropyl alcohol.

2
5. Remove the splash shield between the grille and the
core support.
6. Using a T-25 Torx bit, remove the two screws on
each side of the splash shield.
7. Push the front of the shield downward and pull the
rear of the shield upward, and out of the vehicle.
8. Prepare the vehicle for grille removal by placing a
protecve layer of painters tape on the bumper cover,
as shown.
9. Remove the two bolts from each side of the OEM
grille and set them aside.
10. With the grille bolts removed, li up on the grille
tabs and pull the grille slightly forward to clear the lo-
caon lugs.
T-25 TORX
10 MM
SPLASH SHIELD
PAINTERS TAPE
LOCATION LUG

3
11. From behind the grille, depress the seven locking
tabs securing the grille to the bumper cover.
12. Pull the grille forward, away from, and out of the
vehicle.
13. Set the RTR bezel onto the RTR grille and align the
mounng tabs and slots.
14. Press rmly onto the bezel to seat the tabs in all of
the grille slots.
15. Use the 10 supplied screws to nish creang the
grille and bezel assembly. RTR recommends installing
these by hand. Do not over ghten the screws.
16. Install the speed nuts onto the LEDs or Inserts as
shown, with the at side facing outward and the
threads facing inward.
TAB LOCATIONS
NOTE: The remainder of this manual contains informaon regarding the installaon of the oponal LED Lighng. If this install does
not include Lighng, disregard any irrelevant steps.

4
17. Route the wiring harness through the front of the
Grille and insert the LED or Insert into the RTR grille.
The LEDs and Inserts are side specic and are marked
accordingly on the back side.
18. Align the speed nuts with the holes in the grille and
secure the LED or Insert using the 5mm screws and at
washers.
19. Install the second LED or Insert into the grille and
lay the wiring harnesses up and away from the grille as
shown.
21. Carefully slide the grille and light assembly into the
vehicle as shown, with the wiring on top of the core
support. Press rmly at all tab locaons to lock the
grille in.
22. Disconnect the head lamp. Connect the OEM head-
lamp harness to the RTR LED harness. Connect the sec-
ond RTR connector to the head lamp assembly.
20. Reinstall the splash shield onto the vehicle using
the hardware removed in step 6.
WIRING

5
23. Reconnect the baery and perform a funcon test
of the lighng. Troubleshoong ps are on page 6.
OPERATION: The RTR grill lamps are triggered o of
the parking lamp circuit. The LEDs will be illuminated
when the parking lights are on or when the headlights
are turned on.
24. Once LED funconality has been conrmed, begin
to neatly route the wiring harness as shown.
25. Slide the grille tabs over the locaon lugs and se-
cure the grille using the hardware removed in step 9.
26. Find a suitable locaon for the LED Drivers. Thor-
oughly clean the locaon with a clean towel and Iso-
propyl Alcohol. Peel o the adhesive backing and
mount the drivers.
27. Finish roung the LED wiring and secure it using
the supplied cable es.
28. Return the core support cover to the vehicle and
push the tabs into the clips.
ADHESIVE BACKING
SECURE WIRING

6
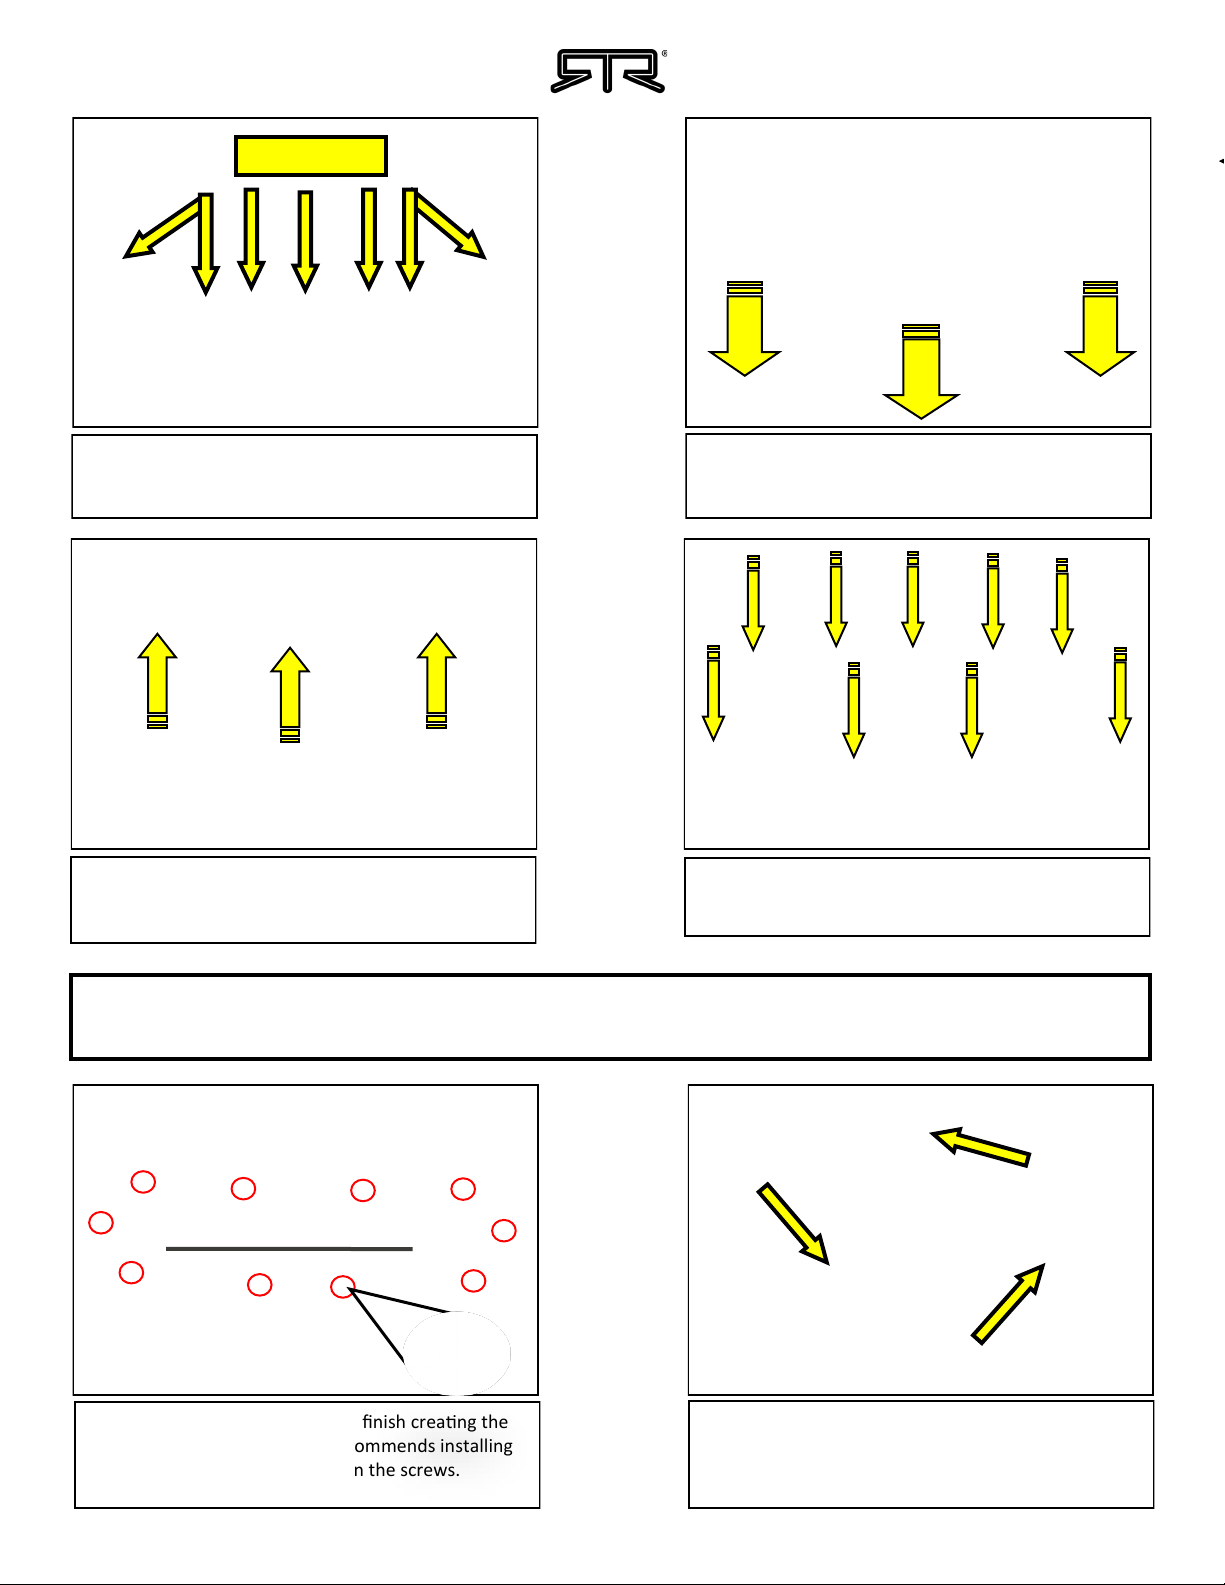
29. Secure cover using the 5 plasc rivets removed in
step 3.
30. Secure the air box inlet using the hardware re-
moved in step 2.
31. Clean the badge recess on the RTR grille using iso-
propyl alcohol and mount the badge onto the Grille.
32. Remove the painters tape from the vehicle. Instal-
laon is now complete.
Troubleshoong
If lamps do not illuminate, unplug the connector, inspect the connector terminals, making sure they are straight, and recon-
nect.
If there is sll no funcon, make sure the light switch is turned to the parking or headlamp posion. The lamps should be
turned on any me your truck's lights are illuminated.
If LED Grille is illuminated, but headlamps are inoperable, conrm that the inline connector is connected on both sides, both to
the factory harness and to the headlamp.
If you observe condensaon in the lamps, keep vehicle in a dry locaon for 1-2 days to allow the internal pressure of the lamp
to equalize. If condensaon does not disappear, or moisture persists, contact RTR Vehicles.
Care
Clean the lamps using a mild soluon of car soap and water.
Do not use any harsh solvents or cleaners.
Wipe the lenses dry using a clean microber cloth.
Do not use the hi pressure hose seng at the car wash or a pressure washer to clean the Lights.
Customer Support: 1 (866) 839-7444 Customer Support Hours: Mon - Fri, 9:00 AM EST - 4:00 PM EST
T-30 TORX
REV.11.15.19
This manual suits for next models
1
Table of contents
Popular Automobile Accessories manuals by other brands

Techart
Techart 096.100.480.009 Mounting instructions

Thule
Thule 123 Mounting & installation

Convoy Technologies
Convoy Technologies RVM-0744 installation manual

Access
Access SLANTBACK Roll-Up Cover Installation instructions and owner's manual

Webasto
Webasto Hollandia 400 Deluxe operating manual

Kolpin
Kolpin 2756 Product instructions