EN-6
24. – press to play/pause a track or mute radio
25. CONTROL KNOB / SELECT
Rotate to adjust volume from a Now-playing screen
Rotate to browse menus, tracks or station lists
Press to select
26. – press to skip to next station/track/menu option
27. – press to skip to previous station/track/menu option
28. PRESET – press to recall a saved station or press and
hold for two seconds to save a radio station
29. SOURCE – press to change audio source
30. ALARM/SLEEP – press once to set alarm 1, press twice
to set alarm 2 or press and hold for two seconds to set
sleep timer
31. MENU – press to show the menu or navigate back to
the previous menu or folder. Press and hold to return to
the Now Playing screen.
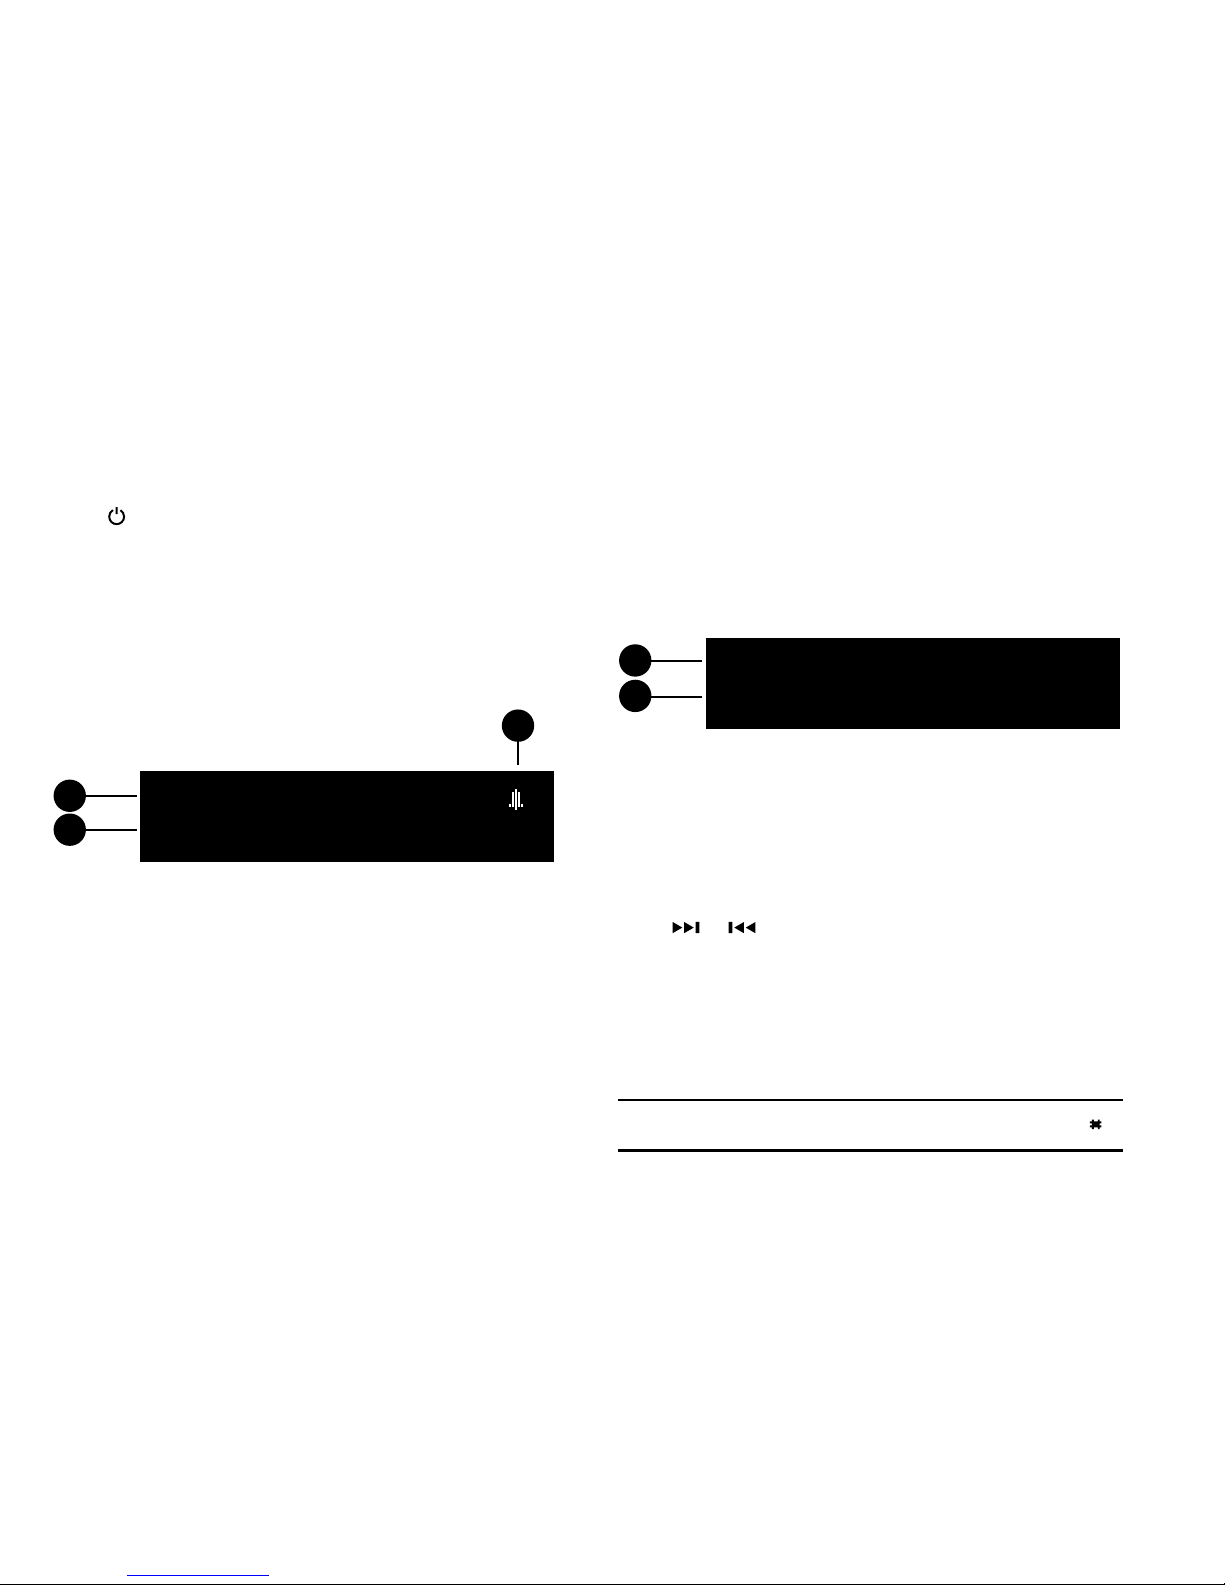
32. INFO – press to change the displayed information about
the current station or track
33. Indicator light – indicates your R4 is on and ashes
when Bluetooth is ready to pair or when pressing a key
on the remote.
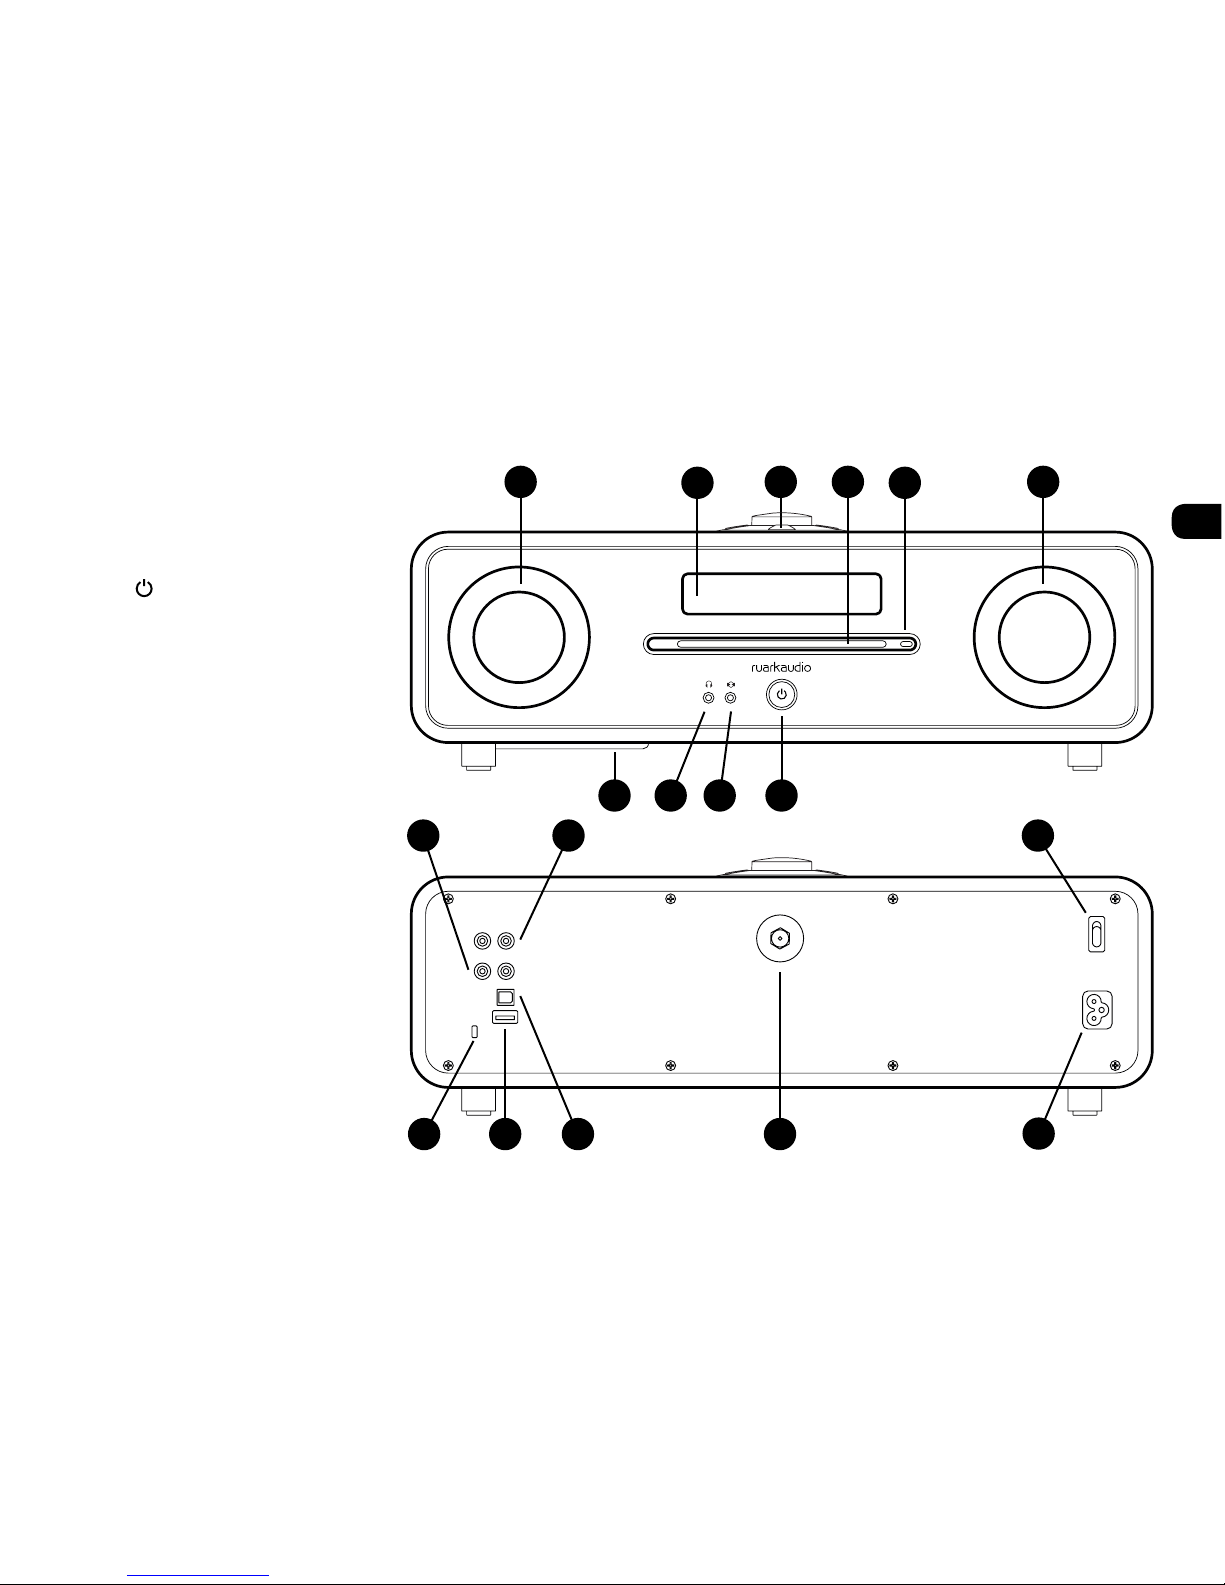
Controls
24
26
32
28
29
25
31
27
30
33
How long you press a key is important
Press = tap or press and immediately release
Press and hold = press and release after two seconds