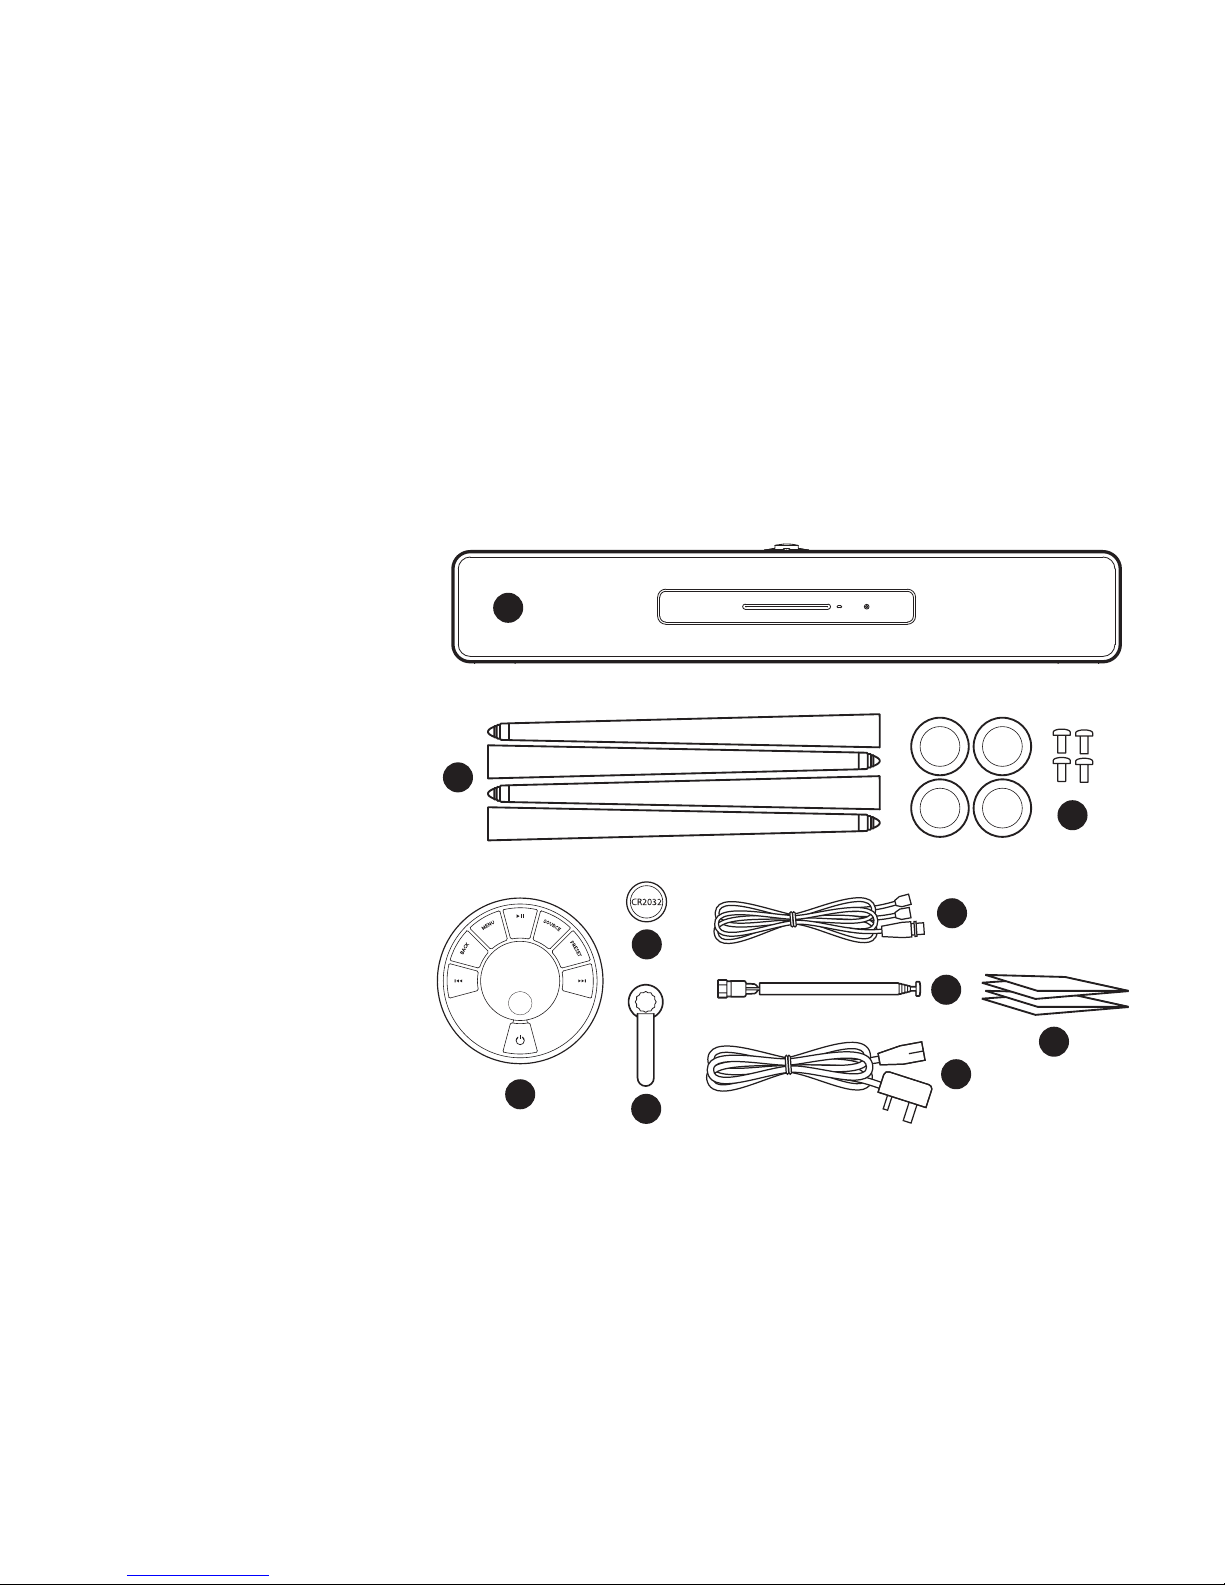
Fitting legs or feet
Get help with moving your R7 as it is
heavy and easily damaged!
Carefully take your R7 out of its
protective bag and place it on its side
on a stable, clean and non-marking
surface like a rug or the bag.
To mount your R7 on legs, screw the
four legs into the mounting plates
on the underside of the cabinet and
hand-tighten each leg so that it is
secure but take care not to overtighten.
Carefully turn your R7 over and move it
into its nal position and, if necessary,
adjust the leg tips to ensure it is
completely stable.
To mount your R7 on feet, place a
foot onto each of the four mounting
plates on the underside of the cabinet,
ensuring each is correctly aligned. Use
a suitable screwdriver to secure them
with the screws provided. Carefully turn
your R7 over and place it on a suitably
strong and secure surface. The R7 is heavy and improper handling
can result in damage or personal injury.
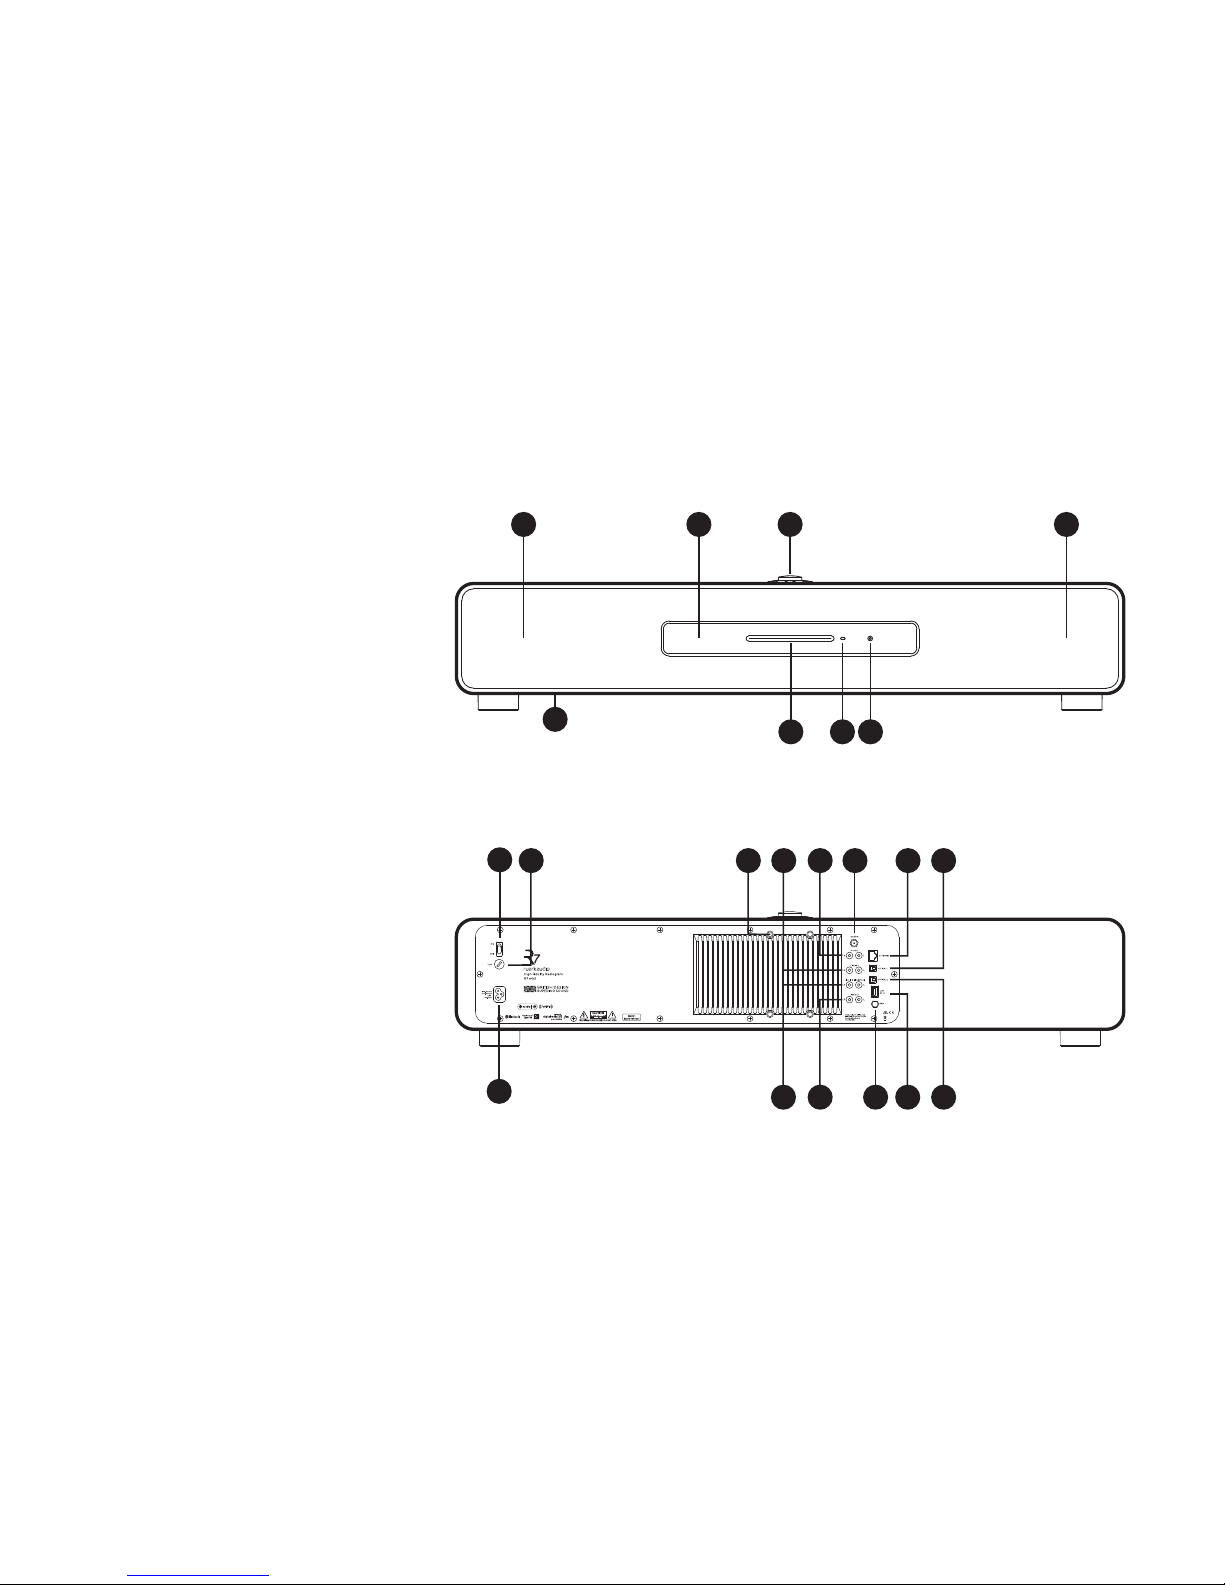
Take care not to damage
the speaker grilles when
moving your R7.