manuals.online logo
Brands
  1. Home
  2. •
  3. Brands
  4. •
  5. Russell Hobbs
  6. •
  7. Toaster
  8. •
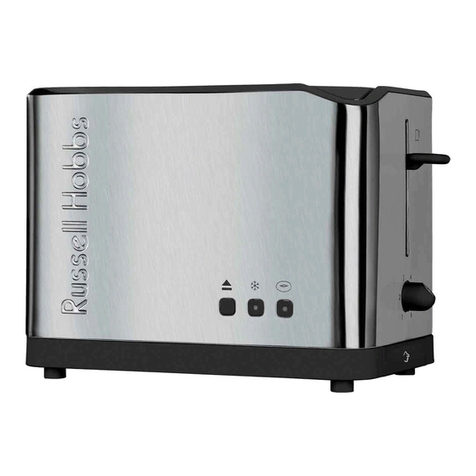
  9. Russell Hobbs 20750 User manual

Russell Hobbs 20750 User manual

Other manuals for 20750

3

Other Russell Hobbs Toaster manuals

Russell Hobbs RHST 127V User manual

Russell Hobbs

Russell Hobbs RHST 127V User manual

Russell Hobbs 21682-56 User manual

Russell Hobbs

Russell Hobbs 21682-56 User manual

Russell Hobbs Groove RHT722 Series Installation guide

Russell Hobbs

Russell Hobbs Groove RHT722 Series Installation guide

Russell Hobbs 13790 User manual

Russell Hobbs

Russell Hobbs 13790 User manual

Russell Hobbs 18951-56 User manual

Russell Hobbs

Russell Hobbs 18951-56 User manual

Russell Hobbs CARLTON Installation guide

Russell Hobbs

Russell Hobbs CARLTON Installation guide

Russell Hobbs 18662-56 User manual

Russell Hobbs

Russell Hobbs 18662-56 User manual

Russell Hobbs RHT2RET Installation guide

Russell Hobbs

Russell Hobbs RHT2RET Installation guide

Russell Hobbs 26150-56 User manual

Russell Hobbs

Russell Hobbs 26150-56 User manual

Russell Hobbs Midnight RHT82BKF Installation guide

Russell Hobbs

Russell Hobbs Midnight RHT82BKF Installation guide

Russell Hobbs STRUCTURE RHT334 Series Installation instructions manual

Russell Hobbs

Russell Hobbs STRUCTURE RHT334 Series Installation instructions manual

Russell Hobbs 14340 User manual

Russell Hobbs

Russell Hobbs 14340 User manual

Russell Hobbs Hobbs 22601-56 User manual

Russell Hobbs

Russell Hobbs Hobbs 22601-56 User manual

Russell Hobbs 10967-56 User manual

Russell Hobbs

Russell Hobbs 10967-56 User manual

Russell Hobbs 13979 User manual

Russell Hobbs

Russell Hobbs 13979 User manual

Russell Hobbs 10617 User manual

Russell Hobbs

Russell Hobbs 10617 User manual

Russell Hobbs 13973 User manual

Russell Hobbs

Russell Hobbs 13973 User manual

Russell Hobbs 26392-56 User manual

Russell Hobbs

Russell Hobbs 26392-56 User manual

Russell Hobbs 18260SAM Installation guide

Russell Hobbs

Russell Hobbs 18260SAM Installation guide

Russell Hobbs RH4T9379 User manual

Russell Hobbs

Russell Hobbs RH4T9379 User manual

Russell Hobbs 28091-56 User manual

Russell Hobbs

Russell Hobbs 28091-56 User manual

Russell Hobbs RH2T9376 User manual

Russell Hobbs

Russell Hobbs RH2T9376 User manual

Russell Hobbs 23334-56 User manual

Russell Hobbs

Russell Hobbs 23334-56 User manual

Russell Hobbs 24380 User manual

Russell Hobbs

Russell Hobbs 24380 User manual

Popular Toaster manuals by other brands

West Bend SOHO Toaster instruction manual

West Bend

West Bend SOHO Toaster instruction manual

Philips HD2615/80 user manual

Philips

Philips HD2615/80 user manual

Taurus ARCTIC 960648 quick start guide

Taurus

Taurus ARCTIC 960648 quick start guide

KitchenAid KTT570 instructions

KitchenAid

KitchenAid KTT570 instructions

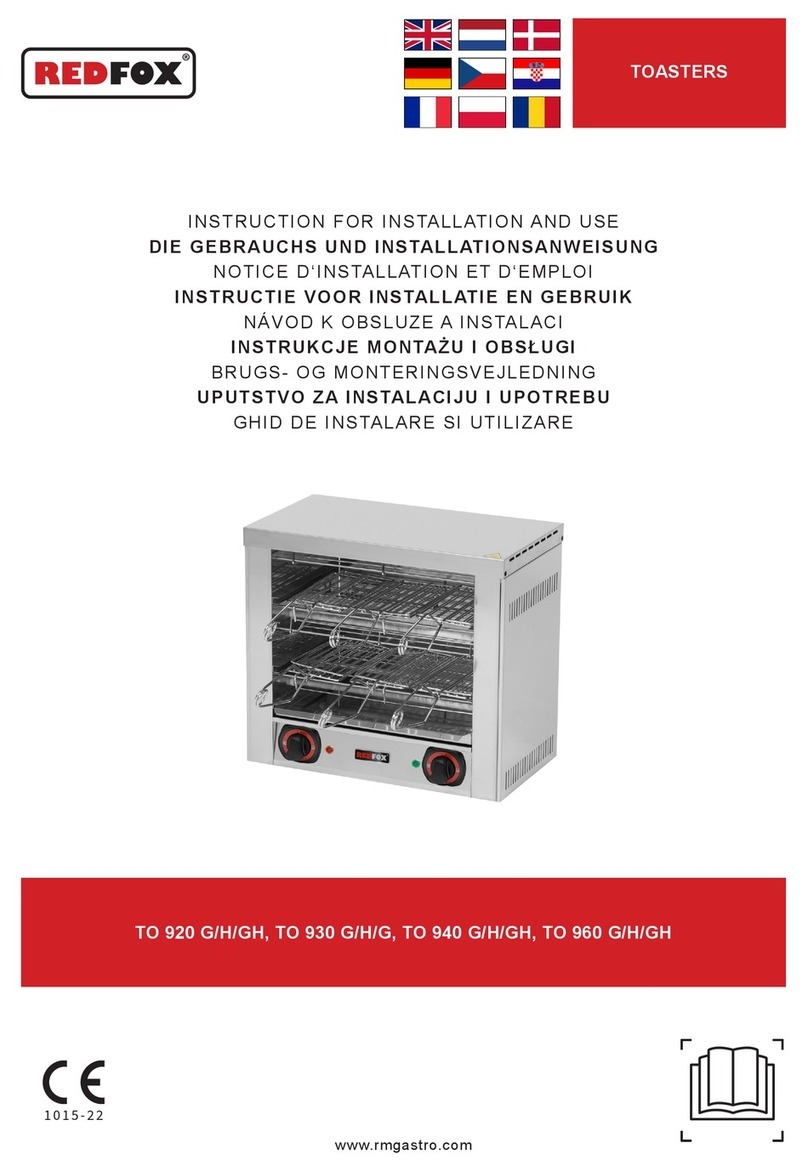
Redfox TO 920 G Instructions for installation and use

Redfox

Redfox TO 920 G Instructions for installation and use

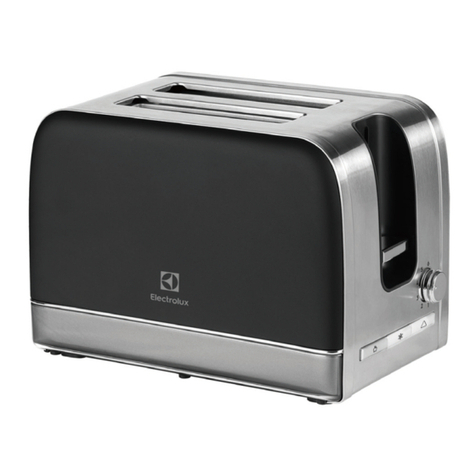
Electrolux EAT978 Instruction book

Electrolux

Electrolux EAT978 Instruction book

SEVERIN SA 9275 manual

SEVERIN

SEVERIN SA 9275 manual

Breville the Big One BTS100 Instruction booklet

Breville

Breville the Big One BTS100 Instruction booklet

Sunbeam TA2540 user guide

Sunbeam

Sunbeam TA2540 user guide

ARENDO 305716 user manual

ARENDO

ARENDO 305716 user manual

Life Crispy AT-001 user manual

Life

Life Crispy AT-001 user manual

Beko TAM 6201 I user manual

Beko

Beko TAM 6201 I user manual

Zephir ZHC485 instruction manual

Zephir

Zephir ZHC485 instruction manual

H.Koenig TOS9 instruction manual

H.Koenig

H.Koenig TOS9 instruction manual

ZIEGELMULLER Ritter ET 10 Operating and assembly instructions

ZIEGELMULLER

ZIEGELMULLER Ritter ET 10 Operating and assembly instructions

HURAKAN HKN-TOP3 manual

HURAKAN

HURAKAN HKN-TOP3 manual

Magio MG-275 instruction manual

Magio

Magio MG-275 instruction manual

Philips HD2565 manual

Philips

Philips HD2565 manual

manuals.online logo
manuals.online logoBrands
  • About & Mission
  • Contact us
  • Privacy Policy
  • Terms and Conditions

Copyright 2025 Manuals.Online. All Rights Reserved.

CUSTOMER SERVICE
If you ring Customer Service, please have the Model Number to hand, as we won’t be able to
help you without it. It’s on the rating plate (usually underneath the product).
The product isn’t user-serviceable. If it’s not working, read the instructions, check the plug
fuse and main fuse/circuit breaker. If it’s still not working, consult your retailer.
If that doesn’t solve the problem – ring Customer Service – they may be able to oer technical
advice.
If they advise you to return the product to us, pack it carefully, include a note with your name,
address, day phone number, and what’s wrong. If under guarantee, say where and when
purchased, and include proof of purchase (till receipt). Send it to:
Customer Service, Spectrum Brands (UK) Ltd, Fir Street, Failsworth, Manchester M35 0HS
email: suppor[email protected]om
telephone: 0345 658 9700 (local rate number)
Please note: If you have purchased the product within the last 6 months, please contact the
retailer in the rst instance to deal with any matters relating to warranty.
JONLINE
www.russellhobbs.co.uk for more products
T22-9001559
FROZEN BREAD
1. Leave the browning control at your favoured setting, insert the
frozen bread, lower the lever, then press the fbutton.
2. The flight will come on, and the toasting time will be altered
automatically to give the same degree of browning you get
with unfrozen bread.
REHEATING TOAST
1. Leave the browning control at your favoured setting, insert the
bread, lower the lever, then press the mbutton.
2. The mlight will come on, and the toast will be given a short
burst of heat.
3. Only reheat plain, “unbuttered” toast.
CARE AND MAINTENANCE
1. Unplug the appliance and let it cool.
2. Wipe outer surfaces with a damp cloth.
RECYCLING
W
To avoid environmental and health problems due to hazardous
substances, appliances and rechargeable and non-rechargeable
batteries marked with one of these symbols must not be disposed of
with unsorted municipal waste. Always dispose of electrical and
electronic products and, where applicable, rechargeable and
non-rechargeable batteries, at an appropriate ocial recycling/
collection point.
GUARANTEE
Defects aecting product functionality appearing within the
guarantee period will be corrected by replacement or repair at our
option provided the product is used and maintained in accordance
with the instructions. Your statutory rights are not aected.
Guarantee period = 2 years from rst retail purchase.
To claim an extra 1 year guarantee, register your product online within
28 days of purchase.
Register at: www.russellhobbs.co.uk/productregister/
Consumables are guaranteed only for their recommended lifecycle.
Replacement/Spare parts* are excluded and are only covered by a 1
year warranty.
* Examples include lters, removable grill plates, drip trays/crumb trays etc.
r
20750
I www.russellhobbs.com
Register online for an EXTRA year guarantee
Visit www.russellhobbs.com/product-registration
You must register within 28 days of purchase
Read the instructions, keep them safe, pass them on if you pass the
appliance on. Remove all packaging before use.
IMPORTANT SAFEGUARDS
Follow basic safety precautions, including:
This appliance can be used by children aged from 8
years and above and persons with reduced physical,
sensory or mental capabilities or lack of experience and
knowledge if they have been supervised/instructed
and understand the hazards involved.
Children shall not play with the appliance.
Cleaning and user maintenance shall not be done by
children unless they are older than 8 and supervised.
Keep the appliance and cable out of reach of children
under 8.
Don’t connect the appliance via a timer or remote
control system.
Bread can burn therefore do not use the appliance near
or below combustible materials such as curtains. Never
use the appliance below wall cupboards or shelves.
Do not leave the appliance unattended while it is in
use.
¬ The surfaces of the appliance will get hot.
Remove and empty the crumb tray regularly. Wipe
with a damp cloth, dry, then replace in the toaster.
If the cable is damaged, return the appliance, to avoid
hazard.
This appliance is intended to be used in household and
similar applications such as:
• staff kitchen areas in shops, offices and other
working environments;
• by clients in hotels, motels and other residential
type environments;
• bed and breakfast type environments;
• farm houses.
bDo not use this appliance near bathtubs, showers, basins or
other vessels containing water.
• Don’t toast or reheat bread that is too thick, buttered, torn, or
misshapen.
• Take extra care when toasting items that contain sugar, jam,
seeds, currants, etc. These can melt or drop into the toaster and
cause overheating or re.
• If bread gets jammed, unplug the toaster, let it cool, and
carefully remove the bread.
• Never use a knife, fork or any other implement to remove
jammed bread. As well as potentially damaging the toaster,
there is a risk of electric shock!
HOUSEHOLD USE ONLY
PARTS
1. Toasting slot
2. Lever
3. Browning control
4. Crumb tray
5. Light
BEFORE FIRST USE
Set the browning level to maximum (6). Operate the appliance empty,
to cure the new elements. This may smell a bit, but it’s nothing to
worry about. Ensure the room is well ventilated.
TOASTING BREAD
1. Sit the toaster upright on a rm, level, heat-resistant surface.
2. Put the plug into the power socket.
3. Turn the browning control to the required setting (1 = light,
6 = dark).
4. Put bread into the toasting slot (maximum thickness 26mm).
5. Press the lever down fully. It won’t lock down unless the toaster
is connected to the electricity supply.
6. When it’s done, the toast will pop up.
7. To stop toasting, press the 5button.
• You may raise the lever further, to remove small items.
h b
i
e
5
f
m
j
5
f
m
g g
f
f