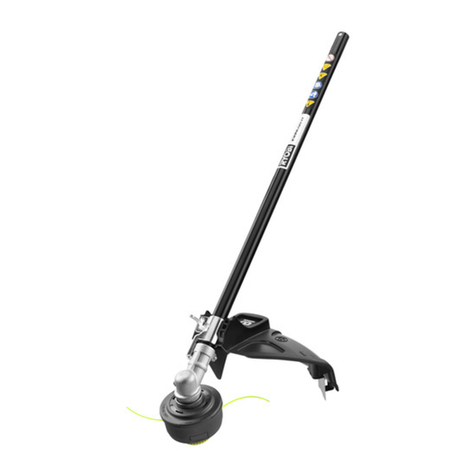
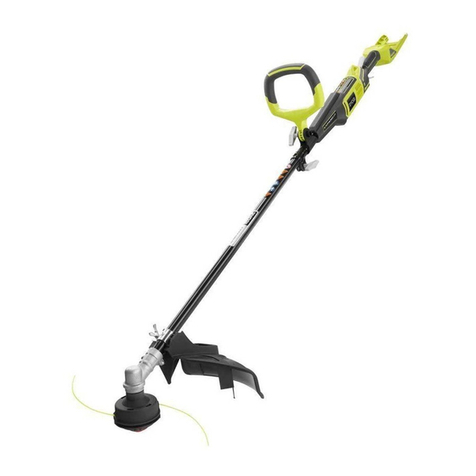
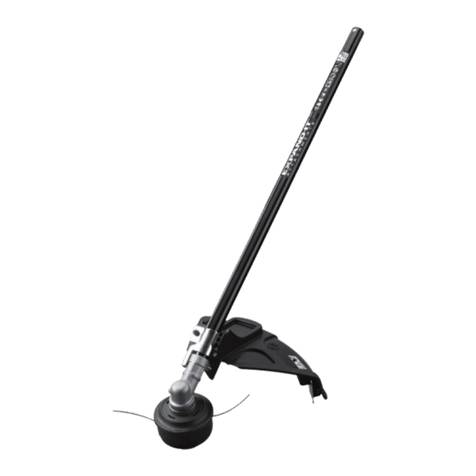
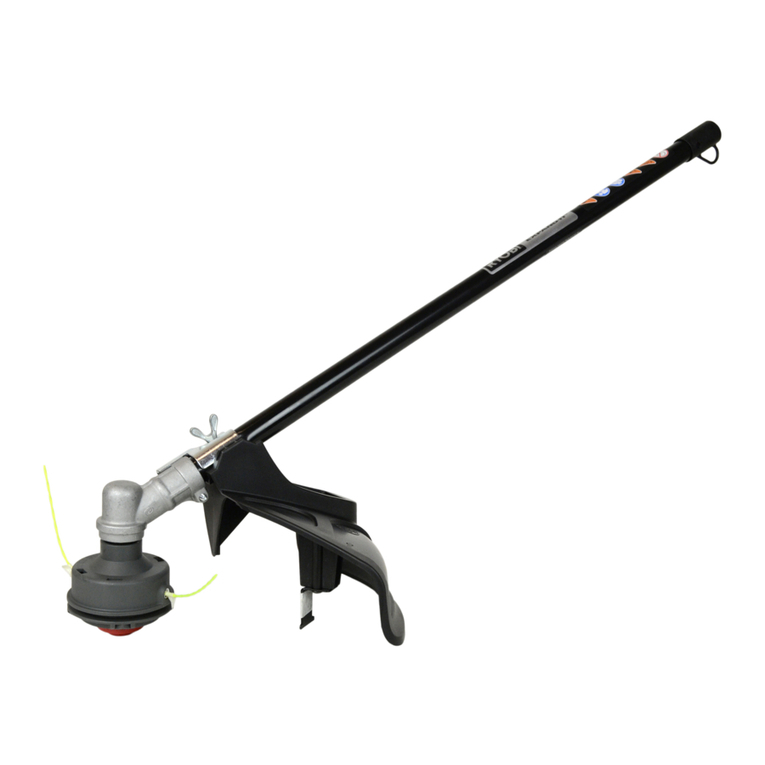
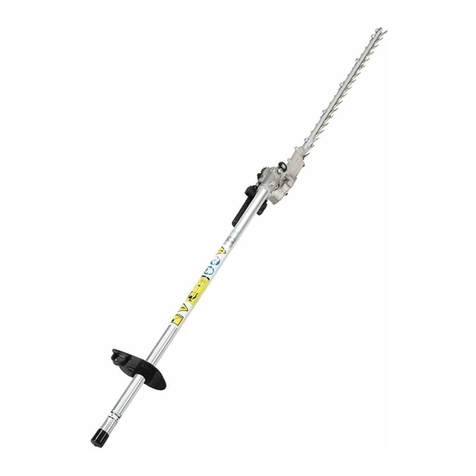
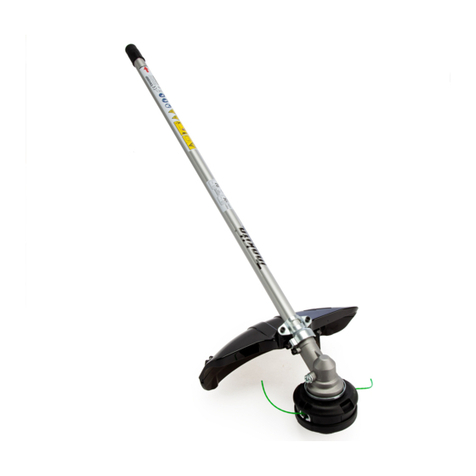
Ryobi EXPAND-IT ALT04G User manual

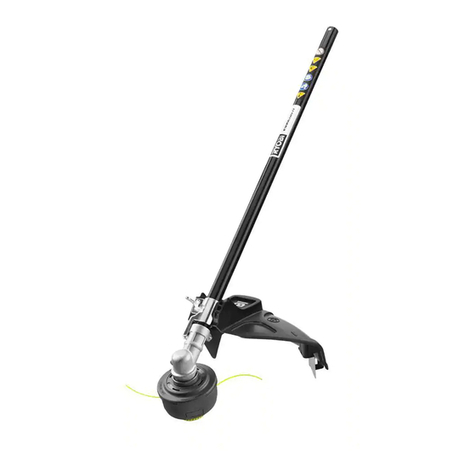
LINE TRIMMER ATTACHMENT
OPERATOR’S MANUAL (Original Instructions)
ALT04G
Important! It is essential that you read the instructions in this manual
before assembling, maintaining and operating this machine.
Subject to technical modifications.

1
ENGLISH (Original Instructions)
Safety, performance, and dependability have been given
top priority in the design of your line trimmer attachment.
INTENDED USE
This product is intended to be used only by adults who
have read and understood the instructions and warnings
in this manual and can be considered responsible for their
actions. This product is only intended for use outdoors in a
well ventilated area. For safety reasons, the product must
be adequately controlled by using two-handed operation.
This product is designed for cutting grass, light weeds,
and other similar vegetation at or about ground level.
The cutting plane should be approximately parallel to the
ground surface.
This product should not be used to cut or trim hedges,
bushes, or other vegetation where the cutting plane is not
or about ground surface level.
WARNING
Read and understand all instructions. Failure
to follow all instructions listed below, may result
in electric shock, fire and/or serious personal
injury. This attachment is suitable for use with
petrol power heads ONLY.
SAVE THESE INSTRUCTIONS.
GENERAL SAFETY RULES
■ For safe operation, read and understand all
instructions before using the attachment. Follow
all safety instructions. Failure to follow all safety
instructions listed below, can result in serious
personal injury.
■ Do not allow children or untrained individuals to use
the product.
■ Wear safety glasses or goggles and hearing
protection when operating the product, in accordance
with EN 166.
■ Wear heavy long trousers, boots, and gloves. Do not
wear loose fitting clothing, shorts, jewelry of any kind,
or go barefoot.
■ Clear the work area before each use. Remove all
objects such as rocks, broken glass, nails, wire, or
string which can be thrown or become entangled in
the line head.
■ Secure long hair so it is above shoulder level to
prevent entanglement in any moving parts.
■ Keep all bystanders, children, and pets at least 15 m
away.
■ Do not operate the product when you are tired, ill, or
under the influence of alcohol, drugs, or medication.
■ Do not operate in poor lighting.
■ Keep firm footing and balance. Do not overreach.
Overreaching can result in loss of balance or
exposure to hot surfaces.
■ Keep all parts of your body away from any moving
part.
■ Do not touch areas around the silencer or engine of
the power head, these parts get hot from operation.
Failure to do so could result in possible serious
personal injury.
■ Always stop the engine and remove the spark plug
wire before refuelling, cleaning, maintenance or
storage except for carburetor adjustments.
■ Inspect the product before each use for loose
fasteners, damaged or missing parts. Correct before
using the attachment. Failure to do so can cause
serious injury.
■ Check for damaged parts. Before further use of
the appliance, any part that is damaged should be
carefully checked to determine that it will operate
properly and perform its intended function. Check
for alignment of moving parts, binding of moving
parts, breakage of parts, mounting, and any other
conditions that may affect its operation. A guard
or other part that is damaged should be properly
repaired or replaced by an authorised service center.
■ Use only original manufacturer’s replacement parts.
Failure to do so may cause poor performance,
possible injury, and will void your warranty.
■ Do not, under any circumstance, use any attachment
or accessory on the product which was not provided
with the product or identified as appropriate for use
with the product in the operator’s manual.
■ It has been reported that vibrations from hand-held
tools may contribute to a condition called Raynaud’s
Syndrome in certain individuals. Symptoms may
include tingling, numbness and blanching of the
fingers, usually apparent upon exposure to cold.
Hereditary factors, exposure to cold and dampness,
diet, smoking and work practices are all thought to
contribute to the development of these symptoms. It
is presently unknown what, if any, vibrations or extent
of exposure may contribute to the condition. There
are measures that can be taken by the operator to
possibly reduce the effects of vibration:
a) Keep your body warm in cold weather. When operating
the product, wear gloves to keep the hands and wrists warm.
It is reported that cold weather is a major factor contributing
to Raynaud’s Syndrome.
b) After each period of operation, exercise to increase
blood circulation.
c) Take frequent work breaks. Limit the amount of exposure
per day.

2
ENGLISH (Original Instructions)
■ If you experience any of the symptoms of this
condition, immediately discontinue use and see your
physician about these symptoms.
WARNING
The product is not intended for use by persons
(including children) with reduced physical, sensory
or mental capabilities, or lack of experience and
knowledge, unless they have been given supervision
or instruction concerning use of the product by a person
responsible for their safety.
Children should be supervised to ensure that they do
not play with the product.
SPECIFIC SAFETY RULES FOR TRIMMER USE
■ Replace line head if cracked, chipped, or damaged
in any way. Be sure the line head is properly installed
and securely fastened. Failure to do so can cause
serious injury.
■ Make sure all guards, straps, deflectors and handles
are properly and securely attached.
■ Use only the manufacturer's replacement line in
the cutting head. Do not use any other cutting
attachment.
■ Never operate the product without the grass deflector
in place and in good condition.
■ Maintain a firm grip on both handles while trimming.
Keep line head below waist level. Never cut with
the line head located over 76 cm or more above the
ground.
SAFETY INSTRUCTIONS FOR POWER HEADS
■ Always stop the engine, remove the spark plug
wire, and allow the product to cool before refuelling,
cleaning, maintenance or storage.
■ The product is very noisy when operating, to prevent
long term hearing damage, wear hearing protection
and keep other persons 15m away from the work
area. Operating similar tools nearby increases risk of
injury.
■ Use of hearing protection reduces your ability to hear
warnings (shouts or alarms). The operator must pay
extra attention to what is going on in the work area.
■ Always drain the fuel tank outdoors, well away from
sparks, flames and other sources of ignition. Allow
the engine to cool before draining.
■ Always refuel outdoors in a well ventilated area
away from sparks, flames and other ignition sources.
Choose a hard level surface for this task.
■ Always mix, transport and store fuel in a container
approved for petroleum.
■ Never store the product with fuel in the tank inside a
building where there could be sources of ignition. e.g.
heating and water boiler's etc.
STORING THE PRODUCT
Storing the product differs depending on the amount of
time it will be in storage.
TO STORE THE PRODUCT SHORT TERM
Follow these steps to store the product short term.
■ Clean all foreign material from the product.
■ Store the product in a well-ventilated place that is
inaccessible to children.
TO STORE THE PRODUCT LONG TERM
If you do not intend to use the product for more than one
month, follow the storage procedures below.
Follow these steps to store the product long term.
■ Drain all of the fuel from the tank into a container
approved for petrol.
■ Run the engine until it stops.
■ Clean all foreign material from the product.
■ Store the product in a well-ventilated place that is
inaccessible to children.
NOTE: Keep the product away from corrosive
agents such as garden chemicals and de-icing salts.
Important: Abide by all local regulations for the safe
storage and handling of petrol.
■ Never start or run the engine in a closed or poorly
ventilated area; breathing exhaust fumes can kill.
■ Inspect the product before each use for loose
fasteners, fuel leaks, etc. Replace any damaged
parts before use.
■ Keep petrol and oil away from the eyes. If petrol
or oil comes in contact with the eyes, wash them
immediately with clean water. If irritation is still
present, see a doctor immediately.
■ Ensure to properly close and tighten the caps on both
fuel tanks and fuel containers.
■ To reduce the fire hazard, keep the engine, silencer,
and petrol storage area free of grass, leaves or
excessive grease.
WARNING
Always shut off engine before fuelling. Never add
fuel to a machine with a running or hot engine.
Clean up any spillages and move at least 9m
from refuelling site before starting engine. Do
not smoke!

3
ENGLISH (Original Instructions)
WARNING
Petroleum and its vapours are highly flammable
and explosive. Exercise extreme caution when
handling fuel.
FUEL AND REFUELING
HANDLING FUEL SAFELY
■ Always handle fuel with care, it is highly flammable.
■ Always refuel outdoors where there are no sparks and
flames. Do not inhale fuel vapours.
■ Do not let petrol or oil come in contact with your skin.
■ Keep petrol and oil away from the eyes. If petrol
or oil comes in contact with the eyes, wash them
immediately with clean water. If irritation is still
present, see a doctor immediately.
■ Clean up spilled petrol immediately. Always mix,
transport and store fuel in a container approved for
petrol.
FILLING THE TANK
WARNING
Check for fuel leaks. If any are found, correct
them before use to prevent fire or burn injury.
■ Clean surface around fuel cap to prevent
contamination.
■ Loosen fuel cap slowly to release pressure and to
keep fuel from escaping around the cap.
■ Carefully pour fuel mixture into the tank. Avoid
spillage.
■ Prior to replacing the fuel cap, clean and inspect the
gasket.
■ Immediately replace fuel cap and hand tighten. Wipe
up any fuel spillage. Move 9 m away from refuelling
site before starting engine.
WARNING
Always shut off engine before fuelling. Never add
fuel to a machine with a running or hot engine.
Move at least 9 m from refuelling site before
starting engine. Do not smoke!
■ The bump head must not rotate when the engine
is idling. Do not use the product until the problem
is repaired. Return to approved service centre for
assistance if necessary.
■ Debris when hit by the bump head can become
thrown objects and may travel significant distances.
Remove all debris from the work area before
operating. Keep bystanders (especially children) away
from the working area by 15 m.
DESCRIPTION
1. Attachment shaft
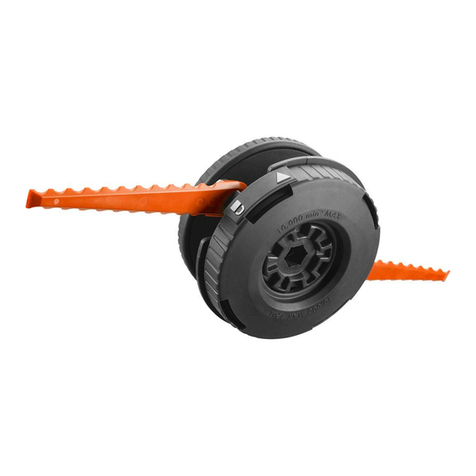
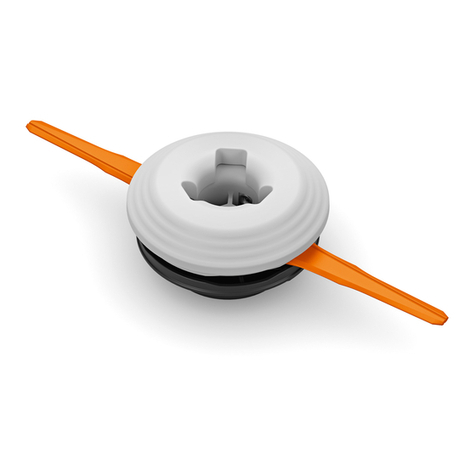
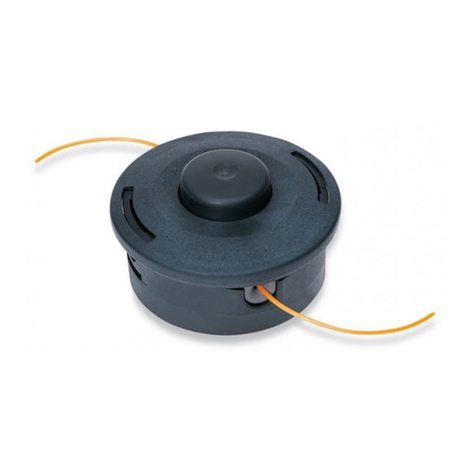
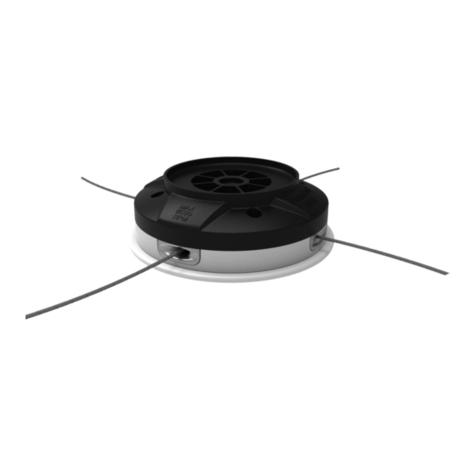
2. Bump head
3. String guard
4. Gear head
5. Hanger cap
6. Knob
7. Coupler
8. Guide recess
9. Positioning hole
10. Direction of cutter rotation
11. Best cutting area
12. Spanner
13. Button
14 Second hole
15. J-handle
16. J-handle clamp assistance
17. Shoulder strap
18. Strap hanger
19. Grass deector
20. Bump head
21. Drive connector
22. Mounting plates
23. Screws
24. Mounting bracket

4
ENGLISH (Original Instructions)
SYMBOLS
Important: Some of the following symbols may be used on your product. Please study them and learn their meaning.
Proper interpretation of these symbols will allow you to operate the product better and more safely.
SYMBOLS NAME EXPLANATION
Safety Alert Symbol Indicates danger, warning or caution. It means attention!!!
Your safety is involved.
Read Your Operator's Manual
Your manual contains special messages to bring attention to
potential safety concerns as well as operating and servicing
information. Please read all the information carefully to ensure
satisfaction and safe use.
Wear eye, head and hearing
protection
Wear eye, head, and hearing protection when operating this
product.
Keep bystanders away Keep all bystanders, especially children and pets, at least
15 m from the operating area.
Ricochet Danger of ricochet.
Do not use toothed blade This product is not intended for use with a toothed saw type
blade.
RPM Decal Rotational direction and maximum speed of the shaft for the
cutting attachment.
Boots Wear non-slip safety footwear when using this product.
Gloves Wear non-slip, heavy-duty gloves.
No Smoking Do not smoke when mixing fuel or filling fuel tank.
Petrol Use unleaded petrol intended for motor vehicle use with an
octane rarting of 91([R+M]/2) or higher.
Oil Use 2-stroke oil for air cooled engines.
Mix Petrol and Oil Mix the fuel mix thoroughly and also each time before
refuelling.
Hot Surface To reduce the risk of injury or damage, avoid contact with any
hot surface.
Blade Hazard Do not use metal blade (s) on the product.

5
ENGLISH (Original Instructions)
SPECIFICATIONS
Below values measured on RBC30SESA power head.
Weight
- String trimmer attachment with line head, string shield
(kg)
1.90
Fuel tank volume [cm3 or (L)] 415 or (0.415)
Cutting swath (mm) 457
Engine displacement (cm3/ cc) 30
Line diameter for Reel EasyTM Head (mm) 2.4
Line diameter for Pro Cut llTM Head (mm) 2.7
Maximum engine performance (in accordance with ISO 8893) (kW) 0.75
Maximum rotational frequency of the the spindle (min-1) 10,000
Engine speed (rotational frequency) at recommended max.
spindle rotational frequency
(min-1)12,000
Engine speed (rotational frequency) at idle (min-1) 2,800-3,800
Fuel consumption (in accordance with ISO 8893) at max. engine
performance
[kg/h or (L/h)] 0.42 or (0.58)
Specic fuel consumption (in accordance with ISO 8893) [g/kW.h or (L/kW.h)] 560 or (0.77)
Vibration level idling (Trimmer) (m/s2)
- Front handle / Left handle 3.6, K=1.5
- Rear handle / Right handle 2.7, K1.5
Vibration level racing (Trimmer) (m/s2)
- Front handle / Left handle 22.6, K=1.5
- Rear handle / Right handle 19.6, K=1.5
Sound pressure level at operator's ear (in accordance with EN
22868)
dB (A) 105.1, K=3
Sound power level (in accordance with ISO 22868) dB (A) 113, K=3

6
ENGLISH (Original Instructions)
ASSEMBLY
JOINING THE POWER HEAD TO THE STRAIGHT
SHAFT ATTACHMENT (Fig. 2)
WARNING
Never attach or adjust any attachment while
power head is running. Failure to stop the engine
may cause serious personal injury.
The straight shaft trimmer attachment connects to the
power head by means of a coupler device.
■ Loosen the knob (6) on the coupler (7) of the power
head shaft and remove the hanger cap (5) from the
attachment shaft.
■ Push in the button located on the attachment shaft.
Align the button with the guide recess (8) on the
power head coupler and slide the two shafts together.
Rotate the attachment shaft until the button locks into
the positioning hole (9).
Note: If the button does not release completely in the
positioning hole, the shafts are not locked into place.
Slightly rotate from side to side until the button is
locked into place.
■ Tighten the knob securely.
WARNING
Be certain the knob is fully tightened before
operating equipment; check it periodically for
tightness during use to avoid serious injury or
product damage.
FRONT HANDLE & SHOULDER STRAP (Fig. 3)
■ Adjust the position of the handle for the best balance
and comfort, securely tighten the screws with
combination wrench.
■ Connect the shoulder strap to the strap hanger
adjust to a comfortable position.
REMOVING THE ATTACHMENT FROM THE POWER
HEAD
For removing or changing the attachment:
■ Loosen the knob.
■ Push in the button and twist the shafts to remove and
separate ends.
ATTACHING THE GRASS DEFLECTOR TO THE STRING
GUARD (FIG. 5)
Note: When using the line trimming head, the grass
deector (19) must be attached to the string guard.
■ Carefully align the locking tabs on the grass deflector
with the the slots on the string guard (3).
■ Push the grass deflector towards the string guard
until the locking tabs click firmly into place.
WARNING
The grass deector is tted with a line cut off
blade. Take extra care when fitting the grass
deector to avoid contact with the sharp blade.
INSTALLING THE BUMP HEAD (FIG. 7)
■ Remove currently installed line trimmer.
■ Open the bump head by depressing the latches on
each side. The contents of the bump head are spring
loaded, so keep your other hand over the bump head
cover while depressing the latches.
■ Remove the bump head cover, bump knob, and line
spool and set aside.
■ Place the bump head housing on the drive connector.
Make sure the housing is fully seated.
■ Install the hex bolt to secure the bump head to the
drive connector. Tighten by using the hex-shaped
opening on the inside of the bump knob.
Note: Only use the bump knob to tighten the bolt. The use
of other tools may allow over tightening of the bolt, which
could damage the bump head. (Fig. 7, image 2)
■ Reinstall the bump head spring into the bump head
and push down to seat.
■ Reinstall the line spool.
Note: For the straight shaft attachment with the bump head,
the spool should be placed so “This side out for straight
shaft” is visible on the line spool.
■ Replace the bump knob by inserting it into the centre
of the line spool.
■ Replace the bump head cover, aligning latches with
openings in the bump head. Press cover and bump
head together until both latches snap into openings
securely.
■ Install line as described in the next section of this
manual.
INSTALLING LINE IN BUMP HEAD (FIG. 8)
Use 2.4 mm diameter monolament line.
■ Stop the engine and disconnect the spark plug wire.
■ Cut one piece of line approximately 6.0 meters in
length.
■ Rotate the bump knob on bump head until line on the
centre of the bump knob aligns with arrows on top of
bump head.
■ Insert one end of line into eyelet located on the side
of the bump head and push until line comes out
through the eyelet on the other side. Continue to
push line through the bump head until the middle
section of the line is inside the bump head and line
outside the bump head is evenly divided on each
side.
■ Rotate the knob on the bump head to wind the line. If

7
ENGLISH (Original Instructions)
using a straight shaft attachment, the knob should be
rotated anti-clockwise.
■ Wind the line until approximately 20 cm remains
protruding from the bump head.
OPERATION
OPERATING THE LINE TRIMMER (Fig. 4 & 9)
Hold the line trimmer with the right hand on the trigger
handle and the left hand on the J-handle. Keep a firm
grip with both hands while in operation. Keep a firm grip
with both hands while in operation. The product should
be held at a comfortable position with the trigger handle
about hip height.
Always operate the product at full throttle. Prolonged
cutting at partial throttle will result in lubricant dripping
from the silencer. Cut tall grass from the top down.
This will prevent grass from wrapping around the shaft
housing and string head which may cause damage from
overheating. If grass becomes wrapped around the string
head, stop the engine, and remove the grass.
CUTTING TIPS (Fig. 9)
■ Do not push into the grass to be cut. Move from side
to side, moving forward a little at the end of each
sweep.
■ Keep the product tilted towards the area being cut.
■ Do not cut in dangerous cutting area.
■ Use the tip of string to do the cutting; do not force
string head into uncut grass.
■ Wire and picket fences cause extra string wear, even
breakage. Stone and brick walls, kerbs and wood
may wear string rapidly.
■ Avoid trees and shrubs. Tree bark, wood mouldings,
cladding and fence posts can easily be damaged by
the string.
ADVANCING THE LINE (Fig. 9)
■ Line advance is controlled by tapping the string head
on grass while running engine at full throttle.
■ Run engine at full throttle.
■ Tap the knob on ground to advance string. The string
advances each time the knob is tapped. Do not hold
the knob on the ground.
STARTING AND STOPPING
WARNING
Never start or run the engine inside a closed or
poorly ventilated area; breathing exhaust fumes
can kill.
TO START THE ENGINE
1. Lay the product on a flat, bare surface free of debris
2. Ensure the trimming head is in a safe position.
3. Keep all body parts, particularly hands and feet away
from the cutter.
4. Start the engine.
5. Maintain complete control of the product whilst the
engine ir running.
TO STOP THE ENGINE
1. Release the throttle trigger.
2. Toggle the switch to the "O" (OFF) position.
■ The trigger and OFF switch are located next to the
operators right hand position on the power head.
■ Refer to the manual of your power head for more
detailed information.
WARNING
Do not, under any circumstance, use any
attachment or accessory on the product which
was not provided with the product, or identified
as appropriate for use with the product in the
Operator's Manual.
MAINTENANCE
WARNING
Use only original manufacturer's replacement
parts, accessories and attachments. Failure to
do so may cause poor performance, possible
injury and may void your warranty.
WARNING
When servicing, use only identical replacement
parts. Use of any other parts may create a
hazard or cause product damage.
WARNING
Always wear safety goggles or safety glasses
with side shields during power tool operation or
when blowing dust. If operation is dusty, also
wear a dust mask.
WARNING
Before inspecting, cleaning, or servicing the
machine, shut off engine, wait for all moving
parts to stop, and disconnect spark plug wire
and/or ensure the engine cut off switch remains
in the off position. Failure to follow these
instructions can result in serious personal injury
or property damage.
GENERAL MAINTENANCE
Avoid using solvents when cleaning plastic parts. Most
plastics are susceptible to damage from various types of
commercial solvents and may be damaged by their use. Use

8
ENGLISH (Original Instructions)
clean cloths to remove dirt, dust, oil, grease, etc.
You may make adjustments and repairs described in the
maintenance section. For other repairs, have the product
serviced by an authorised servicing dealer.
LINE REPLACEMENT (Fig. 8)
■ Cut one piece of line approximately 6.0 meters in
length.
■ Rotate the bump knob on bump head until line on the
centre of the bump knob aligns with arrows on top of
bump head.
■ Insert one end of line into eyelet located on the side
of the bump head and push until line comes out
through the eyelet on the other side. Continue to
push line through the bump head until the middle
section of the line is inside the bump head and line
outside the bump head is evenly divided on each
side.
■ Rotate the knob on the bump head to wind the line. If
using a straight shaft attachment, the knob should be
rotated anti-clockwise.
■ Wind the line until approximately 20 cm remains
protruding from the bump head.
ATTACHING THE STORAGE HANGER (Fig. 4)
There are two ways to hang your attachment for storage.
■ To use the hanger cap (5), push in the button (13)
and place the hanger cap over the end of the
attachment shaft. Slightly rotate the cap from side to
side until the button locks into place.
■ The secondary hole (14) in the attachment shaft can
be used for hanging purposes as well.
WARNING
When using the bump head, the grass deflector
must be attached to the string guard.
WARNING
Always stop the engine and remove the spark
plug wire before making any adjustments such
as changing cutting heads; this is to reduce the
risk of serious personal injury.
20160414v2

20160414v2


xxxxxxx-xx
Techtronic Industries (Australia) Pty. Ltd.
31 Gilby Road,
Mt Waverley, VIC 3149, Australia
Techtronic Industries New Zealand Ltd.
2 Landing Drive, Mangere,
Auckland, New Zealand 2022
Table of contents
Other Ryobi Garden Machinery Accessories manuals

Ryobi
Ryobi RY40007 User manual

Ryobi
Ryobi RY40006 User manual

Ryobi
Ryobi Expand-It RY15523A User manual

Ryobi
Ryobi RY15523A User manual

Ryobi
Ryobi RY41135 User manual

Ryobi
Ryobi Expand-It RYBRC77 User manual

Ryobi
Ryobi RYEDG12 User manual

Ryobi
Ryobi EXPAND-IT ALT05 User manual

Ryobi
Ryobi RY15527 User manual

Ryobi
Ryobi EXPAND-IT RY15526 User manual