4 — English
IMPORTANT SAFETY INSTRUCTIONS
ward bystanders, roads, sidewalks, windows, cars, and
the like. Also, avoid discharging material against a wall
or obstruction, which may cause the material to ricochet
back toward the operator.
Stop the blade when crossing gravel surfaces to avoid
discharging gravel and rocks and drive the mower slowly
and carefully to avoid loss of control.
Use extra care when approaching blind corners, shrubs,
trees, or other objects that may block your view.
Never make any adjustments or repairs with the motor
running and/or blades moving. Turn off power switch
and remove key.
Stop the motor, set the parking brake, wait until the
blades come to a complete stop, and remove start key
before unclogging the side discharge chute or opening.
The cutting blades continue to rotate for a few seconds
after the motor is shut off. Never place any part of the
body in the blade area until you are sure the blades have
stopped rotating.
If the mower should start to vibrate abnormally, stop the
motor and check immediately for the cause. Replace the
blades if they are unevenly worn or damaged in any way.
Vibration is generally a sign of a damaged mower blade.
Disengage mower blades when not mowing.
Service on the product and charger must be performed
by qualified repair personnel only. Service or maintenance
performed by unqualified personnel could result in injury
to the user or damage to the product.
Use only authorized replacement parts when servicing
the product. Use identical replacement blades only. Use
of unauthorized parts may create a risk of serious injury
to the user or damage to the product.
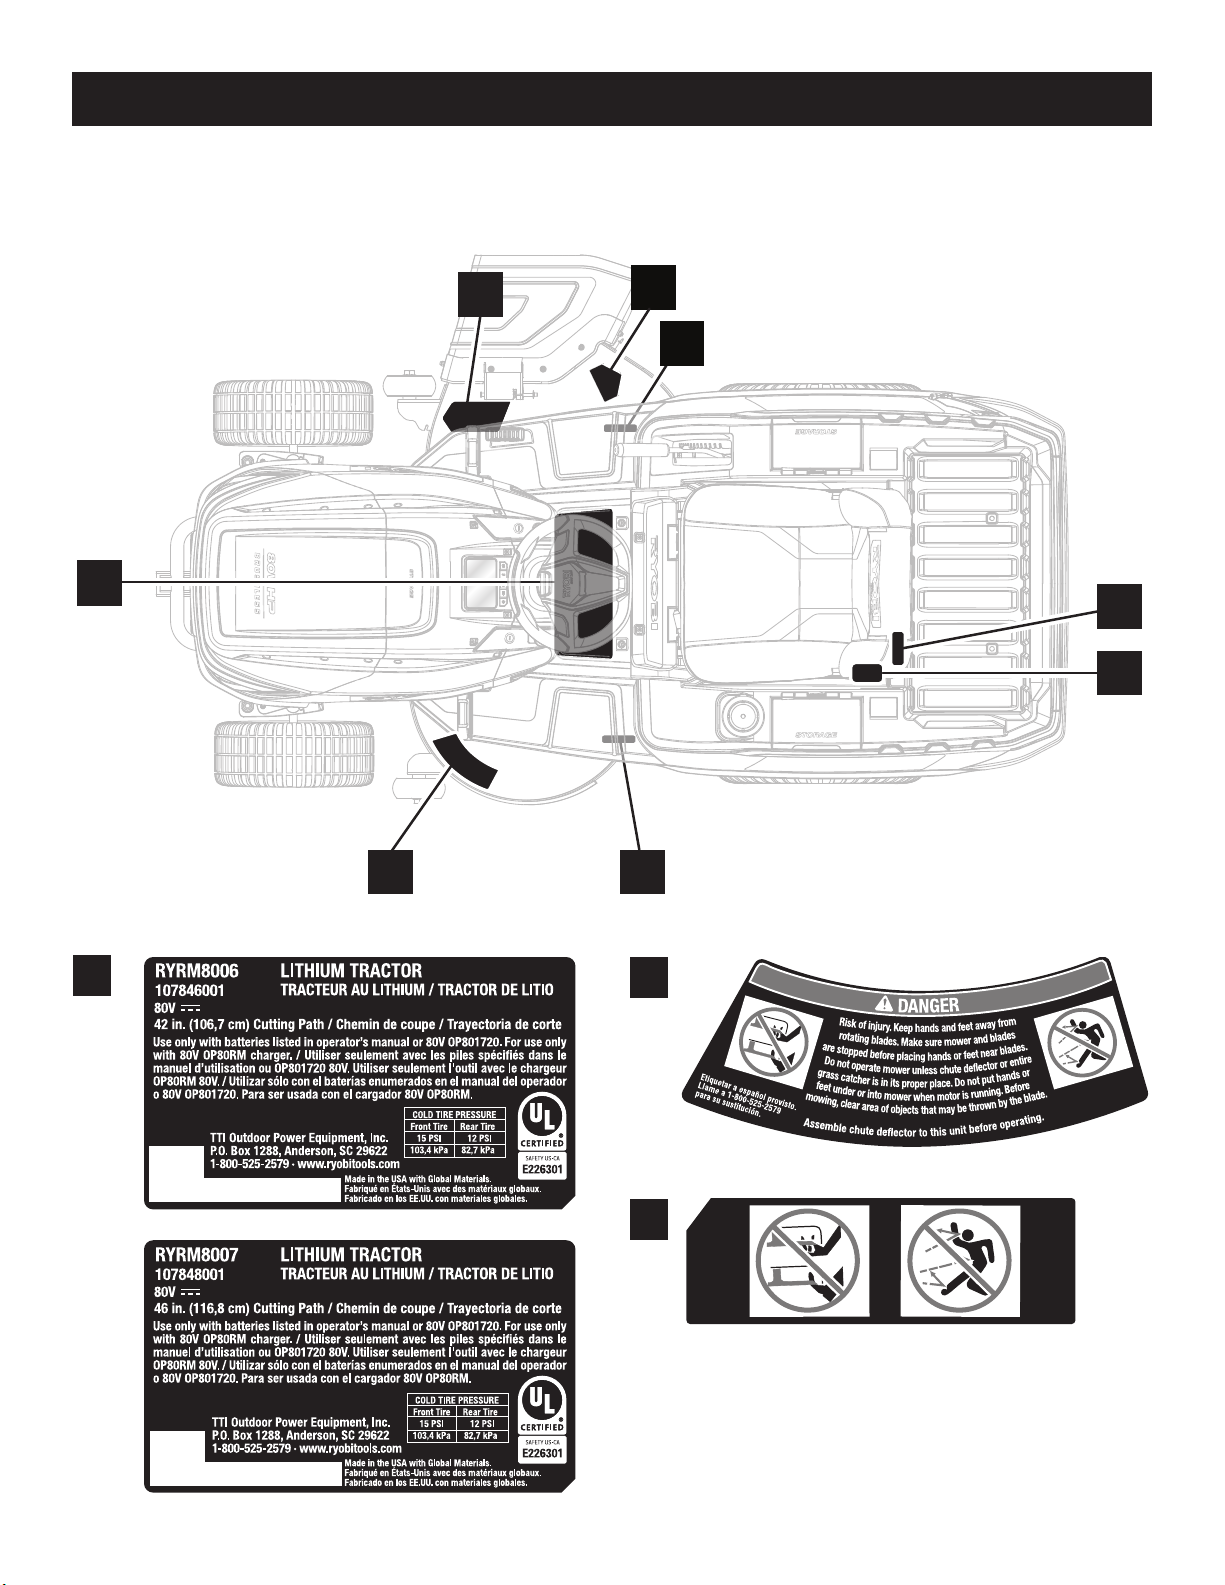
Maintain or replace safety instructions labels, as neces-
sary.
Remove start key — Remove start key from the mower
before storing, servicing, or changing accessories such
as blades. Such preventive safety measures reduce the
risk of starting the mower accidentally.
Stop the unit and remove the start key when not in use.
Transport the unit with the motor stopped and the start
key removed from the mower.
Battery tools do not have to be plugged into an electrical
outlet; therefore, they are always in operating condition.
Be aware of possible hazards when not using your bat-
tery tool or when changing accessories. Following this
rule will reduce the risk of electric shock, fire, or serious
personal injury.
Do not use battery-operated mower in rain.
Remove the start key before servicing, cleaning, or
removing material from the gardening appliance.
Store idle lawn mower indoors — When not in use,
mower should be stored indoors in a dry, locked place
out of the reach of children. The start key should also
be removed and stored in a separate location out of the
reach of children.
Follow instructions for changing accessories.
Only allow responsible adults, who are trained, familiar
with and understand the instructions, and are physically
capable to operate this machine.
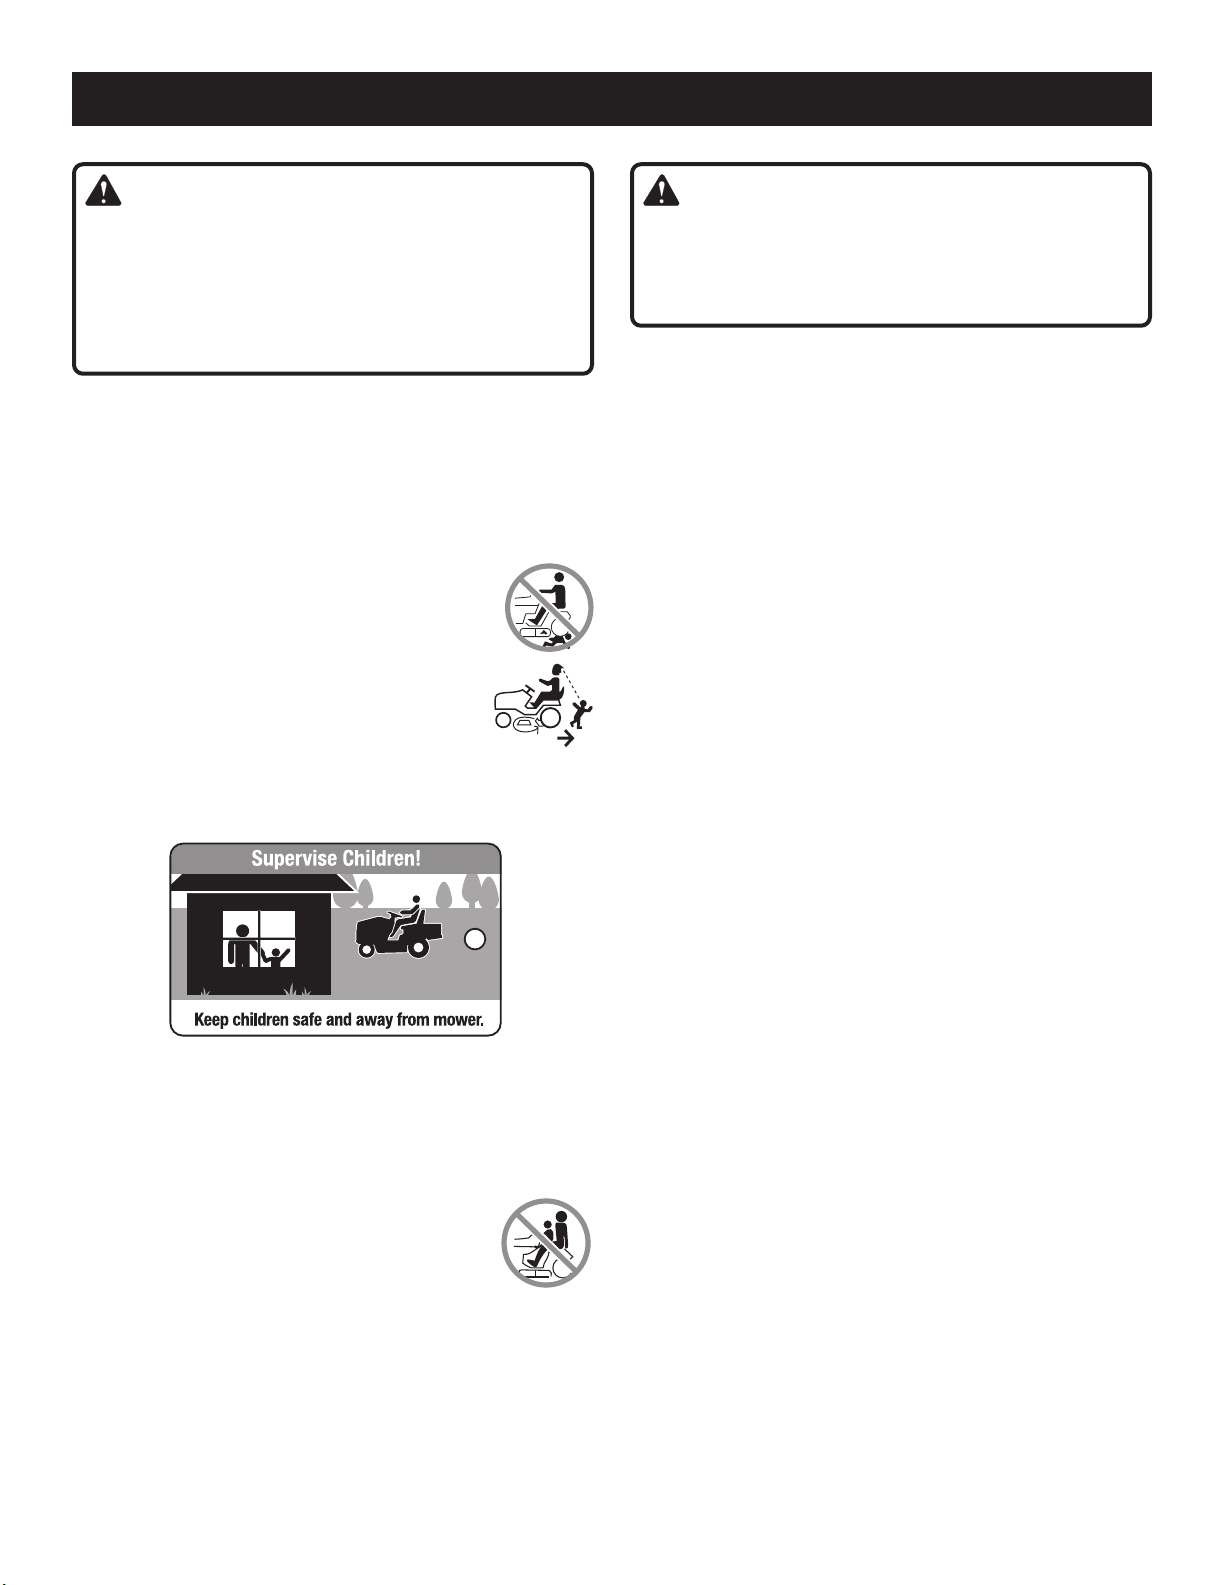
Never carry passengers.
Never operate machine in a closed area.
Do not mow in reverse unless absolutely necessary.
Always look down and behind before and while backing.
Slow down before turning.
Watch for traffic when operating near or crossing
roadways.
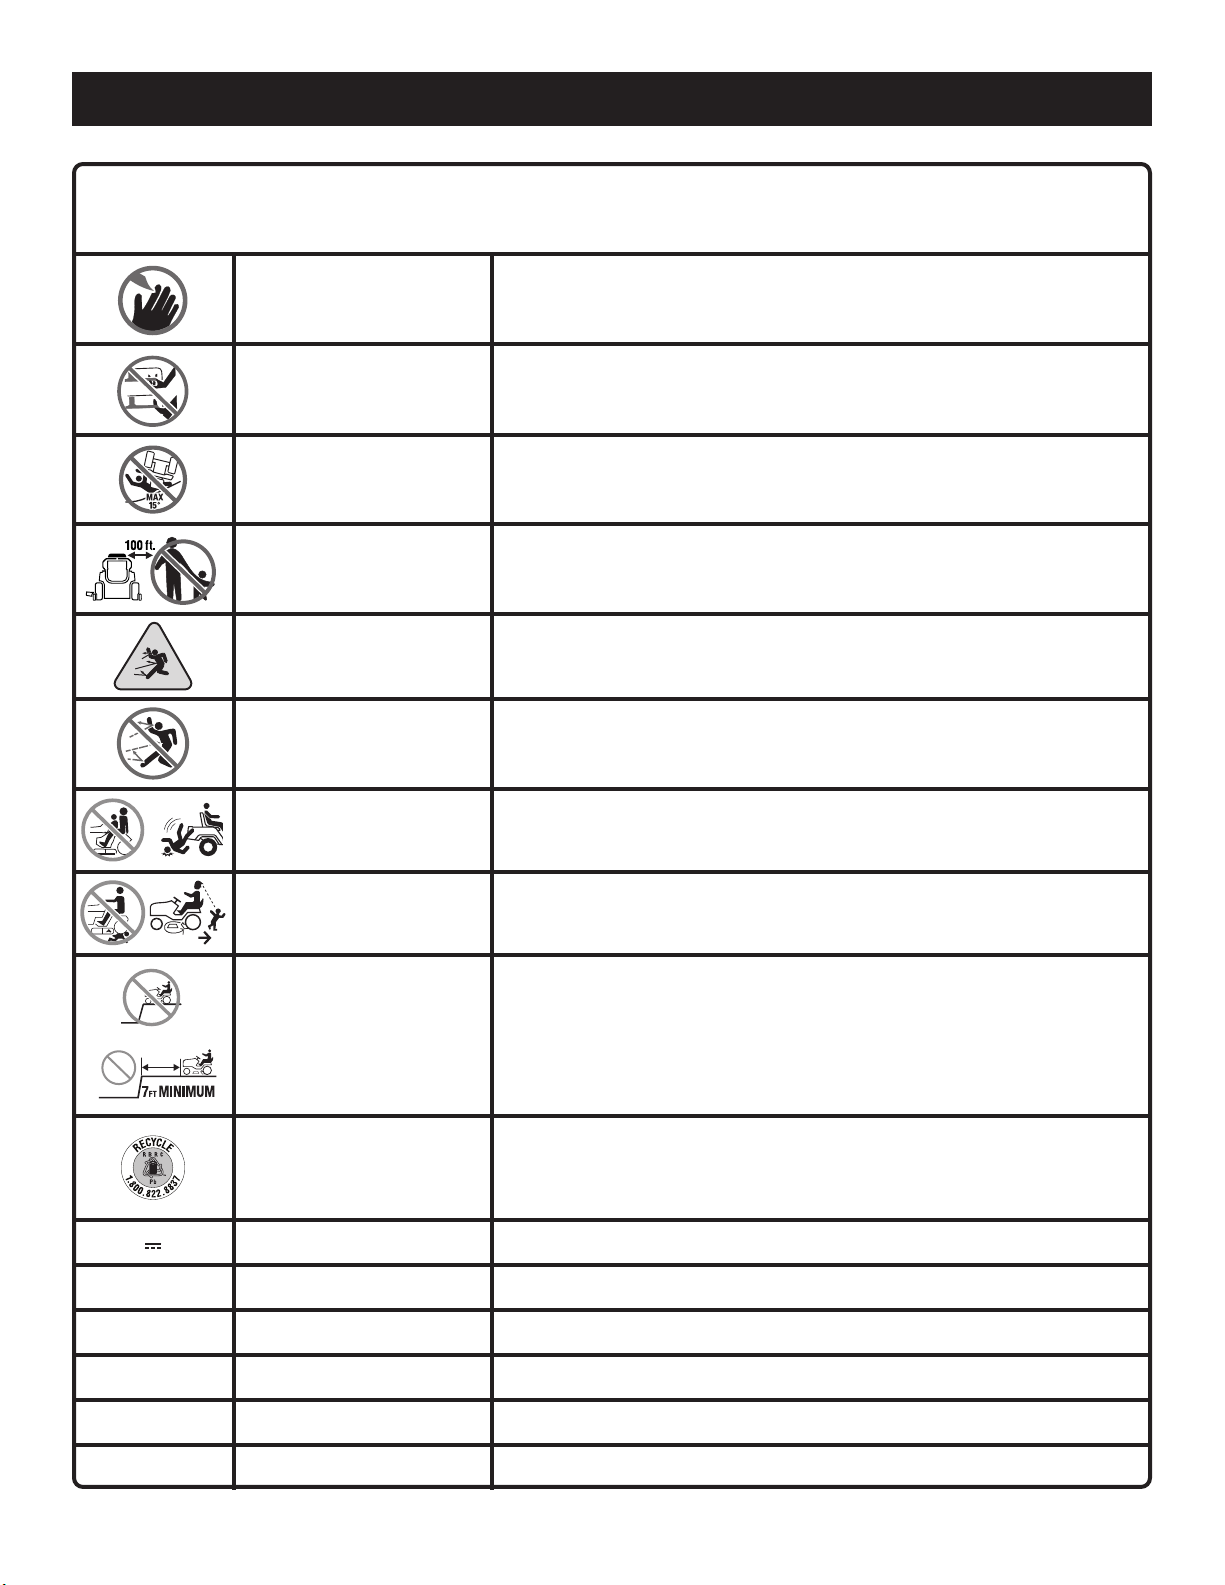
While mowing, keep a distance of at least 7 feet from
drop-offs, embankments, water, and marsh-like surfaces.
Use extra care when loading or unloading the machine
into a trailer; press the low speed drive button and care-
fully move the joystick as needed to control the speed.
Always back onto the trailer when loading. When loading
or unloading the mower, do not exceed the maximum
recommended operation angle of 15°.
Use full width ramps for loading and unloading a machine
for transport.
Data indicates operators age 60 years and above are
involved in a large percentage of riding mower related
injuries. These operators should evaluate their ability to
operate the riding mower safely enough to protect them-
selves and others from serious injury.
Keep machine free of grass, leaves, or other debris build
up. Allow machine to cool before storing.
Never use a hose, water, or any liquids to clean or rinse
off the lawn mower. Corrosive liquids, water, fertilizers,
and chemicals used to treat lawns can enter the lawn
mower and/or battery compartment and damage elec-
tronic components and/or the battery pack, which can
result in a short circuit, increased risk of fire, and serious
personal injury. Remove any buildup of grass and leaves
on or around the mower housing and/or underneath the
mower deck. An exception to clean the underside of the
mower deck may be made when using a Ryobi acces-
sory designed for this purpose, in accordance with the
accessory instructions. Wipe the mower clean with a dry
cloth occasionally.
Stop the motor, wait until blades come to a complete stop,
and remove the start key before cleaning the lawn mower,
removing the bagger, or removing the mulch cover.