manuals.online logo
Brands
  1. Home
  2. •
  3. Brands
  4. •
  5. Safe Fleet
  6. •
  7. Digital Camera
  8. •
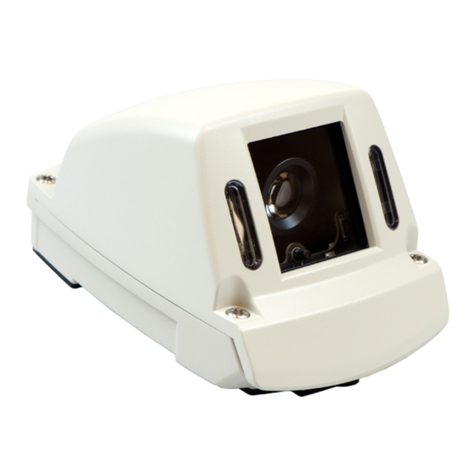
  9. Safe Fleet C3Q9PD User manual

Safe Fleet C3Q9PD User manual

This manual suits for next models

6

Other Safe Fleet Digital Camera manuals

Safe Fleet HD2Q Series User manual

Safe Fleet

Safe Fleet HD2Q Series User manual

Safe Fleet RVS-082587 User manual

Safe Fleet

Safe Fleet RVS-082587 User manual

Safe Fleet C3W9PD03E User manual

Safe Fleet

Safe Fleet C3W9PD03E User manual

Safe Fleet SEON HD3W User manual

Safe Fleet

Safe Fleet SEON HD3W User manual

Safe Fleet RVS-651153 User manual

Safe Fleet

Safe Fleet RVS-651153 User manual

Safe Fleet Rear view safety RVS-772718 User manual

Safe Fleet

Safe Fleet Rear view safety RVS-772718 User manual

Safe Fleet SEON CA10 User manual

Safe Fleet

Safe Fleet SEON CA10 User manual

Safe Fleet RVS SimpleSight RVS-155W-HD User manual

Safe Fleet

Safe Fleet RVS SimpleSight RVS-155W-HD User manual

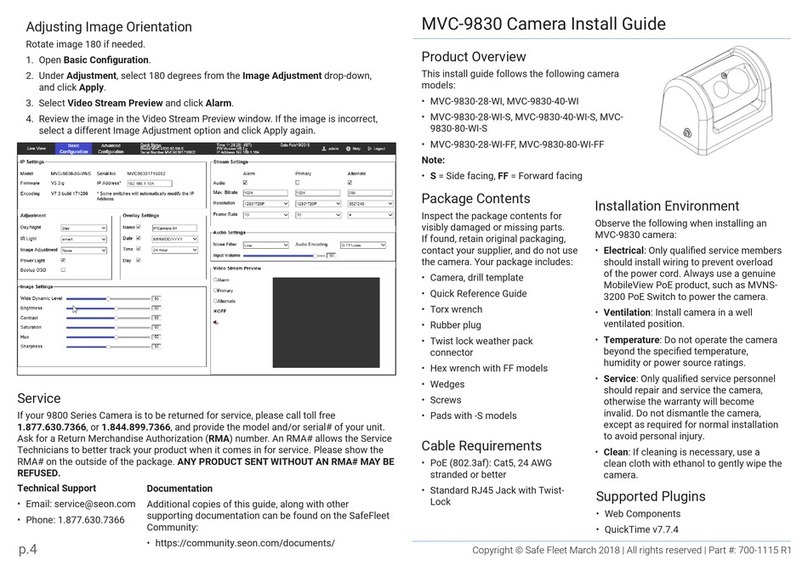
Safe Fleet MVC-9830 User manual

Safe Fleet

Safe Fleet MVC-9830 User manual

Safe Fleet SEON HD1W User manual

Safe Fleet

Safe Fleet SEON HD1W User manual

Safe Fleet REAR VIEW SAFETY RVS-7700 User manual

Safe Fleet

Safe Fleet REAR VIEW SAFETY RVS-7700 User manual

Popular Digital Camera manuals by other brands

Canon WP-DC35 user guide

Canon

Canon WP-DC35 user guide

Xiaomi 70mai Dash Cam Lite user manual

Xiaomi

Xiaomi 70mai Dash Cam Lite user manual

Samsung PL70 Quick start manual

Samsung

Samsung PL70 Quick start manual

GE E1680W user manual

GE

GE E1680W user manual

Canon EOS 1200D instruction manual

Canon

Canon EOS 1200D instruction manual

Tevion MD 86497 user guide

Tevion

Tevion MD 86497 user guide

Exakta VX Features

Exakta

Exakta VX Features

Kodak Digital Science DC120 user guide

Kodak

Kodak Digital Science DC120 user guide

Nikon FM3A Specifications

Nikon

Nikon FM3A Specifications

Vectra Fitness H1 Quick reference guide

Vectra Fitness

Vectra Fitness H1 Quick reference guide

Nikon COOLPIX 775 quick start guide

Nikon

Nikon COOLPIX 775 quick start guide

Olympus IR 500 - 4MP Digital Solutions Camera Manuel de Référence

Olympus

Olympus IR 500 - 4MP Digital Solutions Camera Manuel de Référence

Samsung EC-L100ZBBA brochure

Samsung

Samsung EC-L100ZBBA brochure

FujiFilm FINEPIX BL01124-201 owner's manual

FujiFilm

FujiFilm FINEPIX BL01124-201 owner's manual

Panasonic DMC-L10KPP Service manual

Panasonic

Panasonic DMC-L10KPP Service manual

Hyundai Electric HYU-CC-CHBF12001 Quick installation guide

Hyundai Electric

Hyundai Electric HYU-CC-CHBF12001 Quick installation guide

Sony DSC-WX80 specification

Sony

Sony DSC-WX80 specification

Nikon Nuvis S - Point & Shoot instruction manual

Nikon

Nikon Nuvis S - Point & Shoot instruction manual

manuals.online logo
manuals.online logoBrands
  • About & Mission
  • Contact us
  • Privacy Policy
  • Terms and Conditions

Copyright 2025 Manuals.Online. All Rights Reserved.

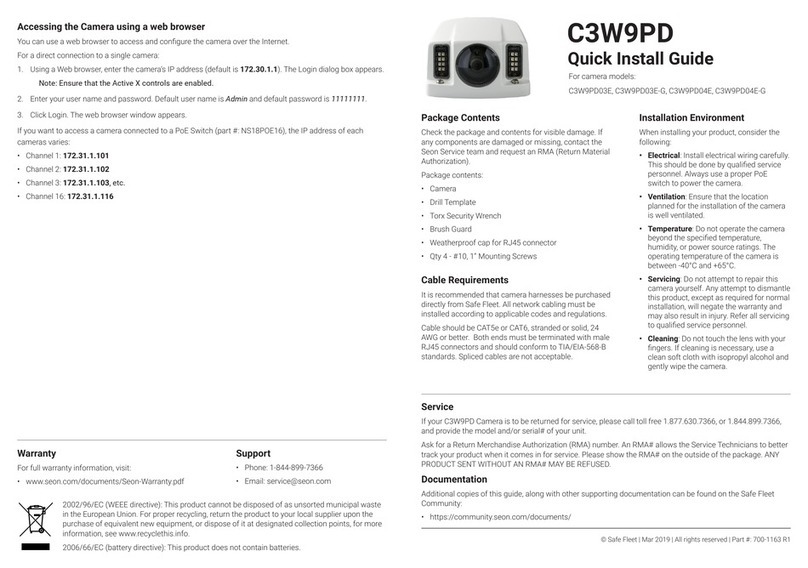
C3Q9PD
Quick Install Guide
For camera models:
C3Q9PD03A, C3Q9PD03A-BK, C3Q9PD03AF-BK,
C3Q9PD04A, C3Q9PD04A-BK, C3Q9PD04AF-BK
© Safe Fleet | Apr 2020 | All rights reserved | Part #: 700-1162 R3
Installation Environment
When installing your product, consider the
following:
• Electrical: Install electrical wiring
carefully. This should be done by qualied
service personnel. Always use a proper
PoE switch to power the camera.
• Ventilation: Ensure that the location
planned for the installation of the camera
is well ventilated.
• Temperature: Do not operate the camera
beyond the specied temperature,
humidity, or power source ratings. The
operating temperature of the camera is
between -20°C and +60°C.
• Servicing: Do not attempt to repair
this camera yourself. Any attempt to
dismantle this product, except as required
for normal installation, will negate the
warranty and may also result in injury.
Refer all servicing to qualied service
personnel.
• Cleaning: Do not touch the lens with your
ngers. If cleaning is necessary, use a
clean soft cloth with isopropyl alcohol
and gently wipe the camera.
Package Contents
Check the package and contents for visible damage.
If any components are damaged or missing, contact
the Seon Service team and request an RMA (Return
Material Authorization).
Package contents:
• Camera
• Torx Security Wrench
•Drill Template
•Lens Adjusting Tool
• Qty 2 - #8, 1” Mounting Screws
• Weatherproof cap for RJ45 connector
Cable Requirements
It is recommended that camera harnesses be
purchased directly from Safe Fleet. All network cabling
must be installed according to applicable codes and
regulations.
Cable should be CAT5e or CAT6, stranded or solid, 24
AWG or better. Both ends must be terminated with
male RJ45 connectors and should conform to TIA/EIA-
568-B standards. Spliced cables are not acceptable.
Support
• Phone: 1-844-899-7366
• Email: [email protected]
Service
If your C3Q9PD Camera is to be returned for service, please call toll free 1.877.630.7366, or 1.844.899.7366,
and provide the model and/or serial# of your unit.
Ask for a Return Merchandise Authorization (RMA) number. An RMA# allows the Service Technicians to better
track your product when it comes in for service. Please show the RMA# on the outside of the package. ANY
PRODUCT SENT WITHOUT AN RMA# MAY BE REFUSED.
Documentation
Additional copies of this guide, along with other supporting documentation
can be found on the Safe Fleet Community:
• https://community.seon.com/documents/
Accessing the Camera using a web browser
You can use a web browser to access and congure the camera over the Internet.
For a direct connection to a single camera:
1. Using a Web browser, enter the camera’s IP address (default is 172.30.1.1). The Login dialog box
appears.
Note: Ensure that the Active X controls are enabled.
2. Enter your user name and password. Default user name is Admin and default password is 11111111.
3. Click Login. The web browser window appears.
If you want to access a camera connected to a PoE Switch (part #: NS18POE16), the IP address of each
cameras varies:
• Channel 1: 172.31.1.101
• Channel 2: 172.31.1.102
• Channel 3: 172.31.1.103, etc.
• Channel 16: 172.31.1.116
Warranty
For full warranty information, visit:
www.seon.com/documents/Seon-Warranty.pdf
2002/96/EC (WEEE directive): This product cannot be disposed of as unsorted municipal waste
in the European Union. For proper recycling, return the product to your local supplier upon the
purchase of equivalent new equipment, or dispose of it at designated collection points, for more
information, see www.recyclethis.info.
2006/66/EC (battery directive): This product does not contain batteries.
Fold Here
4. Loosen the adjusting screw (3) to adjust the pan, tilt, and angle with the adjusting cap, then re-tighten
the screw.
5. Check that the foam ring (4) around the lens is not covering the ambient light sensor.
6. Make sure the rubber cap is still present over the microphone (5).
7. Finally, re-install the cover using the cover screws.
Mounting the Camera
1. Use the supplied template to mark out the mounting
area. Drill the screw holes on the surface.
2. Loosen the cover screws to remove the cover from the
camera and x the mounting base to the ceiling with
the appropriate screws.
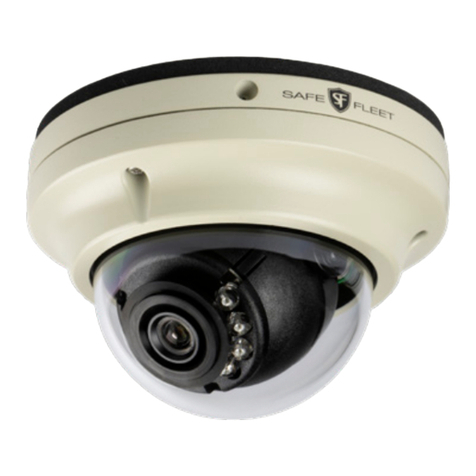
Camera Components
1. Cover
2. Lens
3. Ethernet RJ45 cable
4. BNC Cable
5. Base
6. Reset Button
3
2
4
Foam
Ring
Ambient
Light Sensor
Important: Positioning the Lens 
The ambient light sensor must be pointed
downwards (or at the “6:00” position)
when positioning the lens. If the sensor is
facing up (or at the “12:00” position), then
the image will be upside-down.
Warning: Blocking the Ambient Light Sensor 
Take caution when positioning the lens, ensuring that
the ambient light sensor is always unobstructed when
the camera is fully assembled. An obstructed sensor will
prevent the camera from working properly.
3. Align the supplied adjusting cap (1) and x it to the
small lens adjusting holes on the camera (2).







