manuals.online logo
Brands
  1. Home
  2. •
  3. Brands
  4. •
  5. Safe Fleet
  6. •
  7. Digital Camera
  8. •
  9. Safe Fleet MVC-9830 User manual

Safe Fleet MVC-9830 User manual

MVC-9830 Camera Install Guide
p.4 Copyright © Safe Fleet March 2018 | All rights reserved | Part #: 700-1115 R1
Package Contents
Inspect the package contents for
visibly damaged or missing parts.
If found, retain original packaging,
contact your supplier, and do not use
the camera. Your package includes:
• Camera, drill template
• Quick Reference Guide
• Torx wrench
• Rubber plug
• Twist lock weather pack
connector
• Hex wrench with FF models
• Wedges
• Screws
• Pads with -S models
Cable Requirements
• PoE (802.3af): Cat5, 24 AWG
stranded or better
• Standard RJ45 Jack with Twist-
Lock Supported Plugins
• Web Components
• QuickTime v7.7.4
Product Overview
This install guide follows the following camera
models:
• MVC-9830-28-WI, MVC-9830-40-WI
• MVC-9830-28-WI-S, MVC-9830-40-WI-S, MVC-
9830-80-WI-S
• MVC-9830-28-WI-FF, MVC-9830-80-WI-FF
Note:
• S= Side facing, FF =Forward facing
Installation Environment
Observe the following when installing an
MVC-9830 camera:
• Electrical: Only qualied service members
should install wiring to prevent overload
of the power cord. Always use a genuine
MobileView PoE product, such as MVNS-
3200 PoE Switch to power the camera.
• Ventilation: Install camera in a well
ventilated position.
• Temperature: Do not operate the camera
beyond the specied temperature,
humidity or power source ratings.
• Service: Only qualied service personnel
should repair and service the camera,
otherwise the warranty will become
invalid. Do not dismantle the camera,
except as required for normal installation
to avoid personal injury.
• Clean: If cleaning is necessary, use a
clean cloth with ethanol to gently wipe the
camera.
Adjusting Image Orientation
Rotate image 180 if needed.
1. Open Basic Conguration.
2. Under Adjustment, select 180 degrees from the Image Adjustment drop-down,
and click Apply.
3. Select Video Stream Preview and click Alarm.
4. Review the image in the Video Stream Preview window. If the image is incorrect,
select a different Image Adjustment option and click Apply again.
Service
If your 9800 Series Camera is to be returned for service, please call toll free
1.877.630.7366, or 1.844.899.7366, and provide the model and/or serial# of your unit.
Ask for a Return Merchandise Authorization (RMA) number. An RMA# allows the Service
Technicians to better track your product when it comes in for service. Please show the
RMA# on the outside of the package. ANY PRODUCT SENT WITHOUT AN RMA# MAY BE
REFUSED.
Technical Support
• Email: [email protected]
• Phone: 1.877.630.7366
Documentation
Additional copies of this guide, along with other
supporting documentation can be found on the SafeFleet
Community:
• https://community.seon.com/documents/
p.2 p.3
Fold Here
Camera Description
1
2
3
4
8
7
6
5
1. LED Indicator.
- Solid Red: Device is powered on
- Solid Green: Device communicating
2. Lens
3. Front Cover
4. Mounting Base
5. Mic
6. IR LED
7. Camera Enclosure
8. Network Cable
Mounting the Camera
1. Prepare the mounting surface
2. Loosen the two screws on the camera cover and
remove the camera cover.
3. Using the supplied template, mark the mounting
area and drill holes in the surface.
4. Direct the cable through the silicone pad, silicone
stopper, and the wall.
5. Align the silicone stopper to hole A of the drill
template. Mount the camera on the surface
using the proper mounting screws. Rivnuts
with #8 machine screws with lock washer are
recommended when mounting camera on exterior
of vehicle.
6. Loosen the adjustment screw and adjust the
camera to the desired surveillance angle. Tighten
the screw to secure the desired position. Side View
Access Camera Online
You can access and congure the camera settings using the Camera Web Browser
via Internet Explorer. Only one camera can be accessed at a time, and Active X
controls must be enabled.
1. Enter the camera IP address and press Enter.
2. Enter the user name and password. Default login is:
• user name: admin
• password: 1234
3. Click Login. The Basic Conguration window displays.
4. Change the IP address to the required value and click Apply to save settings.
7. Place the camera cover over the camera and fasten
using the cover screws.
8. When camera is installed on the exterior of vehicle,
always use the Twist Lock Weather Pack connector
housing on the RJ45 cable that mates to the camera to
protect the cable connection from corrosion.
Web browser functions
• Live View: View live video (IE v11, Safari v5.1.7). Change aspect ratio, stream to
view and plugin to play the video.
• Basic Conguration: Adjust IP settings, stream parameters, image, overlay, day/
night IR settings and preview video.
• Advanced Conguration: Firmware upgrade, restore defaults, manage users, setup
time, tamper event.
• Quick Status: View camera model, serial number, rmware version and IP address.
• Logout: Click to log out of the system
• Apply: Click to save changes.
Silicone Stopple
Silicone Pad

This manual suits for next models

7

Other Safe Fleet Digital Camera manuals

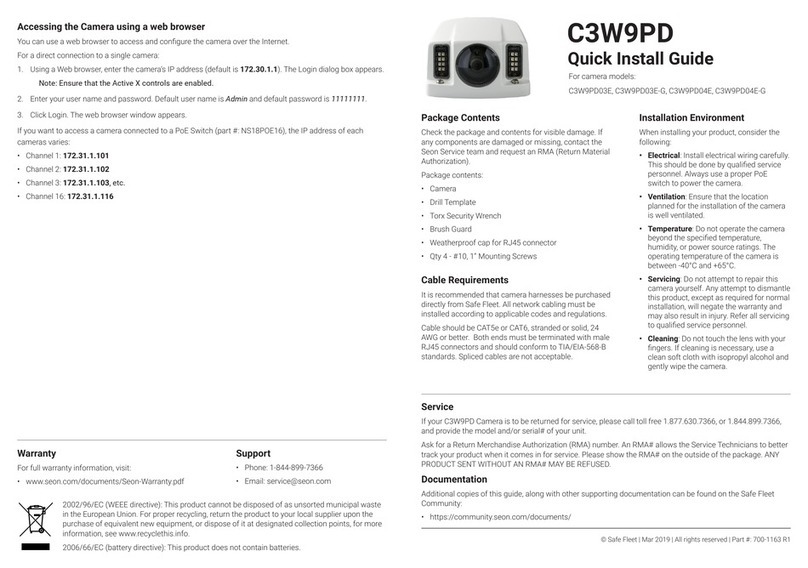
Safe Fleet C3W9PD03E User manual

Safe Fleet

Safe Fleet C3W9PD03E User manual

Safe Fleet RVS SimpleSight RVS-155W-HD User manual

Safe Fleet

Safe Fleet RVS SimpleSight RVS-155W-HD User manual

Safe Fleet Rear view safety RVS-772718 User manual

Safe Fleet

Safe Fleet Rear view safety RVS-772718 User manual

Safe Fleet SEON HD1W User manual

Safe Fleet

Safe Fleet SEON HD1W User manual

Safe Fleet HD2Q Series User manual

Safe Fleet

Safe Fleet HD2Q Series User manual

Safe Fleet SEON CA10 User manual

Safe Fleet

Safe Fleet SEON CA10 User manual

Safe Fleet RVS-082587 User manual

Safe Fleet

Safe Fleet RVS-082587 User manual

Safe Fleet SEON HD3W User manual

Safe Fleet

Safe Fleet SEON HD3W User manual

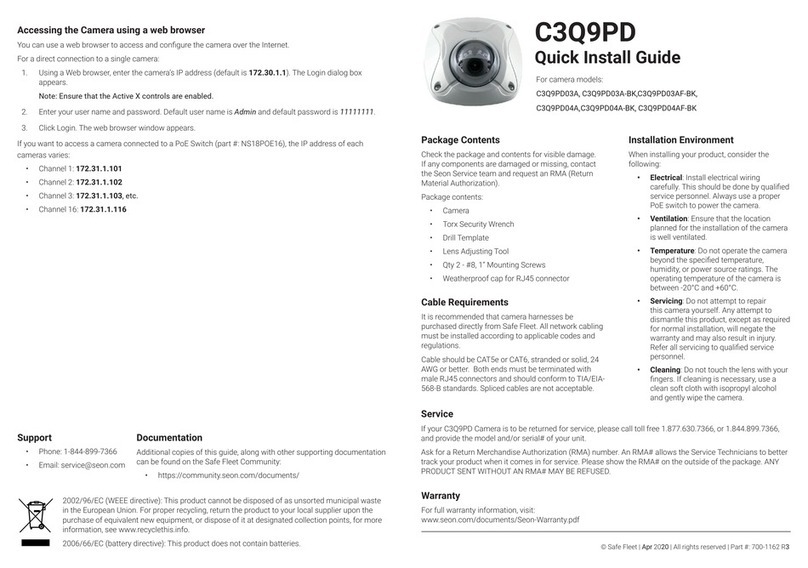
Safe Fleet C3Q9PD User manual

Safe Fleet

Safe Fleet C3Q9PD User manual

Safe Fleet RVS-651153 User manual

Safe Fleet

Safe Fleet RVS-651153 User manual

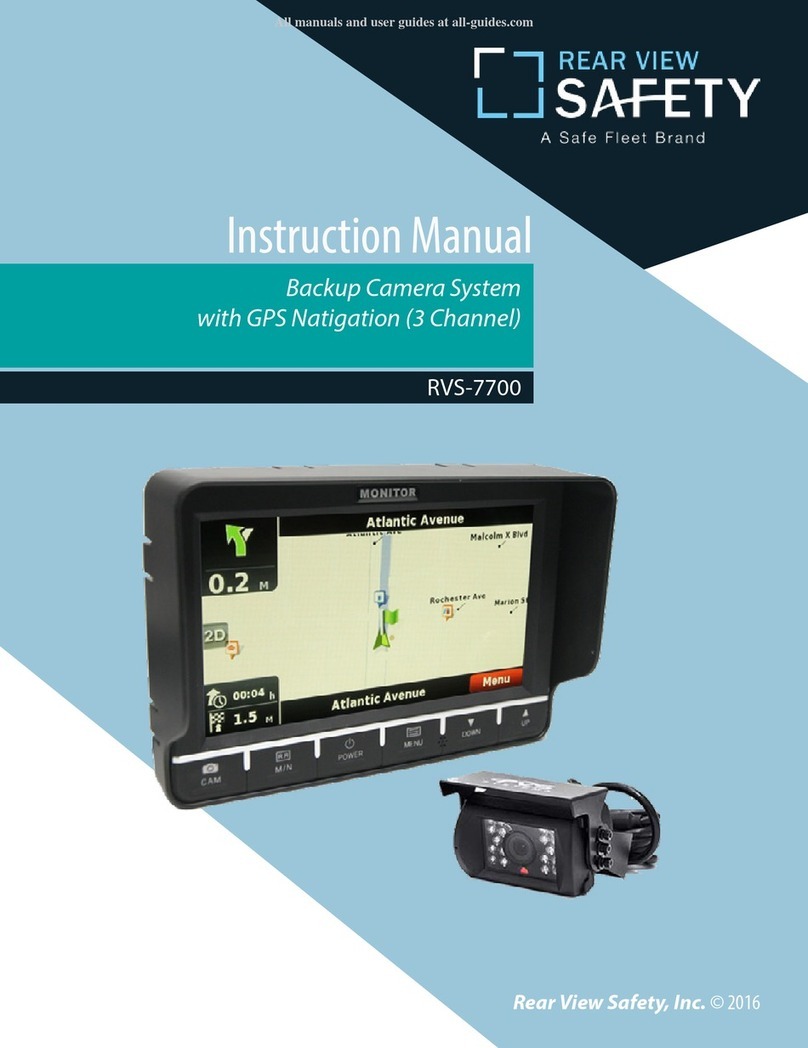
Safe Fleet REAR VIEW SAFETY RVS-7700 User manual

Safe Fleet

Safe Fleet REAR VIEW SAFETY RVS-7700 User manual

Popular Digital Camera manuals by other brands

Logitech 961247-0215 - ClickSmart 420 Digital Camera Setup guide

Logitech

Logitech 961247-0215 - ClickSmart 420 Digital Camera Setup guide

BenQ DC E300 user manual

BenQ

BenQ DC E300 user manual

Axis M1075-L user manual

Axis

Axis M1075-L user manual

Nikon Df user manual

Nikon

Nikon Df user manual

Alecto DVM-275C manual

Alecto

Alecto DVM-275C manual

Sony Cyber-shot DSC-F707 operating instructions

Sony

Sony Cyber-shot DSC-F707 operating instructions

CoaxPress e2v ELIIXA+ 16K CXP user manual

CoaxPress

CoaxPress e2v ELIIXA+ 16K CXP user manual

Dometic CAM 301X Installation and operating manual

Dometic

Dometic CAM 301X Installation and operating manual

Casio EXILIM EX-Z680 user guide

Casio

Casio EXILIM EX-Z680 user guide

Rollei Actioncam S-30 WiFi user guide

Rollei

Rollei Actioncam S-30 WiFi user guide

Samsung S85 - Digital Camera - Compact quick start guide

Samsung

Samsung S85 - Digital Camera - Compact quick start guide

Dalsa Linea SWIR GigE Series user manual

Dalsa

Dalsa Linea SWIR GigE Series user manual

Sanyo Xacti VPC-WH1YL Safety manual

Sanyo

Sanyo Xacti VPC-WH1YL Safety manual

Olympus SP-800UZ Manual de instrucciones

Olympus

Olympus SP-800UZ Manual de instrucciones

Panasonic Lumix DC-GH5M2 owner's manual

Panasonic

Panasonic Lumix DC-GH5M2 owner's manual

Canon EOS C300 Brochure & specs

Canon

Canon EOS C300 Brochure & specs

FujiFilm FinePix S5200 owner's manual

FujiFilm

FujiFilm FinePix S5200 owner's manual

Panasonic Lumix DMC-FS22 Basic operating instructions

Panasonic

Panasonic Lumix DMC-FS22 Basic operating instructions

manuals.online logo
manuals.online logoBrands
  • About & Mission
  • Contact us
  • Privacy Policy
  • Terms and Conditions

Copyright 2025 Manuals.Online. All Rights Reserved.