Safespaces Safespace Hi-Lo User manual

Version: 2020.1
LIST OF MATERIALS
Item
Quantity
Vertical Bars
4
Horizontal Bars (Short)
4
Horizontal Bars (Long)
4
Closed Cell Foam Corner Pads
4
Toe Stubbing Foam
4
Top Corner Mounting Brackets
4
Floor Mounting Brackets
4
Safespace Fabric
1
Foam Mattress
1
M8 45mm Hex Head Steel Bolts
32
M8 Steel Nyloc Nuts
32
M8 Steel Washers
64
M20 Steel Nuts
4
M20 Washers
4
Hi-Lo Base
1
Closed-Cell Foam
1
Foam Pad
1
Tools Required
1x 13mm Spanner
1x Power Drill with 13mm Socket Head

ASSEMBLY INSTRUCTIONS
Assembly Instructions - Safespace Hi-Lo 1
IMPORTANT!
READ and FOLLOW these instructions carefully.
Review all instructions before beginning assembly.
These instructions are provided to avoid problems that may occur from
improper assembly or installation.
1
Inserting the Foam
Roll out the PVC fabric and position it with the floor facing up and mesh side facing
down.
Place the closed-cell foam on top of the
PVC fabric and aline the * with the * on
the inside of the PVC cover.
This ensures the foam will fit in at the
right angle.
Fully open the floor zip on the PVC fabric
and place the foam inside the zip pocket,
making sure it fits snug into the corners.
Once fully fitted, close the zip and push
the zip puller inside the fabric to conceal it.
Turn the Safespace over so the mesh side is now facing up.
2
Inserting the Horizontal Bars
Identify the 4x horizontal bars (long) and 4x horizontal bars (short). The long bars
are for the longer sides and the shorter bars are for the shorter sides of the
Safespace.

Assembly Instructions - Safespace Hi-Lo 2
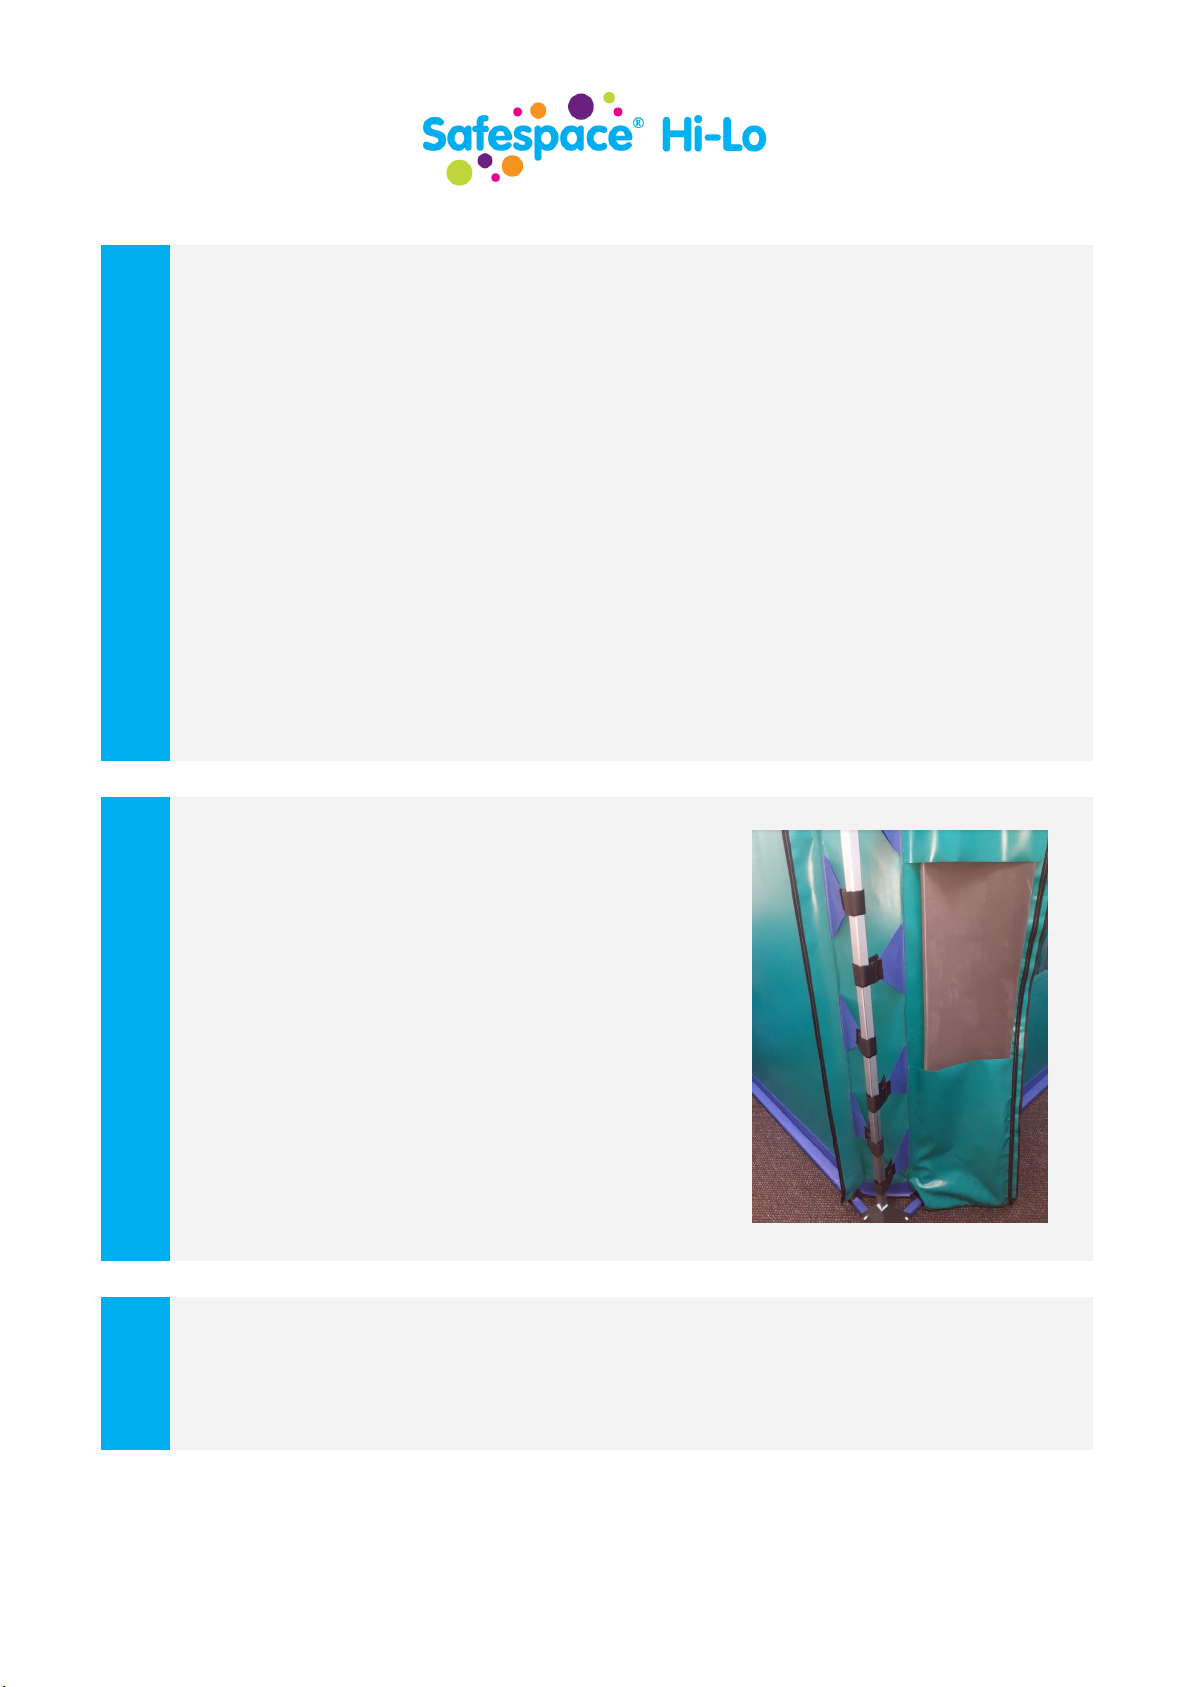
Position them alongside the pole pockets located in the PVC fabric at each corner.
Fold the fabric diagonally across the Safespace in order to feed the bars into the
bottom pockets. (Not the pockets near mesh).
When the bars are through, position them so the holes are facing outwards away
from the Safespace.
Repeat the process with the top bars.
Identify the top corner mounting brackets and align the holes on the horizontal
bars with the holes in the bracket. Fit the bracket using an M8 45mm hex head bolt
through the holes from the front of the horizontal bar with an M8 washer.
Attach another M8 washer and M8 nyloc nut to the threaded end of the bolt on the
inside of the bar.
Repeat for all four corners, doing the one diagonally opposite first.
Tighten all the nuts with a drill nut driver and then finally tighten with a 13 mm
hand spanner.
3
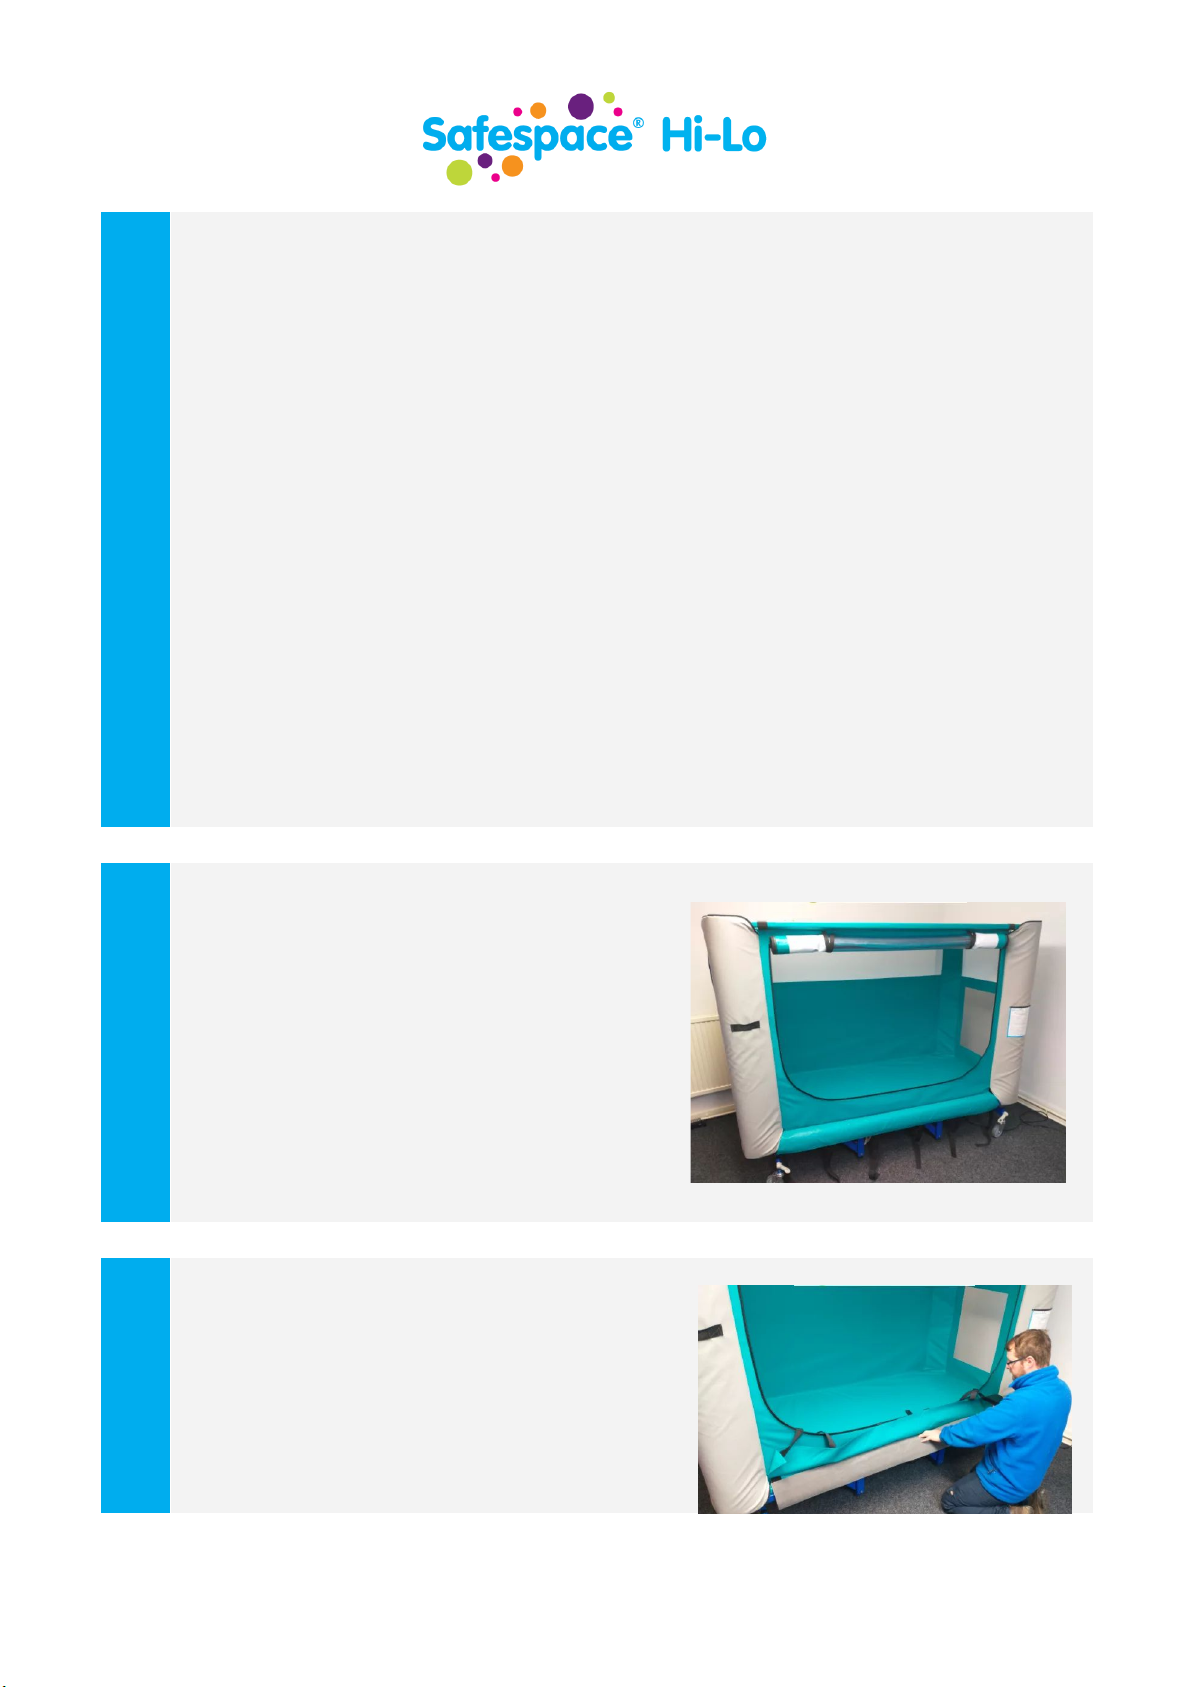
Inserting the Vertical Bars
Working in a pair, one person should lift one side of the Safespace up to roof height
and support it while the second person inserts one of the vertical bars over the
threaded bar of one of the corner brackets, placing an M20 washer between the 2
parts.
The M20 nuts will have already been added to the top mounting brackets at the
pre-assembly stage.
Lower the Safespace gently onto these poles at this unusual angle temporarily.
Then go to the other side of the Safespace and repeat the same process.
The Safespace is now on all four vertical uprights.

Assembly Instructions - Safespace Hi-Lo 3
4
Attaching the Floor Mounting Brackets
Open the corner zips fully.
Align the holes on the horizontal bars with the holes in the floor mounting
brackets then fit the bracket using an M8 45mm hex head bolt through the holes
from the front of the horizontal bar with an M8 washer attached.
Then attach another M8 washer and M8 nyloc nut to the threaded end of the bolt
on the back of the Safespace bar.
Repeat the same for all four corner brackets, doing the one diagonally opposite
first.
Tighten all the nuts with a power drill and then tighten with a 13mm spanner.
5
Inserting the Corner Foam Pads
Insert the corner foam pads inside the PVC
pockets on the inside of the PVC fabric.
Repeat on all 4 corners.
6
Tensioning the PVC
Feel the ‘slack’ in the PVC at one of the corners.

Assembly Instructions - Safespace Hi-Lo 4
Lift the top corner mounting bracket up and tighten the nut on the threaded bar
downwards to create tension. Tighten the nut to a distance of 80-90mm away from
the bracket.
Repeat on all 4 corners.
Make sure all the zips of the doors and windows of the Safespace are closed.
Then begin to wrap the velcro straps around the vertical bars, at first with only a
small amount of tension. Thread the back of the velcro around the pole, thread it
through the chrome buckle. Then fold it back on itself to hold and tension the straps
more firmly.
The door and window zips need to open and close freely with no ‘straining’. Check
this, and if there is straining loosen the tension off slightly till the zips run freely.
Once you are satisfied the tension and positioning is correct, zip up all the corner
pockets.
7
Assembling the Hi-Lo
Place the foam pad onto the hi-lo bed base
and lift the Safespace compartment on.
Ensure the straps on all four sides hang
freely.
This requires two people.
8
The toe-stubbing foam can now be
positioned beneath the flaps on all four sides.

If you have any questions or concerns, please
call us on 01706 816274 or email [email protected]
Assembly Instructions - Safespace Hi-Lo 5
9
All straps can now wrap round the steel bed
base mesh and fold back onto themselves.
The handset can be hooked onto the fillet.
The mattress and bedding can now be added.
10
Check that the completed bed moves freely up
and down and that the brakes can be applied
and released as intended.
Your Safespace Hi-Lo is now ready to use!
Read user manual before use
It is important to fully understand the content of the user manual before
attempting to use the equipment.

01706 816274 | [email protected] | www.safespaces.co.uk
Safespaces (Cornholme) Ltd, 361 Burnley Road, Todmorden, Lancs, OL14 7DH
Company Registration No. 5733564 | VAT No. 797 1269 81
Assembly Instructions - Safespace Hi-Lo 6
Table of contents