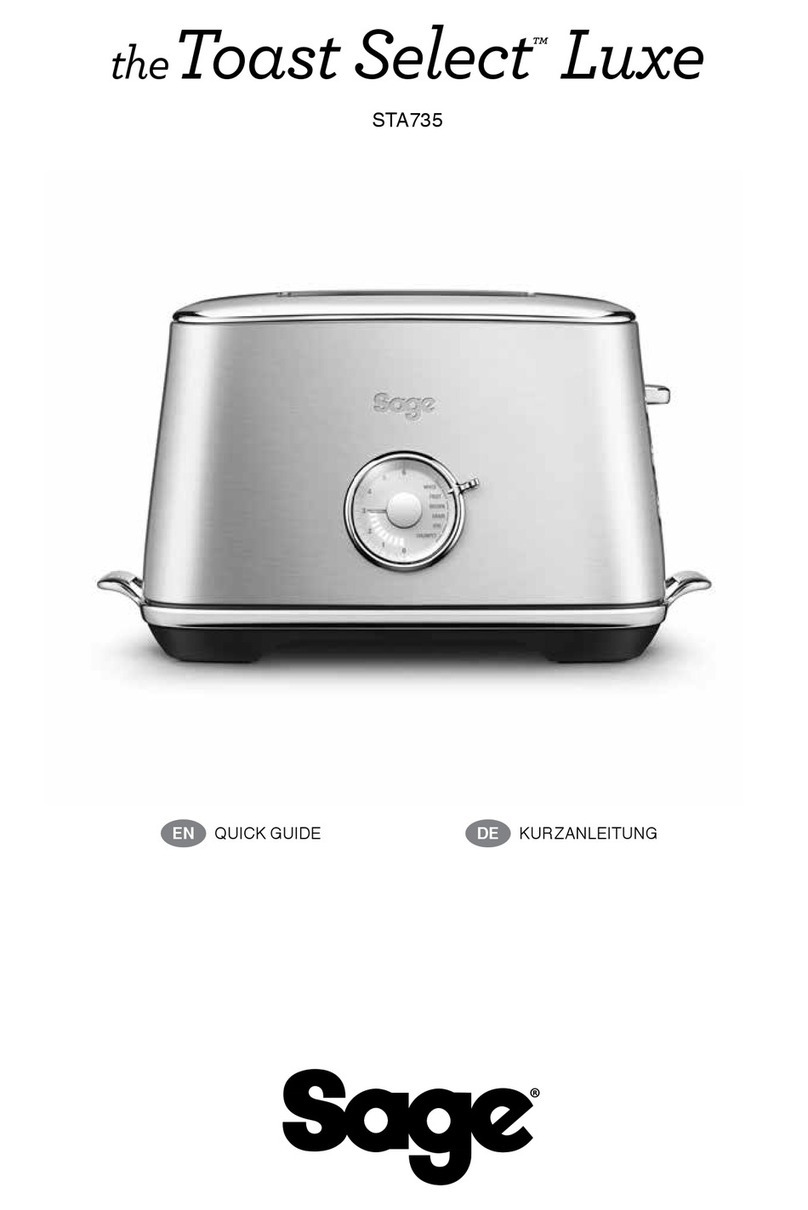
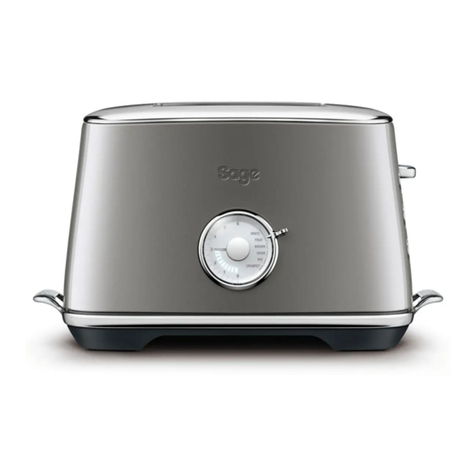
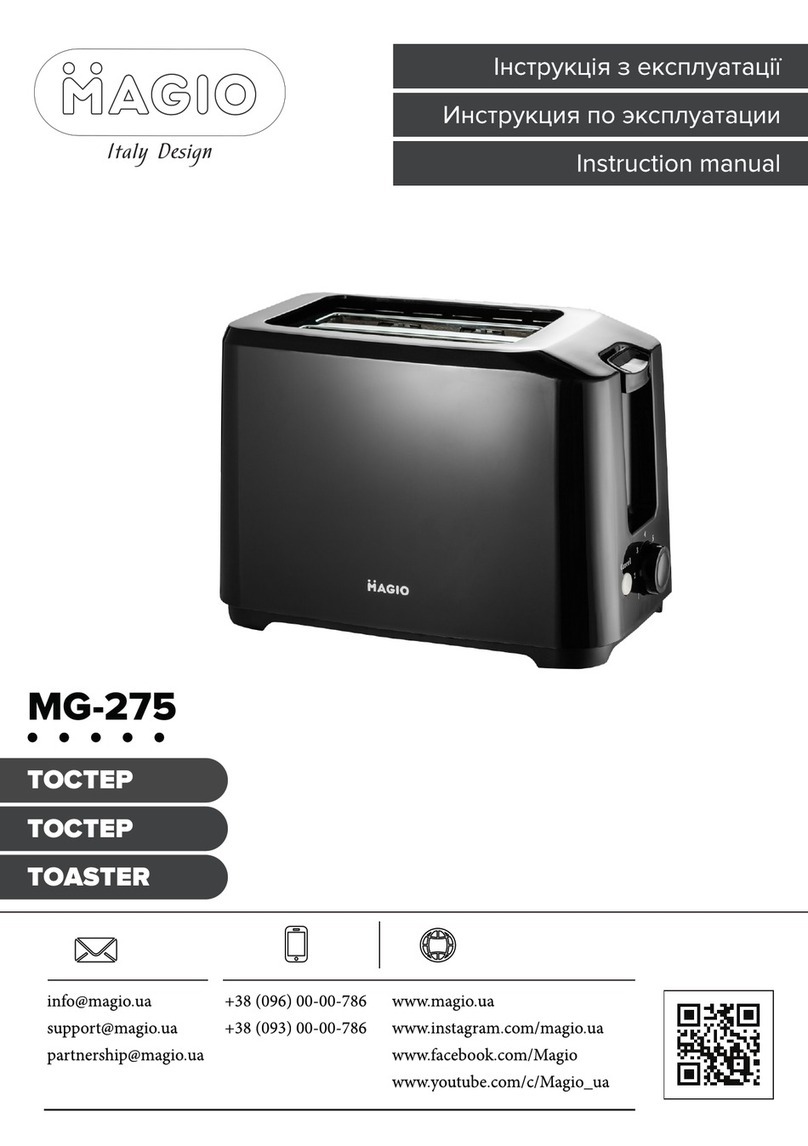
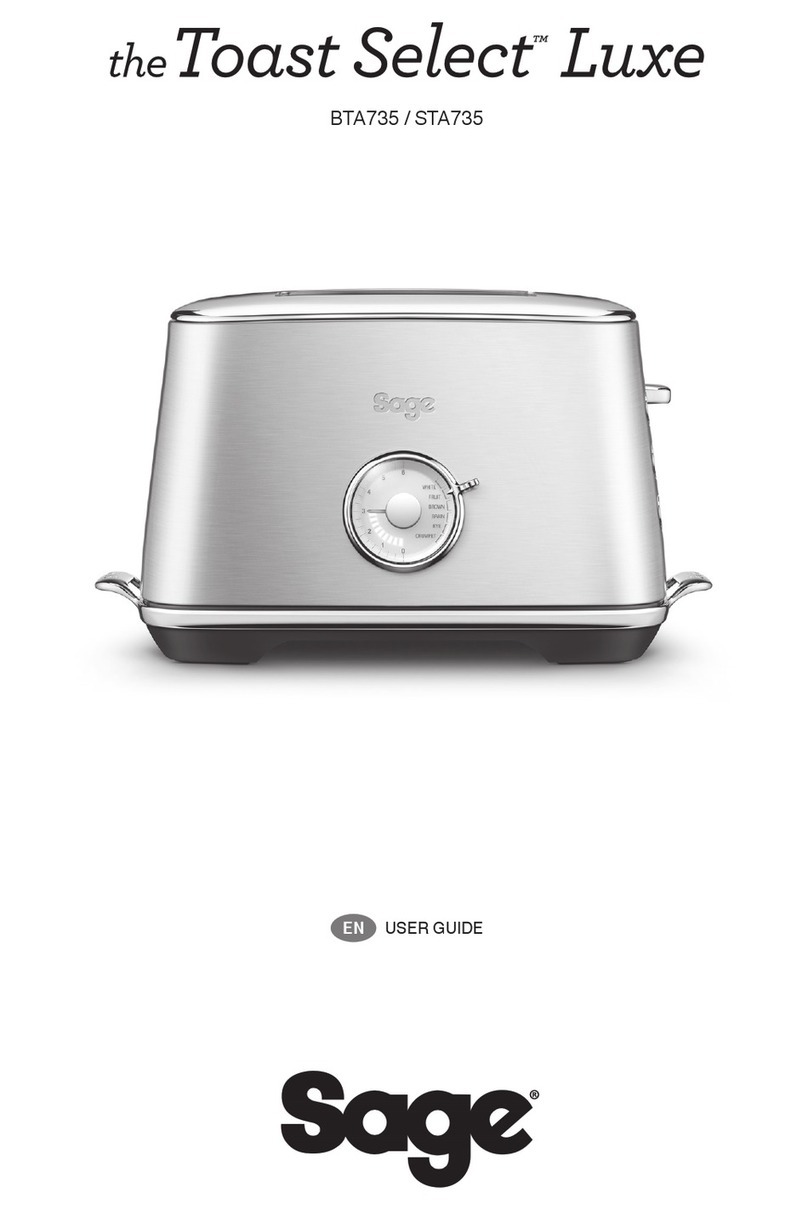
Sage BTA735 User manual

BTA735 / STA735
EN USER GUIDE

6
Rating Information
220–240V ~ 50–60Hz 840–1000W
D
E
F
G
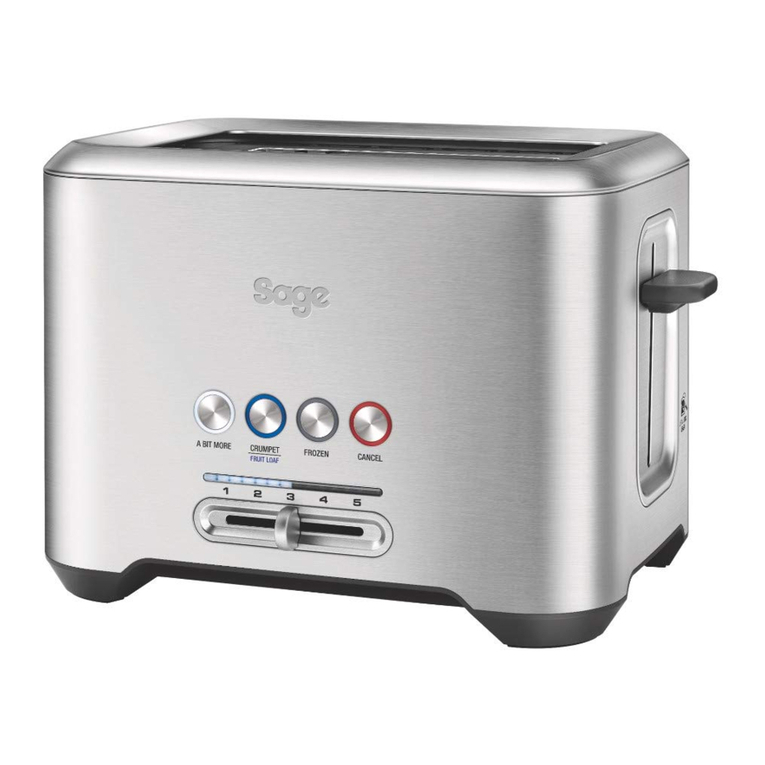
Components
A. Brownness Indicators
LEDs to indicate the brownness setting
and progress of your toasting.
B. Bread Selection Ring
Select your bread type to ensure comparable
brownness across all bread types without the
guess work.
The time taken to toast your bread depends on
the bread type.Select from White, Fruit, Brown,
Grain, Rye or Crumpet to ensure you get the
same brownness level every time.
Crumpet setting activates additional heat to
the middle heating elements to toast the insides
of your crumpets or bagels without burning
the outsides.
C. Brownness Selection Dial
Select how brown you like your toast,
setting ‘0’ (lightest) to ‘6’ (darkest).
D. ‘A QUICK LOOK™’ / High Lift Lever
Use the lever during the toasting cycle to raise
and lower the carriage so you can check the
toasting progress without interrupting the
toasting cycle. High lift feature makes it easier
to remove small items such as English muns,
crumpets or bagels.
E. ‘A BIT MORE™’
If your toast comes up too light, one press adds
a little extra toasting time.
REHEAT button
If your toast has popped up & gone cold,
Press ‘reheat’ to warm it up again.
F. FROZEN button
Activates additional toasting time required
to toast frozen bread.
G. CANCEL button
Cancels the toasting cycle.
A
C
B

7
EN
Functions
NOTE
This toaster is electronically controlled and
will not operate until the toaster is plugged into
a 220–240V power outlet. Before rst use, remove
any packaging material or promotional labels
attached to your toaster.
1. Insert the power plug into a 220–240V power
outlet.The Brownness Indicators will illuminate
from ‘0’ to ‘6’, and then align to the selected
browning setting (indicated by the position of
the Brownness Dial and Brownness Indicators).
The toaster will revert to stand‑by mode
(Brownness Indicators will dim) after a few
minutes if a button is not pressed or the dial
is not adjusted.
NOTE
When using the toaster for the rst time,
we suggest toasting on the maximum setting
without bread.The toaster may emit a thin smoke
or distinct odour on initial use.This is normal and
not detrimental to the performance of the toaster.
2. Place bread, crumpets, bagels, etc into each
of the toasting slots. Ensure items for toasting
are not too large or too thick to t in the
toasting slots.
3. Select the bread type in toasting slot using the
Bread Selection Ring.
NOTE
Various types of bread may require a dierent
browning setting.For example, raisin toast and
white light textured breads require less toasting
time, while heavier textured rye breads may require
more toasting time.Changing the Bread Selection
Ring accommodates for these changes (removes
the guess work) without changing the Brownness
Selection Dial so you always have the same
browning no matter what the bread type.
4. When using the Brownness Selection Dial, align
the needle with the desired browning setting ‘0’
(lightest) to ‘6’ (darkest). Indicators will illuminate
and align to the selected browning setting.
The Brownness setting is relative to each Bread
Type so there’s no need to keep adjusting the
setting for dierent bread types if you have the
same brownness requirements.
NOTE
When toasting bread for the rst time, it is suggested
to toast on browning setting‘3’ (9 LED Indicators).
5. To start the toasting process, press the lever
down until it locks into place.The Brownness
Indicators will begin ashing at “0” then start
to gradually count up indicating the level of
brownness until it reaches the browning setting.
6. Once the toasting cycle is complete the carriage
will move to the raised position. Remove the
toast.The brownness indicator will re‑illuminate
to the previously selected browning setting for
a few minutes before entering stand‑by mode.
NOTE
To re‑activate the toaster from stand‑by mode,
press any button or adjust the Brownness Dial.
The Brownness Indicators will re‑illuminate.
WARNING
Do not leave the toaster unattended when in
use as toast may jam.In the unlikely event that
bread, bagels, English muns or toaster pastries
become jammed in the toasting slots, all the
buttons and the LED toasting indicators will ash
and the elements will turn o. Remove the power
plug from the power outlet and allow the toaster
to cool completely before carefully easing the
bread out of the slots.Take care not to damage
the heating elements. Do not use metal utensils.
8
REHEAT
If your toast has popped up & gone cold, Press A
BIT MORE™ / REHEAT button to warm it up again.
BREAD TYPE SELECTION
The bread selection feature changes the
total toasting time for each bread type,
so you can achieve the same brownness
setting across dierent bread types.
To toast dierent bread types
1. Place the bread into the toasting slots.
2. Adjust the Bread Selection Ring to bread type
in the toasting slots, ensuring the pointer aligns
with the selected setting.
3. Select the desired browning setting by adjusting
the Brownness Selection Dial.Brownness
settings range from‘0’ (lightest) to ‘6’ (darkest).
4. To start the toasting process, press the lever
down until it locks into place.
A BIT MORE™
If your toast comes up too light, one press
of this button adds a little extra toasting time.
This feature can be selected before, during or
after the toasting cycle and can be used with
all Bread Types and FROZEN functions.
To use this feature during the toasting cycle:
Press the A BIT MORE™ / REHEAT button.
The button surround will illuminate white when
selected.The toasting time will automatically
increase but will not illuminate more Brownness
Indicators.The A BIT MORE™ / REHEAT
function can be cancelled by pressing the A
BIT MORE™ / REHEAT button again and
the original toasting cycle will continue.
To use this feature before or after the
toasting cycle:
Press the A BIT MORE™ / REHEAT button.
The button surround will illuminate white when
selected. Press the lever down until it locks into
place.The Brownness Indicators will automatically
align with the lowest browning setting then ash
and count down for the additional browning time.

9
EN
CRUMPET SELECTION
The crumpet selection in addition to adjusting
the total toasting time activates additional
heat to the middle heating elements to
perfectly toast the insides of your crumpets
or bagels without burning the outsides.
To toast crumpets or bagels:
1. Place the crumpet or bagel into the toasting
slots with the inside of the crumpet or bagel
facing inwards as per the crumpet & bagel
markings above the middle heating elements
of the toaster.
2. Adjust the Bread Selection Ring to CRUMPET,
ensuring the pointer aligns with the
CRUMPET setting.
3. Select the desired browning setting by adjusting
the Brownness Selection Dial.Brownness
settings range from‘0’ (lightest)
to ‘6’ (darkest).
CRUMPET & BAGEL SETTINGS
120 3456
BAGEL
CRUMPET
4. To start the toasting process, press the lever
down until it locks into place.
NOTE
It is normal for the outside heating elements
to appear o or on a lower power during the
Crumpet setting.This ensures the inside of your
crumpet toasts without burning the outside.
FROZEN BUTTON
This feature activates additional toasting
time required to toast frozen bread.
To toast frozen bread:
1. Place the bread into the toasting slots.
2. Adjust the Bread Selection Ring so that the
pointer aligns with the bread type you’ve
inserted in the toasting slots.
3. Select the desired browning setting by
adjusting the Brownness Selection Dial.
Brownness settings range from ‘0’ (lightest)
to ‘6’ (darkest).
4. To select the FROZEN setting, press the
FROZEN button and the button surround will
illuminate white.
5. To start the toasting process, press the lever
down until it locks into place.The toasting time
will automatically increase.
6. After the cycle has nished, the FROZEN
button will turn o.
NOTE
The FROZEN function can be cancelled
by pressing the FROZEN button again and
the original toasting cycle will continue.
A QUICK LOOK™ LEVER
This feature lets you raise & lower the carriage
so you can check the toasting progress without
interrupting and/or cancelling the toasting
cycle. During the toasting cycle, simply lift
the lever to view the toasting progress. Lower
the lever to continue the cycle or press the
CANCEL button to stop the cycle at any time.
HIGH LIFT LEVER
The lever can be lifted approximately 2cm above
the starting position.This raises the carriage
making it easier to remove smaller items such
as English muns, crumpets or bagels.

10
Care & Cleaning
1. Switch the toaster o at the power outlet and
then remove the power plug from the power
outlet. Allow the toaster to cool completely
before cleaning.
2. To clean any crumbs from the toaster, remove
the crumb tray (located under the control panel
at the front of the toaster) by pulling it outwards.
Empty and replace the crumb tray before using
the toaster again. Replace the crumb tray by
sliding it inwards until it locks into position.
3. To remove any additional crumbs caught inside,
turn the toaster upside down over a bin and
shake gently to free the crumbs.
DO NOT bang the toaster, this may damage
the elements or carriage mechanism.
4. Wipe the outside of the toaster with a slightly
dampened soft cloth and then dry it with a soft
dry cloth to dry completely.
NOTE
Do not clean with metal scouring pads.
Pieces can break o the pad and touch
electrical parts creating an electric shock
hazard and damage the nish of the toaster.
STORAGE
Switch toaster o at the power outlet and
remove the power plug from the power outlet.
Allow the toaster to cool completely before
storing. Follow the directions for cleaning and
store in an upright position on a at surface on
a bench top or in an accessible cupboard.
Do not store anything on top of the toaster.
WARNING
Do not use the toaster without the slide‑out
crumb tray in position. Do not allow crumbs to
build up in the crumb tray. Failure to clean the
crumb tray regularly may result in a re hazard.
2 YEAR LIMITED GUARANTEE
Sage Appliances guarantees this product for
domestic use in specied territories for 2 years
from the date of purchase against defects caused
by faulty workmanship and materials.During this
guarantee period Sage Appliances will repair,
replace, or refund any defective product (at the
sole discretion of Sage Appliances).
All legal warranty rights under applicable national
legislation will be respected and will not be
impaired by our guarantee. For full terms and
conditions on the guarantee, as well as instructions
on how to make a claim, please visit www.
sageappliances.com.
Guarantee
STA735 EU UG8 D21
Other manuals for BTA735
1
Table of contents
Other Sage Toaster manuals

Sage
Sage Smart Toast BTA825 User manual

Sage
Sage Smart Toast BTA825 User manual

Sage
Sage Smart Toast STA825 User manual

Sage
Sage BTA735 User manual

Sage
Sage BTA820UK User manual

Sage
Sage Bit More BTA730 User manual

Sage
Sage the Toast Select Luxe User manual

Sage
Sage BTA830UK User manual

Sage
Sage Bit More BTA720 User manual

Sage
Sage the Smart Toast Series User manual