manuals.online logo
Brands
  1. Home
  2. •
  3. Brands
  4. •
  5. Salus
  6. •
  7. Thermostat
  8. •
  9. Salus SQ605RF User manual

Salus SQ605RF User manual

This manual suits for next models

1

Other Salus Thermostat manuals

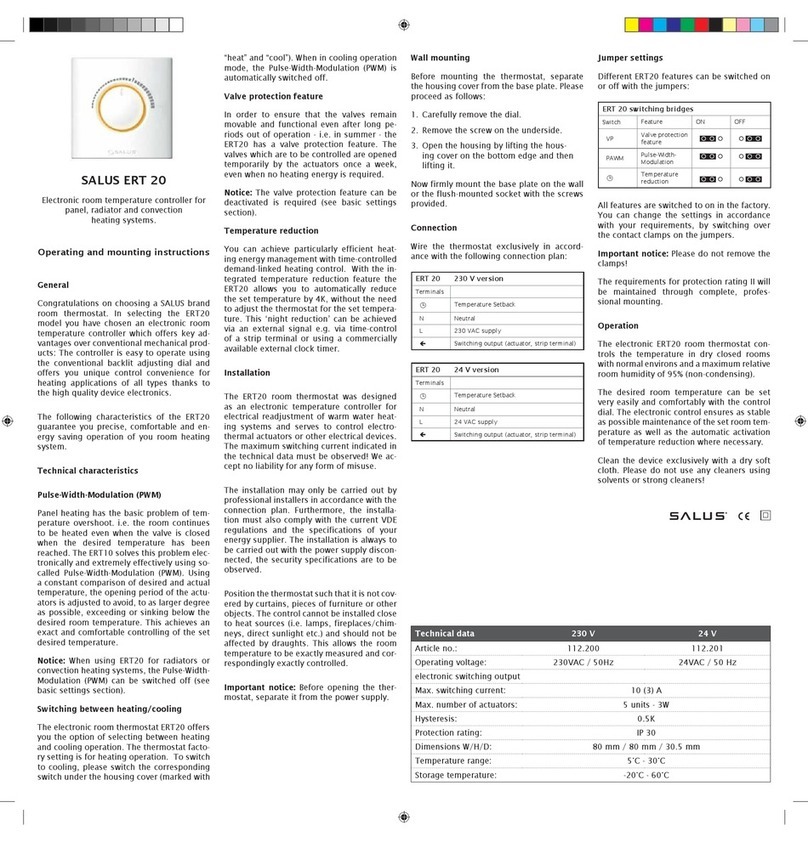
Salus RT500ROF User manual

Salus

Salus RT500ROF User manual

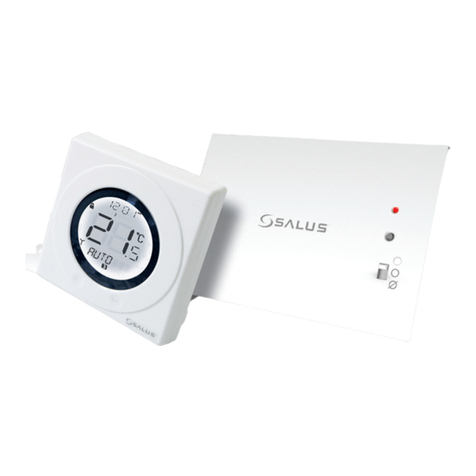
Salus HTR230 User guide

Salus

Salus HTR230 User guide

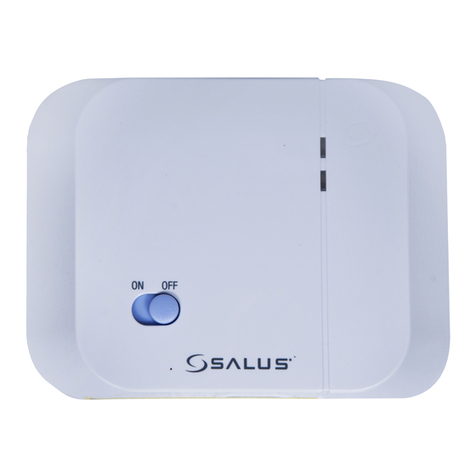
Salus RT510LG5V User manual

Salus

Salus RT510LG5V User manual

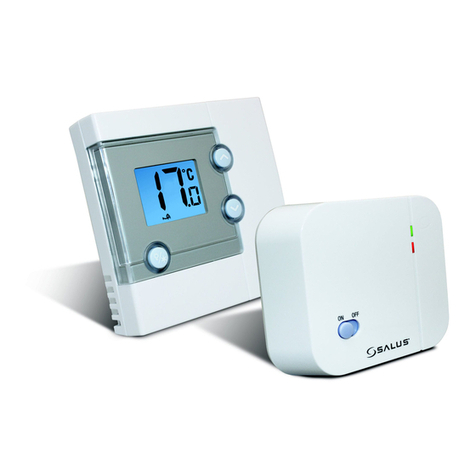
Salus ST325TX User manual

Salus

Salus ST325TX User manual

Salus RTS00RF User manual

Salus

Salus RTS00RF User manual

Salus RT510 User manual

Salus

Salus RT510 User manual

Salus RT 10 User manual

Salus

Salus RT 10 User manual

Salus RT310TX User manual

Salus

Salus RT310TX User manual

Salus ST921WF User manual

Salus

Salus ST921WF User manual

Salus ST320 User manual

Salus

Salus ST320 User manual

Salus ERT20 Service manual

Salus

Salus ERT20 Service manual

Salus RT305TX User manual

Salus

Salus RT305TX User manual

Salus ST320RF User manual

Salus

Salus ST320RF User manual

Salus BTRP230 User manual

Salus

Salus BTRP230 User manual

Salus ERT20RF User manual

Salus

Salus ERT20RF User manual

Salus ST101ZB User manual

Salus

Salus ST101ZB User manual

Salus RT500 User manual

Salus

Salus RT500 User manual

Salus RT100 User manual

Salus

Salus RT100 User manual

Salus Optima S User manual

Salus

Salus Optima S User manual

Salus ST620RF User manual

Salus

Salus ST620RF User manual

Salus ERT50 User manual

Salus

Salus ERT50 User manual

Salus RT510RF Service manual

Salus

Salus RT510RF Service manual

Salus VS20WRF User manual

Salus

Salus VS20WRF User manual

Salus Quantum WQ610 User manual

Salus

Salus Quantum WQ610 User manual

Popular Thermostat manuals by other brands

Full Gauge TIC-17C product manual

Full Gauge

Full Gauge TIC-17C product manual

Imit Chronomix S manual

Imit

Imit Chronomix S manual

ChiliTec ST-35 ana instruction manual

ChiliTec

ChiliTec ST-35 ana instruction manual

Azel D-500 user guide

Azel

Azel D-500 user guide

Honeywell Chronotherm III owner's manual

Honeywell

Honeywell Chronotherm III owner's manual

Charmeg MP-R user manual

Charmeg

Charmeg MP-R user manual

dixell WING XW40LS Installing and operating instructions

dixell

dixell WING XW40LS Installing and operating instructions

Network Thermostat NetX X7C-WIFI Installation and programming manual

Network Thermostat

Network Thermostat NetX X7C-WIFI Installation and programming manual

Radio Thermostat CT80 Operation guide

Radio Thermostat

Radio Thermostat CT80 Operation guide

HAI Omnistat RC-120 installation manual

HAI

HAI Omnistat RC-120 installation manual

Lennox iComfort E30 Installation and setup guide

Lennox

Lennox iComfort E30 Installation and setup guide

Lux Products PSD011Ba Installation and operating instructions

Lux Products

Lux Products PSD011Ba Installation and operating instructions

Computherm Q20 operating instructions

Computherm

Computherm Q20 operating instructions

Heatmiser neoStat user manual

Heatmiser

Heatmiser neoStat user manual

Mars HEAT CONTROLLER IR Wireless Thermostat user manual

Mars

Mars HEAT CONTROLLER IR Wireless Thermostat user manual

LUX LP0511D user manual

LUX

LUX LP0511D user manual

Saswell SAS920XWHB-7-S-RF User manual and warranty card

Saswell

Saswell SAS920XWHB-7-S-RF User manual and warranty card

Aircalo TFP1-ET85P2 operating manual

Aircalo

Aircalo TFP1-ET85P2 operating manual

manuals.online logo
manuals.online logoBrands
  • About & Mission
  • Contact us
  • Privacy Policy
  • Terms and Conditions

Copyright 2025 Manuals.Online. All Rights Reserved.

Product Description
Thank you for purchasing the SQ605RF(WB) Thermostat. This thermostat is a device that
let’s you customize the heating and cooling of your home as needed. The SQ605RF(WB) is
a wireless dial room thermostat used for underoor heating systems. The thermostat is
compatible in the oine mode with the wiring centre KL08RF and its extension KL04RF,
coordinator CO10RF and the repeater RE10RF. Easy to operate using the conventional
adjusting dial, it oers unique control convenience for your underoor heating system.
We hope you enjoy our product.
Wireless dial room thermostat
Model: SQ605RF(WB)
INSTALLER MANUAL
www.salus-controls.com
SALUS Controls is a member of the Computime Group
Maintaining a policy of continuous product development SALUS Controls plc reserve the right to
change specification, design and materials of products listed in this brochure without prior notice.
Issue Date: SEP 2020
V005
For PDF Installation guide please
go to www.salus-manuals.com
Icons used in this manual:
Safety
Important info
Your benet
Fixing Screws
AAAA batteries x 2
3M Sticker-self adhesive tape
1 x Installer Manual
SQ605RF(WB) Wireless dial room
thermostat
Use in accordance to national and EU regulations. Use the device as intended, keeping it in
dry condition. Product for indoor use only. Installation must be carried out by a qualied
person in accordance to national and EU regulations. Disconnect your equipment before
cleaning it with a dry cloth.
Product Compliance
Safety Information
This product complies with the essential requirements and other relevant provisions of RED
Directives 2014/53/EU and 2011/65/EU. The full text of the EU Declaration of Conformity is
available at the following internet address: www.saluslegal.com
2405MHz-2480MHz; <14dBm (Zigbee)
Package content
User interface
Temperature is set by turning the knob to wanted temperature: 5° - 35°C.
Front
The ideal position to locate the thermostat is 1,5 m above oor level, far from heating
or cooling sources. The thermostat can’t be exposed to sunlight or any extreme conditions,
for example draft. It should be mounted in a location where the thermostat is easily
accessible and away from direct sunlight.
For wall mounting, to mount the thermostat you can use included accessories
(mounting screws or self-adhesive tape). Remove back cover to mount the plate to the wall.
After this just attach thermostat to the plate (it has built-in magnet).
1. Temperature scale
2. Dial button
3. LED
1
2
3
SALUS Controls plc
Units 8-10 Northfield Business Park
Forge Way, Parkgate
Rotherham
S60 1SD
United Kingdom
Mounting
Please install the wiring centre according to the instructions attached to the product.
Model: SQ605RF(WB)
Power Supply: AAAA battery 1,5V (x2)
Temperature setpoint range: 5°C-35°C
Control algorithm: Span 0,5°C
Storage temperature: -20°C - 60°C
Ambient temperature: 0°C - 45°C
Humidity (Non condensed) 5 – 95 % RH
Communication protocol: ZigBee 2,4GHz
Mounting: Surface mounting
Degree of protection: IP30
Valve/Frost protection: Yes/Yes: 5°C.
Heating and cooling: Yes. Changeover byWiring Centre
Dimensions (W x H x D) 86 x 86 x 19,5 mm
Backplate
1
1
2
3
4
5
6
7
3
2
4
5
Pairing (oine mode) Operating of the Pairing Button
Led Indication
1. Baterries
2. ON/OFF Switch
3. RESET Button
4. Pairing Button
5. Jumpers (for zone selection)
5 sec
Press and hold the CO10RF coordinator button for 5 seconds to open the ZigBee network.
Short press (press and hold the parring button less than 3 seconds) to see the thermostat status.
Set the jumpers:
Jumper 1= zone 1, Jumper 2=zone 2, etc.
By setting up more than one jumper, the thermostat will be able to control multiple zones.
Carefully insert the batteries into the thermostat.
Turn the thermostat ON by using the on/o switch as seen below.The default position is OFF.
Press the PAIRING button for 3 to 10 seconds to start the pairing process.When the LED stops
ashing, the thermostat is paired.
Heat cut o
When the room temperature is over 36°C, the heating output will be turned o.
Cooling cut o
When the room temperature is under 4°C, the cooling output will be cut o.
Short cycle protection
Heating mode
The thermostat will start heating when the room temperature will get below the setpoint.
It will stop the Heating function when the room temperature is on set point or above.
Cooling mode
The thermostat will start cooling when the room temperature gets above the setpoint.
The thermostat will stop the Cooling function when the room temperature is on setpoint or
below.
When all the thermostats are paired, press and hold the CO10RF coordinator button
for 5 seconds to close the ZigBee network.
5 sec
If the thermostat fails to join the network within 10 minutes, then the thermostat
quitted scanning the network. To restart the network scanning process, please hold pressed
the pairing button for 3 to 10 seconds.
Behavior Function
Short press: press and hold the
button less than 3 seconds).
If the device is connected to the network/indicates heating
or cooling state. If the device has not network, it indicates no
network state.
Long press: press and hold the
button longer than 3 seconds
to maximum 10 seconds.
Start scanning the network if the device it’s not connected to
the network.
Start Identify if the device is connected to the network.
Stop Identify if the device is in the process of identifying.
Extreme long press: press and
hold the button longer than 10
seconds.
Start factory resetting/ device leaves network and resets all
parameters.
Output call LED indication
Idle All LEDs are o.
Heating Red LED illuminates for 1 second.
Cooling Blue LED illuminates for 1 second.
Scanning Network Red LED ashes for 0.25 seconds ON, 0.25 seconds OFF, 0.25
seconds ON, 0.25 seconds OFF, 0.25 seconds ON, 3.75 second OFF
then cycle.
Device Pairing Red and Green LED blink 0.25 seconds ON and 0.75 seconds OFF
then cycle.
Error indication
Protection function
Control Pattern – Span 0,5°C
Technical Specication
LED will start ashing automatic, when error occurred.
Error LED indication
Lost Parent All LEDs blink 0.25 seconds ON and 0.25 seconds OFF for 3 times
every 30 seconds.
Lost Link with Paired device All LEDs blink 0.25 seconds ON and 0.25 seconds OFF for 2 times
every 30 seconds.
Lost link with Coordinator All LEDs blink 0.25 seconds ON and 0.25 seconds OFF for 1 time
every 30 seconds.
Low Battery Blue LED ashes for 0.25 seconds ON, 9.75 seconds OFF then
every 10 seconds.
Sensor Short/Open Red LED ashes for 0.25 seconds ON, 9.75 seconds OFF every 10
seconds.
When the cooling mode is enabled the minimum interval between On/OFF is 3 minutes.