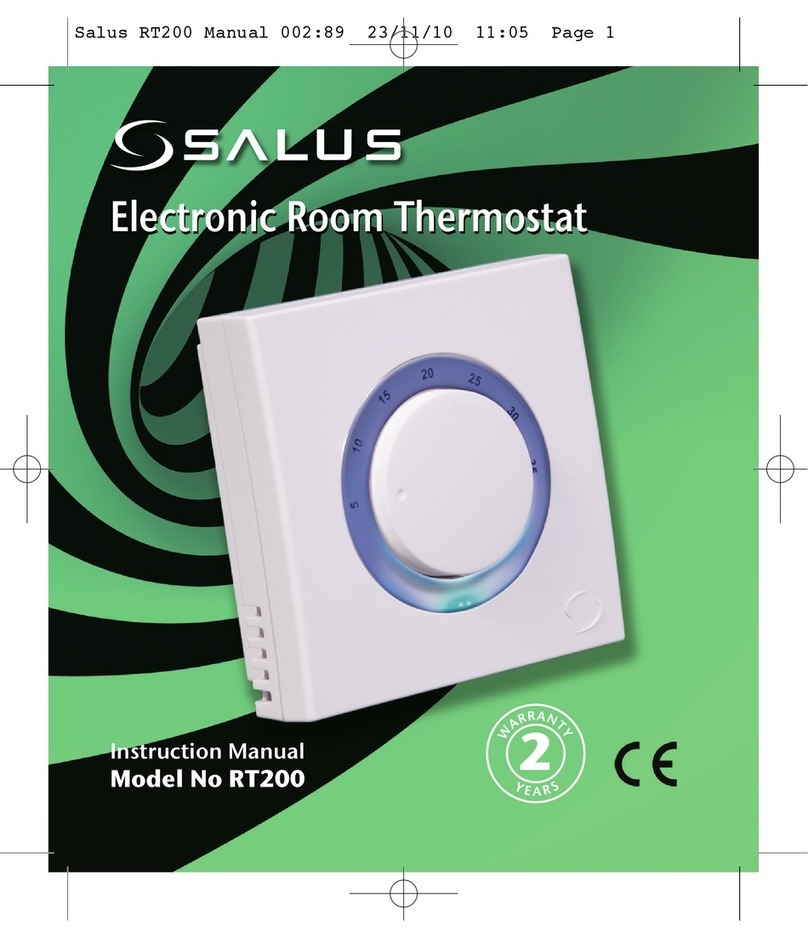
SALUS ERT 20
Electronic room temperature controller for
panel, radiator and convection
heating systems.
Operating and mounting instructions
General
Congratulations on choosing a SALUS brand
room thermostat. In selecting the ERT20
model you have chosen an electronic room
temperature controller which offers key ad-
vantages over conventional mechanical prod-
ucts: The controller is easy to operate using
the conventional backlit adjusting dial and
offers you unique control convenience for
heating applications of all types thanks to
the high quality device electronics.
The following characteristics of the ERT20
guarantee you precise, comfortable and en-
ergy saving operation of you room heating
system.
Technical characteristics
Pulse-Width-Modulation (PWM)
Panel heating has the basic problem of tem-
perature overshoot. i.e. the room continues
to be heated even when the valve is closed
when the desired temperature has been
reached. The ERT10 solves this problem elec-
tronically and extremely effectively using so-
called Pulse-Width-Modulation (PWM). Using
a constant comparison of desired and actual
temperature, the opening period of the actu-
ators is adjusted to avoid, to as larger degree
as possible, exceeding or sinking below the
desired room temperature. This achieves an
exact and comfortable controlling of the set
desired temperature.
Notice: When using ERT20 for radiators or
convection heating systems, the Pulse-Width-
Modulation (PWM) can be switched off (see
basic settings section).
Switching between heating/cooling
The electronic room thermostat ERT20 offers
you the option of selecting between heating
and cooling operation. The thermostat facto-
ry setting is for heating operation. To switch
to cooling, please switch the corresponding
switch under the housing cover (marked with
“heat” and “cool”). When in cooling operation
mode, the Pulse-Width-Modulation (PWM) is
automatically switched off.
Valve protection feature
In order to ensure that the valves remain
movable and functional even after long pe-
riods out of operation - i.e. in summer - the
ERT20 has a valve protection feature. The
valves which are to be controlled are opened
temporarily by the actuators once a week,
even when no heating energy is required.
Notice: The valve protection feature can be
deactivated is required (see basic settings
section).
Temperature reduction
You can achieve particularly efficient heat-
ing energy management with time-controlled
demand-linked heating control. With the in-
tegrated temperature reduction feature the
ERT20 allows you to automatically reduce
the set temperature by 4K, without the need
to adjust the thermostat for the set tempera-
ture. This ‘night reduction’ can be achieved
via an external signal e.g. via time-control
of a strip terminal or using a commercially
available external clock timer.
Installation
The ERT20 room thermostat was designed
as an electronic temperature controller for
electrical readjustment of warm water heat-
ing systems and serves to control electro-
thermal actuators or other electrical devices.
The maximum switching current indicated in
the technical data must be observed! We ac-
cept no liability for any form of misuse.
The installation may only be carried out by
professional installers in accordance with the
connection plan. Furthermore, the installa-
tion must also comply with the current VDE
regulations and the specifications of your
energy supplier. The installation is always to
be carried out with the power supply discon-
nected, the security specifications are to be
observed.
Position the thermostat such that it is not cov-
ered by curtains, pieces of furniture or other
objects. The control cannot be installed close
to heat sources (i.e. lamps, fireplaces/chim-
neys, direct sunlight etc.) and should not be
affected by draughts. This allows the room
temperature to be exactly measured and cor-
respondingly exactly controlled.
Important notice: Before opening the ther-
mostat, separate it from the power supply.
Wall mounting
Before mounting the thermostat, separate
the housing cover from the base plate. Please
proceed as follows:
Carefully remove the dial.1.
Remove the screw on the underside.2.
Open the housing by lifting the hous-3.
ing cover on the bottom edge and then
lifting it.
Now firmly mount the base plate on the wall
or the flush-mounted socket with the screws
provided.
Connection
Wire the thermostat exclusively in accord-
ance with the following connection plan:
ERT 20 230 V version
Terminals
Temperature Setback
N Neutral
L 230 VAC supply
Switching output (actuator, strip terminal)
ERT 20 24 V version
Terminals
Temperature Setback
N Neutral
L 24 VAC supply
Switching output (actuator, strip terminal)
Jumper settings
Different ERT20 features can be switched on
or off with the jumpers:
ERT 20 switching bridges
Switch Feature ON OFF
VP Valve protection
feature
PAWM Pulse-Width-
Modulation
Temperature
reduction
All features are switched to on in the factory.
You can change the settings in accordance
with your requirements, by switching over
the contact clamps on the jumpers.
Important notice: Please do not remove the
clamps!
The requirements for protection rating II will
be maintained through complete, profes-
sional mounting.
Operation
The electronic ERT20 room thermostat con-
trols the temperature in dry closed rooms
with normal environs and a maximum relative
room humidity of 95% (non-condensing).
The desired room temperature can be set
very easily and comfortably with the control
dial. The electronic control ensures as stable
as possible maintenance of the set room tem-
perature as well as the automatic activation
of temperature reduction where necessary.
Clean the device exclusively with a dry soft
cloth. Please do not use any cleaners using
solvents or strong cleaners!
V42V032atadlacinhceT
102.211002.211:.onelcitrA
Operating voltage: 230VAC / 50Hz 24VAC / 50 Hz
electronic switching output
A)3(01:tnerrucgnihctiws.xaM
W3-stinu5:srotautcaforebmun.xaM
K5.0:siseretsyH
03PI:gnitarnoitcetorP
mm5.03/mm08/mm08:D/H/WsnoisnemiD
C°03-C°5:egnarerutarepmeT
C°06-C°02-:erutarepmetegarotS

