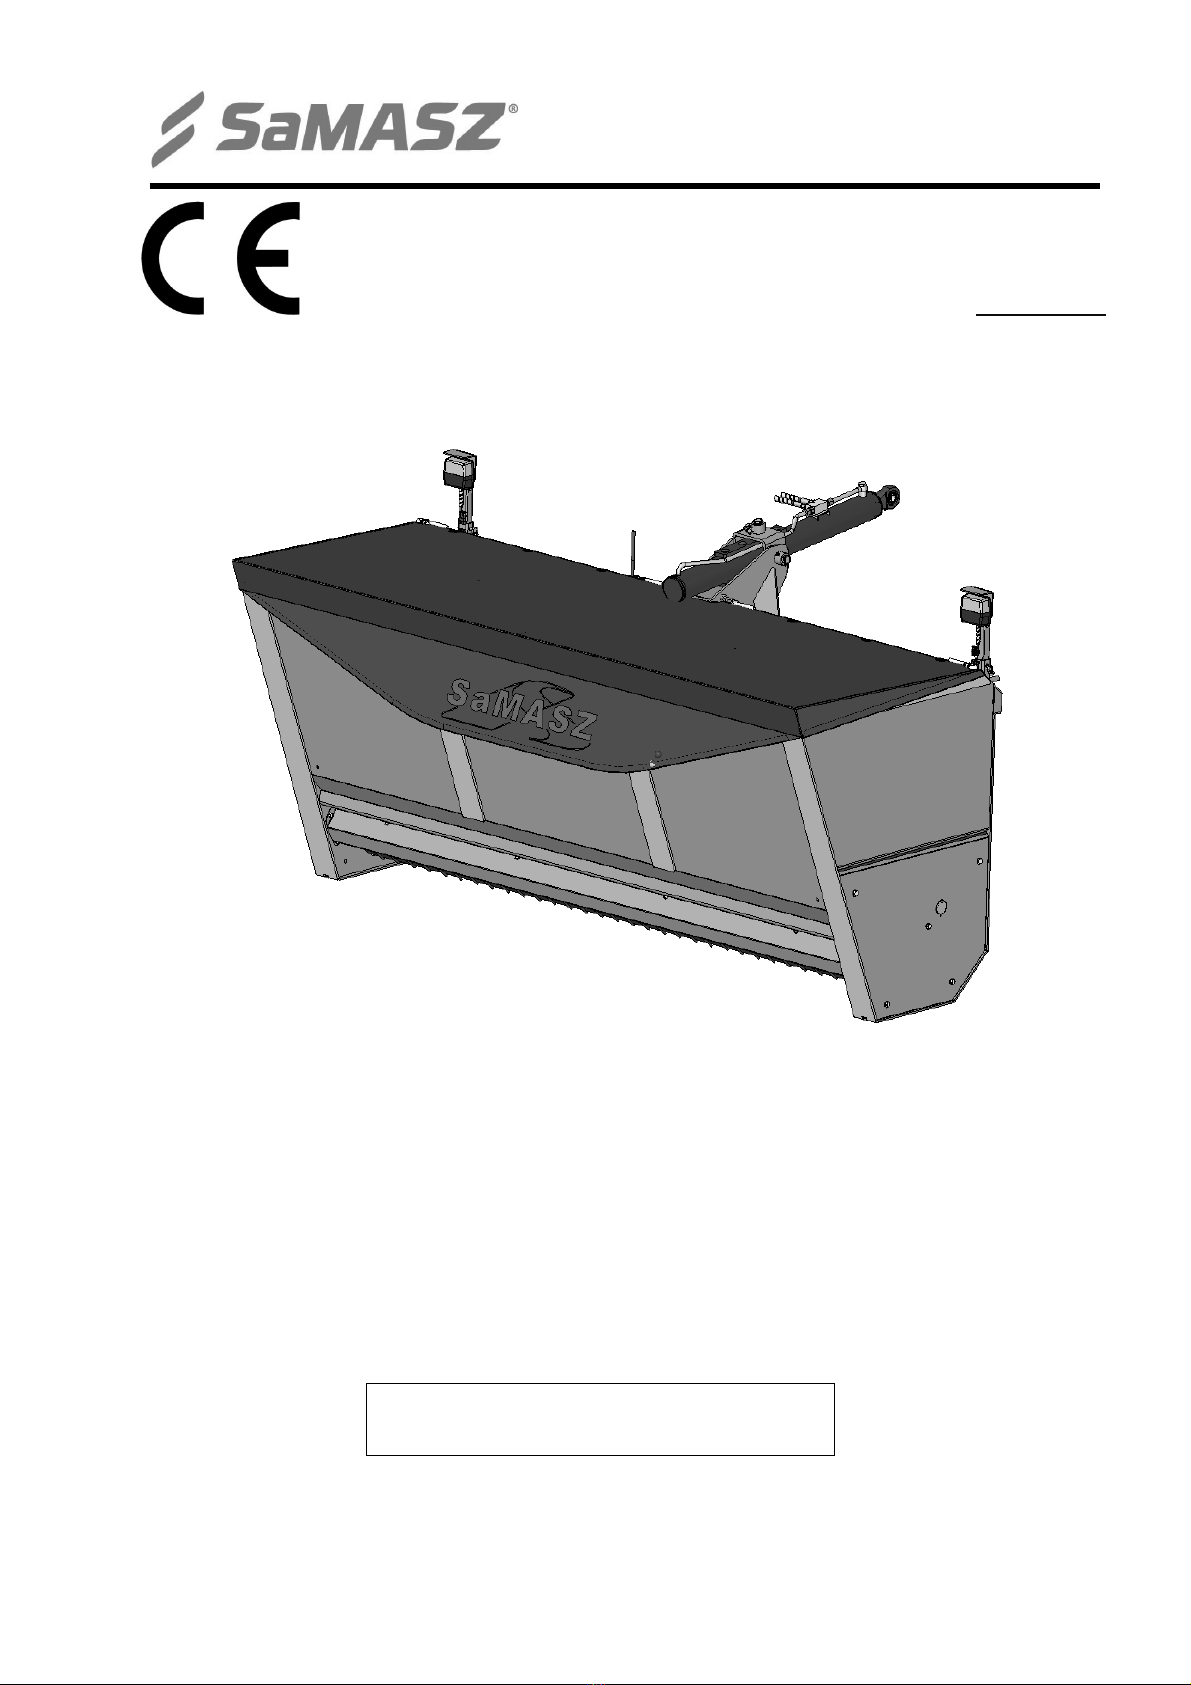
Operator's manual
Self-loading gritter
Sahara
- 3 -
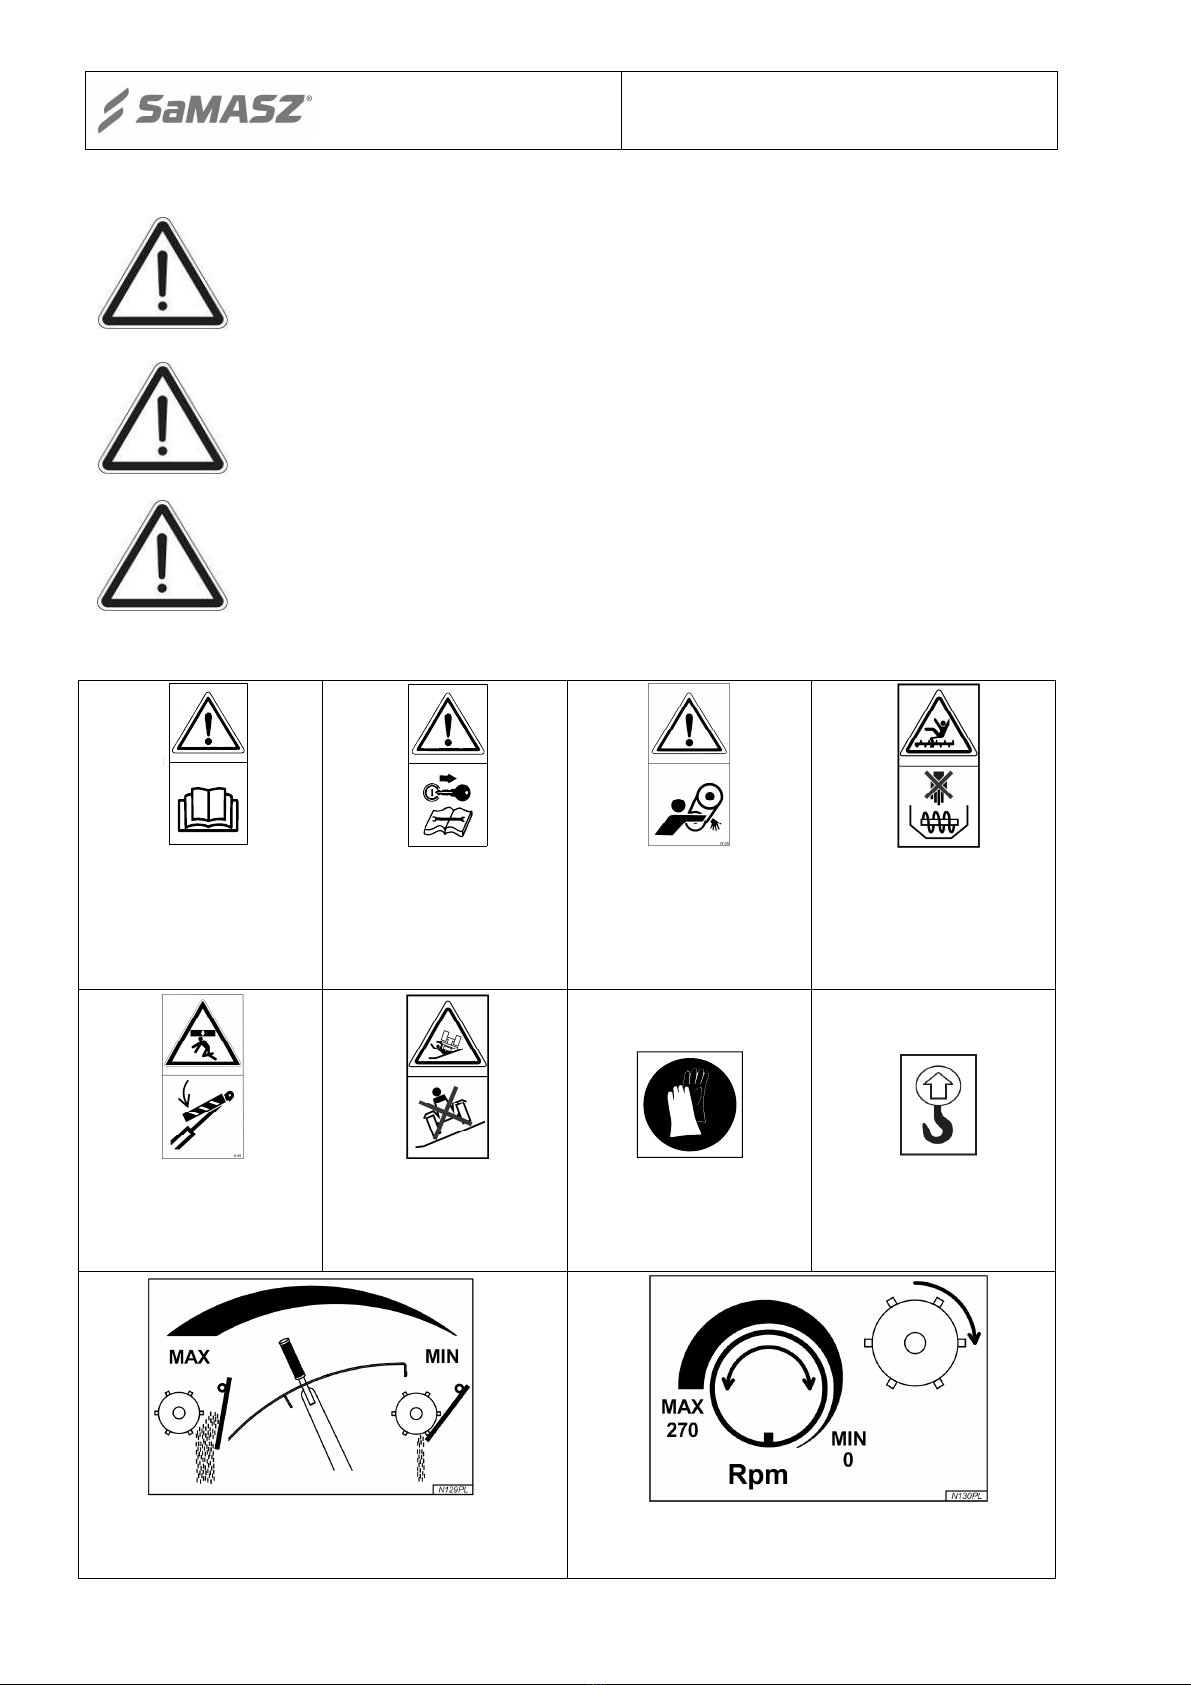
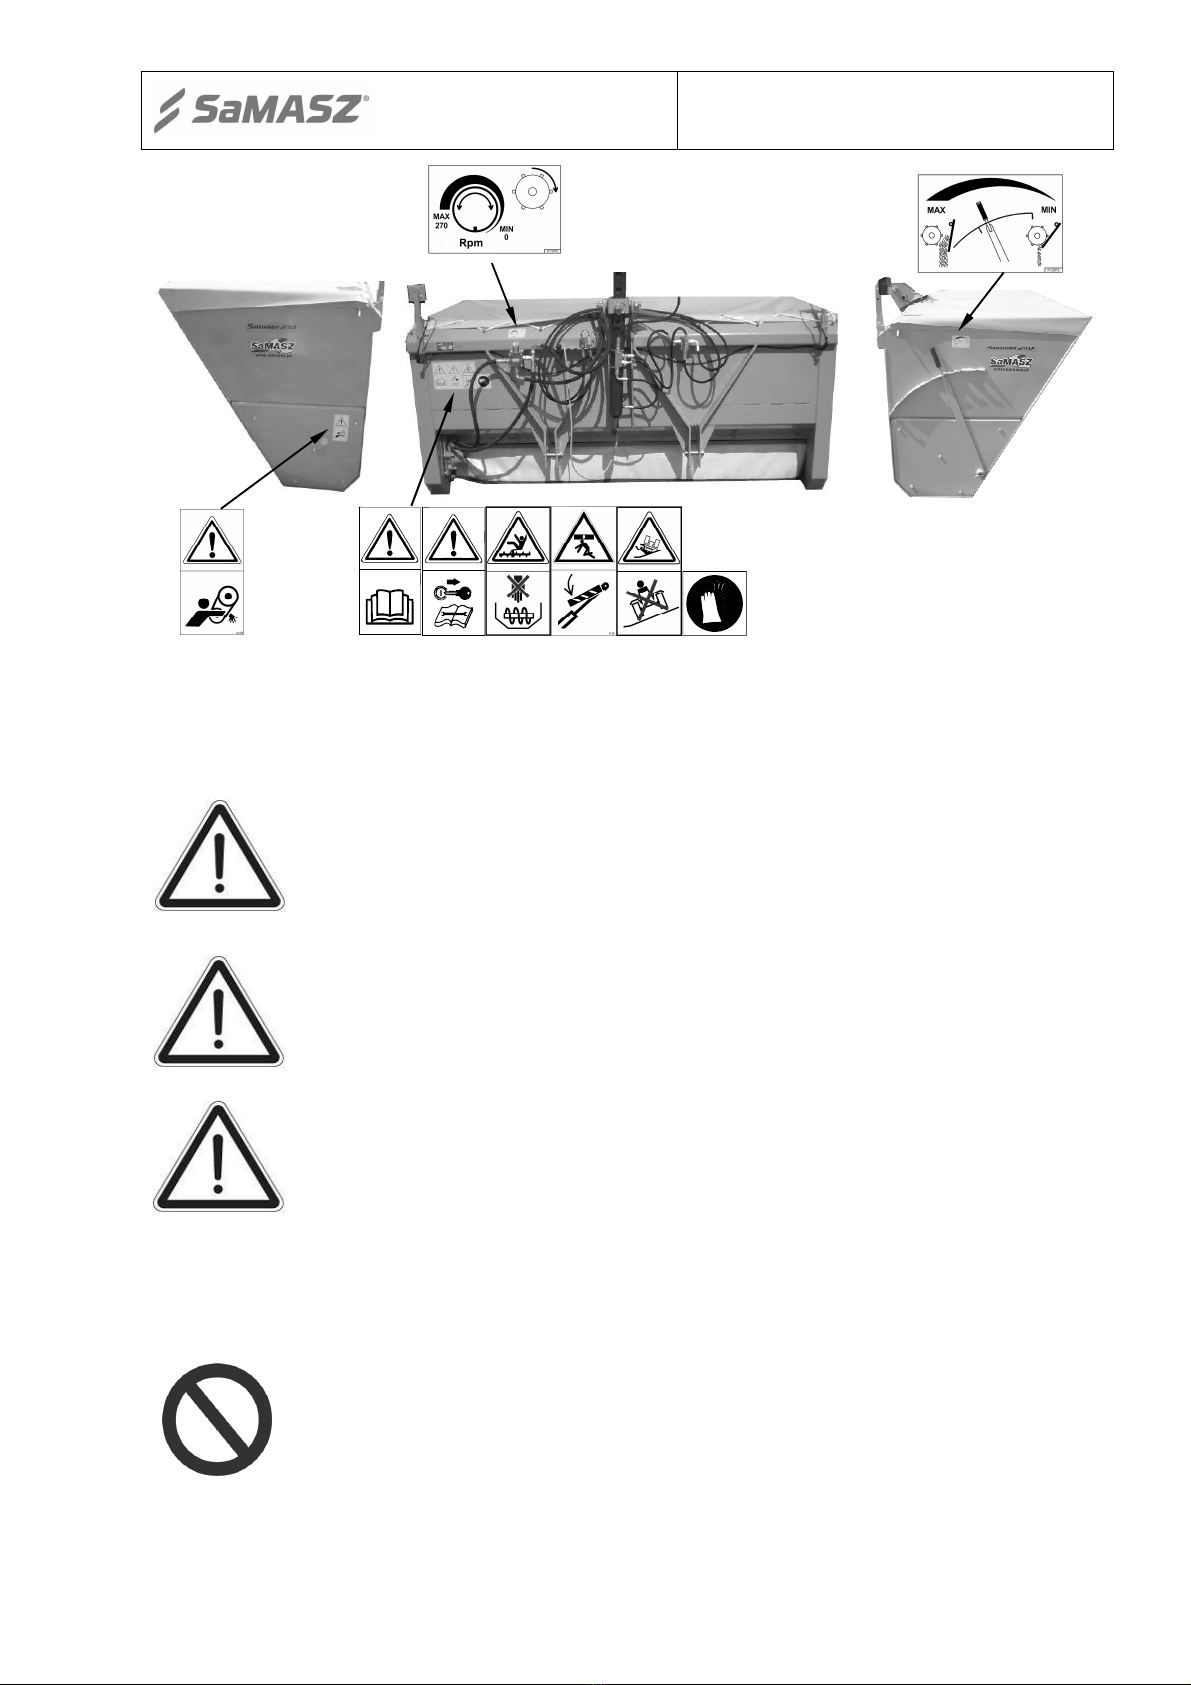
2. SAFETY CONDITIONS
NOTE!
Sahara gritter can only be operated by personnel who learned content of this
manual.
Each gritter operator should be fully aware of potential risks resulting from its operation and
should know how these are avoided.
2.1. Safety principles
Prior to operation read the operator's manual carefully.
Ignorance of the operator’s manual can lead to damaging the gritter.
DO NOT use gritter for purposes other than mentioned.
DO NOT apply any modifications of construction without prior arrangement with the
manufacturer.
When driving on public roads always respect local traffic regulations.
Operating speeds of the tractor and gritter aggregate should be adjusted to current road
conditions.
Prior to operating the machine should undergo a technical inspection paying particular attention
to condition of basic connections of machine’s assemblies as well as proper mounting of the
machine to tractor.
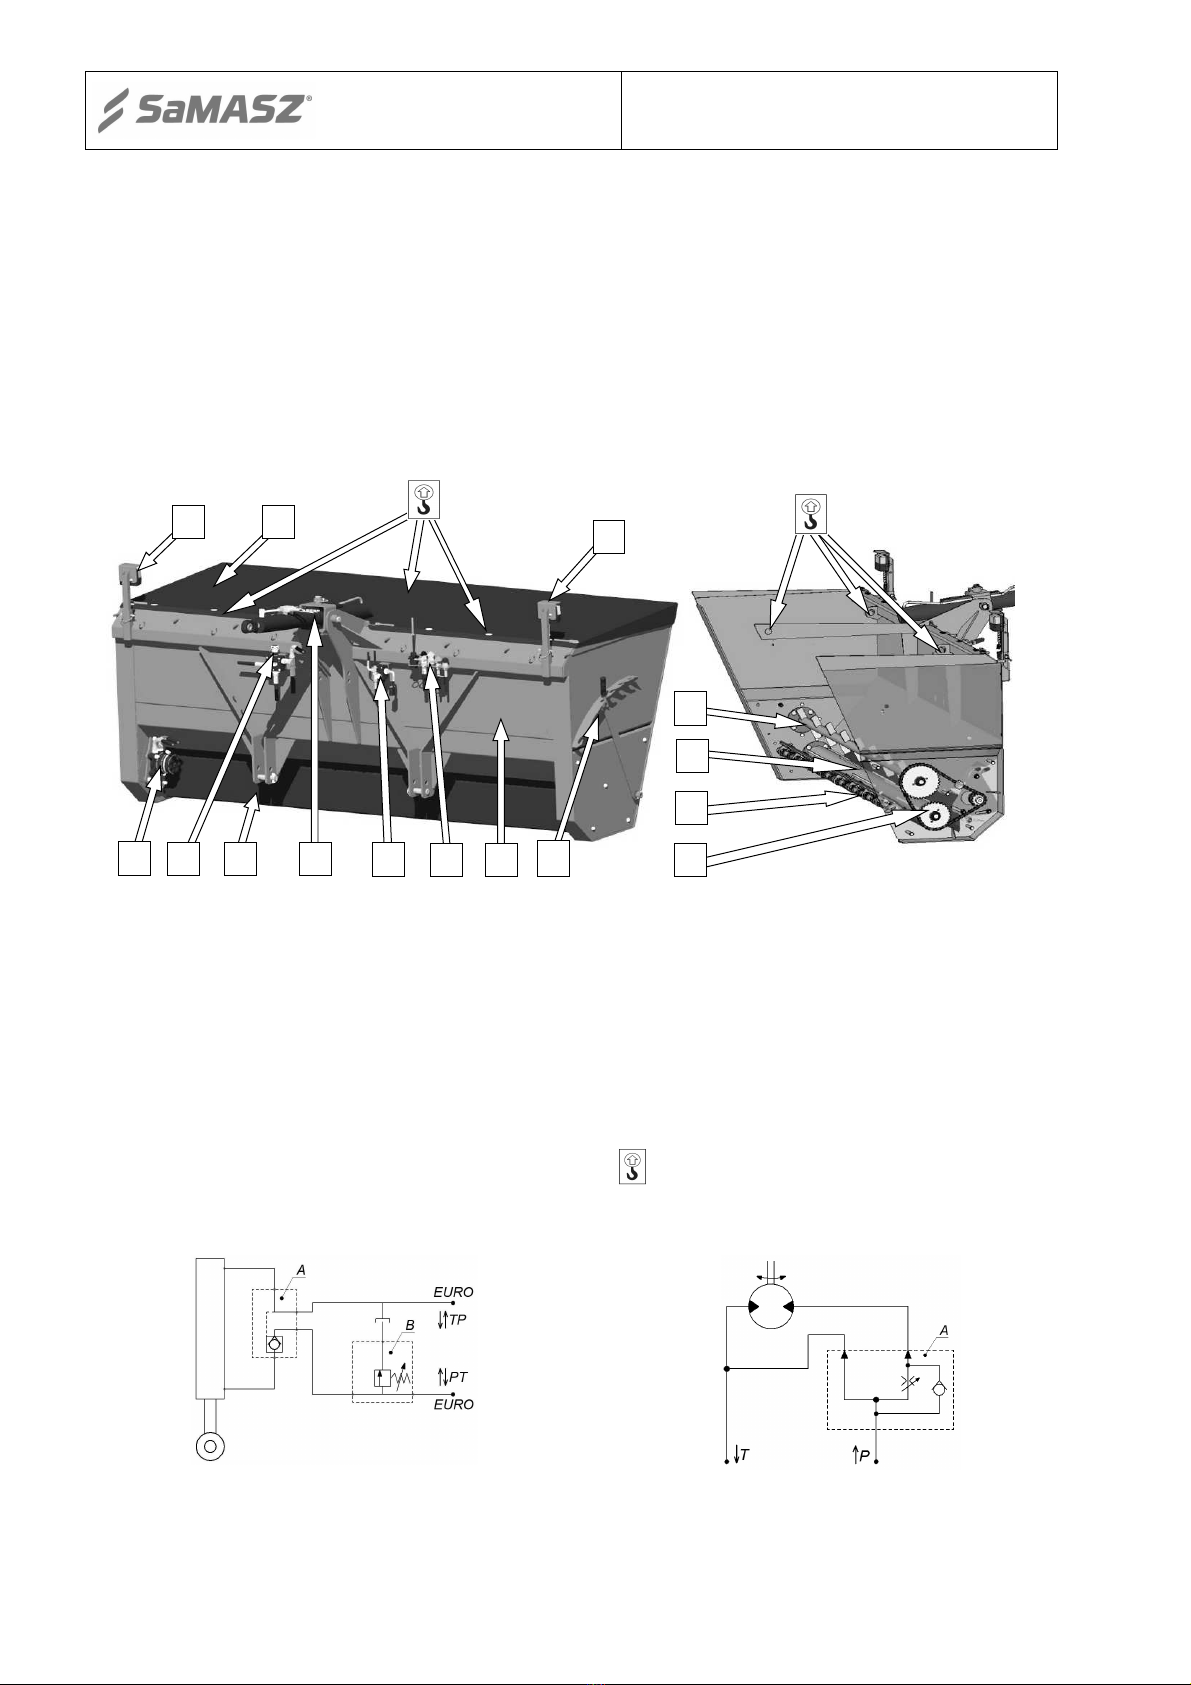
When performing any activity requiring lifting onto tractor’s 3-point linkage, it is necessary to
protect the gritter from falling.
The bolts and other fasteners should be inspected on regular basis. Operating with damaged or
worn fasteners is not admissible.
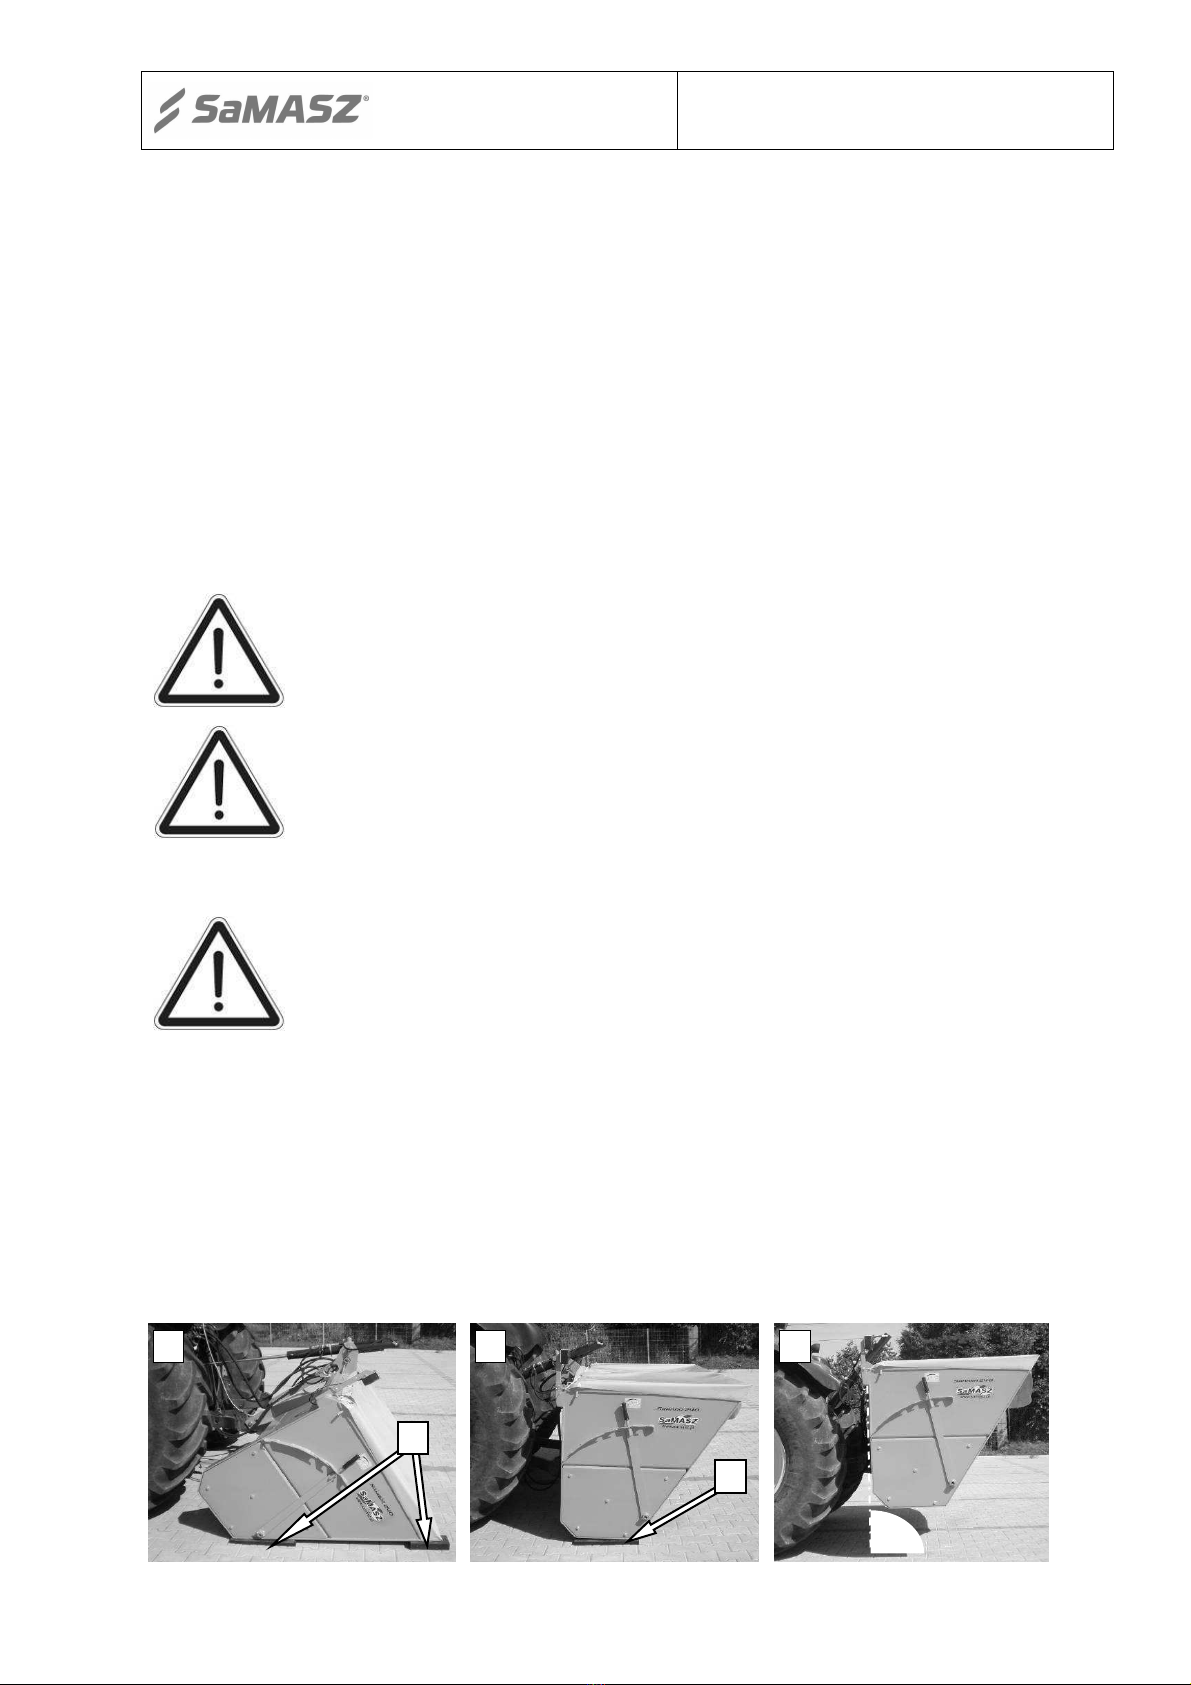
No person or object is allowed to be present on the gritter when transported or operating.
Gritter should be mounted to tractor only with use of genuine pins and safety devices.
When not operating the gritter should be in standstill position (Fig. 6, item a).
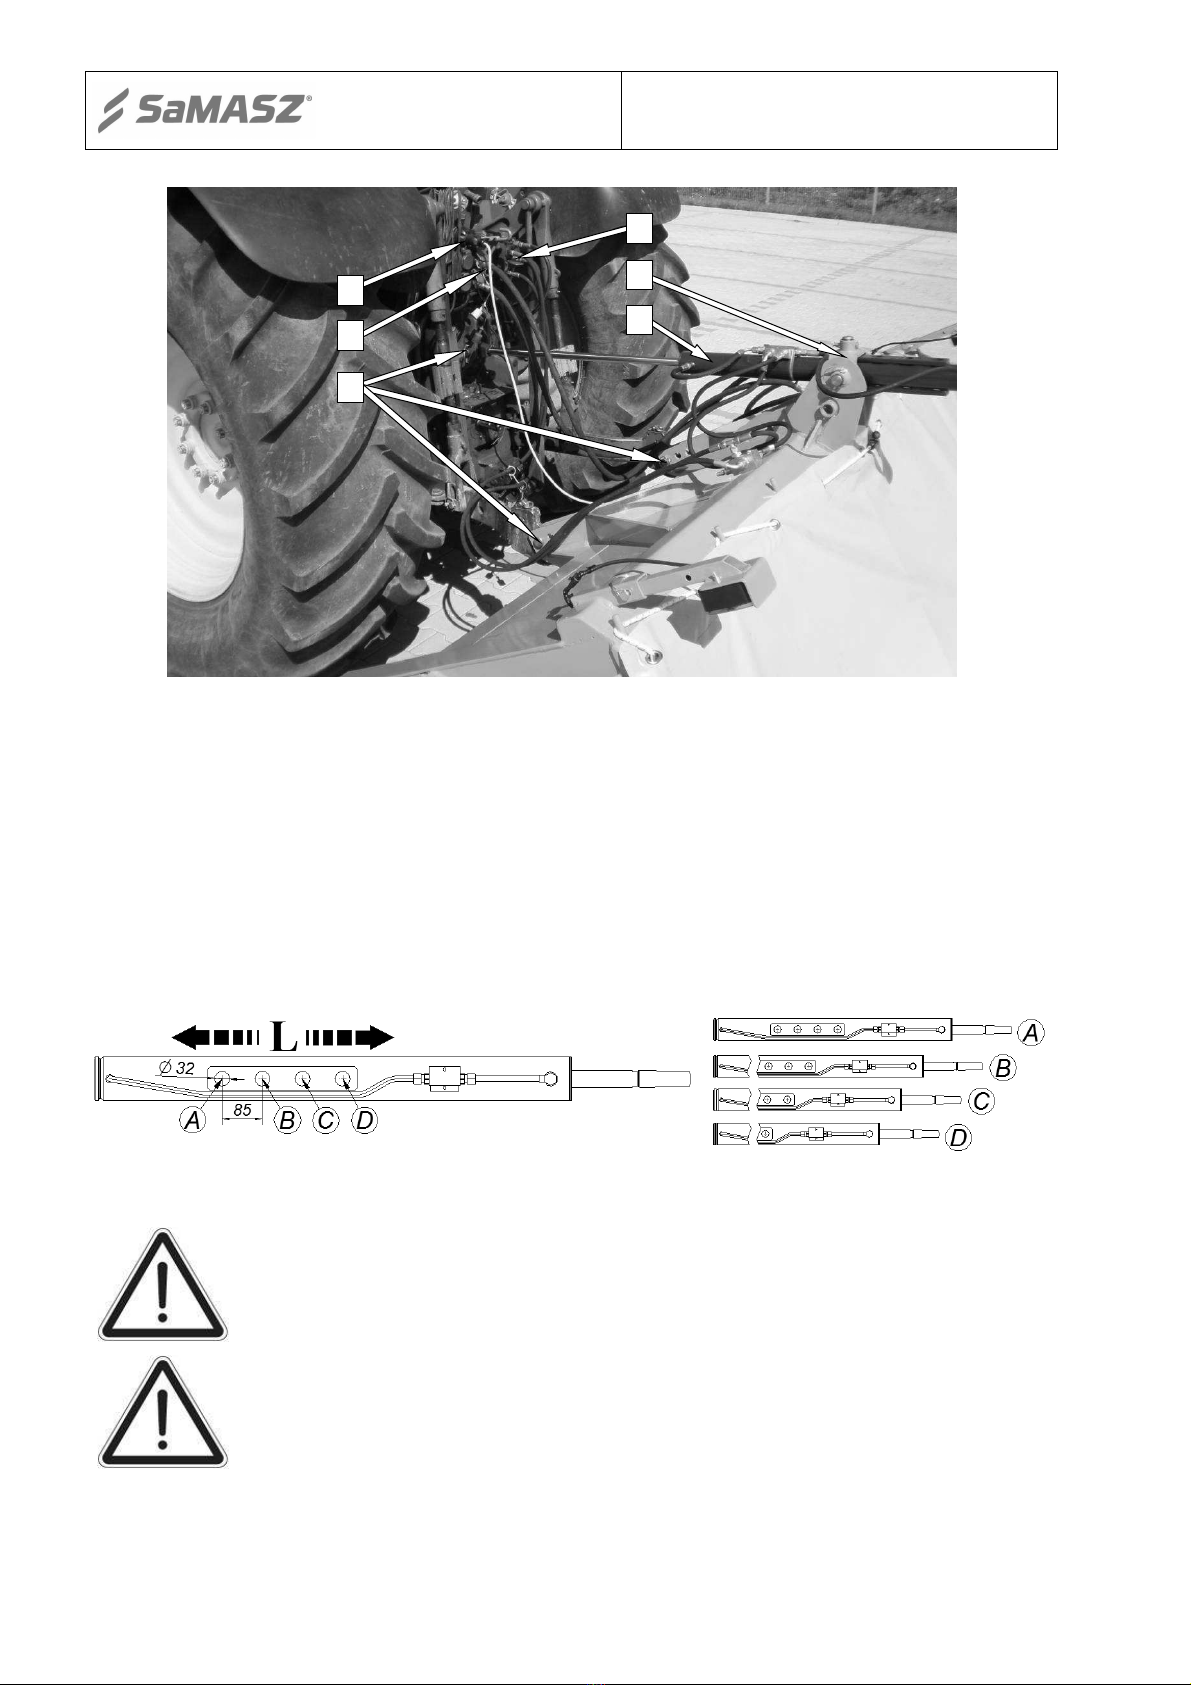
Damaged hydraulic hoses and other hydraulic parts should be replaced with new ones.
Use only genuine spare parts, which can be ordered at our store or at your dealer.
For any repair, maintenance and adjustment works always wear safety gloves.
Do not leave the tractor with mounted gritter on slopes. If need be, the engine should be switched
off, tractor’s parking brake engaged and the gritter lowered.
The gritter which is emptied, washed and serviced should be stored in a roofed place – with tilt
cylinder retracted to provide good protection of bearings.
Prior to approaching operation with the machine, make sure that all safety guards are not
damaged and fitted in place
.
Prior to performing any maintenance works set the machine onto a stable ground and protect
against unintentional shifting.
In case of a fatal failure, stop the machine's drive, turn the tractor's engine off and take out the
ignition key. Then call for technical service, and if an accident (in this case: road accident)
occurs, respect first aid rules and contact responsible authorities.
The operator is not allowed to leave the tractor while driving.
NOTE!
Securing both the danger area and activity performed shall lie under the
responsibility of the person in charge of the machine transporting.