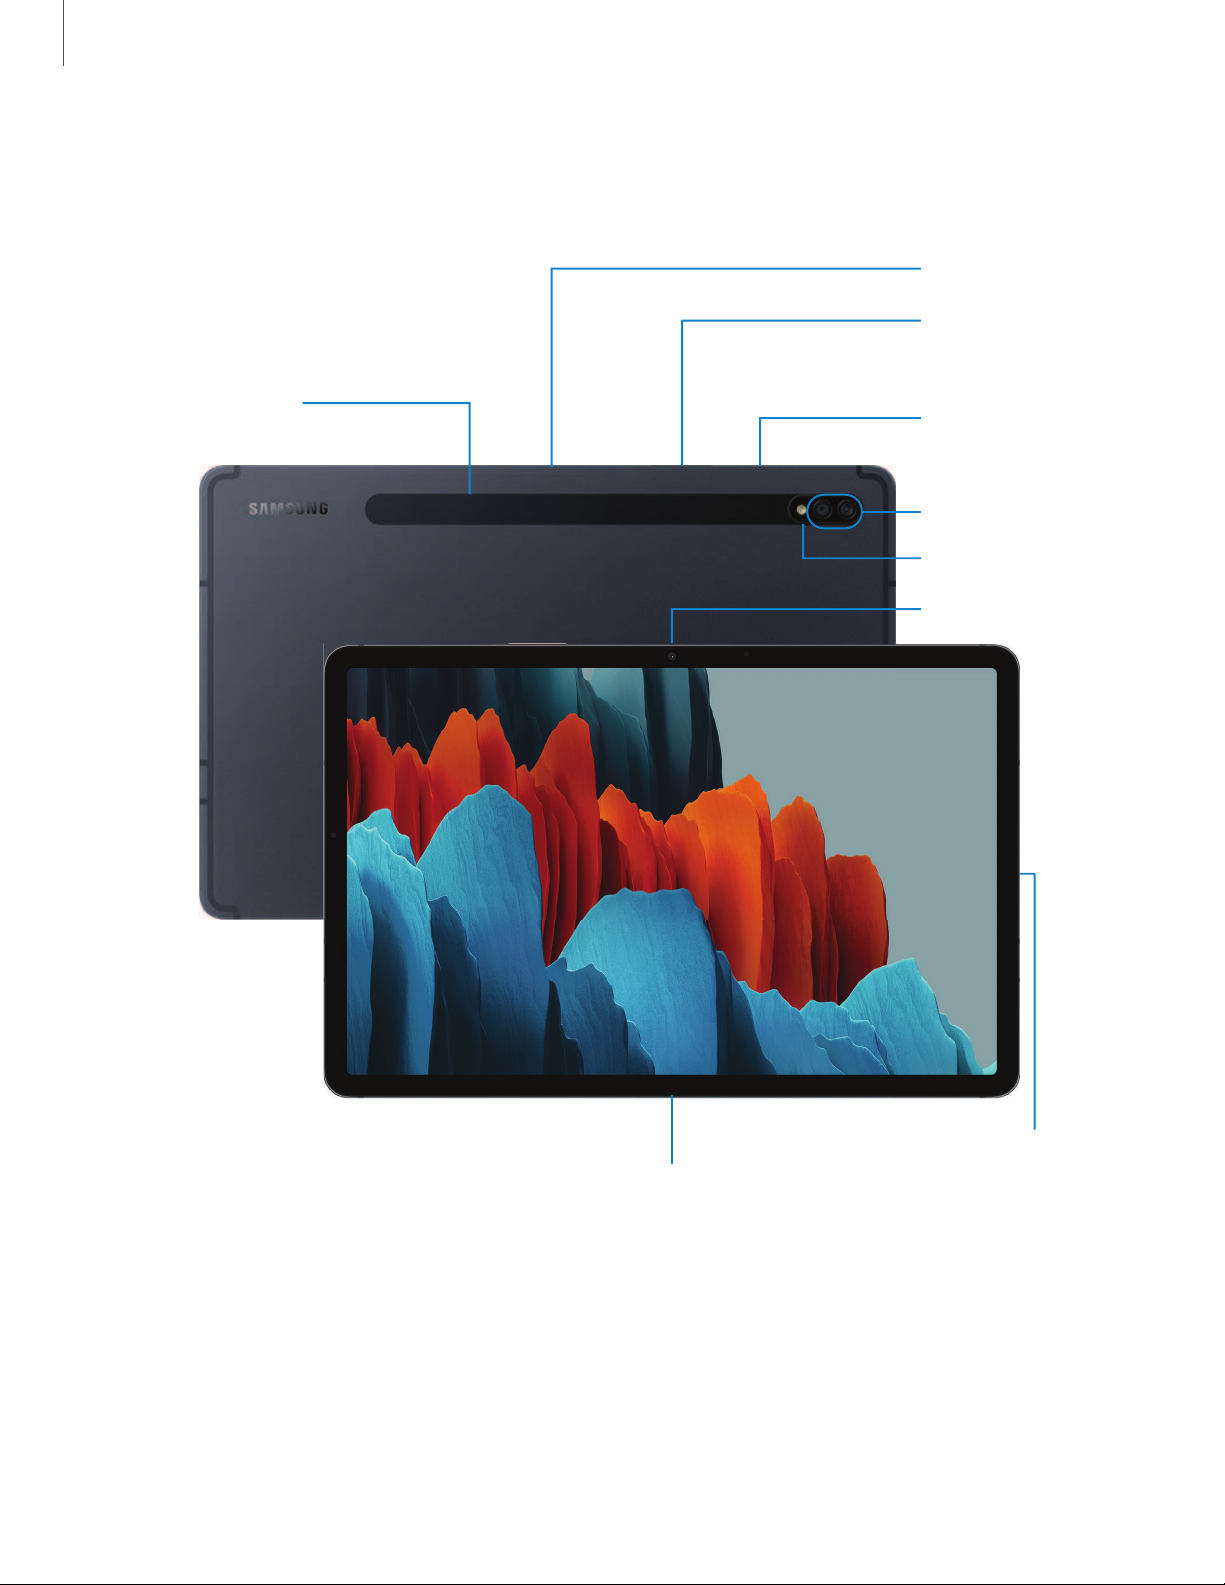
Samsung Galaxy Tab S7 User manual
Other Samsung Tablet manuals

Samsung
Samsung SM-T225 User manual

Samsung
Samsung Galaxy Tab GT-P5100 User manual

Samsung
Samsung GT-P6201 User manual

Samsung
Samsung SM-P605M User manual

Samsung
Samsung SM-T330 User manual

Samsung
Samsung Galaxy GT-P6800 User manual

Samsung
Samsung Galaxy Tab GT-P1000 User manual

Samsung
Samsung Galaxy Tab S2 User manual

Samsung
Samsung SM-T575 User manual

Samsung
Samsung GalaxyTab S7 FE SG User manual

Samsung
Samsung SM-T677V User manual

Samsung
Samsung Galaxy Tab S7 User manual

Samsung
Samsung Galaxy Tab S2 User manual

Samsung
Samsung ATIV Smart PC Pro User manual

Samsung
Samsung SM-P350 User manual

Samsung
Samsung ATIV Smart PC Pro XE700T1C User manual

Samsung
Samsung SCH-M180S User manual

Samsung
Samsung SM-T560 User manual

Samsung
Samsung SM-T230NT User manual

Samsung
Samsung SM-T595 User manual