(20) Sniper 12-Gallon, 500 PSI Carpet Extractor Sniper 12-Gallon, 500 PSI Carpet Extractor (5)
13.0 Machine Parts List – Heated Unit Returned Material Authorization (RMA) Policy
Original purchaser (distributor/service center) must contact the manufacturer to follow correct
RMA/warranty procedures. Must include a copy of RMA Sheet enclosed in the box with returned
item. No returns shall be authorized unless proper RMA procedures are followed. It is the
responsibility of the distributor to repair the client’s equipment as soon as possible. Labor is only
provided by authorized service centers. If an authorized service center is not near you, it is the
purchaser’s responsibility to take their machine to an authorized service center.
Client must contact the distributor prior to working on or changing out any parts, etc. Manufacturer
must issue an RMA Sheet containing approved labor time and replacement parts. Do not send
parts or equipment back to manufacturer without an RMA number and approval. No labor will
be paid for, nor part costs paid for or reimbursed that have not been previously approved by the
manufacturer. All warranty work must be approved and authorized to qualify and appropriate
warranty procedures must be followed.
1.0 Safety Instructions
READ THIS MANUAL BEFORE OPERATING MACHINERY. KNOW THE
PROPER SET-UP, OPERATION, CORRECT APPLICATIONS AND THE
LIMITATIONS OF THIS EQUIPMENT BEFORE USE.
This carpet extractor will afford you many years of trouble-free operating satisfaction,
provided it is given the proper care. All parts have passed rigid quality control standards
throughout the assembly process. Prior to packaging, your carpet extractor was again
inspected for assurance of awless operation.
This machine is protectively packed to prevent damage in shipment. We recommend that
upon delivery, unpack the unit and inspect it for any possible damage. Only a visual
inspection will reveal damage that may have occurred.
If damage is discovered, immediately notify the transportation company that delivered
your equipment. As a shipper, we are unable to report any claim for damage. You must
originate any claim within ve (5) days.
This manual is for your protection and information. Please read carefully since failure to
follow precautions could result in discomfort or injury.
Reduce the Risk of Fire, Electric Shock or Injury
Use only as described in this safety operating manual. Use only the manufacturer’s
recommended attachments, accessories, replacement parts and lters. Replace damaged
or worn parts immediately with genuine, original equipment parts to maintain safety and
to protect your limited warranty.
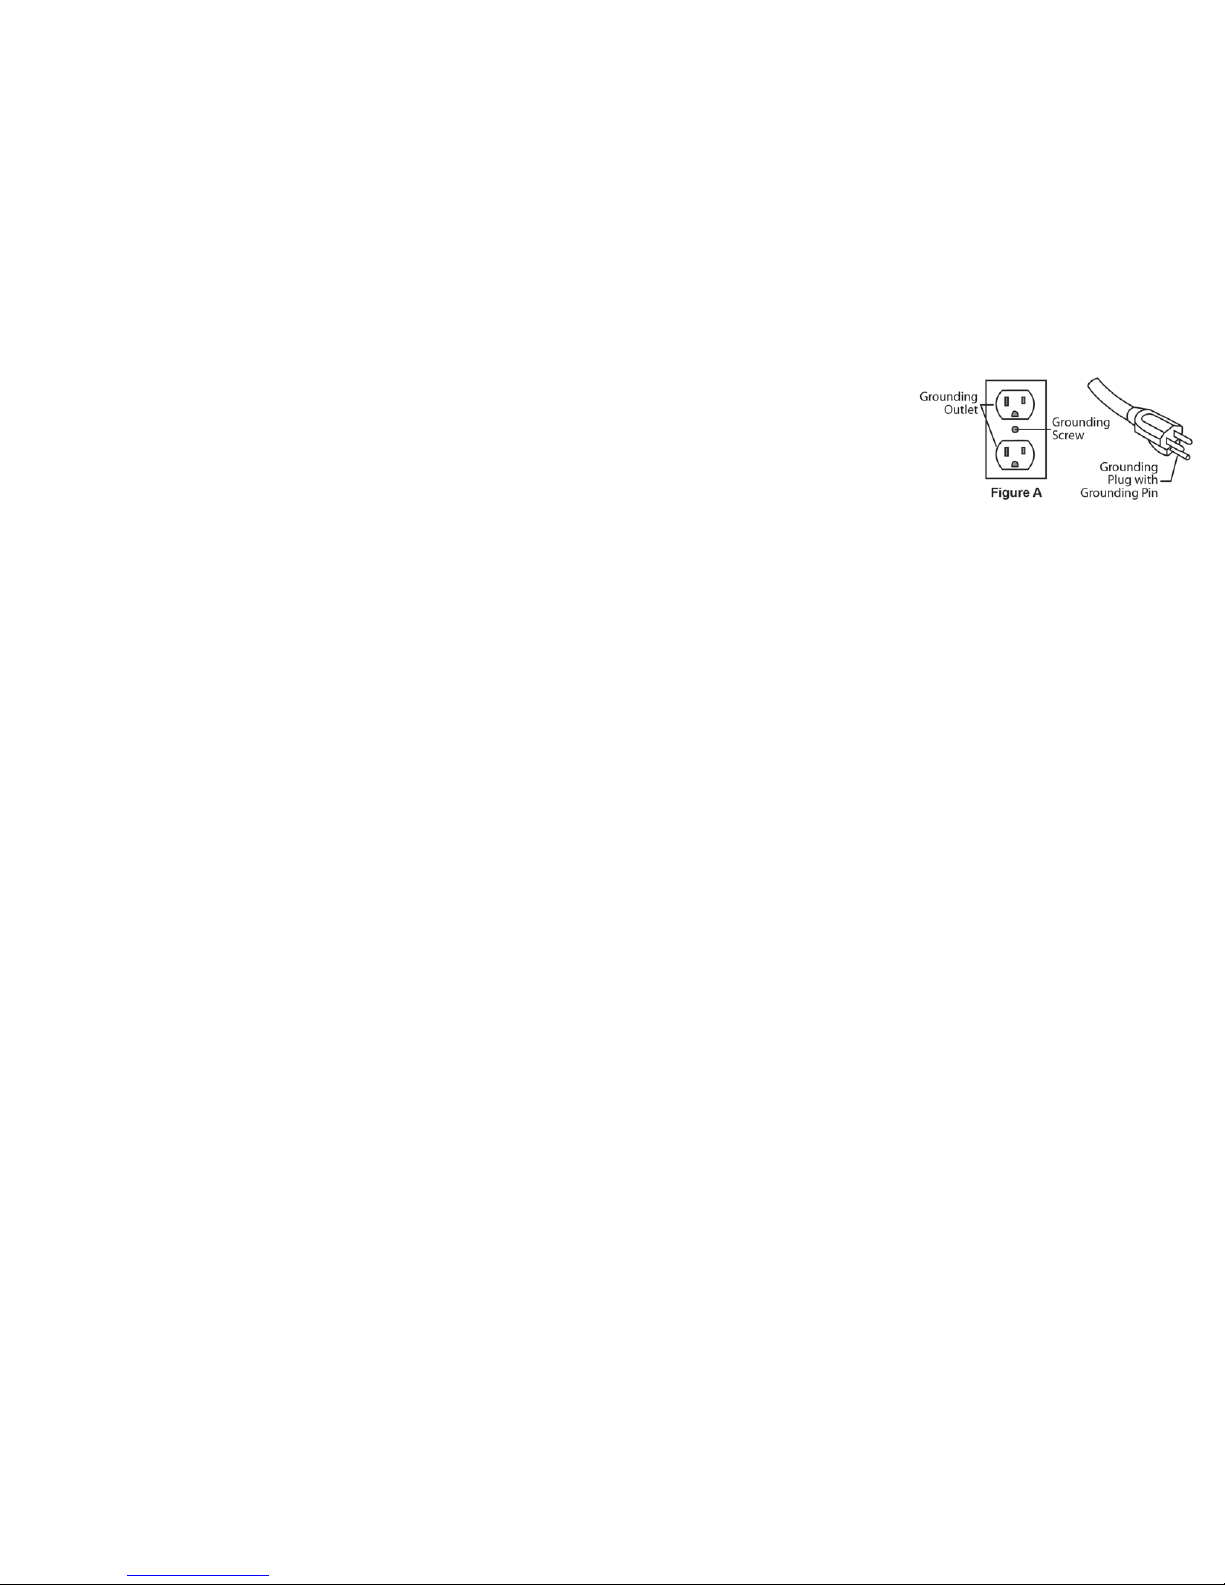
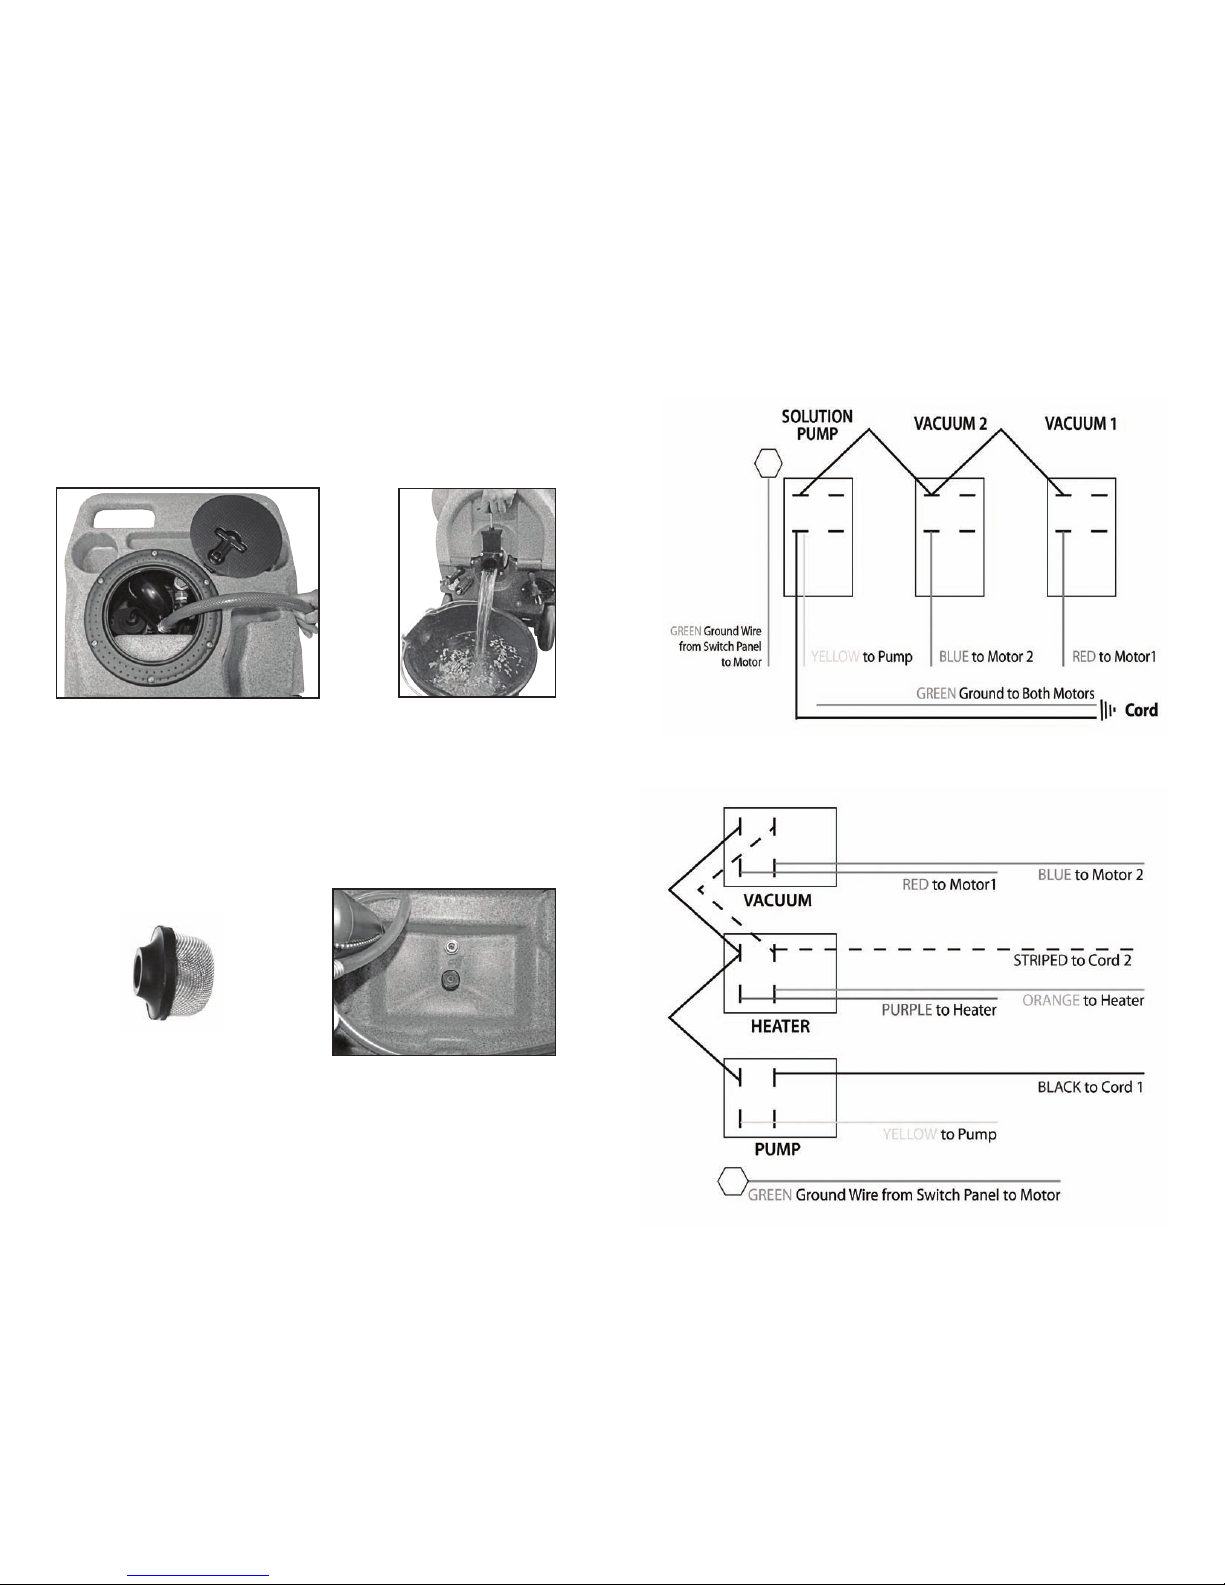
Always turn OFF the carpet extractor before connecting, disconnecting or working on
the machine. This equipment must be connected to a properly grounded outlet only (see
grounding instructions). Two (2) 25-foot, 12/3-gauge safety power cords are provided
with this unit (dependent on the model) and MUST be used with this unit to ensure
grounding protection. Turn off all controls before unplugging. Make sure the on/off
switch is in the off position. This is not a toy. Close attention is necessary when used
around or near children. Use extra care when cleaning on stairs.
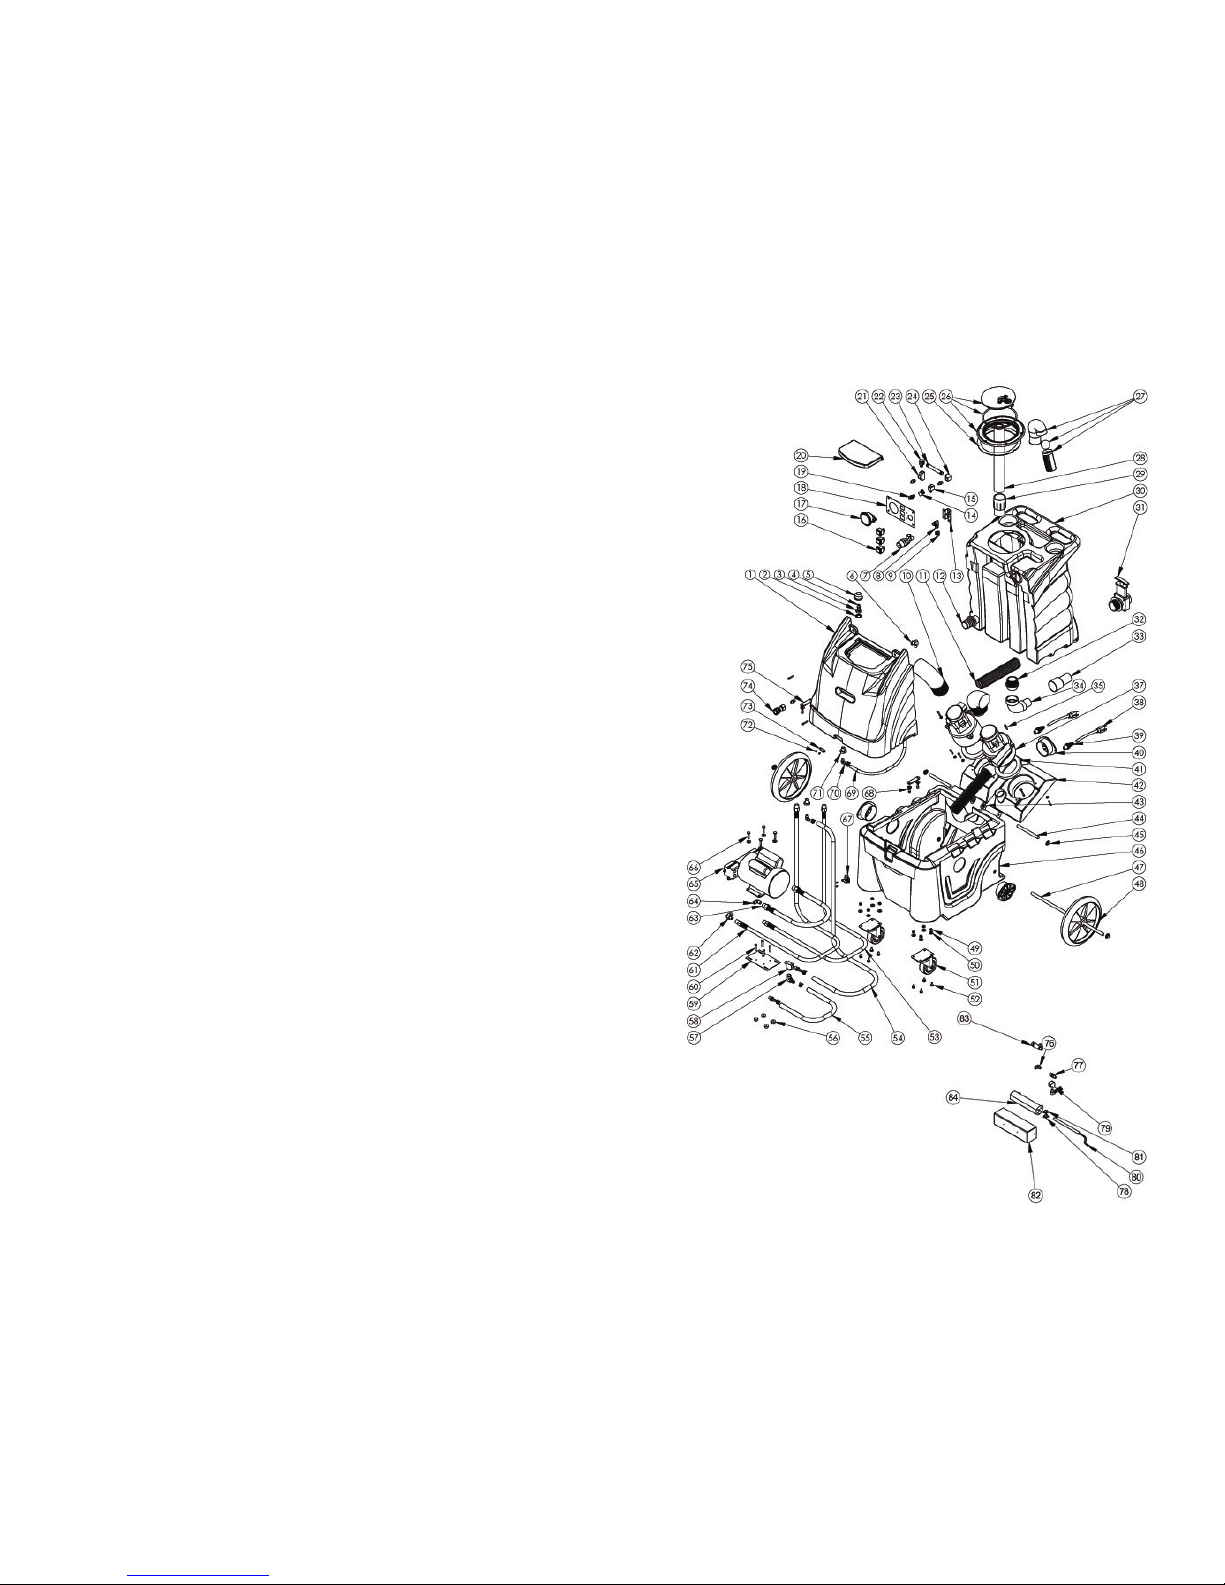
Drawing No. Item ID Item Description Qty.
1 SN-12-ST-USIBLUE 12-Gallon Solution Tank - Ultimate Blue 1.00
2 80-0017 Part of the Bulkhead Fitting 1.00
3 80-0017 Part of the Bulkhead Fitting 1.00
4 10-0846 1/4” MPT Hex Nipple 1.00
5 10-0845 1/4” Strainer 2.00
6 80-0011 90 Degree Street Elbow 1.00
7 80-0016-REG 500 psi Regulator 1.00
8 80-0026 3/8 Barb x 1/4 MPT 90 Degree 3.00
9 10-0826 3/4” Hose Clamp 5.00
10 80-0001 Extractor Exhaust Hose 0.40
11 80-0003-A 1-1/2” Black Lined Gray Hose 2.00
12 10-0806 1-1/2” Grey Hose Barb Fitting 1.00
13 Bracket Part of 80-0016 Pump 1.00
14 80-0006 45 Degree Street Elbow 1.00
15 80-0011 90 Degree Street Elbow 1.00
16 10-0803-H Splashproof Heater Switch 1.00
16 10-0803 Splashproof Switch 2.00
17 80-0059 500 PSI Gauge 1.00
18 80-0013 500 PSI Switch Plate 1.00
19 Connector Part of 80-0059 Gauge 1.00
20 SN-12-L-USIBLUE 12-Gallon Lid - Ultimate Blue 1.00
21 80-0010 1/4” Brass Tee 2.00
22 80-0011-2 90 Degree Street Elbow 1.00
23 80-0004 1/4” x 4” Brass Nipple 1.00
24 10-0852 1/4” 90 Degree Brass Elbow 3.00
25 10-0804-A Hatch Cover Gasket 1.00
26 10-0804 Hatch Cover 1.00
27 80-0012 Float Assembly 1.00
28 10-0416-A 1-1/2” Black ABS Stand Pipe 1.30
29 80-0008 1.5 PVC Female Adapter 1.00
30 SN-12-RT-USIBLUE 12-Gallon Recovery Tank - Ultimate Blue 1.00
31 10-0805 Dump Valve 1.00
32 10-0849 1-1/2” ABS Fitting 1.00
33 10-0155 Hose Cuff Straight 1.00
34 10-0848-B 1-1/2” 90 Degree ABS Street Elbow 3.00
35 10-0833 Motor Manifold Bolts 6.00
37 10-0811 2-Stage Extractor Motor 2.00
37 10-0810 3-Stage Extractor Motor 2.00
38 10-0838-A Complete Pigtail 2.00
39 10-0850 Strain Relief for Pigtail - Part of 10-0838-A 2.00
39 10-0851 Strain Relief Nut for Pigtail - Part of 10-0838-A 2.00
40 10-0822 Exhaust Grate 3.00
41 10-1030-S2 2-Stage Extractor Motor Gasket 2.00
41 10-1030-S3 3-Stage Extractor Motor Gasket 2.00
42 SN-12-MFLD Extractor Motor Manifold 2.00
43 10-0830 Hinge Keeper 2.00
44 10-0821 Extractor Hinge 2.00
45 10-0820 End Cap for Rod on Extractor 4.00
46 SN-12-MB-BLKGRAN 12-Gallon Motor Base - Black Granite 1.00
47 10-0836 19” Axle 1.00
48 10-0807 Wheels 2.00
49 10-0834 Pump Flat Washer 18.00